When it comes to finishing any bag the lining construction is a very important factor in judging the finished quality. There are two basic methods for attaching the lining to the exterior: drop-in or fixed. Each has its merits in the construction process for both support and appearance in a bag.
The drop in lining method is perhaps the easiest but most feared by bag makers. For a drop-in lining you are simply making the interior separate from the exterior. Drop-in linings offer an interior that is the same shape and size as the exterior and if done correctly gives a far nicer appearance to the inside of your bag. This method is commonly used with bags that offer more depth; especially at the zipper opening of the bag. Most of us judge a bag by its exterior presentation, but once you start looking at the interior appearance you will like making your own bags even more!

The following tutorial will focus on the Final Assembly and how to get a nice tight fitting liner on the drop-in assembly method. You can download a free copy of the Sunday: Life’s Little Everything Bag that was used for this tutorial here: Sunday My Way Bag
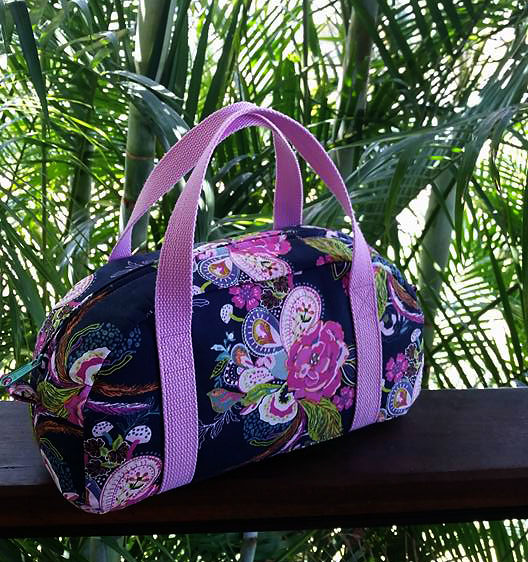
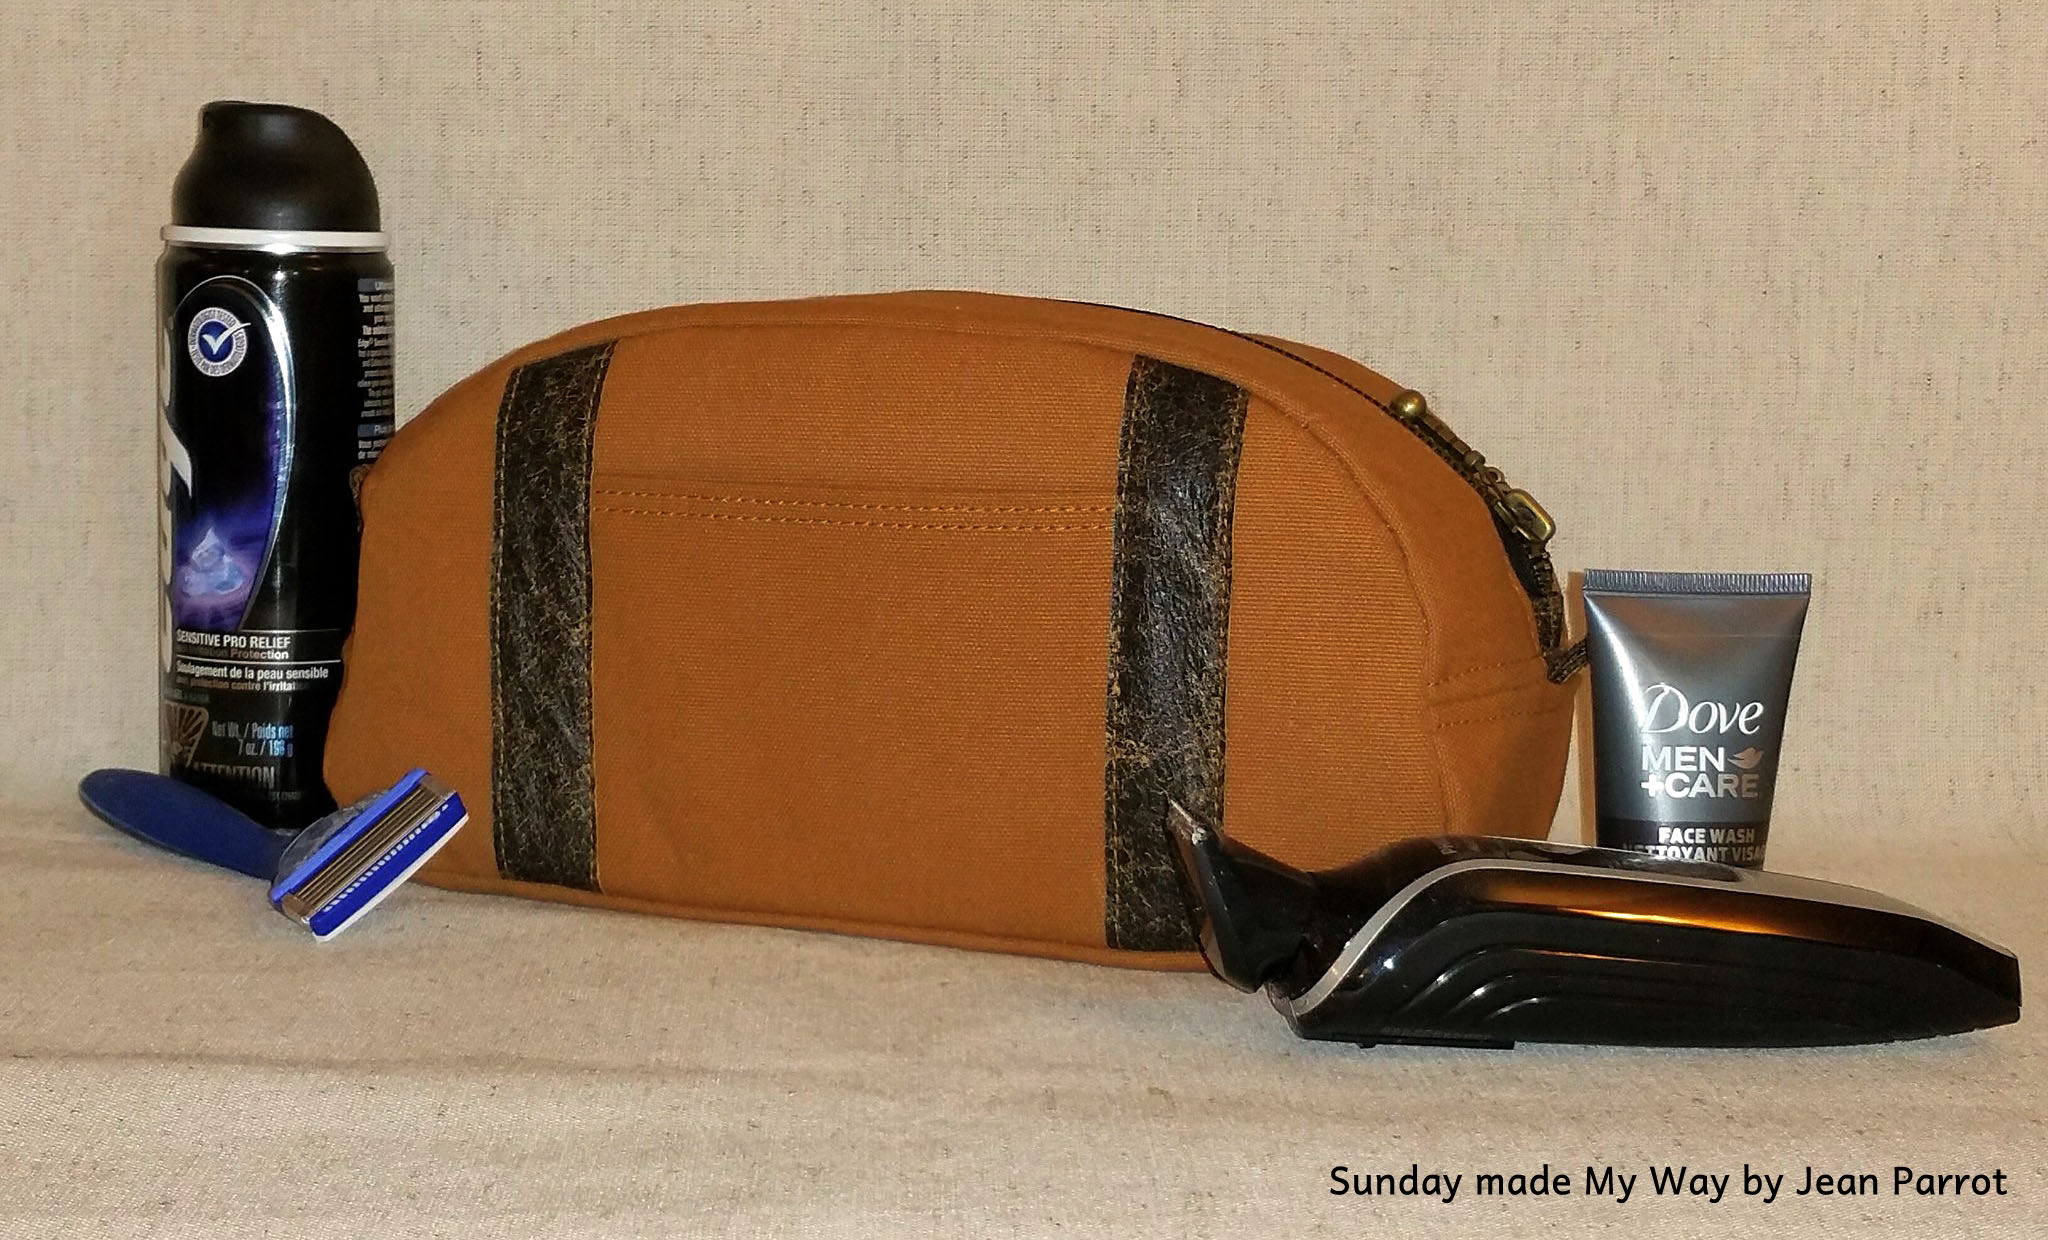
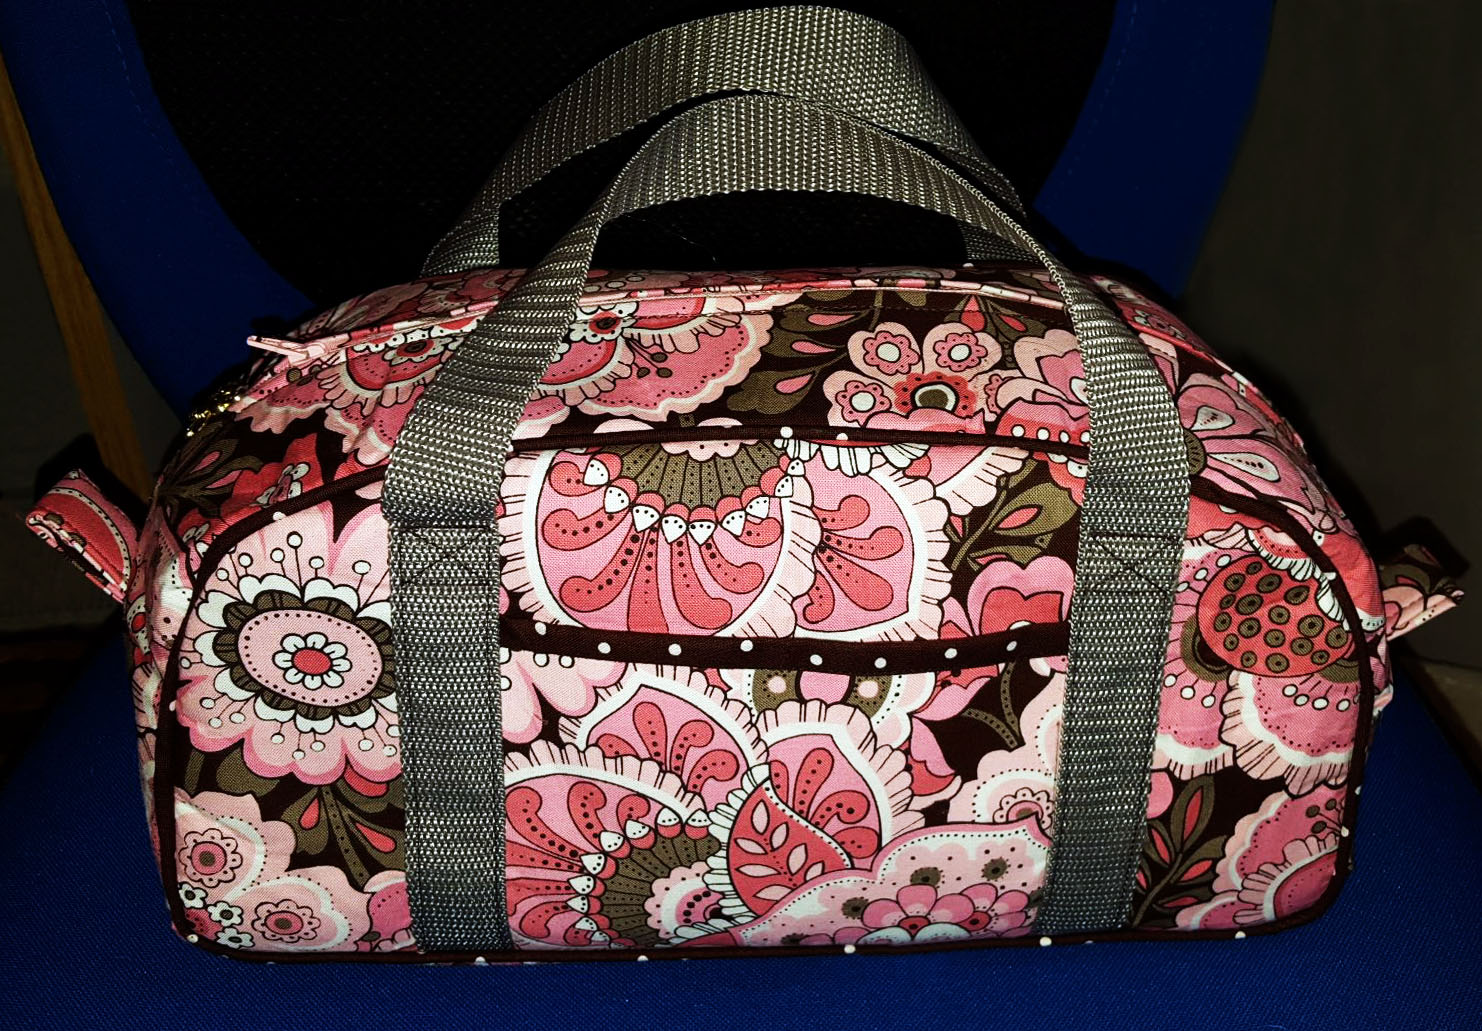
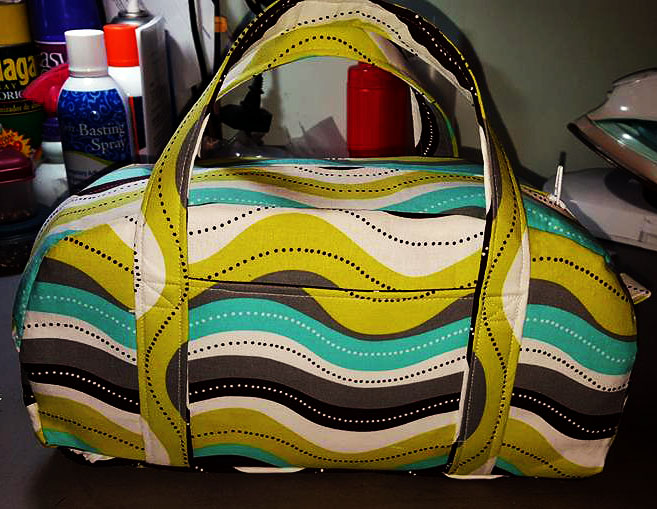
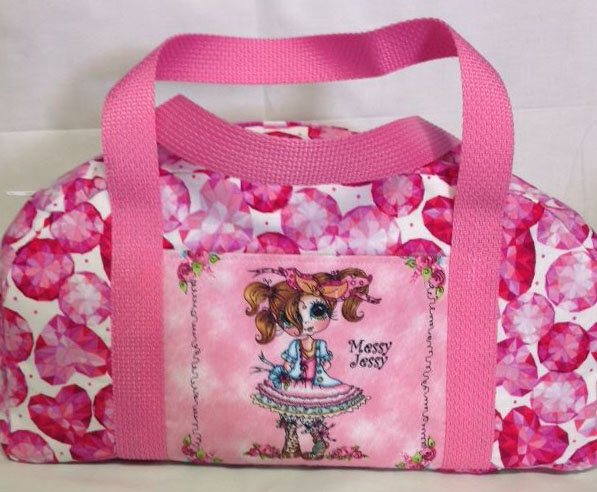
The Sunday Bag was designed to be like a lazy Sunday afternoon- A Blank Canvas. The design was created to be simple; a beginner sew, but an open canvas for those that like to add their own creativity. This little Everything Bag features a slip pocket on the front, a wide mouth opening, and cute carry straps. Perfect as it is, or make Sunday “My Way”. Add some piping, zipper pockets, use the zipper pulls to add a longer carry strap, omit the fleece and make a soft-sided bag. Play with contrasting fabrics, or mix some textiles, quilt it, embellish it… the possibilities are endless! Finished size measures: 12” wide, 6” tall, and 4 1/2” deep.
THE DROP-IN METHOD ASSEMBLING THE EXTERIOR AND INTERIOR:
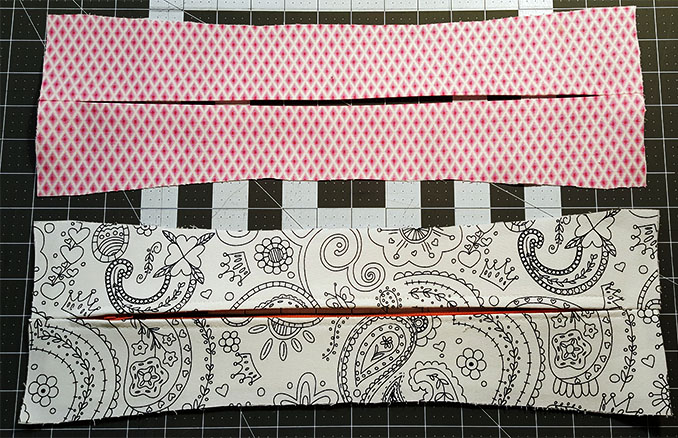
In order to achieve a drop in lining you will create a top gusset panel in which the exterior contains the zipper and the interior top is folded and pressed in 1/2” in the center of the top panel. Once your Exterior and Interior Bag pieces are assembled, these two top panels will "match up" allowing you to attach the Interior to the Exterior.
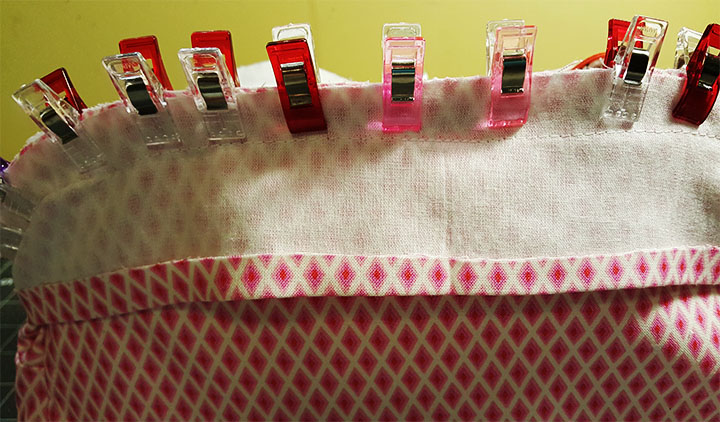
**At this point the Interior and Exterior pieces will already be assembled. When trimming your seam allowances after adding the side gusset panel you will NOT trim the seam allowances around the top zipper panels of your finished pieces. This will be done after you assemble the bag pieces to help you achieve a nice tight fitting liner. Go ahead and trim the seam allowances around the sides and bottom, for both the Exterior and Interior as instructed in the pattern.
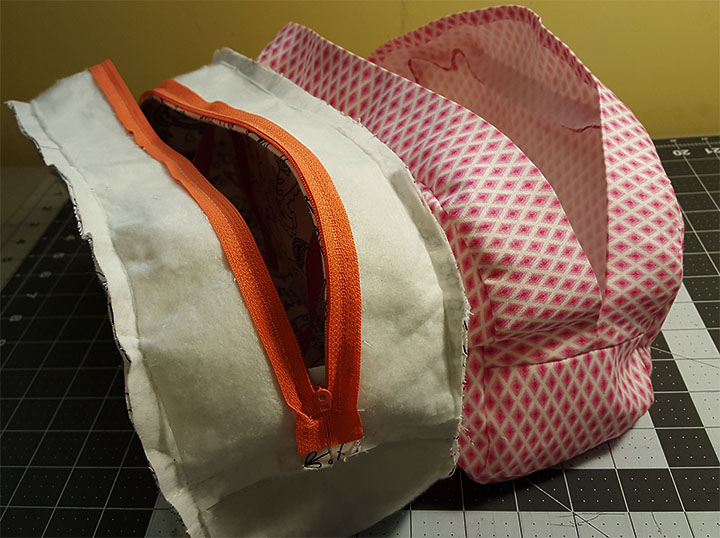
1. Open the zipper all the way and turn the exterior WRONG SIDE OUT. Fold the top zipper panels on both sides to the inside so you have the top seam allowances exposed.
2. Keep the Interior RIGHT SIDE OUT and fold the top panels outward to expose the seam allowance where you attached the gusset to the front and back pieces.
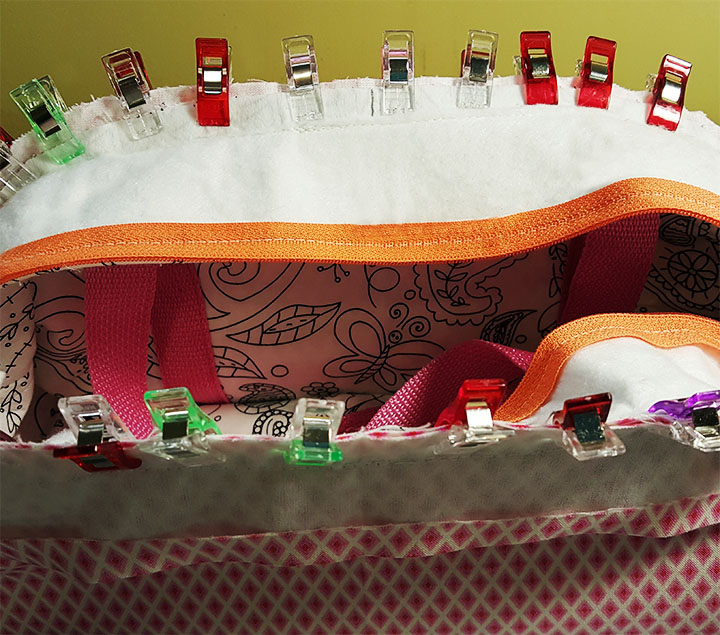
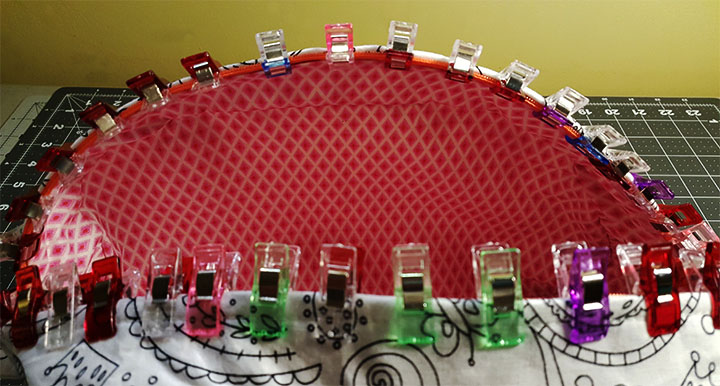
3. Now place the Exterior inside the Interior. The WRONG SIDES will be facing each other.

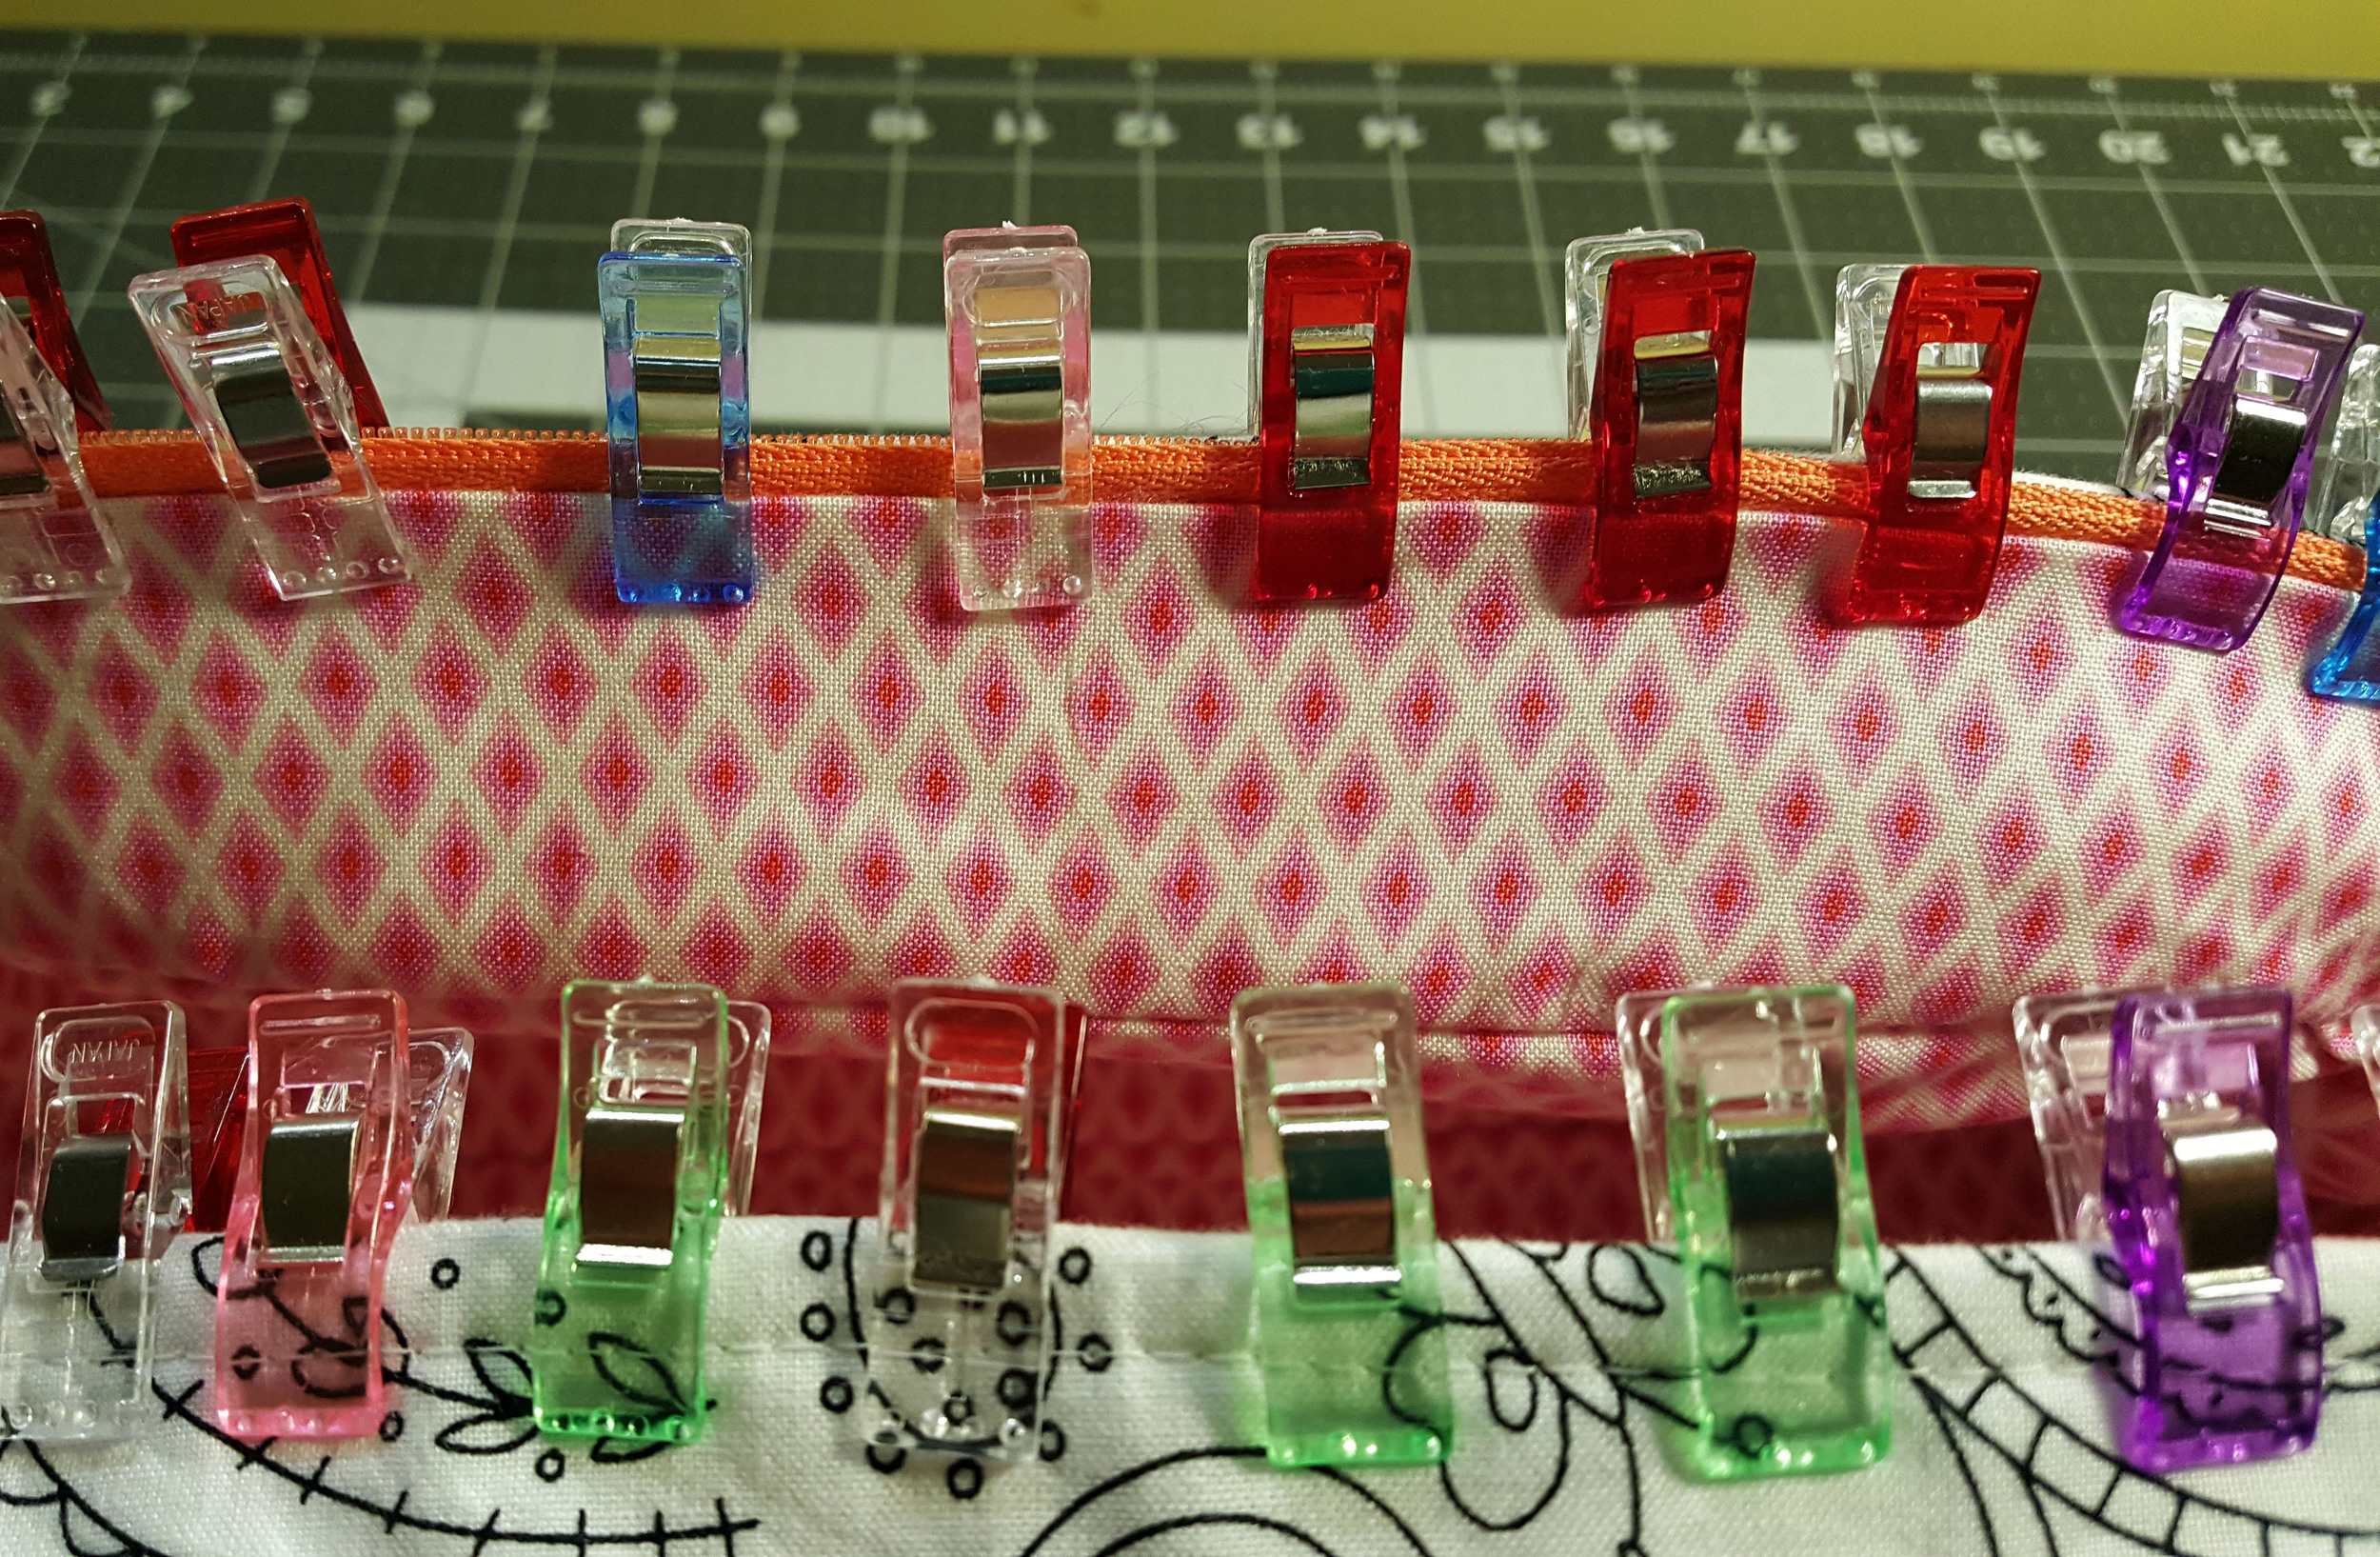
4. Align the top seam allowance for the Interior with the top seam allowance of the Exterior. Starting at one side of the bag pin all the way across to the other end of the top panel as far are you can go.
Be sure to match up the lines of stitching along the seam allowances.

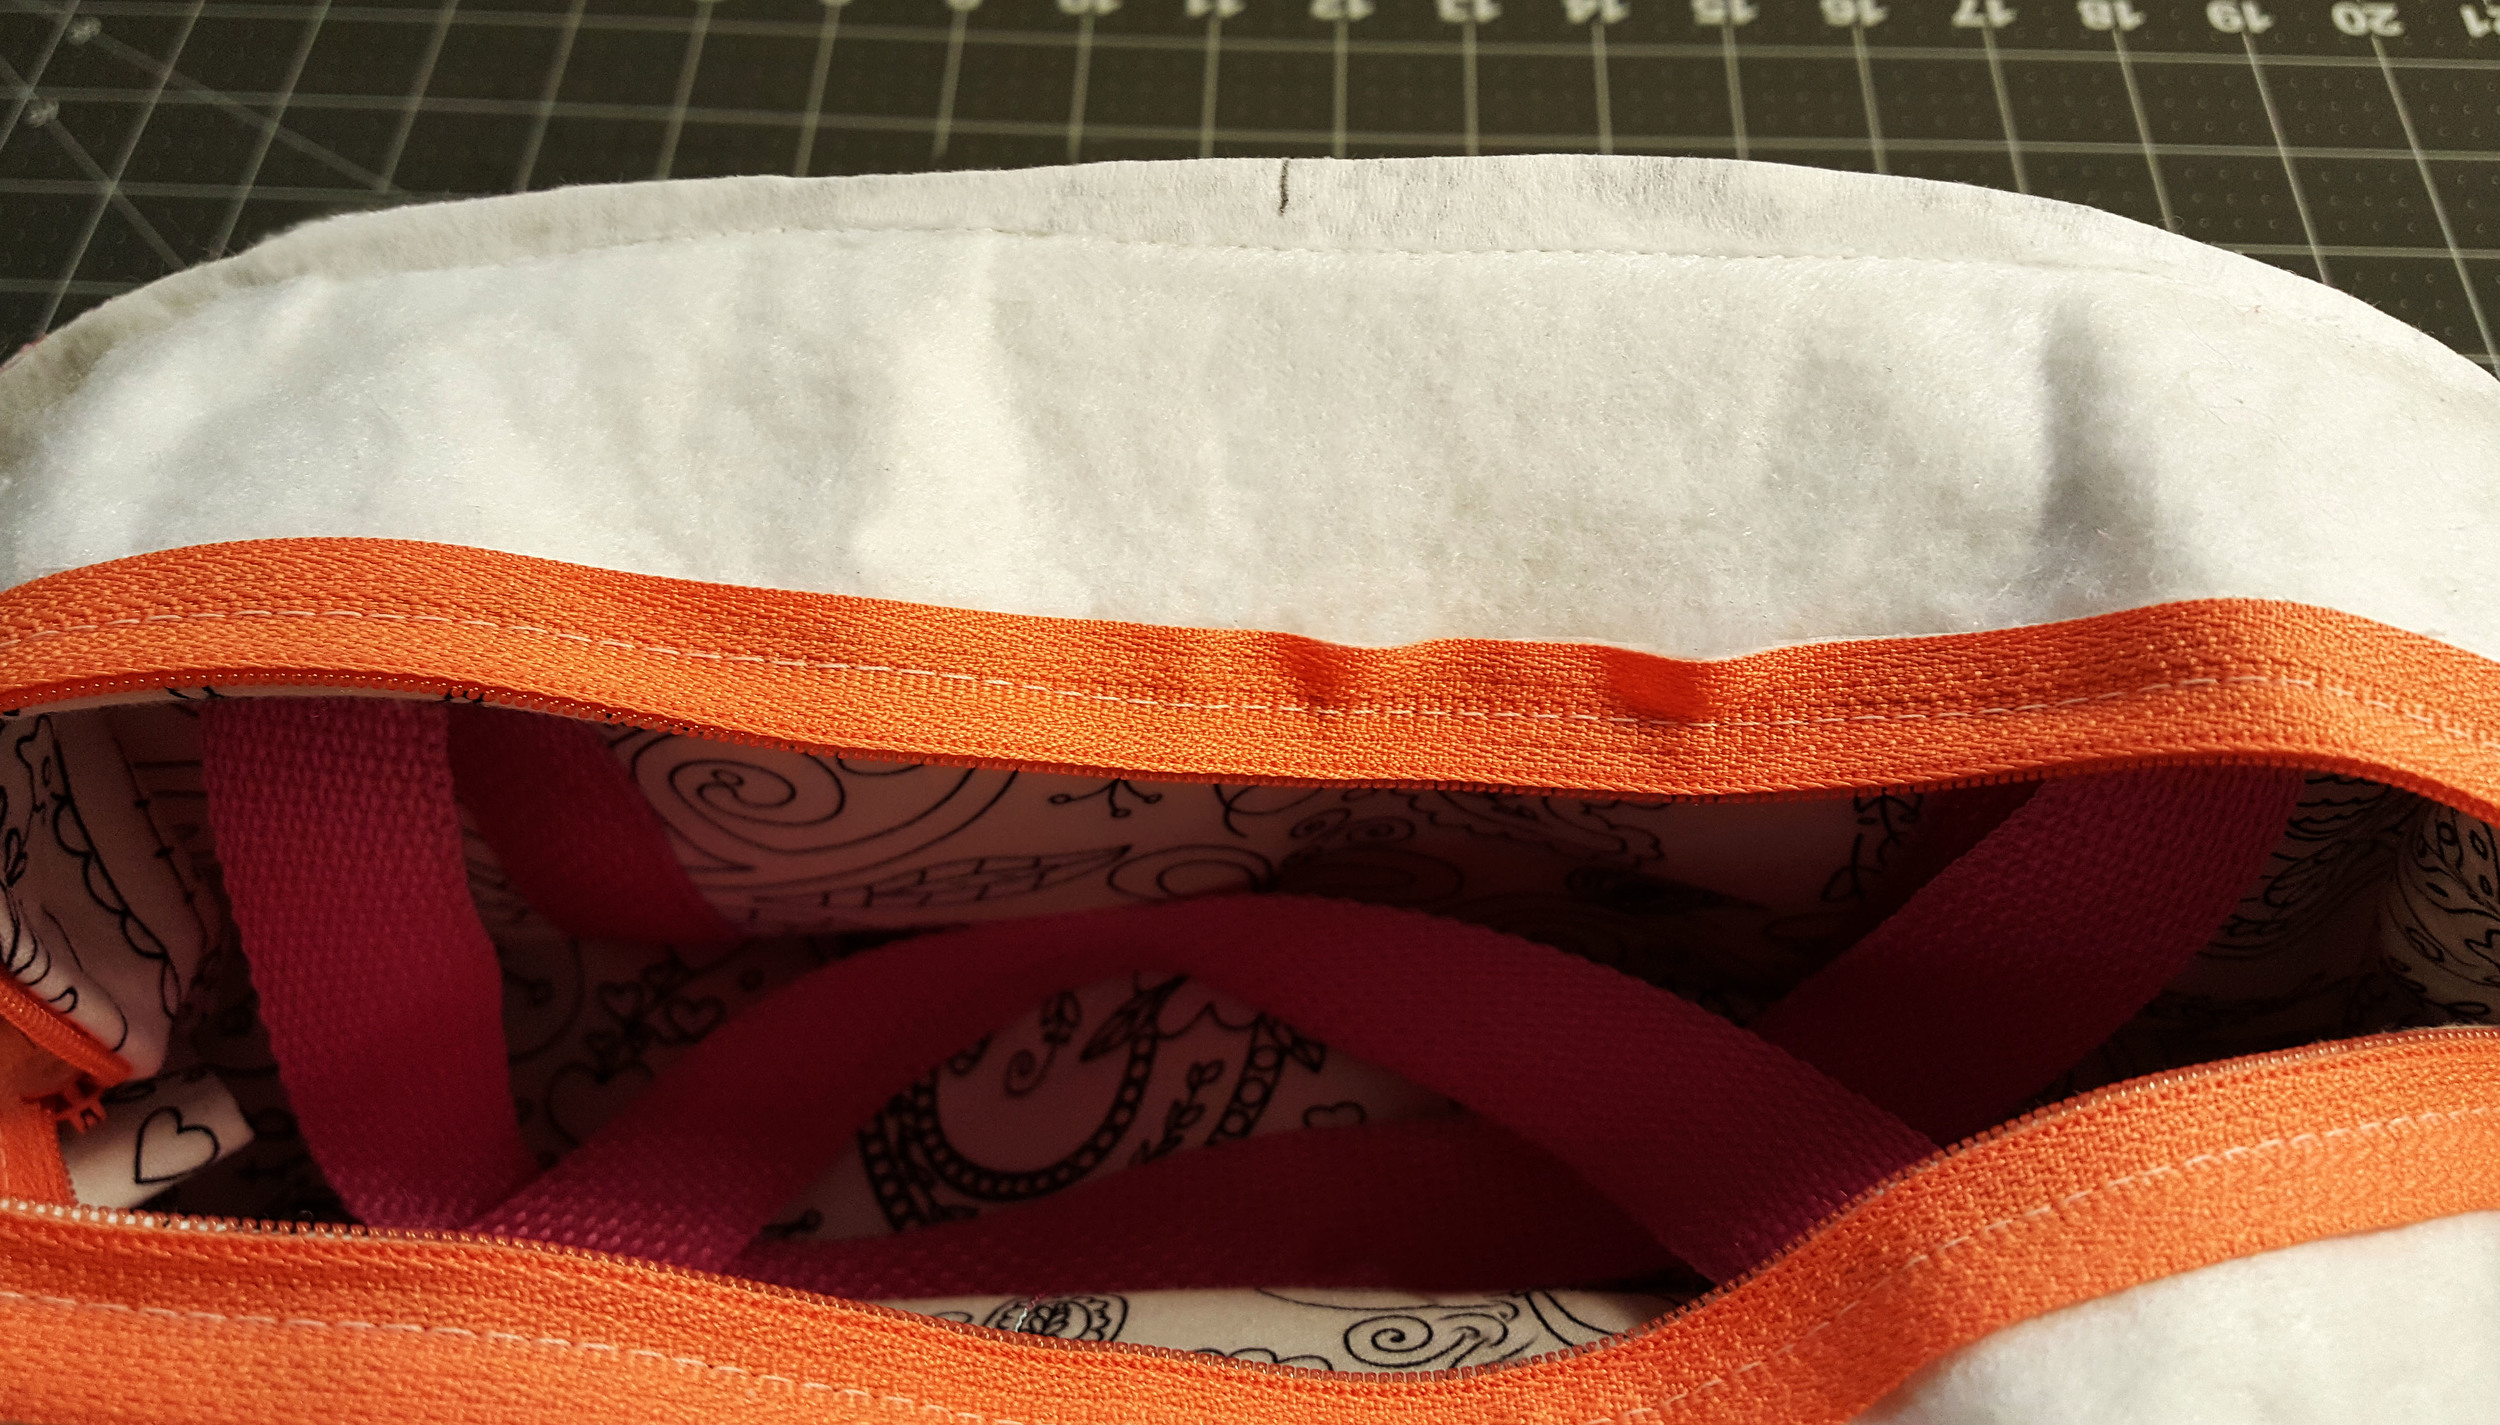
5. Starting as close to the side seams of the Side Panel as you can, sew through both seam allowances of the Exterior and Interior across as far as you can to the side seam on the opposite side of the bag. Be sure to stitch through the existing stitches on both pieces and that you are only sewing though the seam allowances and not the panels.
Sometimes it is easier to start by getting the pieces under your machine then pulling the pieces towards yourself to get back as far as you can to start stitching.

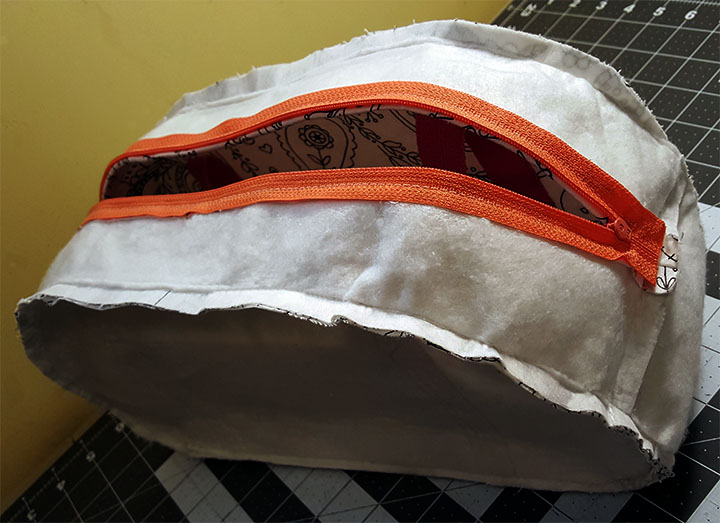
6. Trim the seam allowances close to the stitching and turn the piece so that the Exterior is RIGHT SIDE OUT. Align the bottom pieces and sides so your Interior sits nicely in the Exterior.
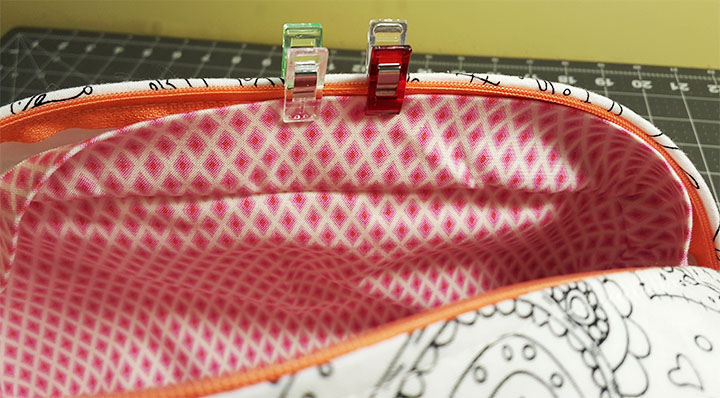
7. Fold the top Zipper Panel back in place. Match the top of the Lining top Panel along the folded in edges along each side of the zipper covering the lines of stitching you made when you attached the zipper to the Exterior, but making sure the lining sits right under the zipper teeth so the zipper can open without catching the lining. Pin in place
*NOTE: If your machine has a free arm now is a great time to use it.
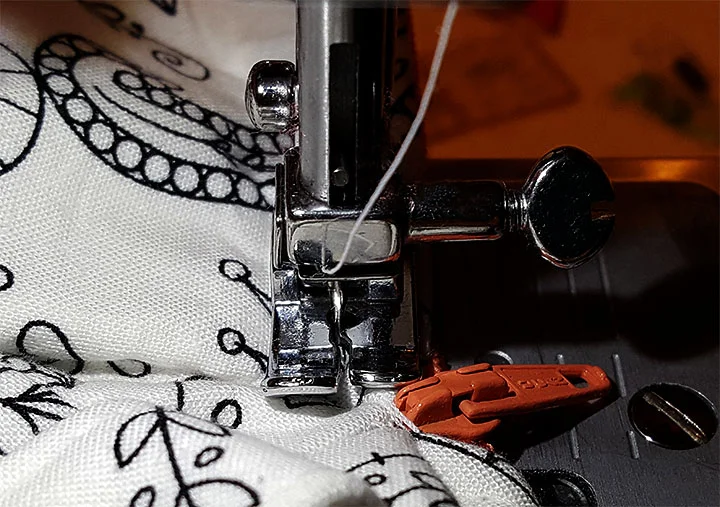
8. With the Exterior face up, topstitch the Interior in place; following along in the existing zipper stitch line. Check to be sure you are catching the lining.

As mentioned above. It is easier to get the pieces under the machine and then pull the piece toward yourself to get it further back before you start stitching. For a nice finish follow the same line of stitching you created when you installed the zipper.
As always practice makes perfect, the more drop in linings you create the more you will enjoy finishing your bags with this technique.
Please be sure to stop here http://www.rlrcreations.com/freepatterns/sunday-my-way-bag and download the free Sunday Bag pattern.
We would love to see your Sunday bag when you finish. Please join our facebook group here: https://www.facebook.com/groups/RLRCreationsSewingPatterns/
Rachel-RLR Creations