
It's time for the second Installment of the RLR Creations “Pattern Spotlight”
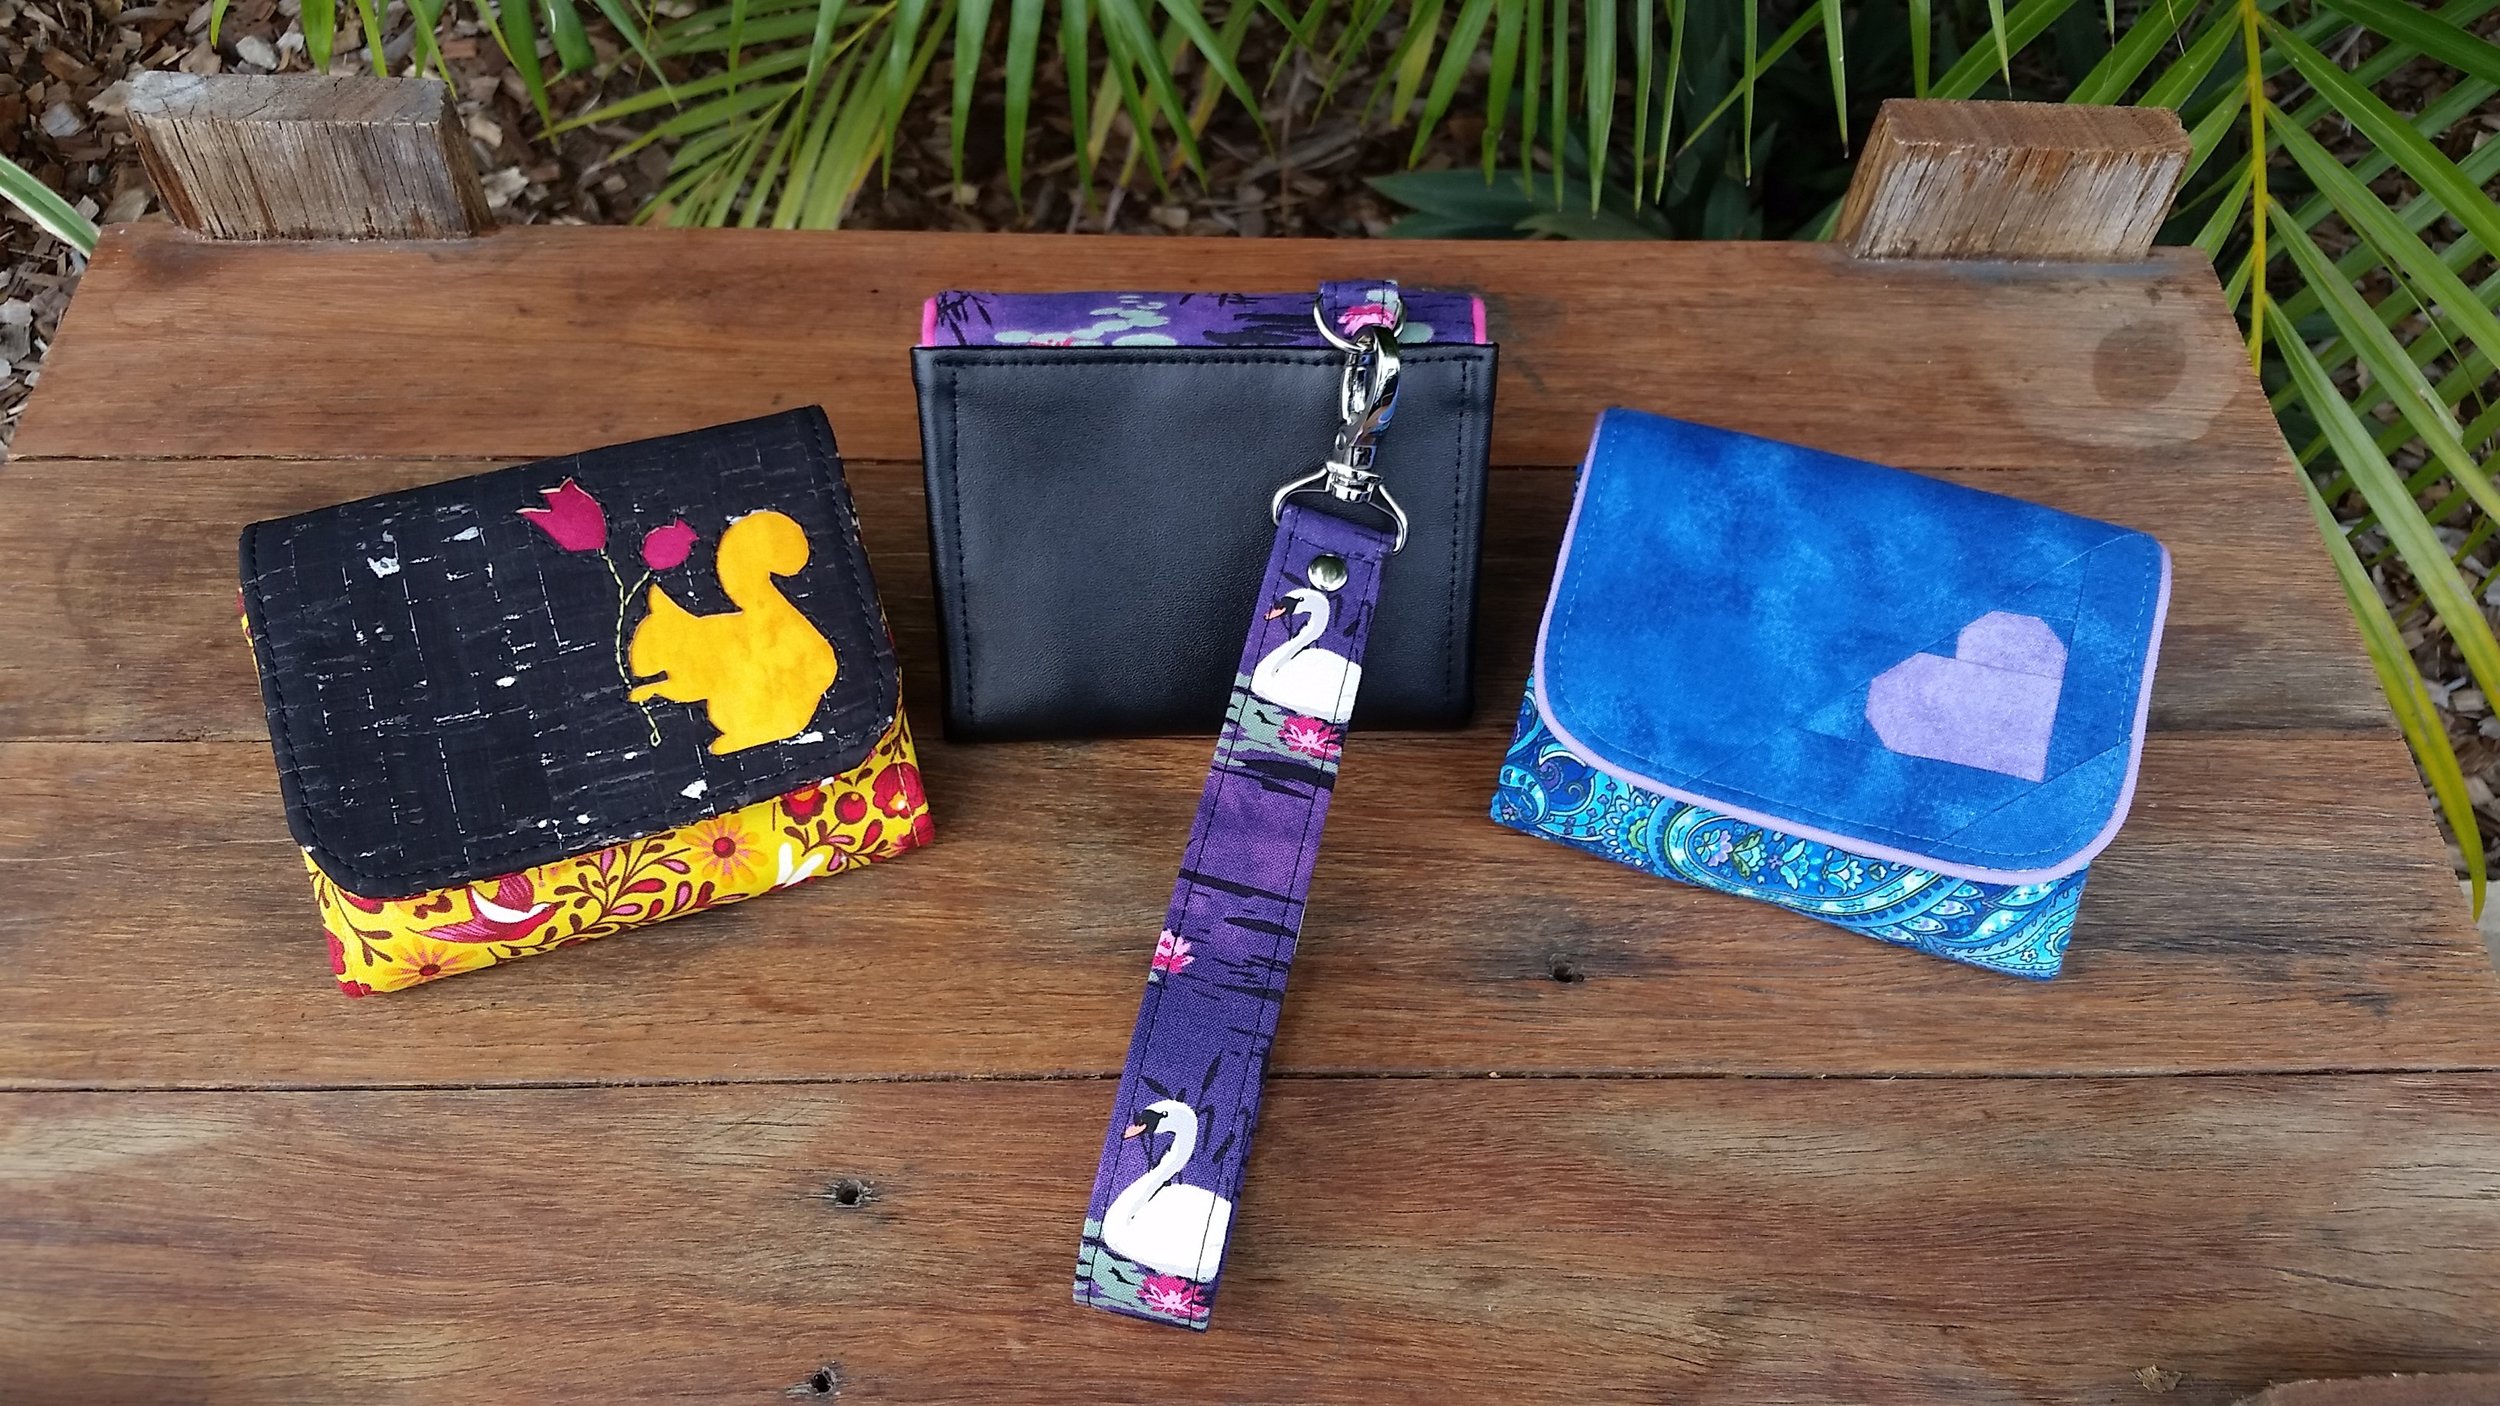
WEEK 2 – This week the extremely talented Tanya will focus on Fussy Cutting and attaching a Wrist Strap...Plus working with Piping on your Limelight Flap!
Fussy Cutting
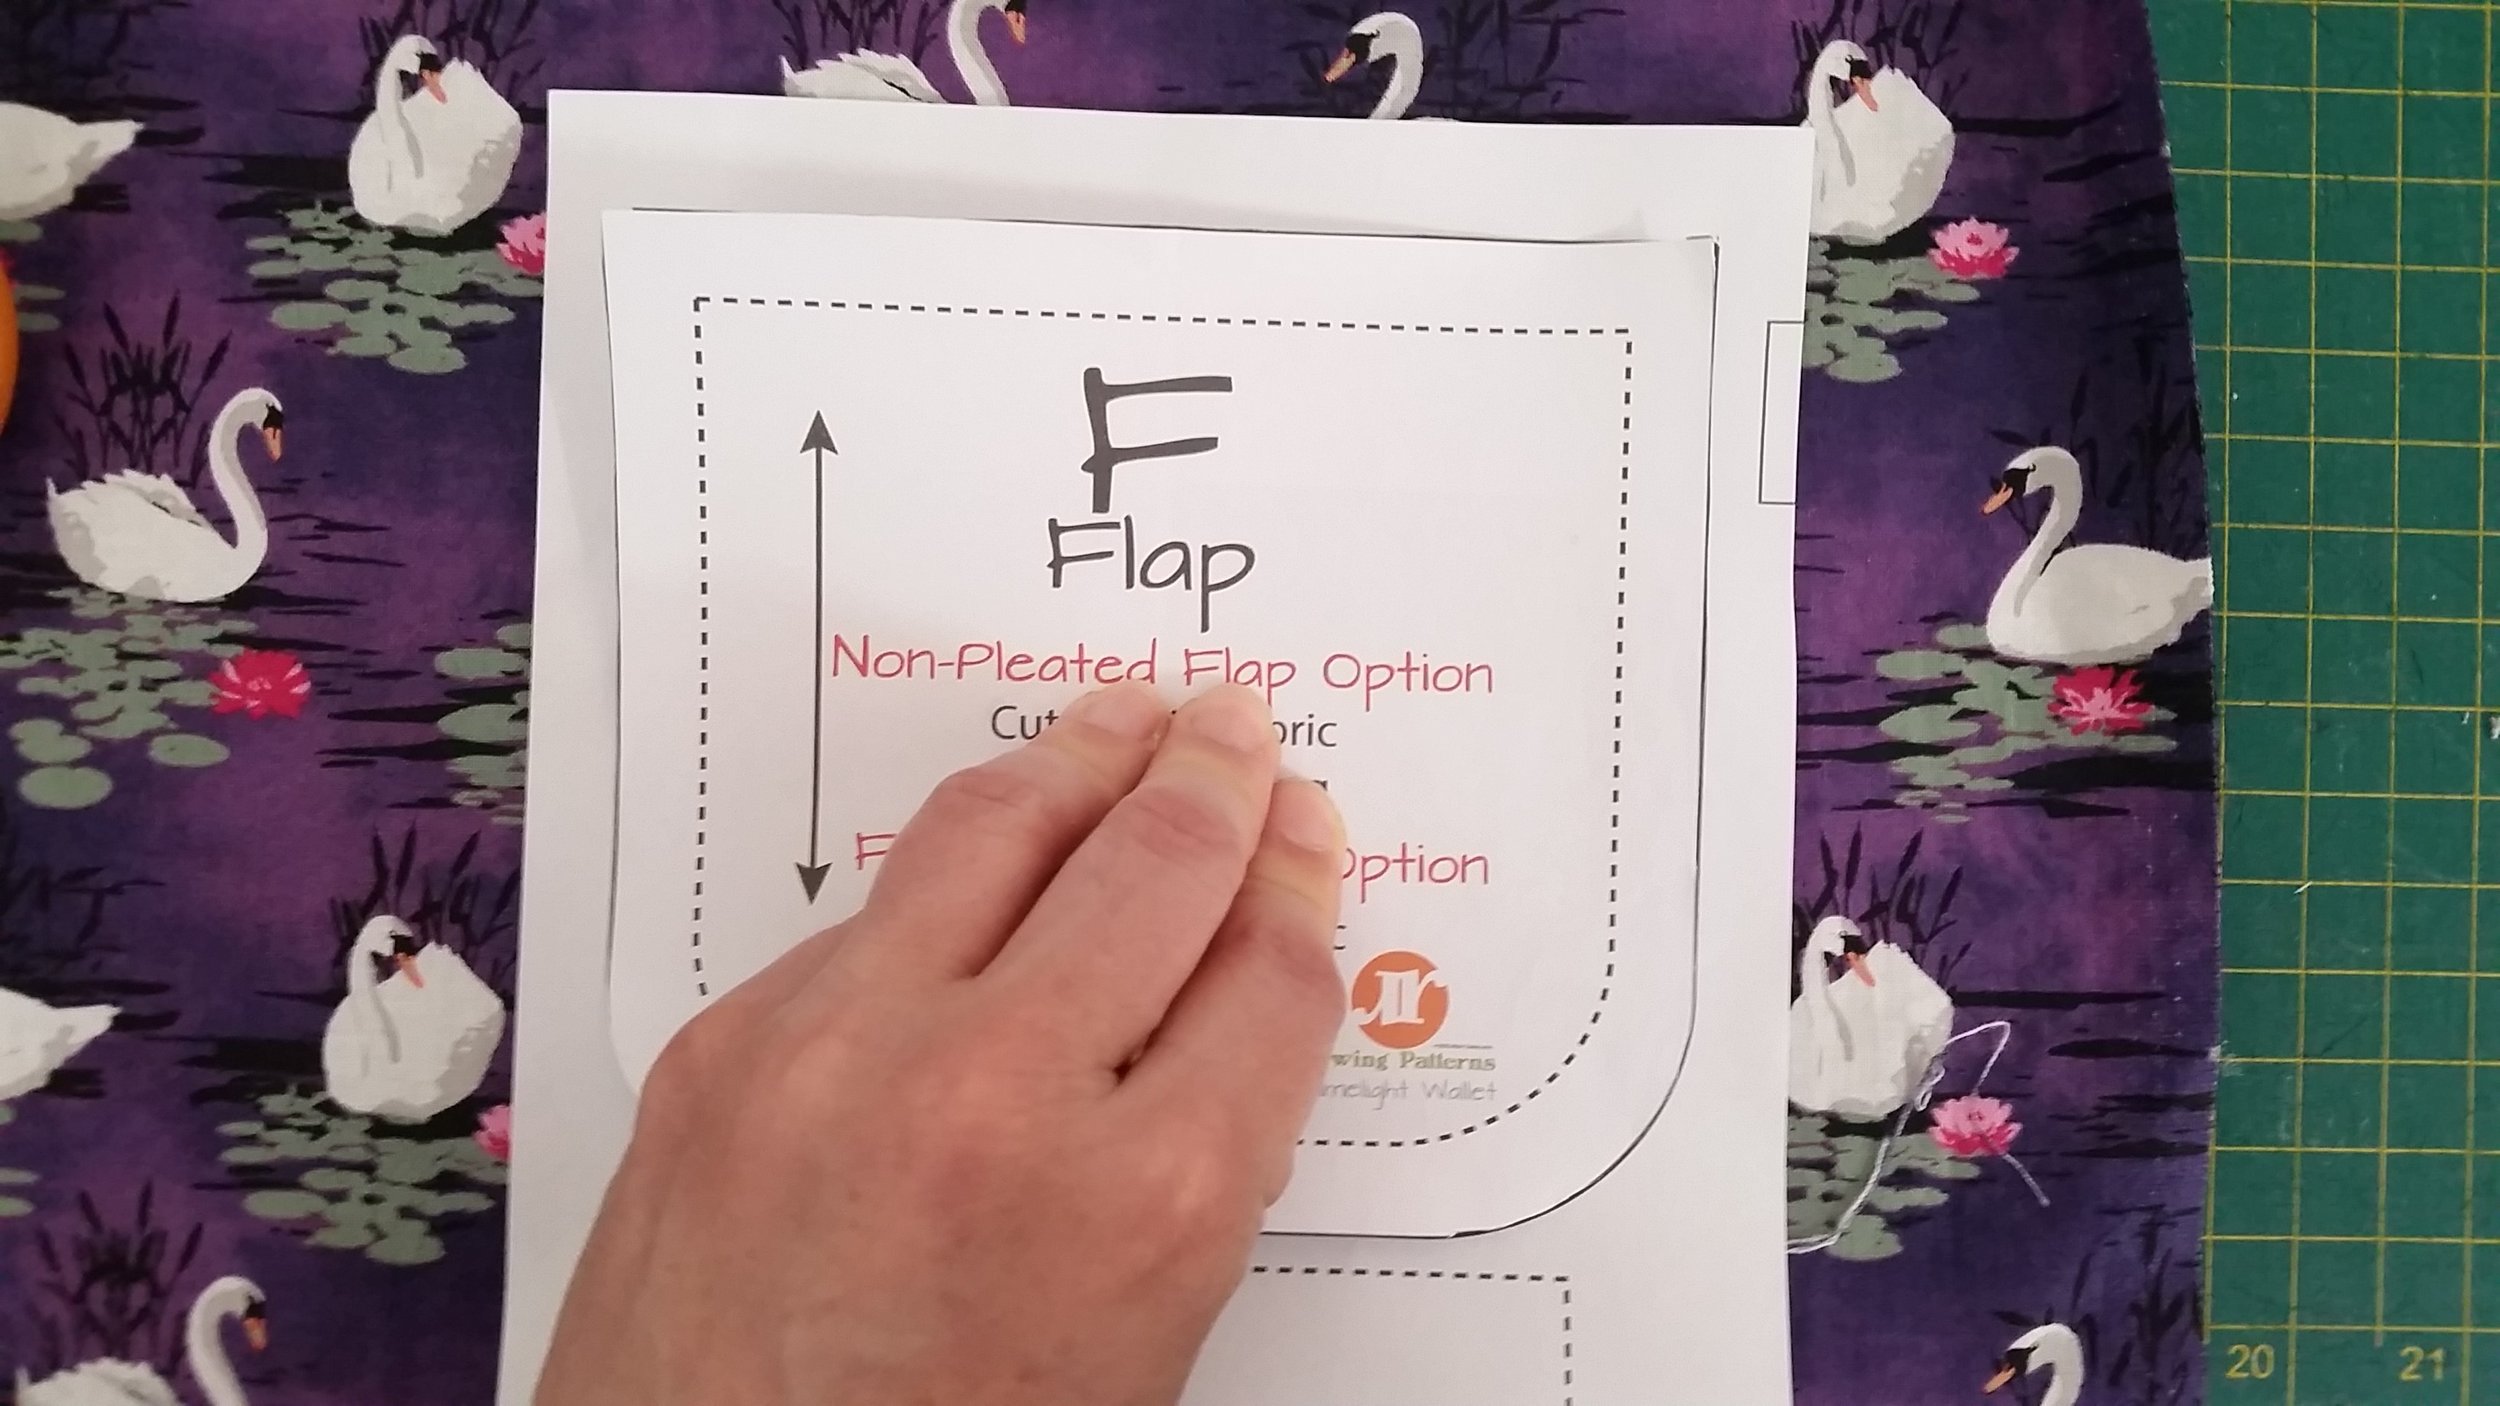
Fussy Cutting is the art of perfect pattern placement. To help you with perfecting your pattern placement on the flap of the Limelight we have created the “Fussy Cut Flap’ guide pattern piece just for you! Just cut out the window and voila! Instantly you can see what will be seen on the front of your wallet. No missing heads anymore!
To download your copy of the Fussy Cutting Guide click HERE

Click on the image to download the printable template
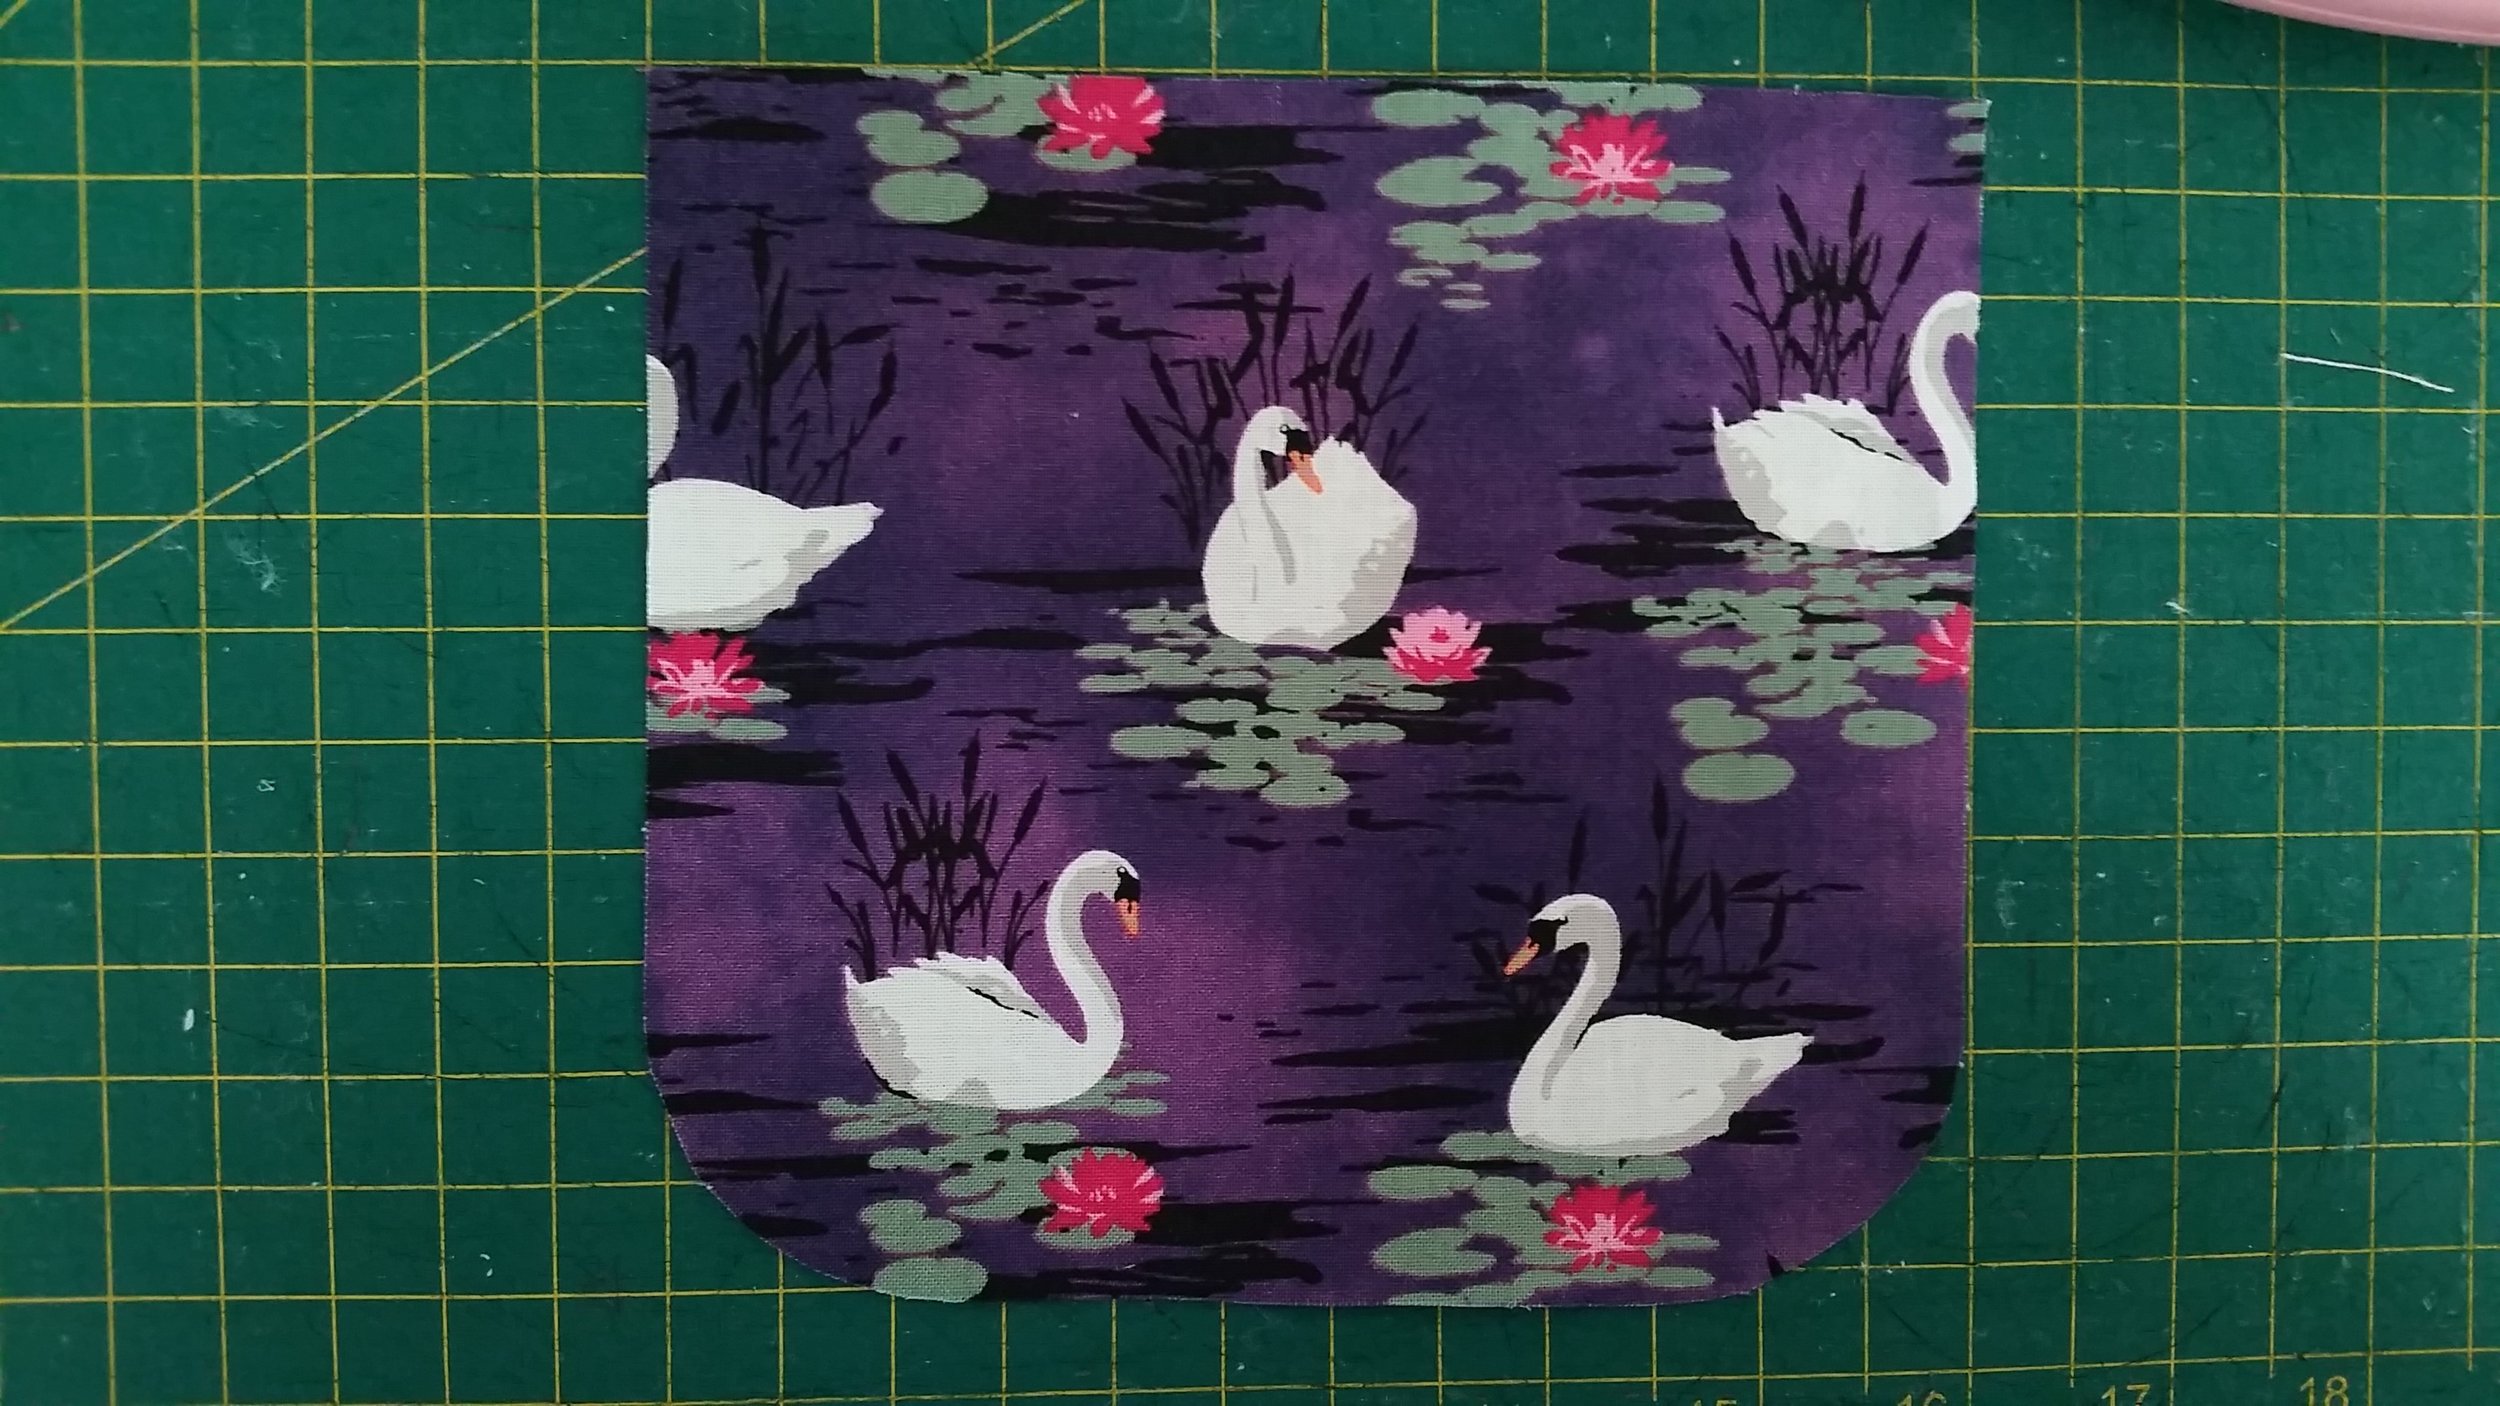
Cut out the hole on the Fussy Cutting Guide and place it over your fabric until you are happy with the section you can see.

Place your Flap Piece F on top of the guide so it lines up with the edges of the Fussy Cutting Guide
Remove the Fussy Cutting guide by holding your fingers in the middle of the Flap Piece F and gently pull the Fussy Cutting Guide Piece up and over.

Cut around Flap Piece F as you would normally.
Bonus Feature- Using Piping!
Piping can be a bit scary at first, often because it can be difficult to get right on your first attempt. Hopefully with some of my hot tips you will be able to enjoy sewing with piping and add it more to your projects!

Choosing your piping colours.
Piping is a great way to highlight of emphasis colours in a fabric pattern. When choosing piping I like to place it around the edge so you can get the full effect.

Hop tip #1
Sewline Glue is a water soluable tacking glue that I love using for pretty much everything! It will hold zips straight, keep your clear vinyl for your ID card pocket steady without pins and is great for holding piping too.
Please note on this picture that my piping is not level with the edge. I have moved it in until the existing stitching of the pre-made piping is approximately 5/8” in from the edge (this is the seam allowance plus the width of the piping, so at the end the overall width of the flap including the piped edge remains at approx 5” as per the original.

After glue basting the piping in place the next step is to sew baste it. When sew basting I like to sew either on the existing stitches of the piping or slightly to the cord side of the stitches.

I use the sew basting to create a line, so whenI sew the interior and exterior flap pieces together I can sew slighting to the inside of this line to keep the piping tight and reduce the need to go back and re-sew it multiple times.

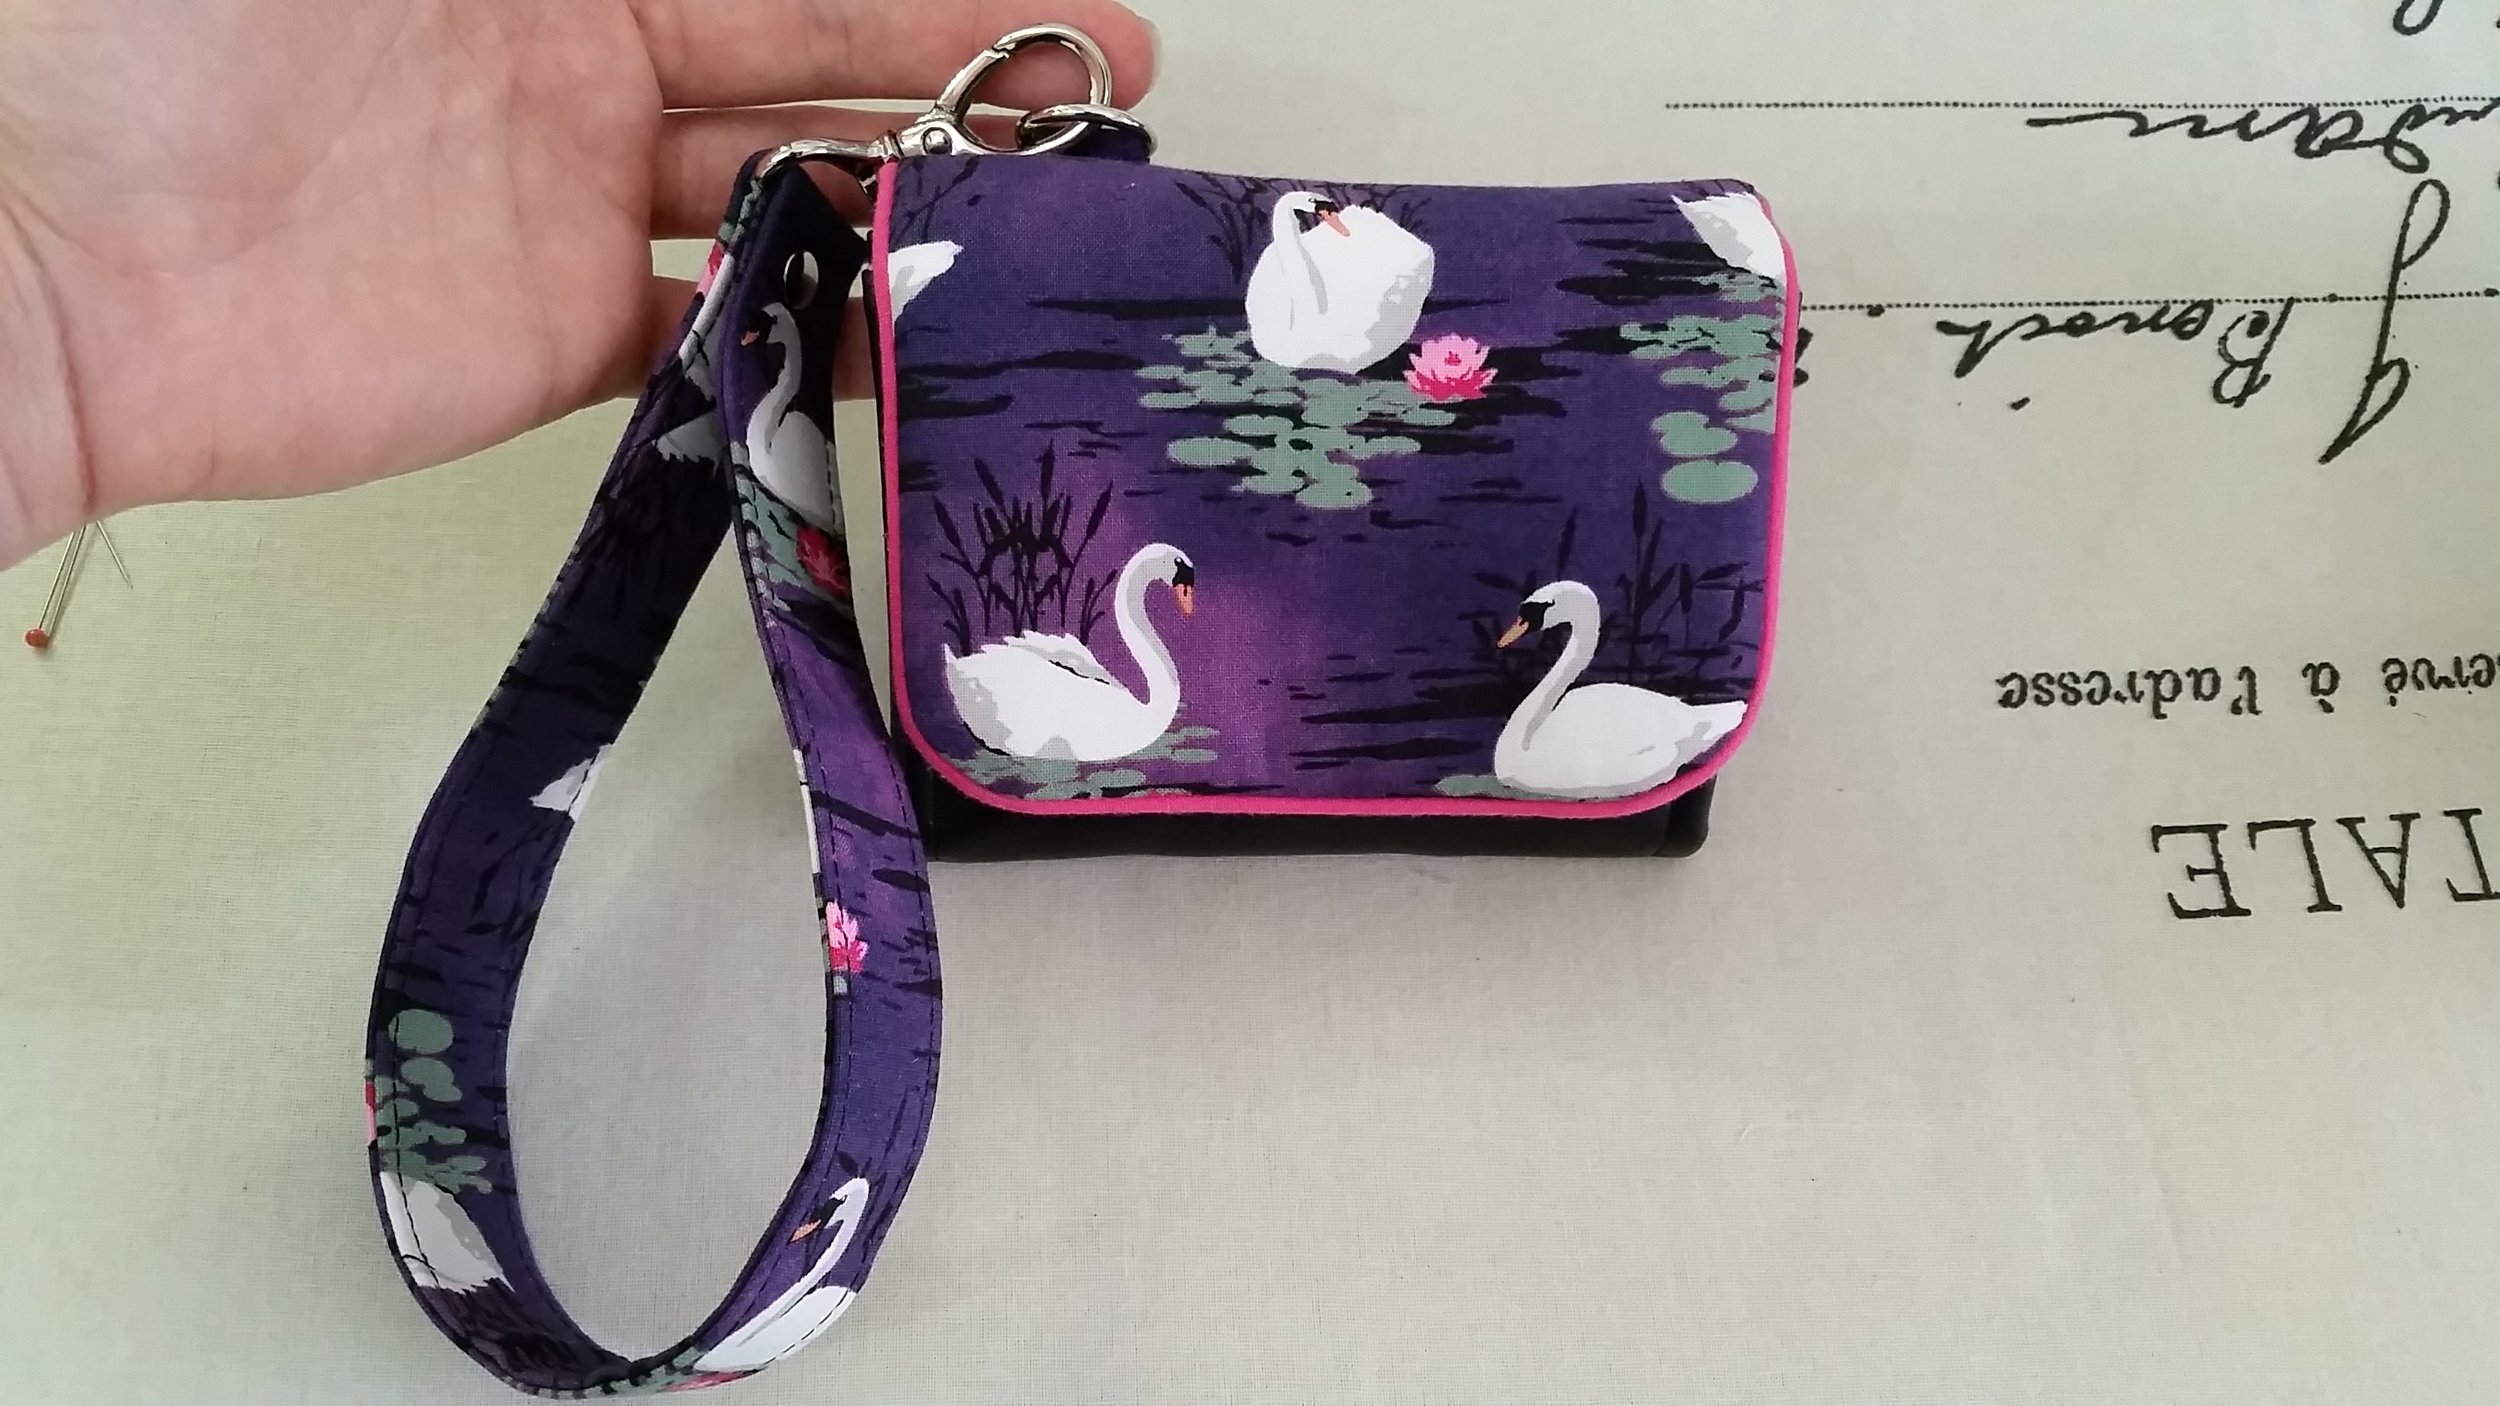
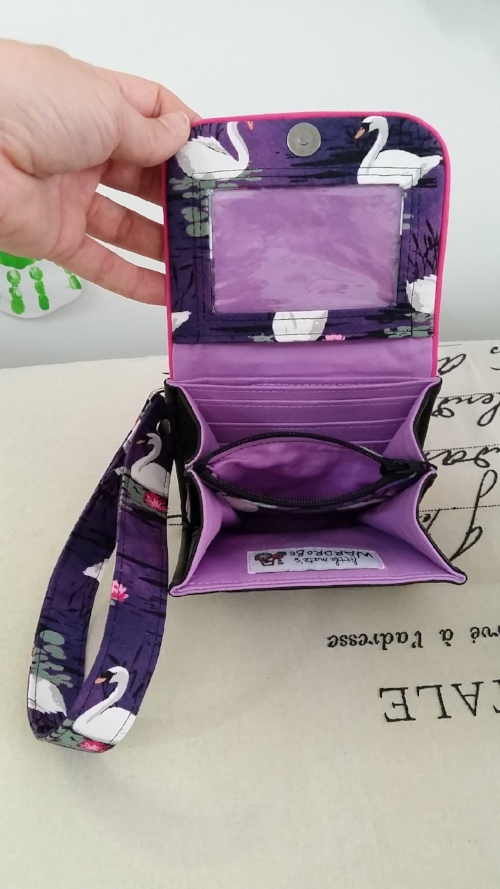
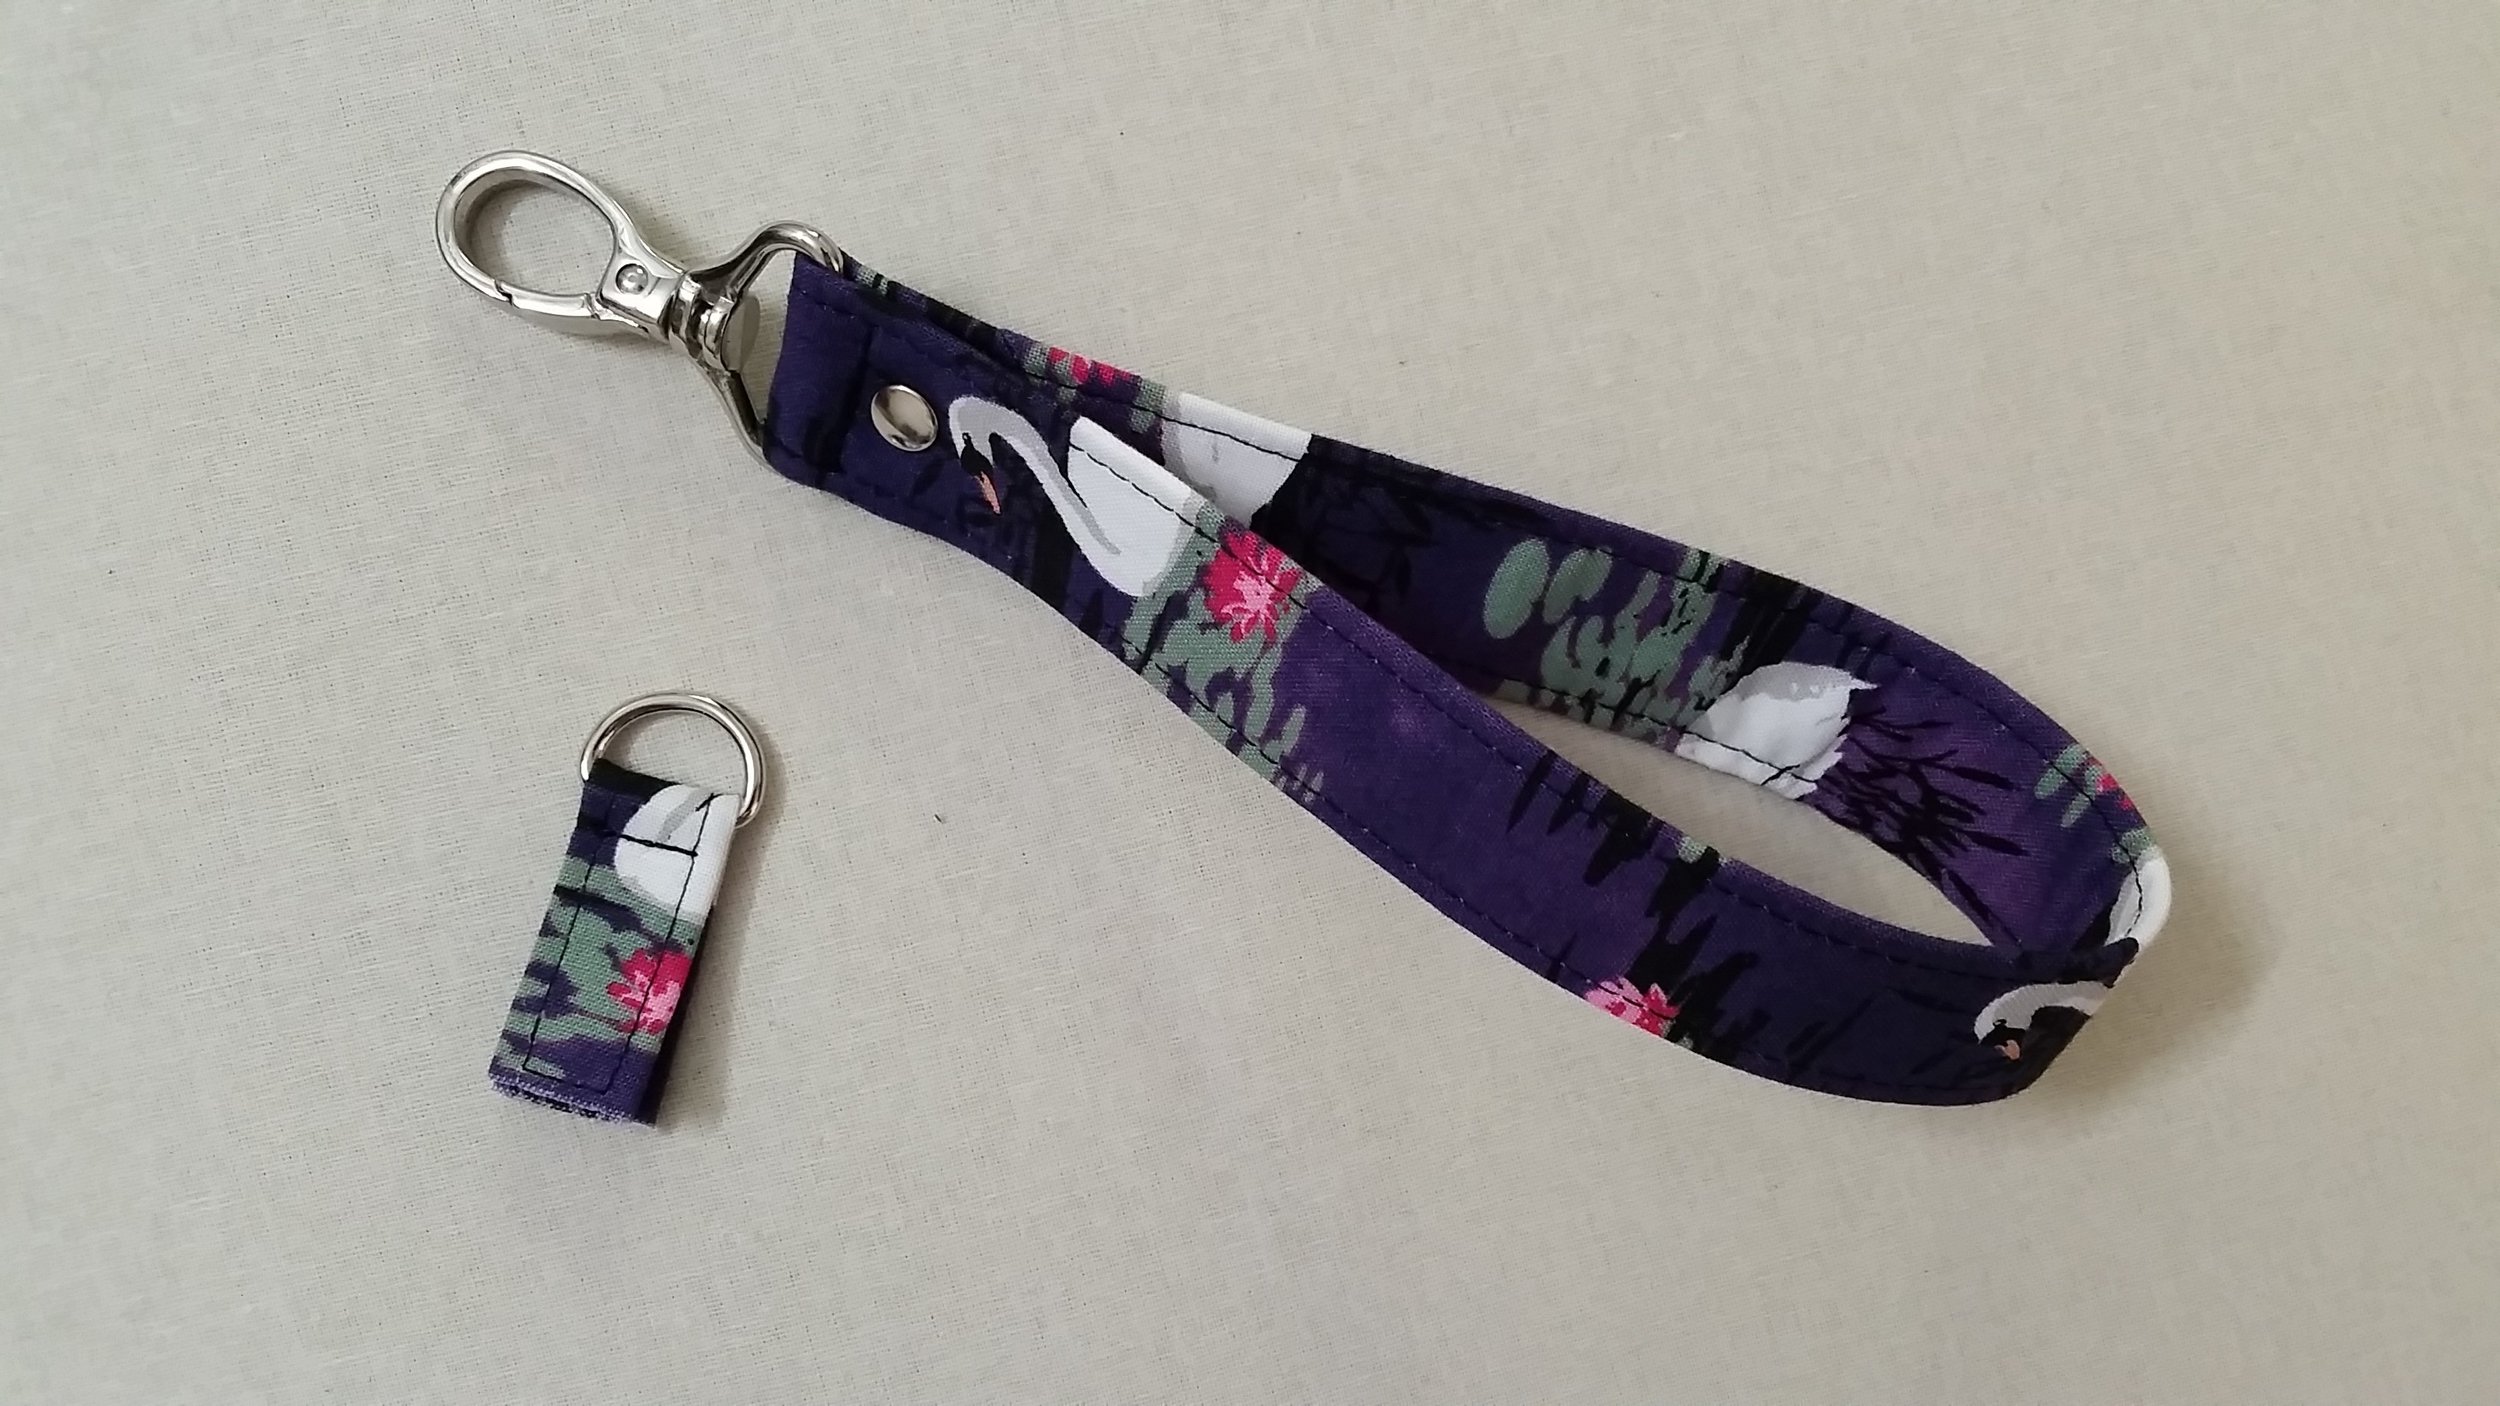
Adding a Wrist Strap
Many have been asking for wrist straps to make the Limelight Wallet hands free, especially when your cute dress or favourite shorts don’t have a pocket! Adding the wrist strap is really easy and looks great, and as a bonus you can add your keys to the wrist strap like a matching key fob!
To start with you will need to choose your hardware:
1 - 1” Swivel Snap Hook
1 - 5/8” (15mm) D-Ring – Please note if you want to use a ½” ring that is also fine just remember to adjust the width of your Connector tab accordingly (so ½” D-Ring would need 1 x Main Fabric 3” x 2”, 1 x Interfacing 3” x 1”)
Then you will need to cut the following EXTRA pieces:
Connector Tab – 1- Main Fabric 3” x 2 ½”
Connector Tab Interfacing – 1 - Interfacing (SF101) 3” x 1 ¼”
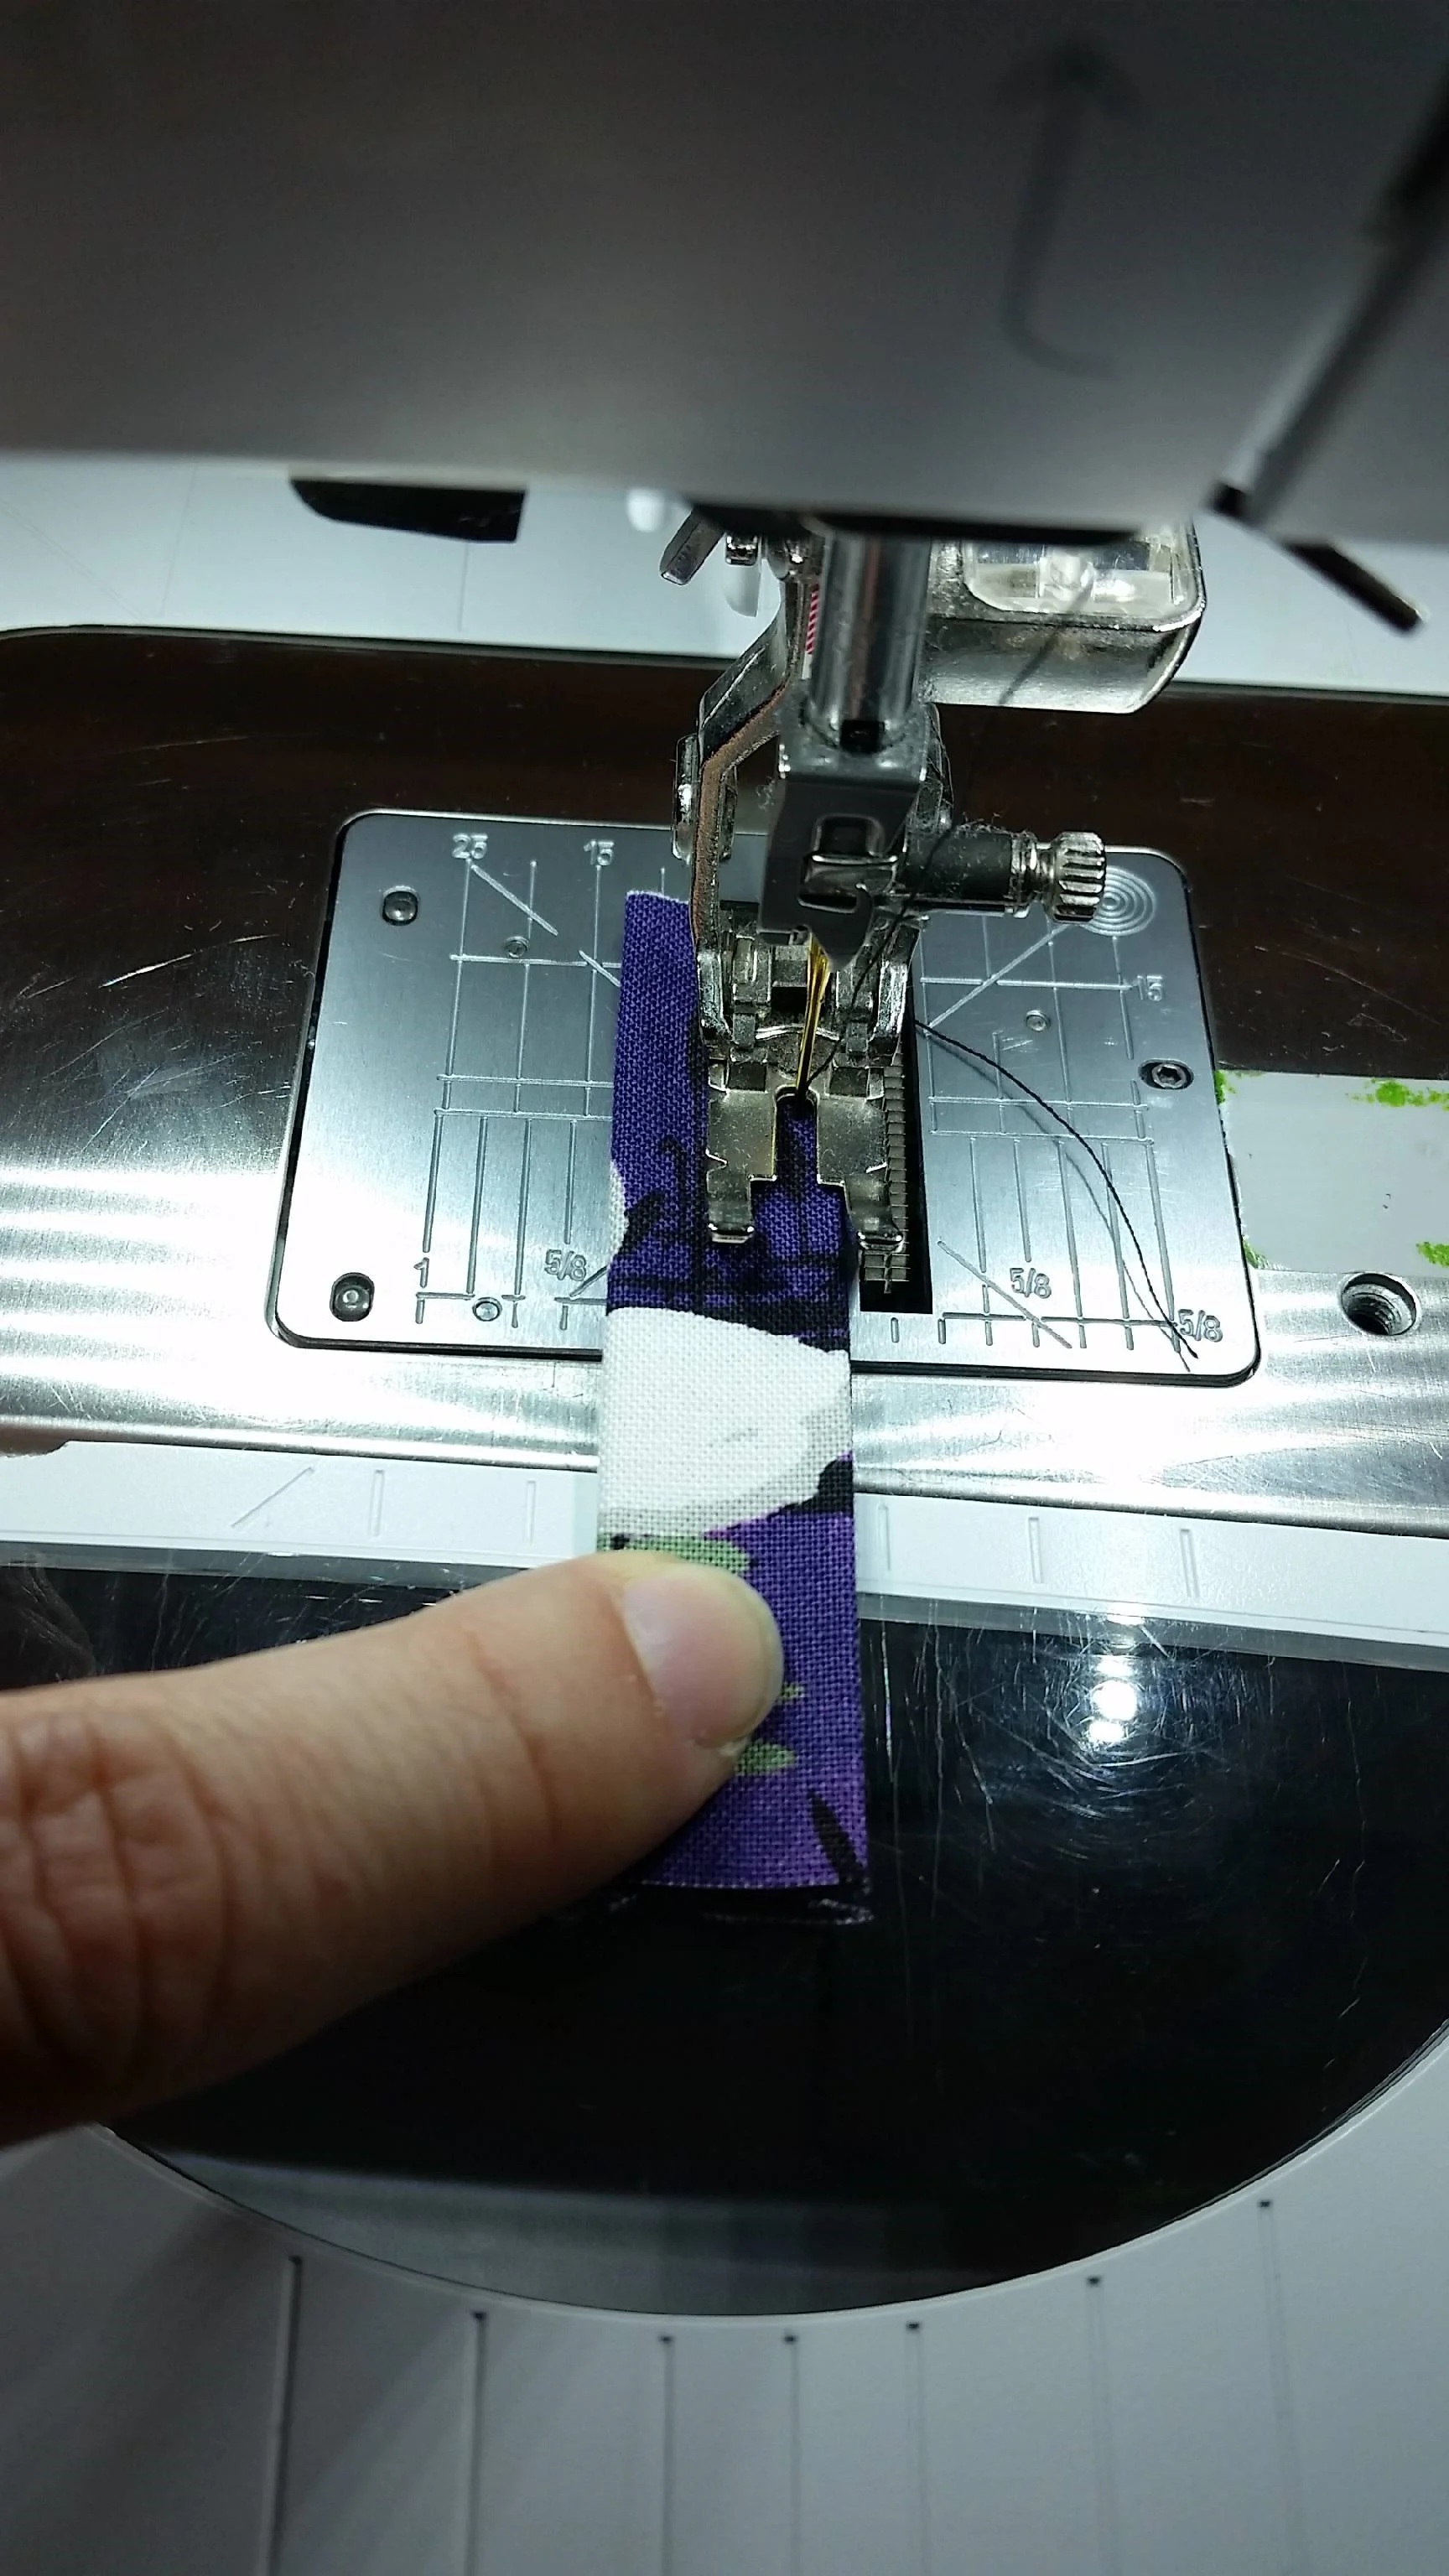
Wrist Strap – Cut 1 x Main Fabric and 1- Interfacing (SF101) 17.5” x 4”


Add the interfacing to the main pieces, making sure that the interfacing on the connector tab is centred width-wise on the main piece
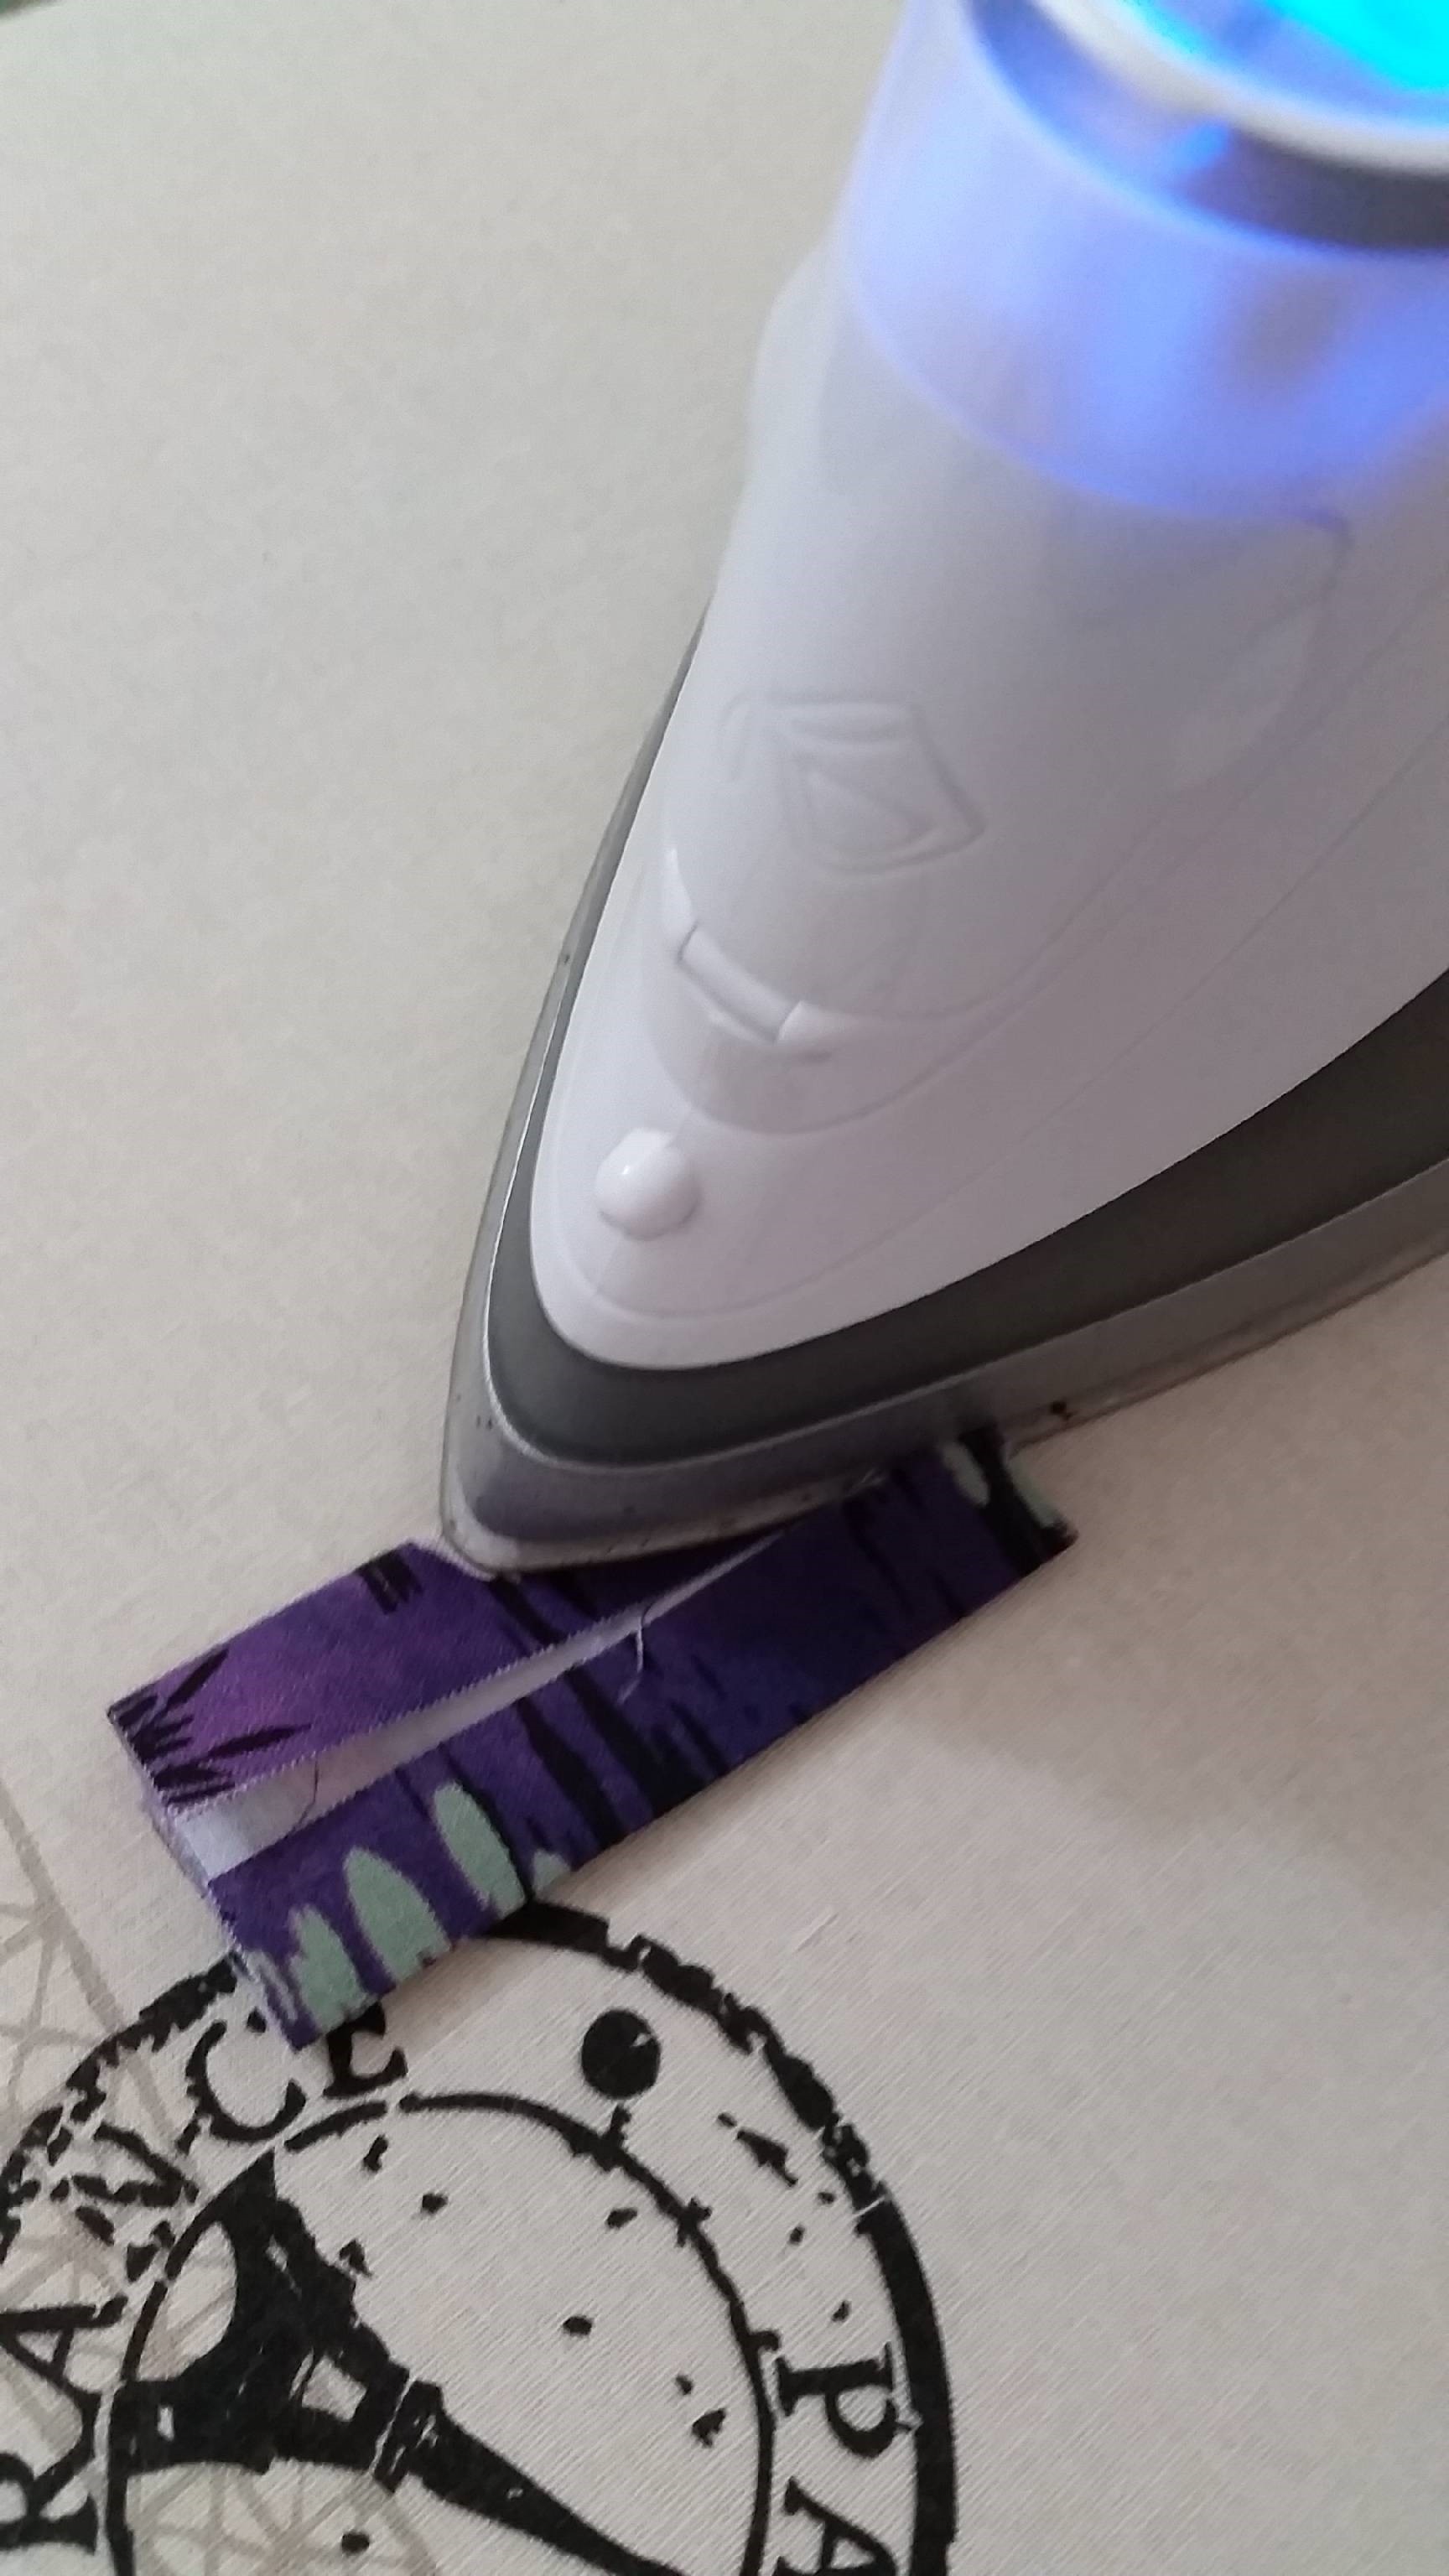
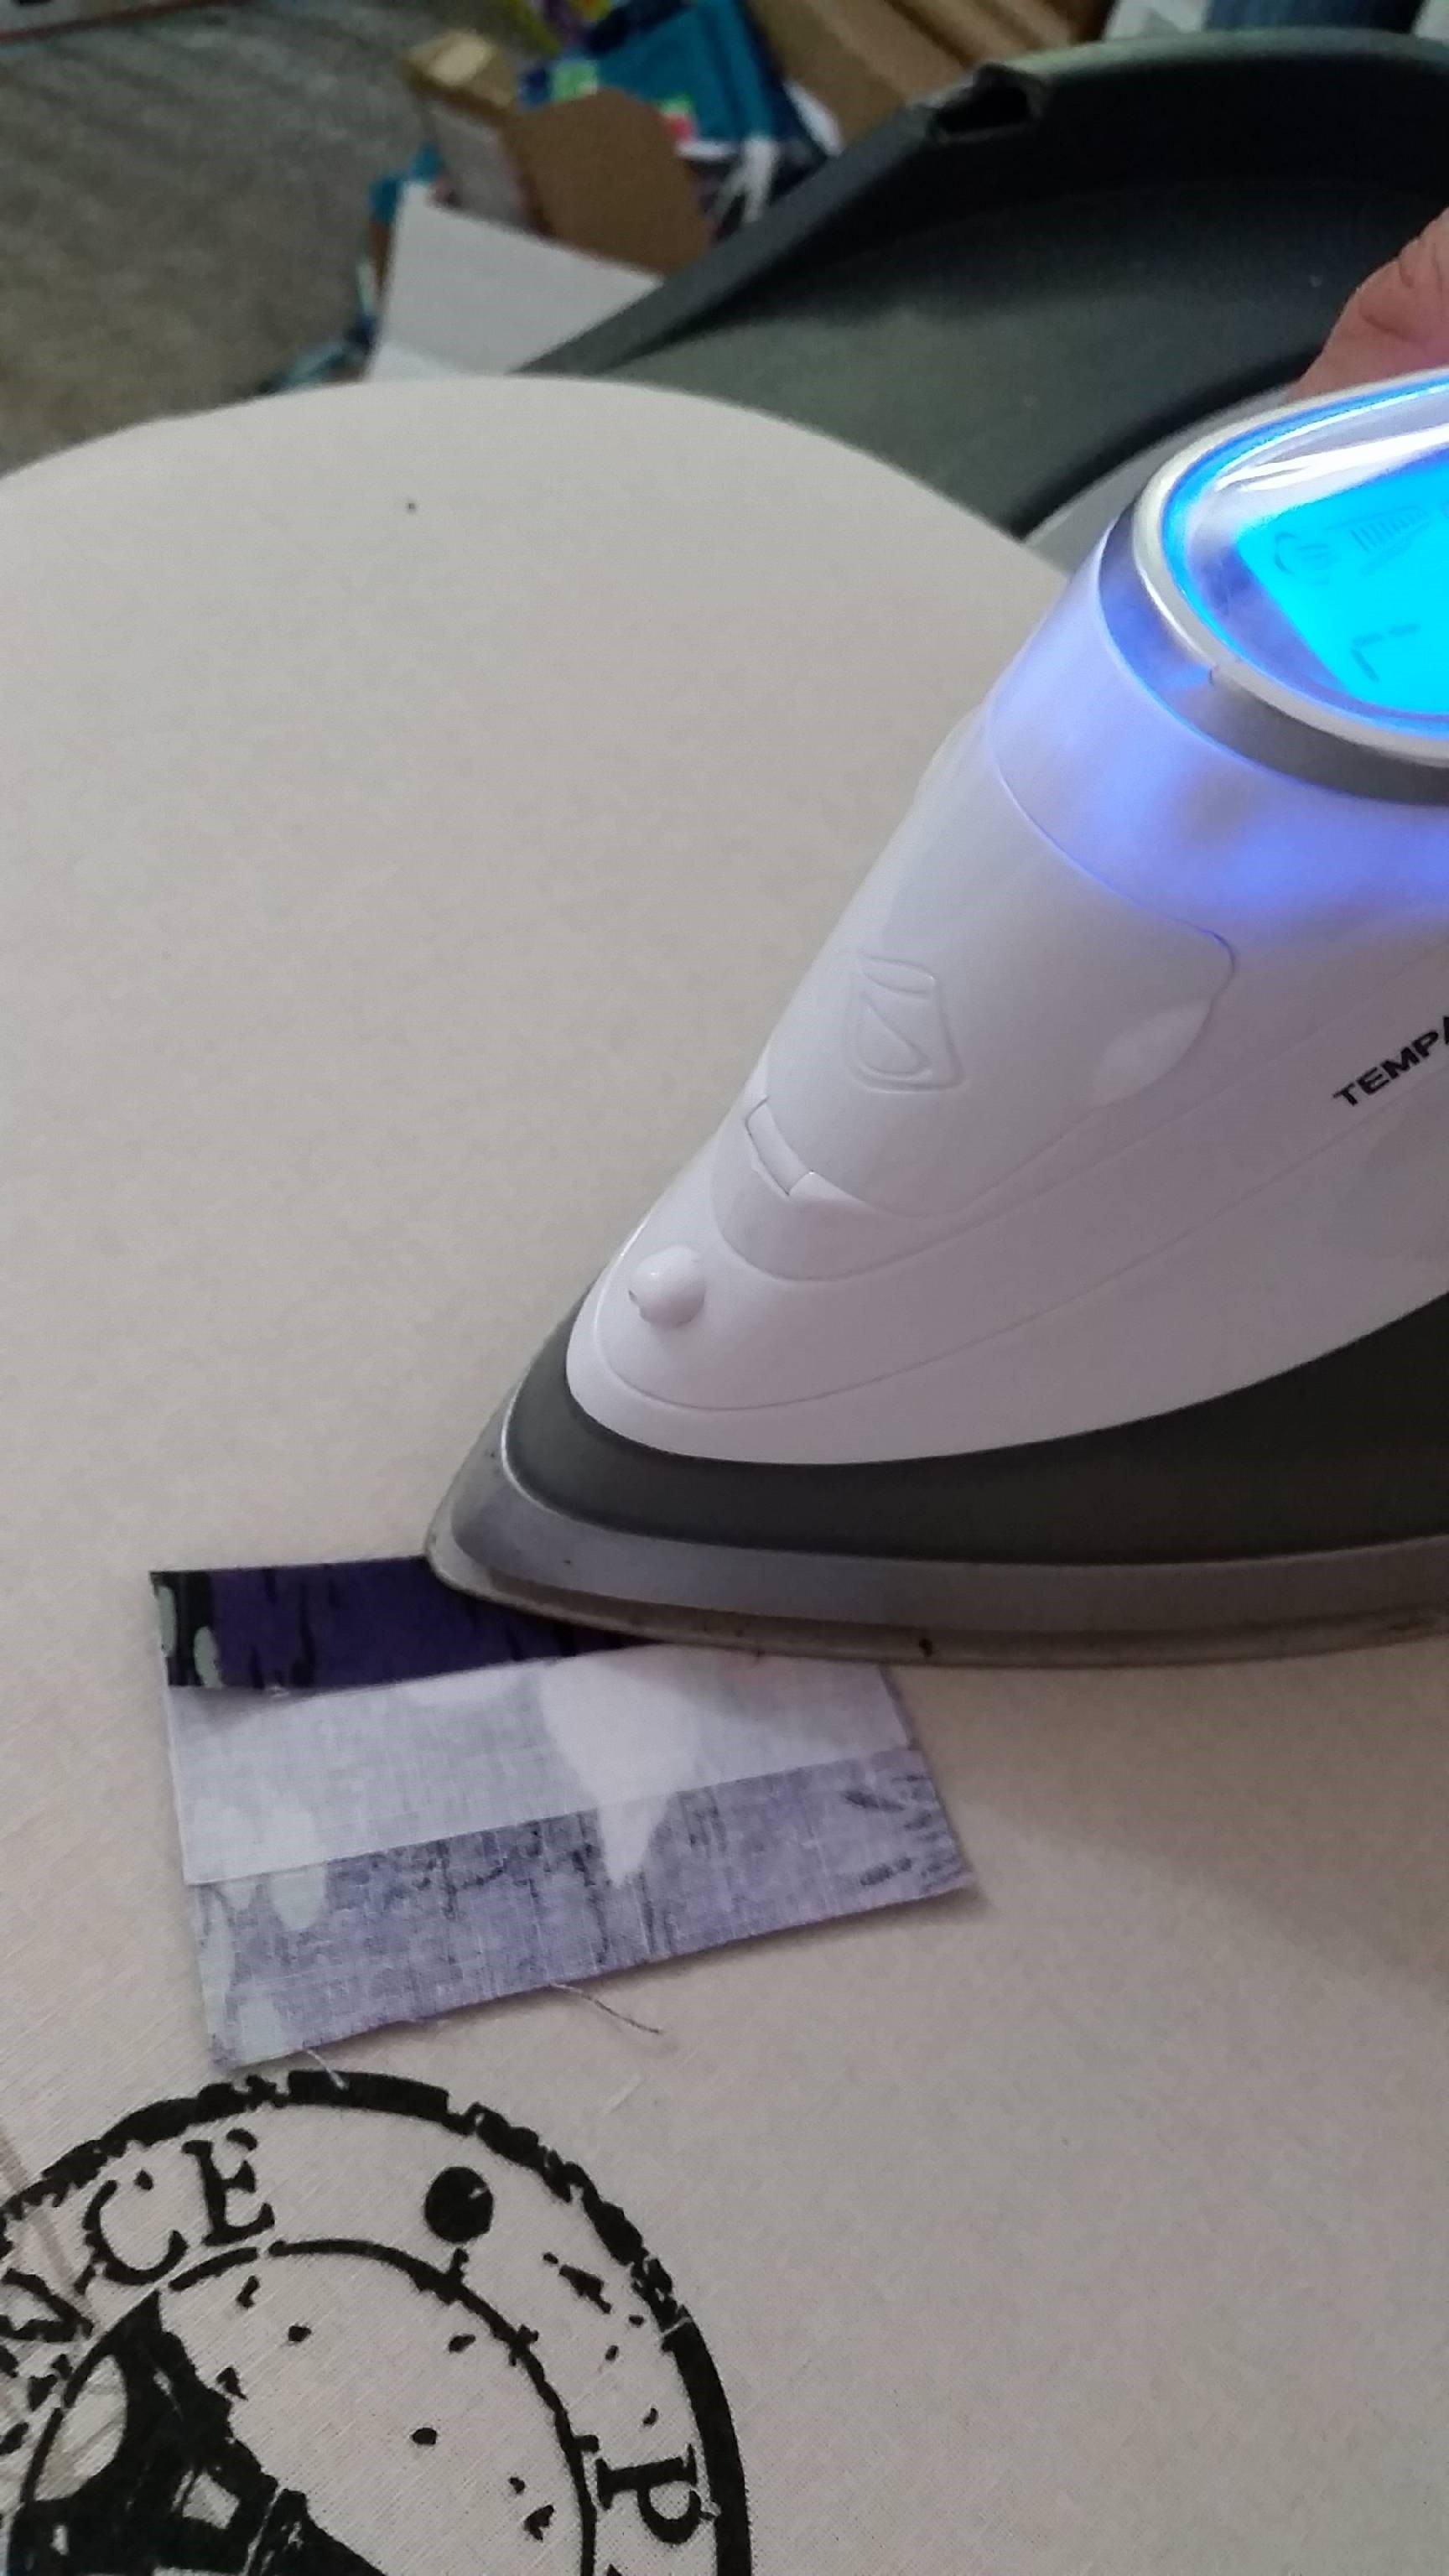
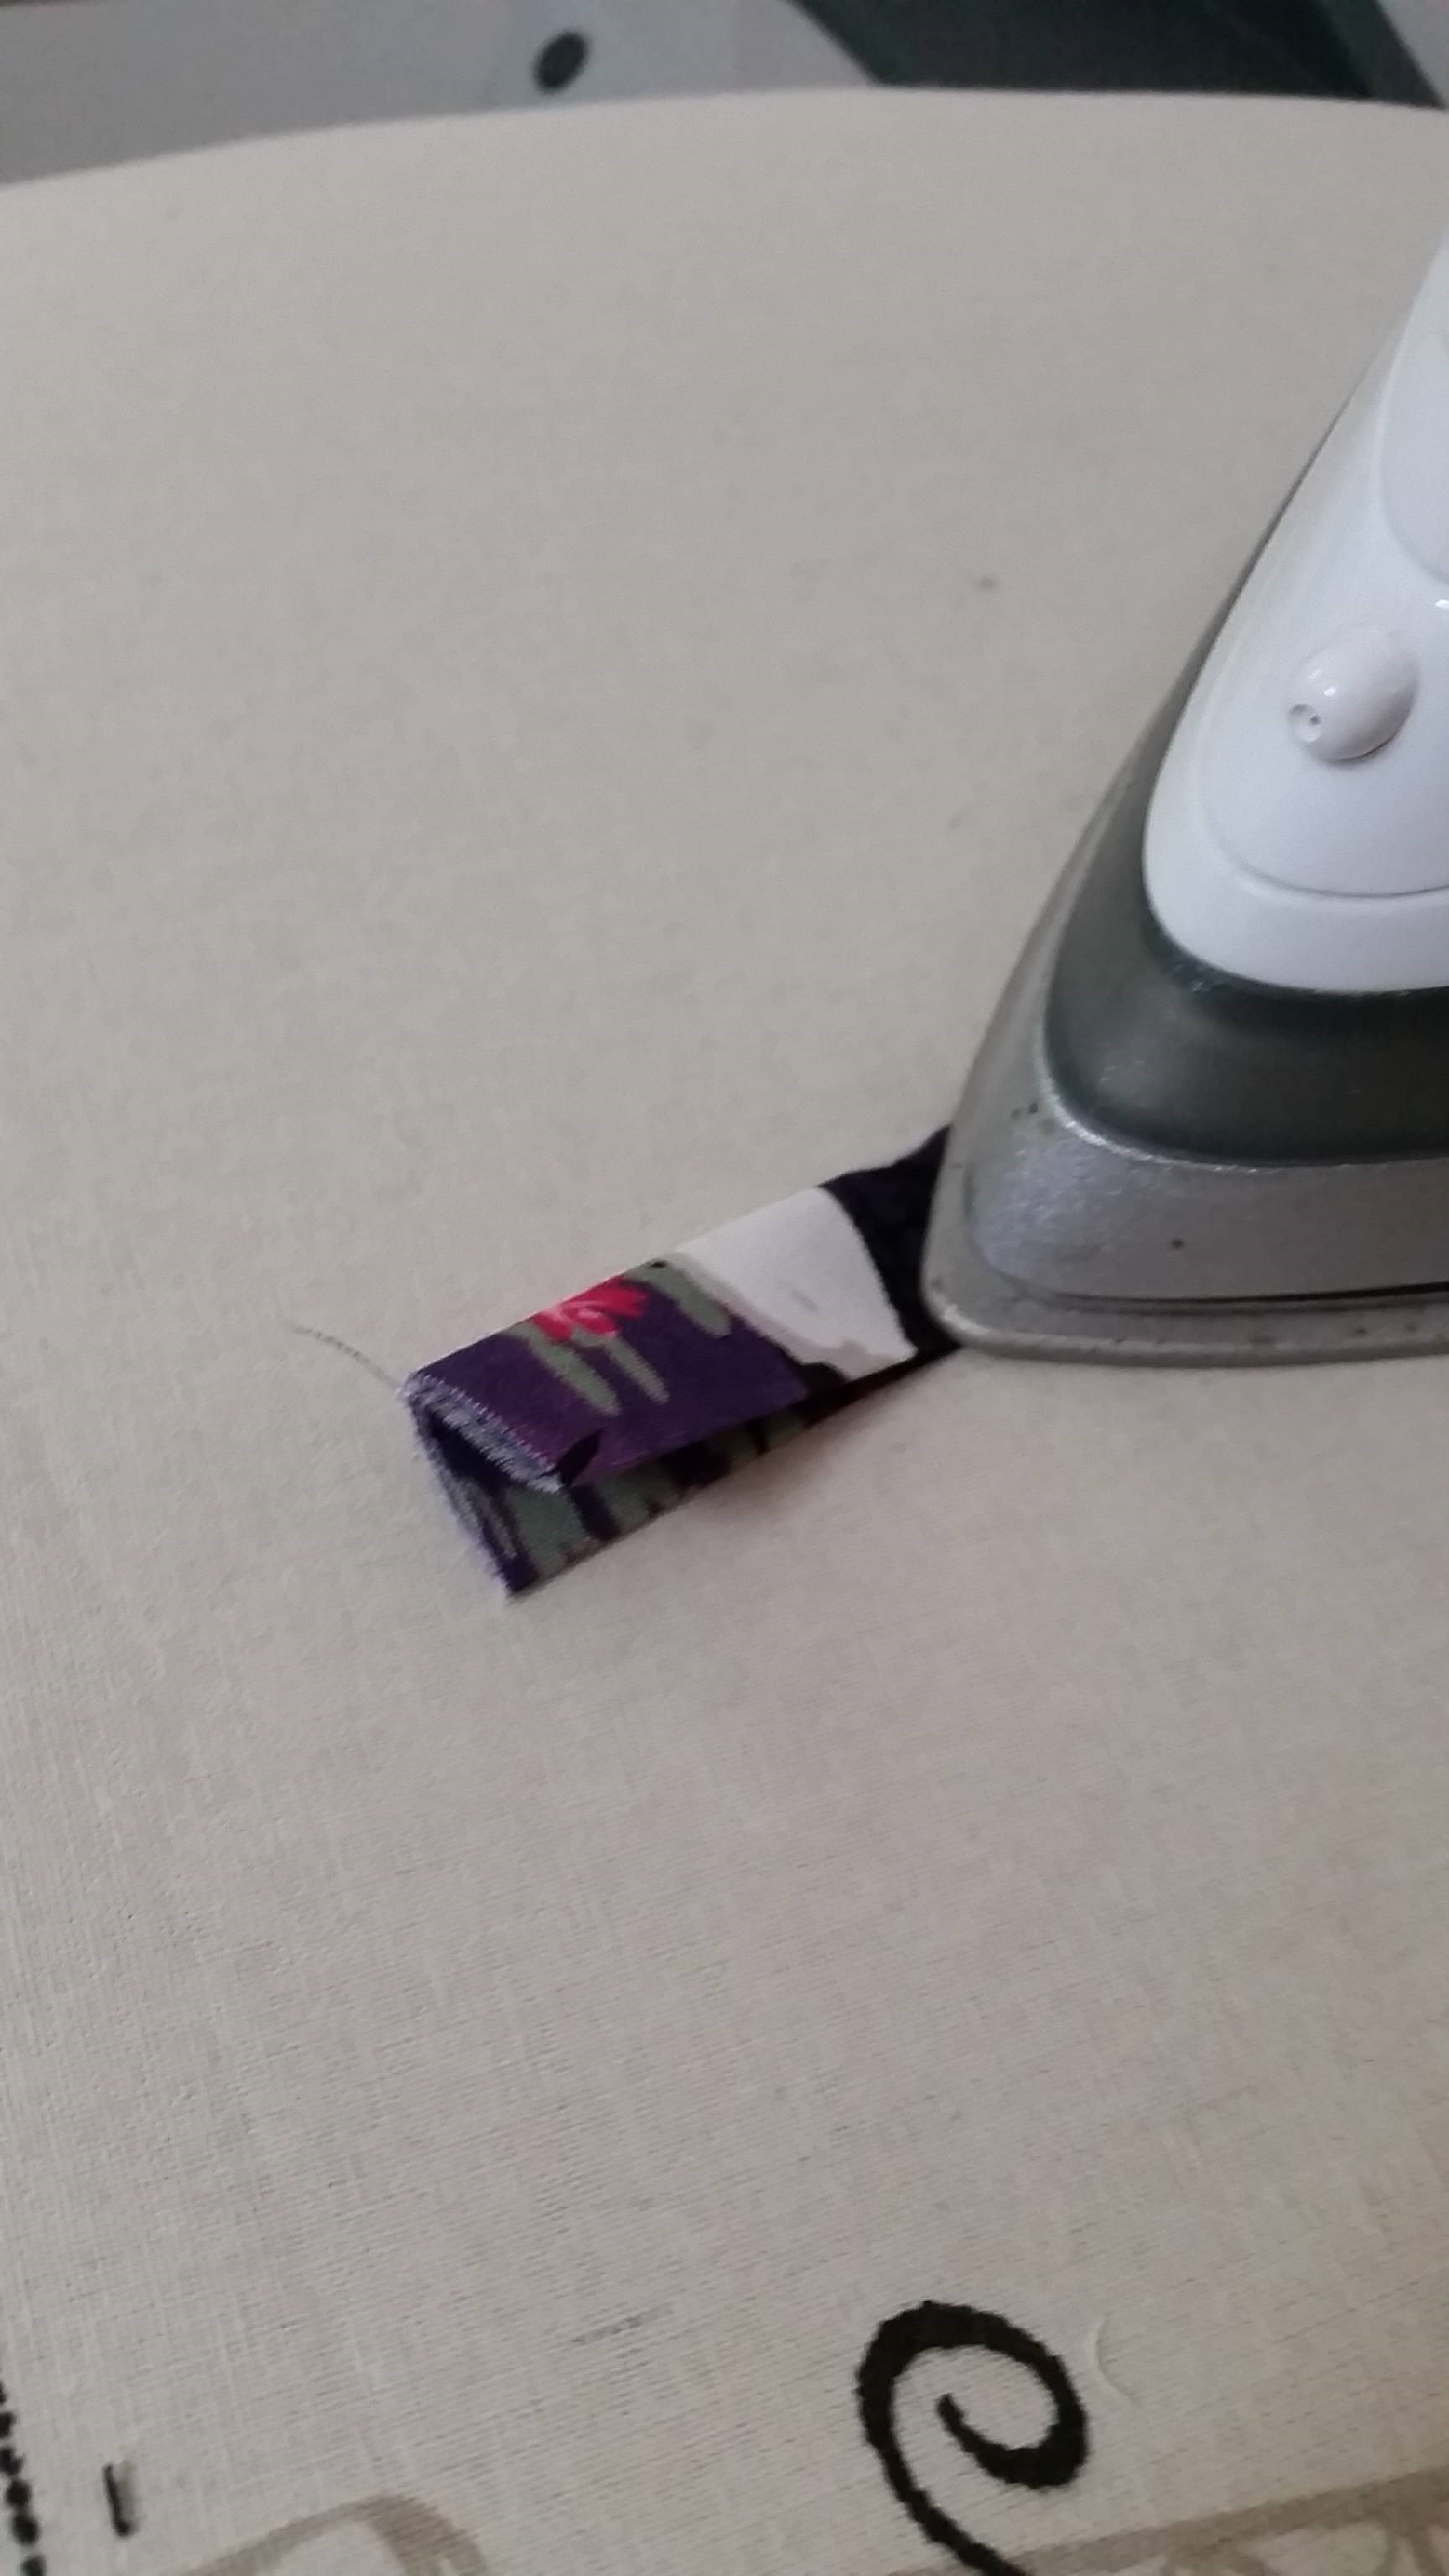
Fold both the Wrist Strap piece and the Connector piece in half lengthwise (so parallel to the longest edge). Press to get a nice crisp fold then open up again. Fold in the long raw edges so they meet on that nice crisp fold line. Press, then refold your original fold to hide the raw edges.
Connector Piece:
Wrist Strap


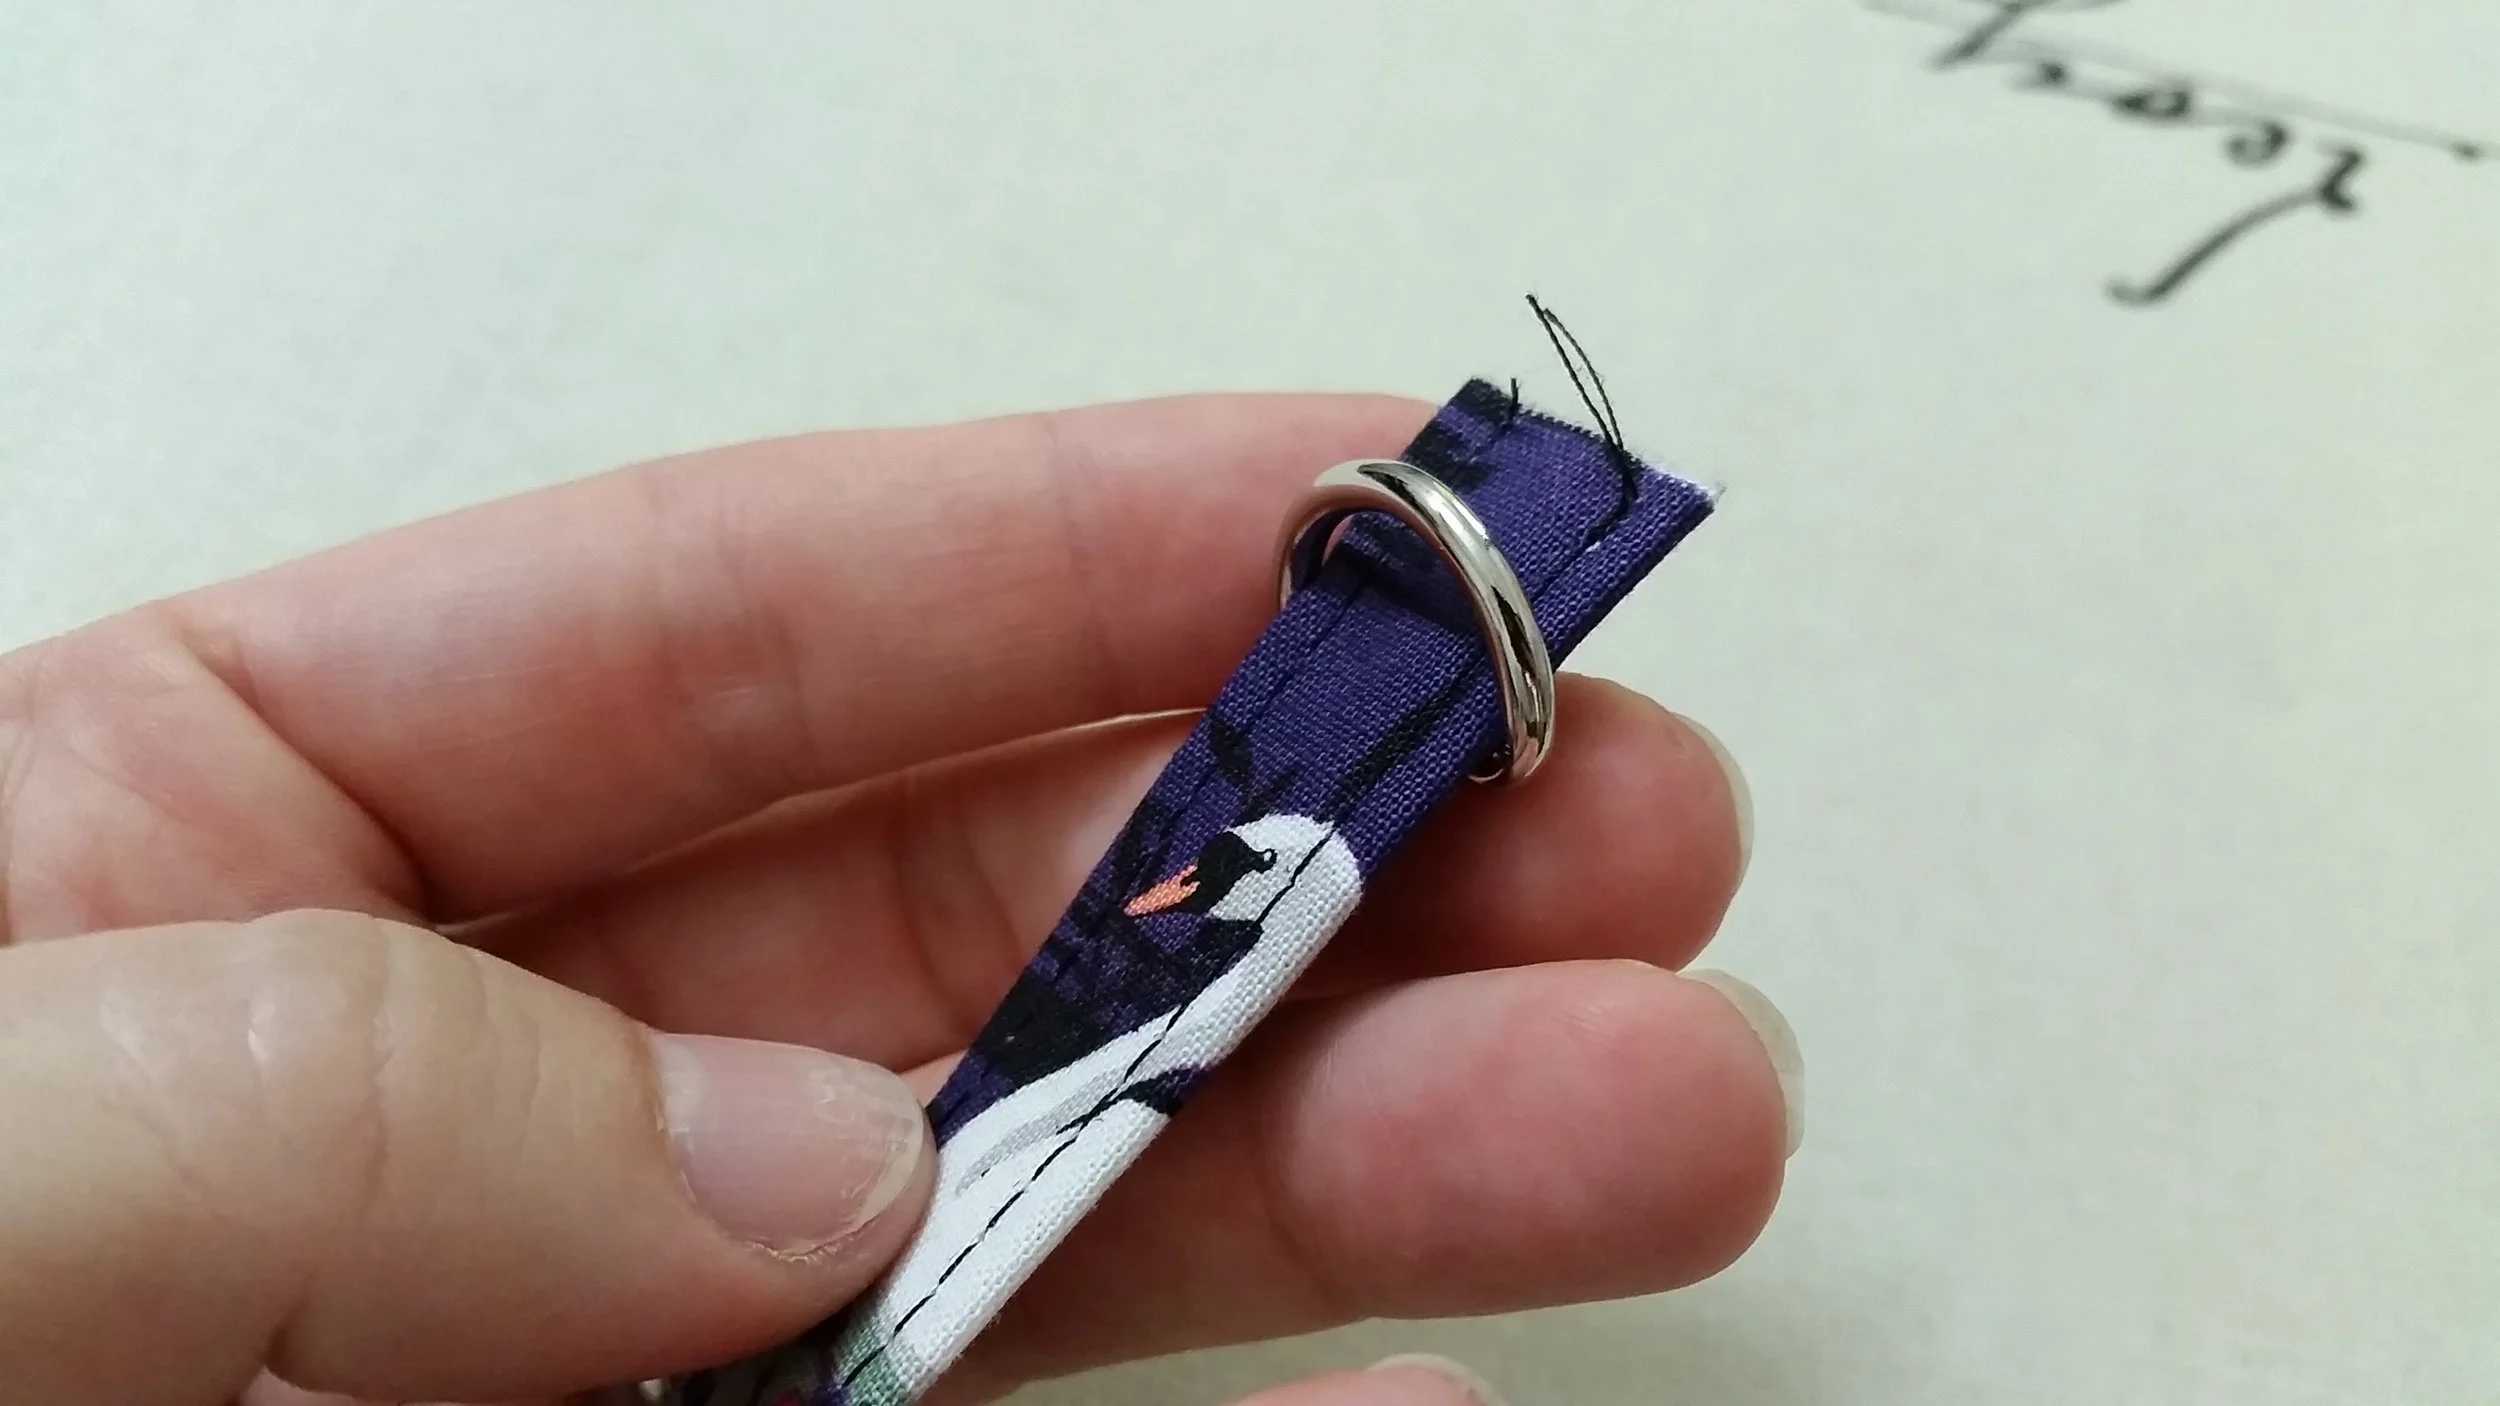
Completing the Connector Piece-
Topstitch the long sides of the Connector piece approximately 1/8” from the edge. Place the connector piece through the D-Ring and fold in half to secure the D-Ring. Sew as close to the D-Ring as you can to stop it from moving around.

Completing the Wrist Strap Piece-
Place the Wrist Strap piece through the Swivel Hook (this style is my favourite and is available in Australia through Handbag Hardware Australia) and fold in half to match the short ends. Now this is where it gets tricky so I’ve included lots of pictures!
Step 1:
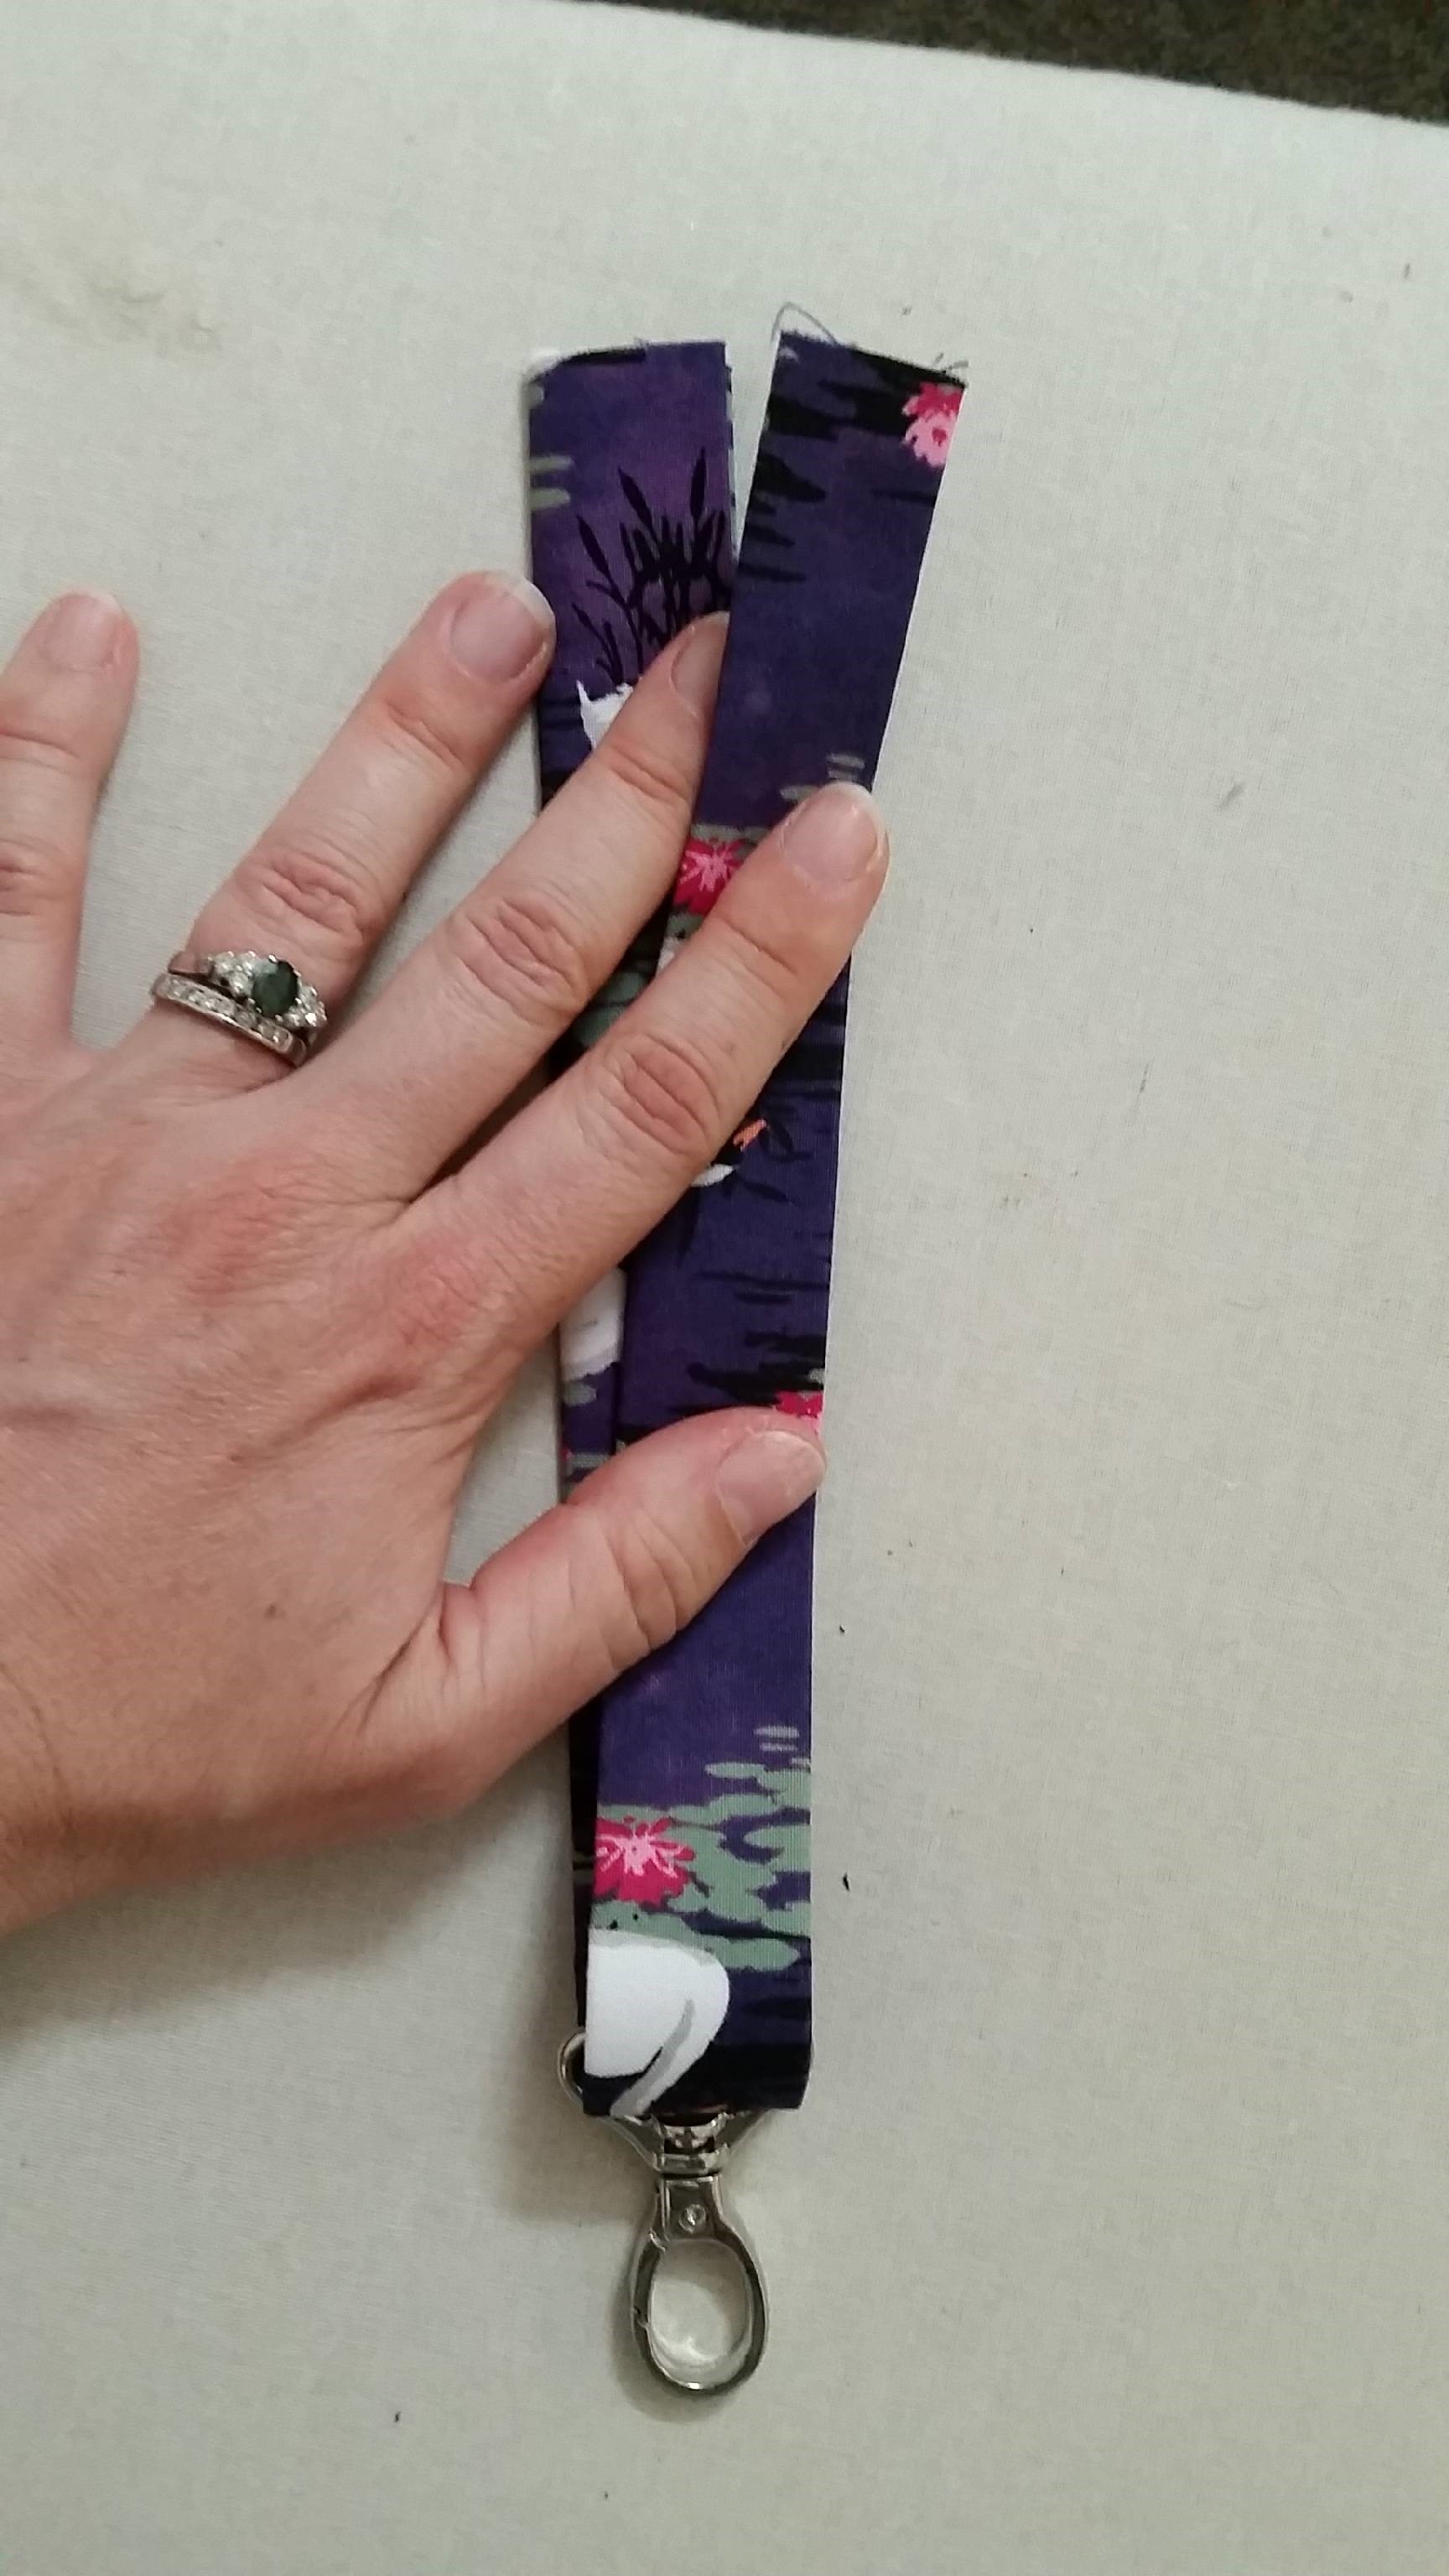
Step 1 – Place the straps in front of you with the swivel hook at the bottom of the loop.

Step 2:
Step 2 – Twist the front end of the strap piece 90 degrees to the right (so from 6 o’clock to 3 o’clock).

Step 3:
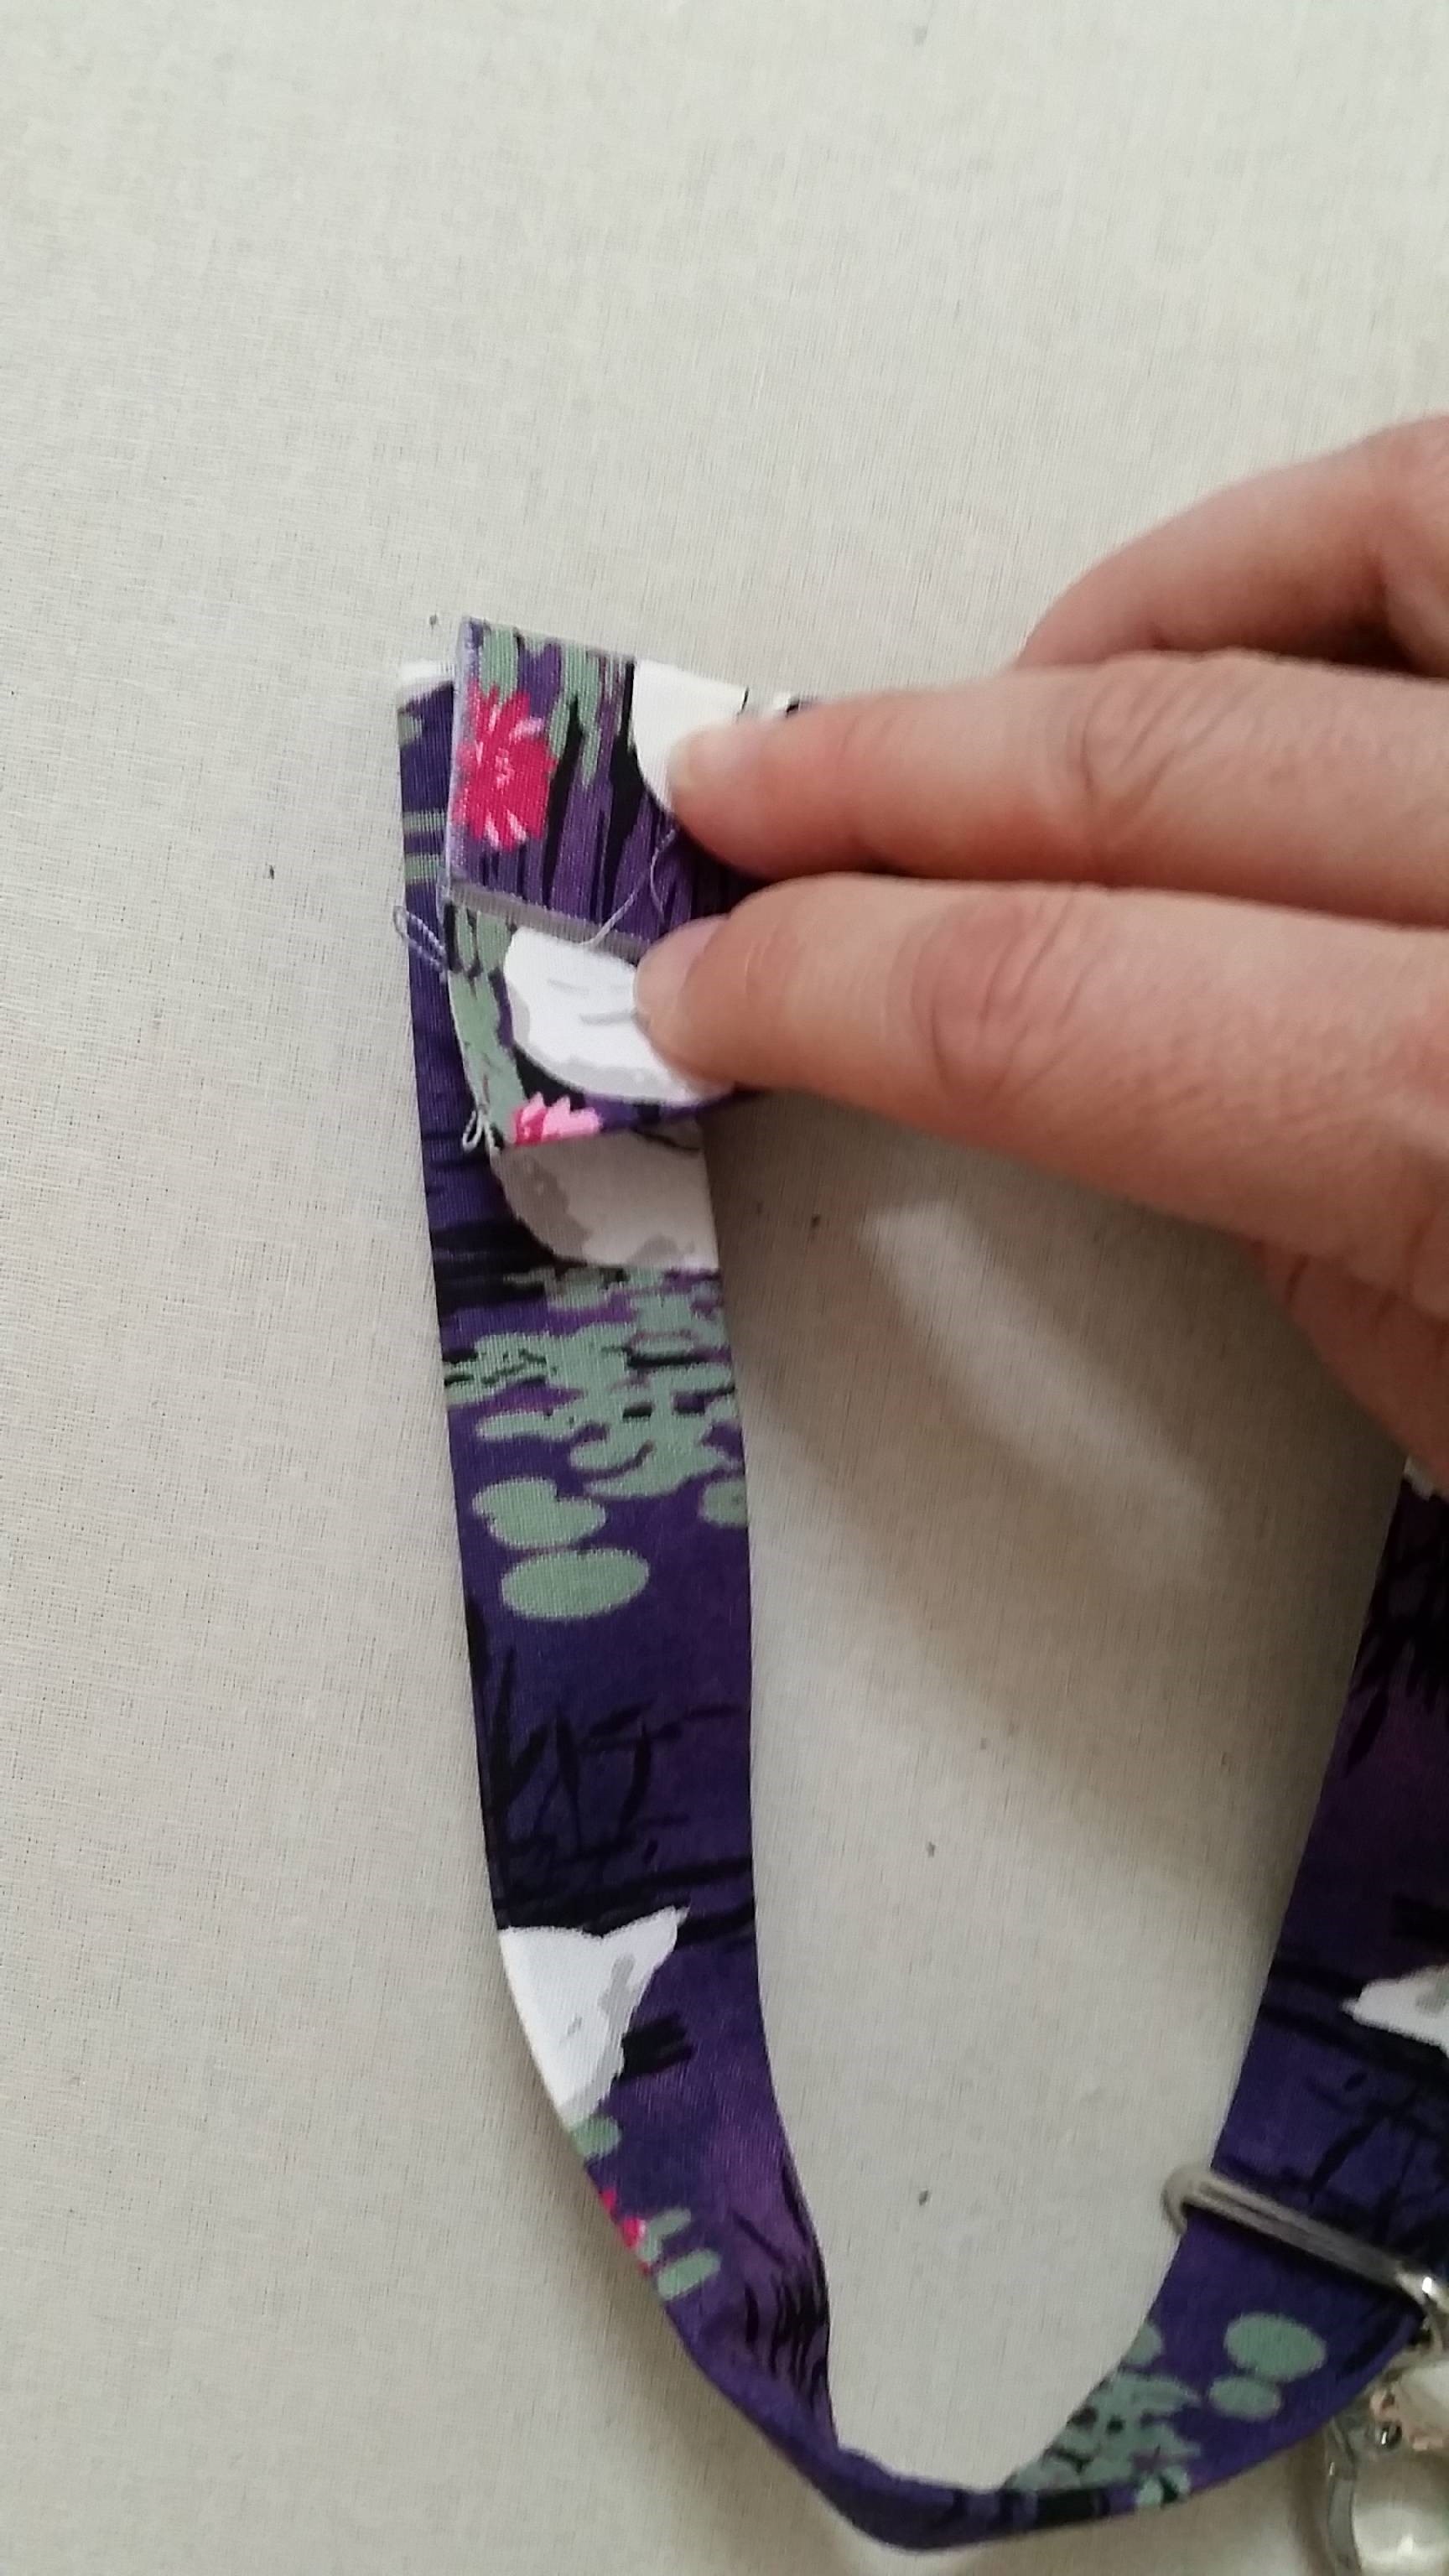
Without changing the angle open up both the front and back pieces so the right sides are facing and the 2 pieces are at right angles to each other. Pin together. Draw a 45 degree angle line from the bottom left corner up to the top right. This will be your sewing line.

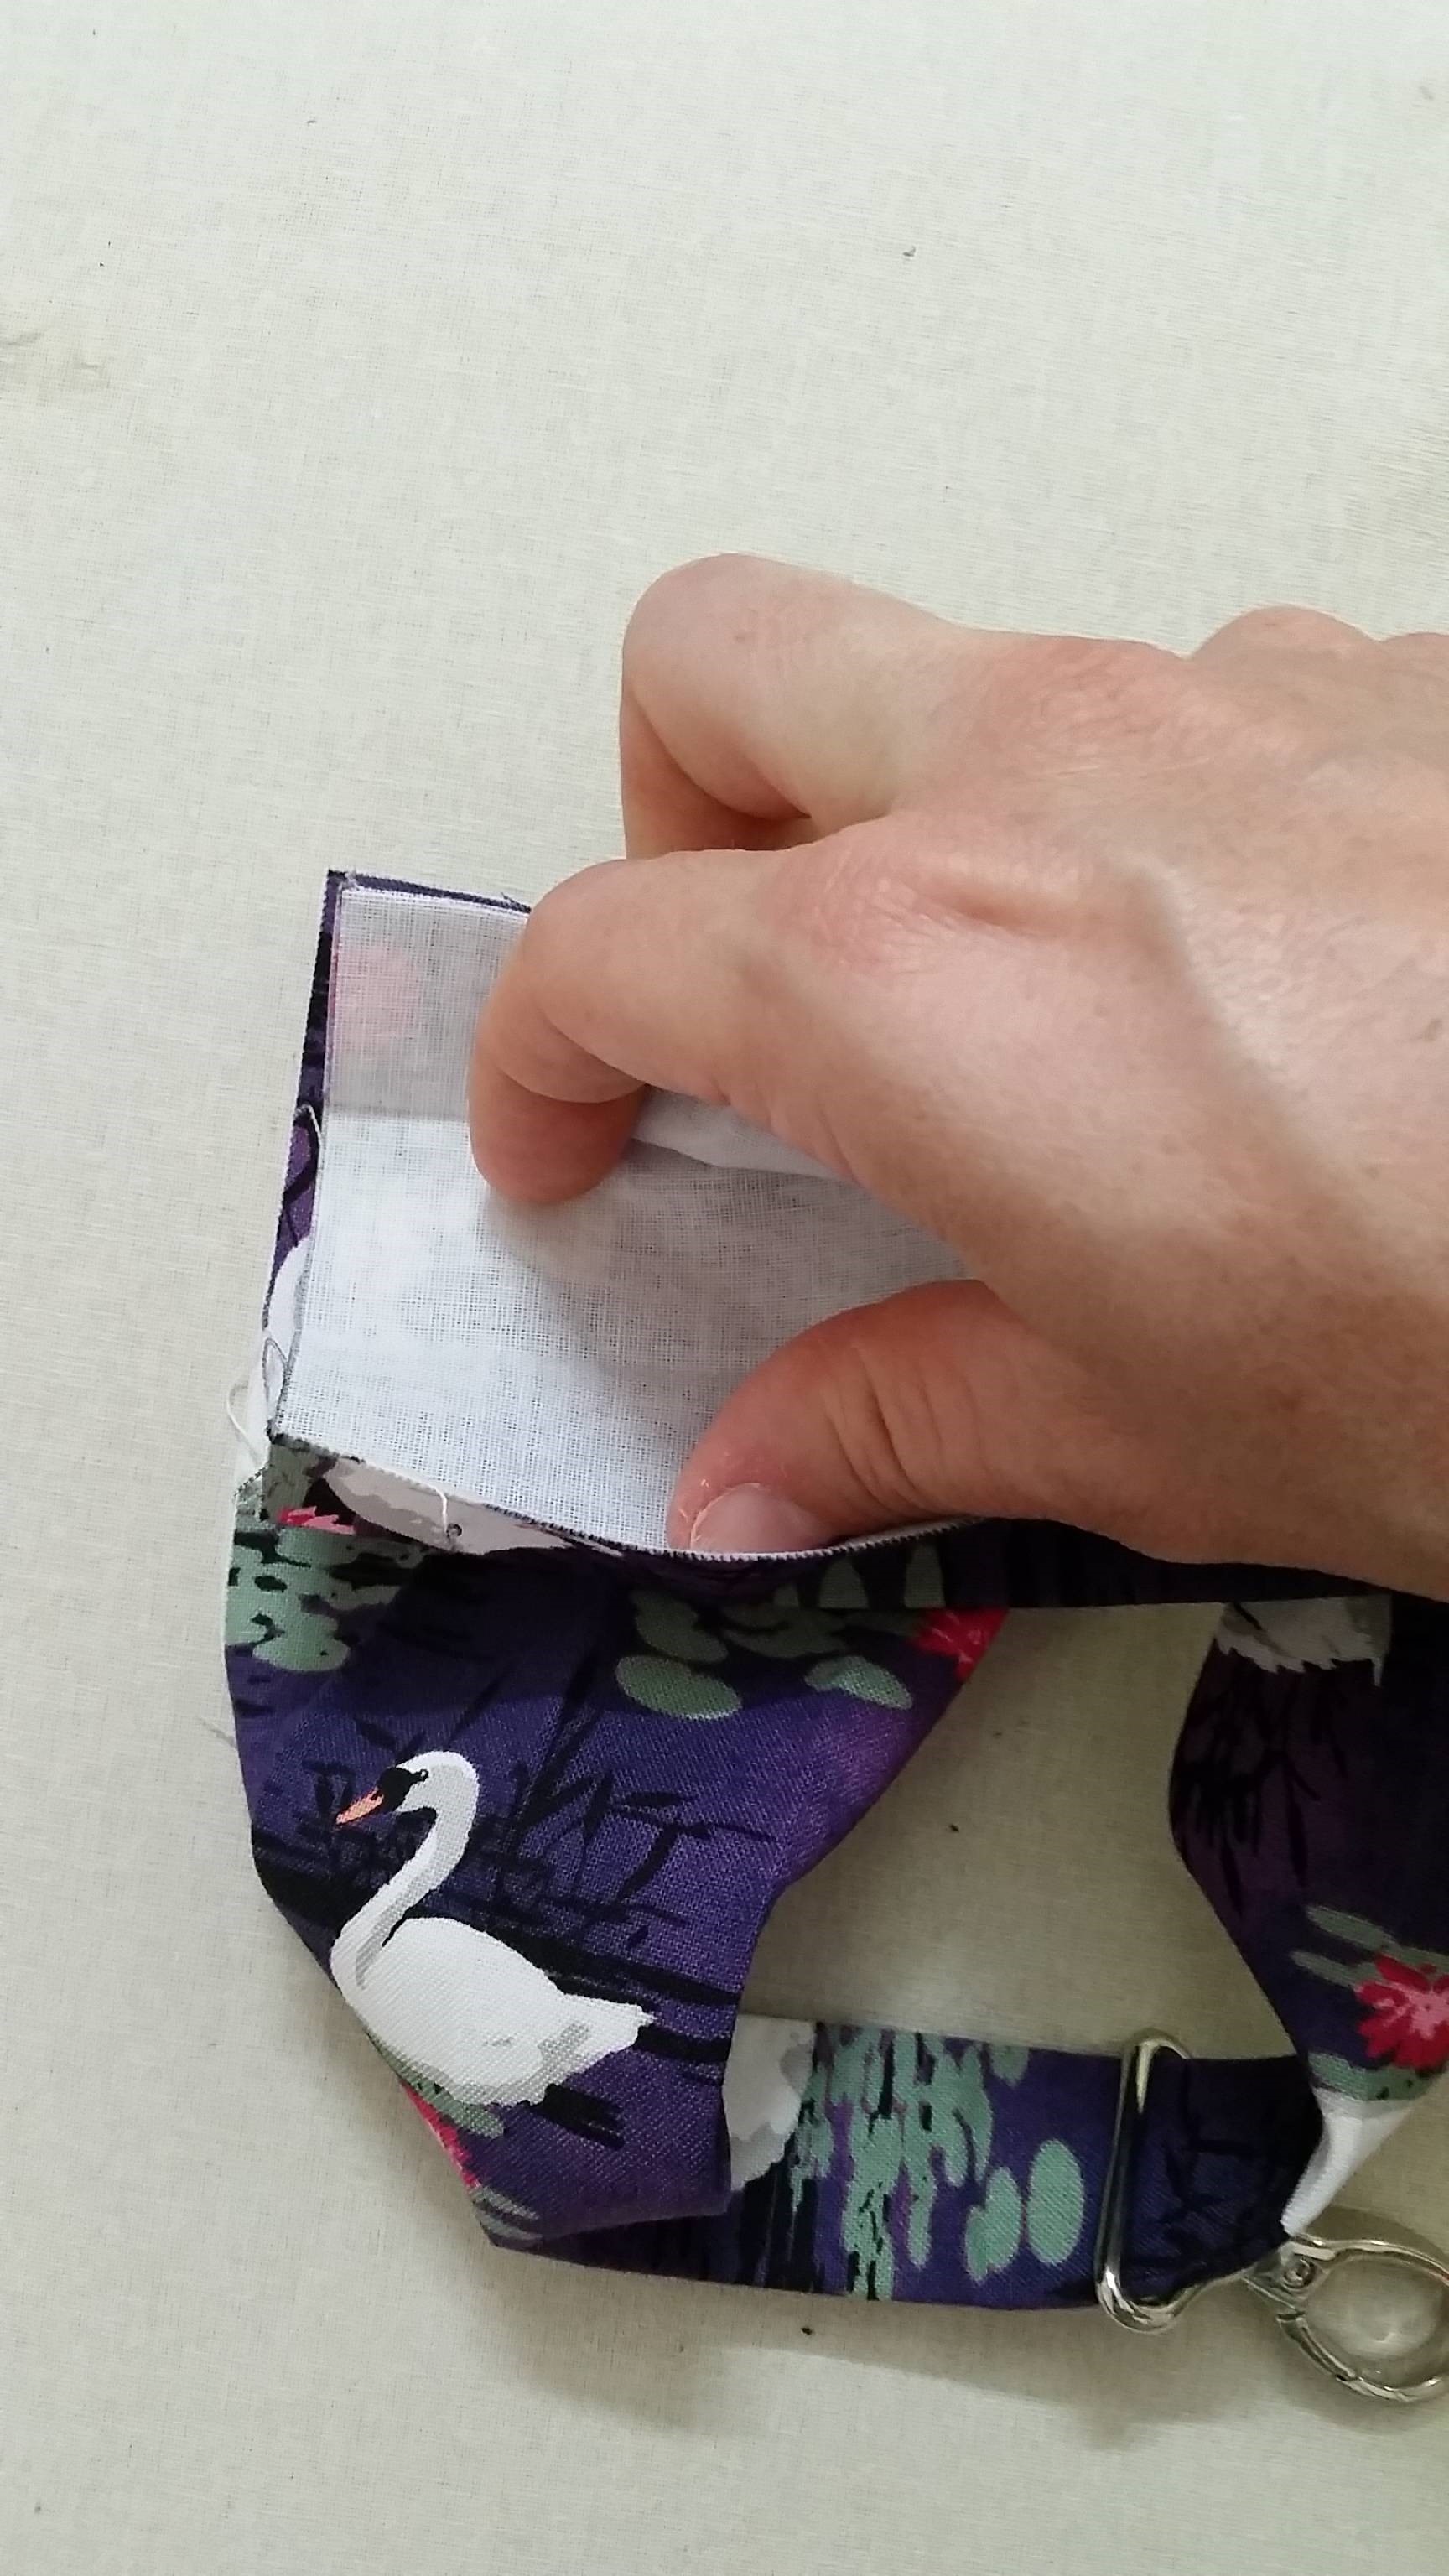

Step 4:
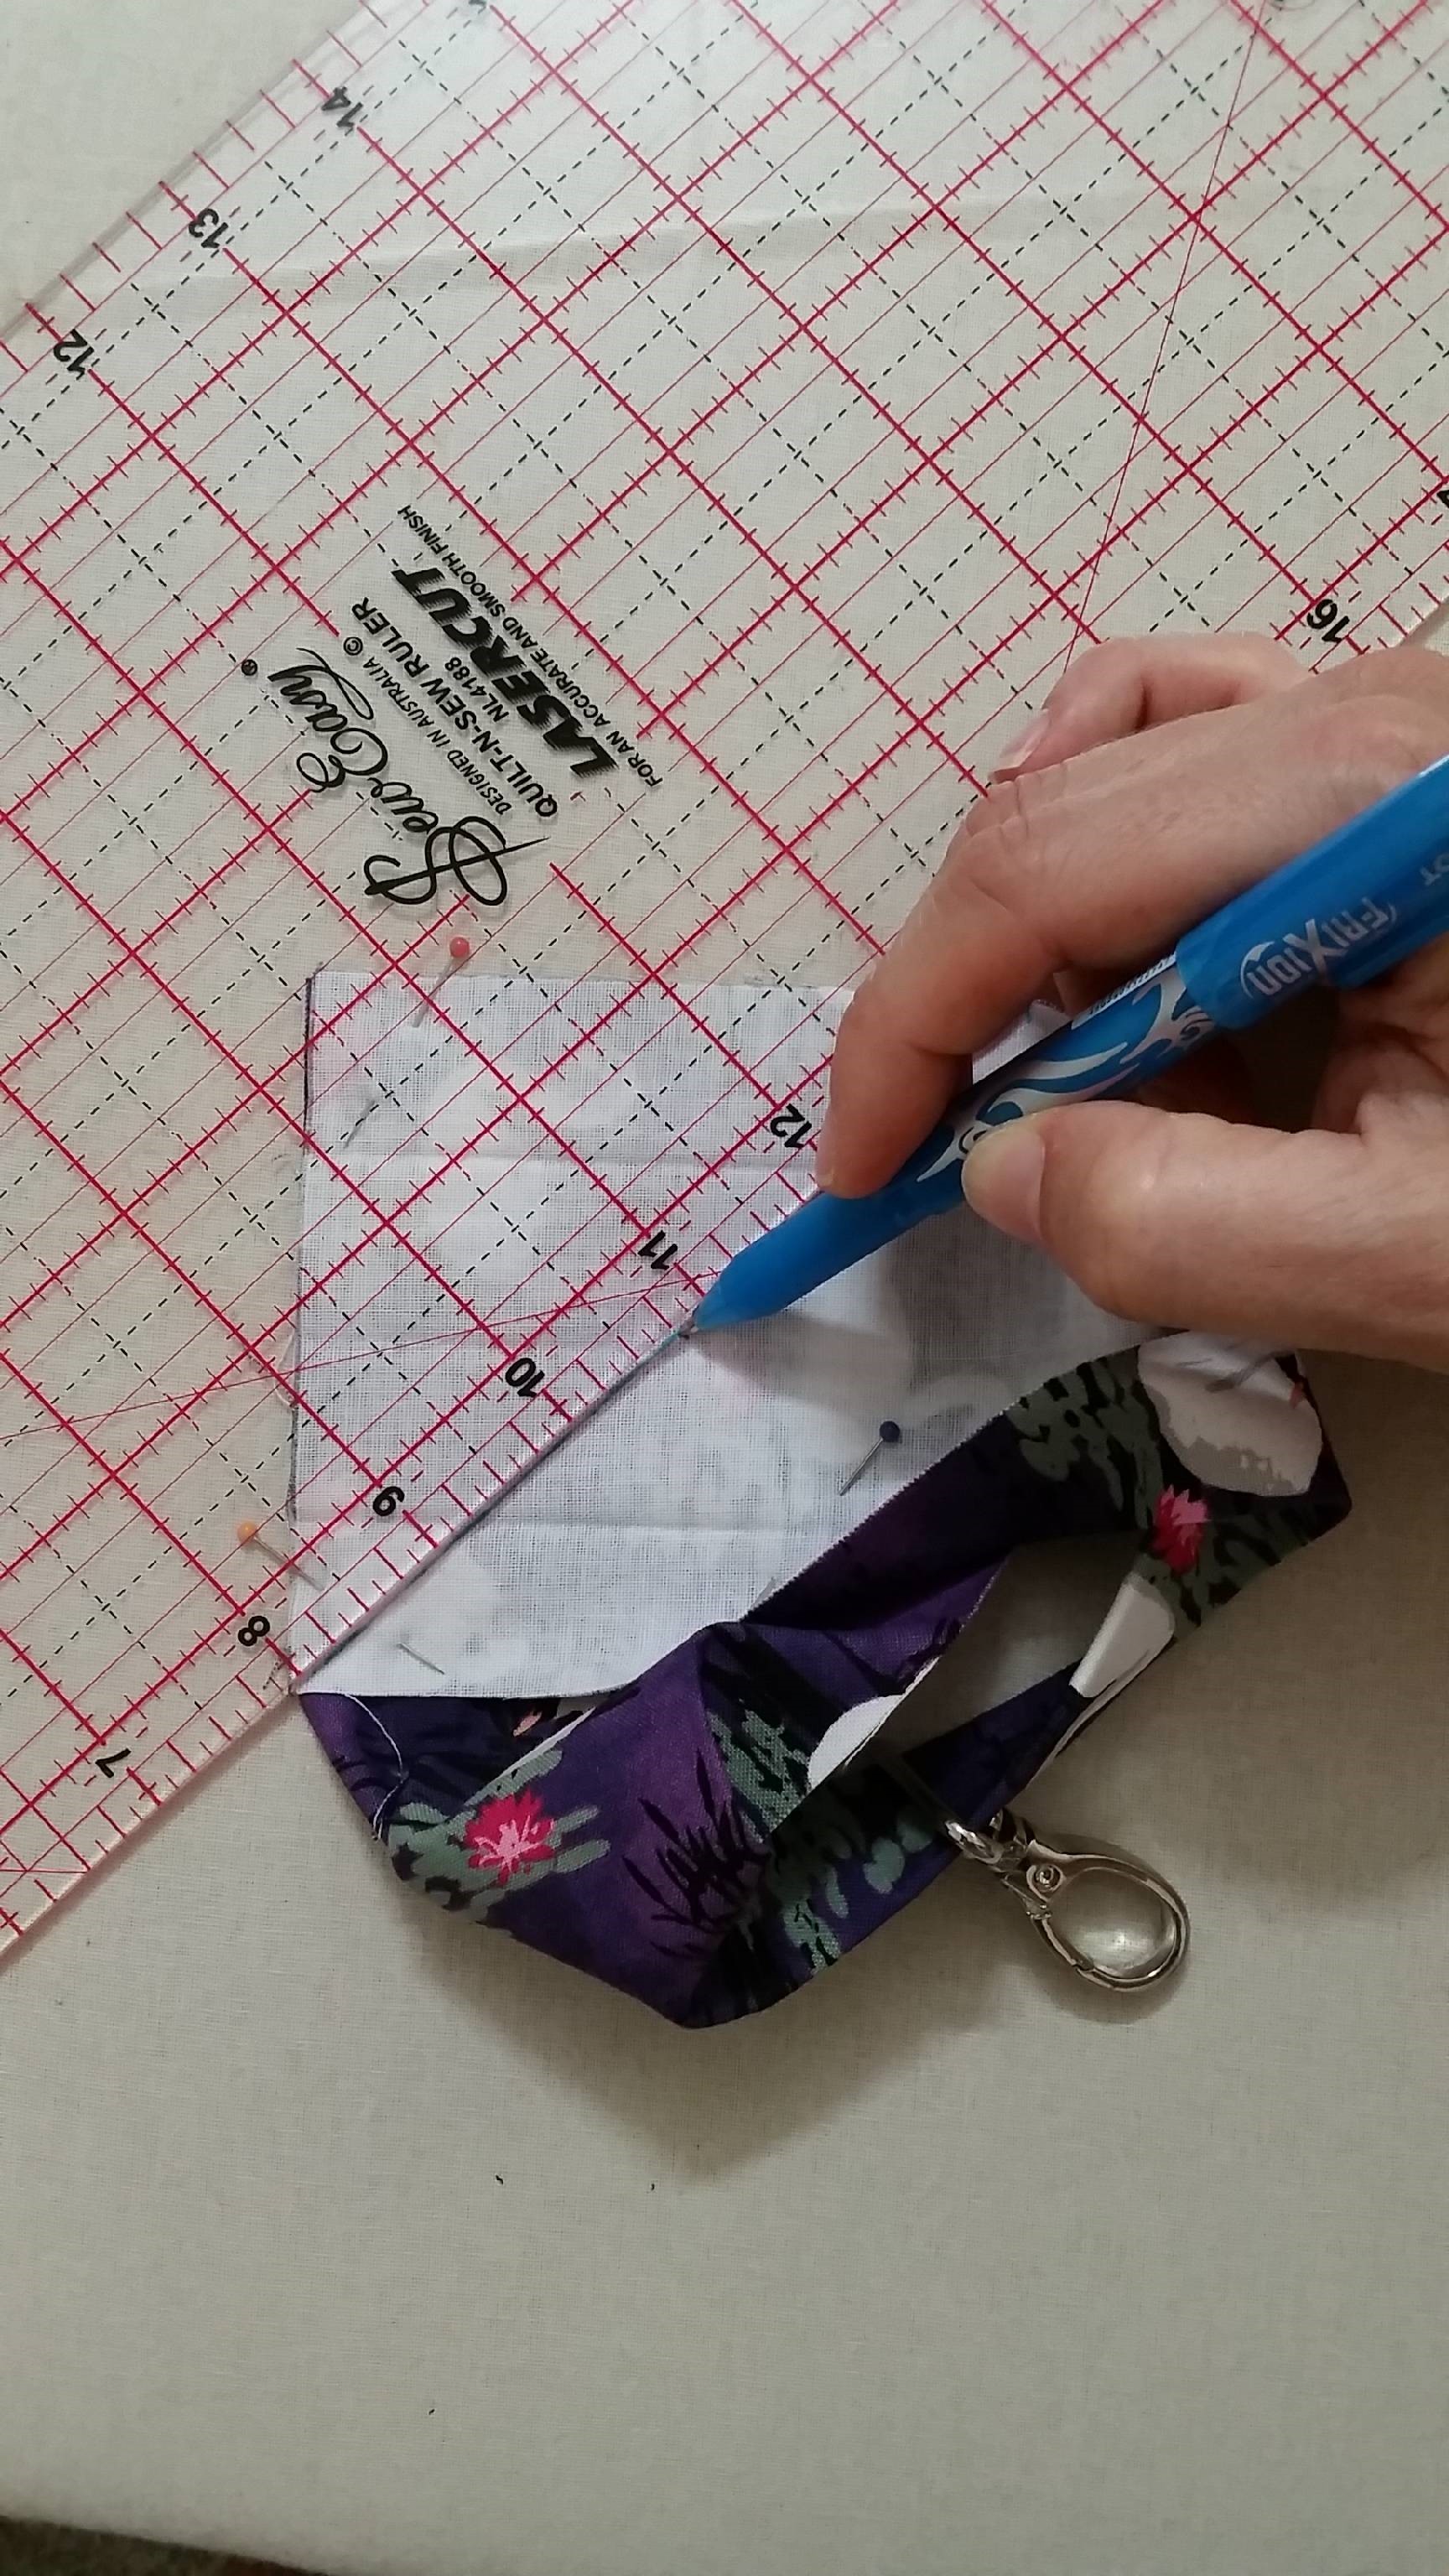
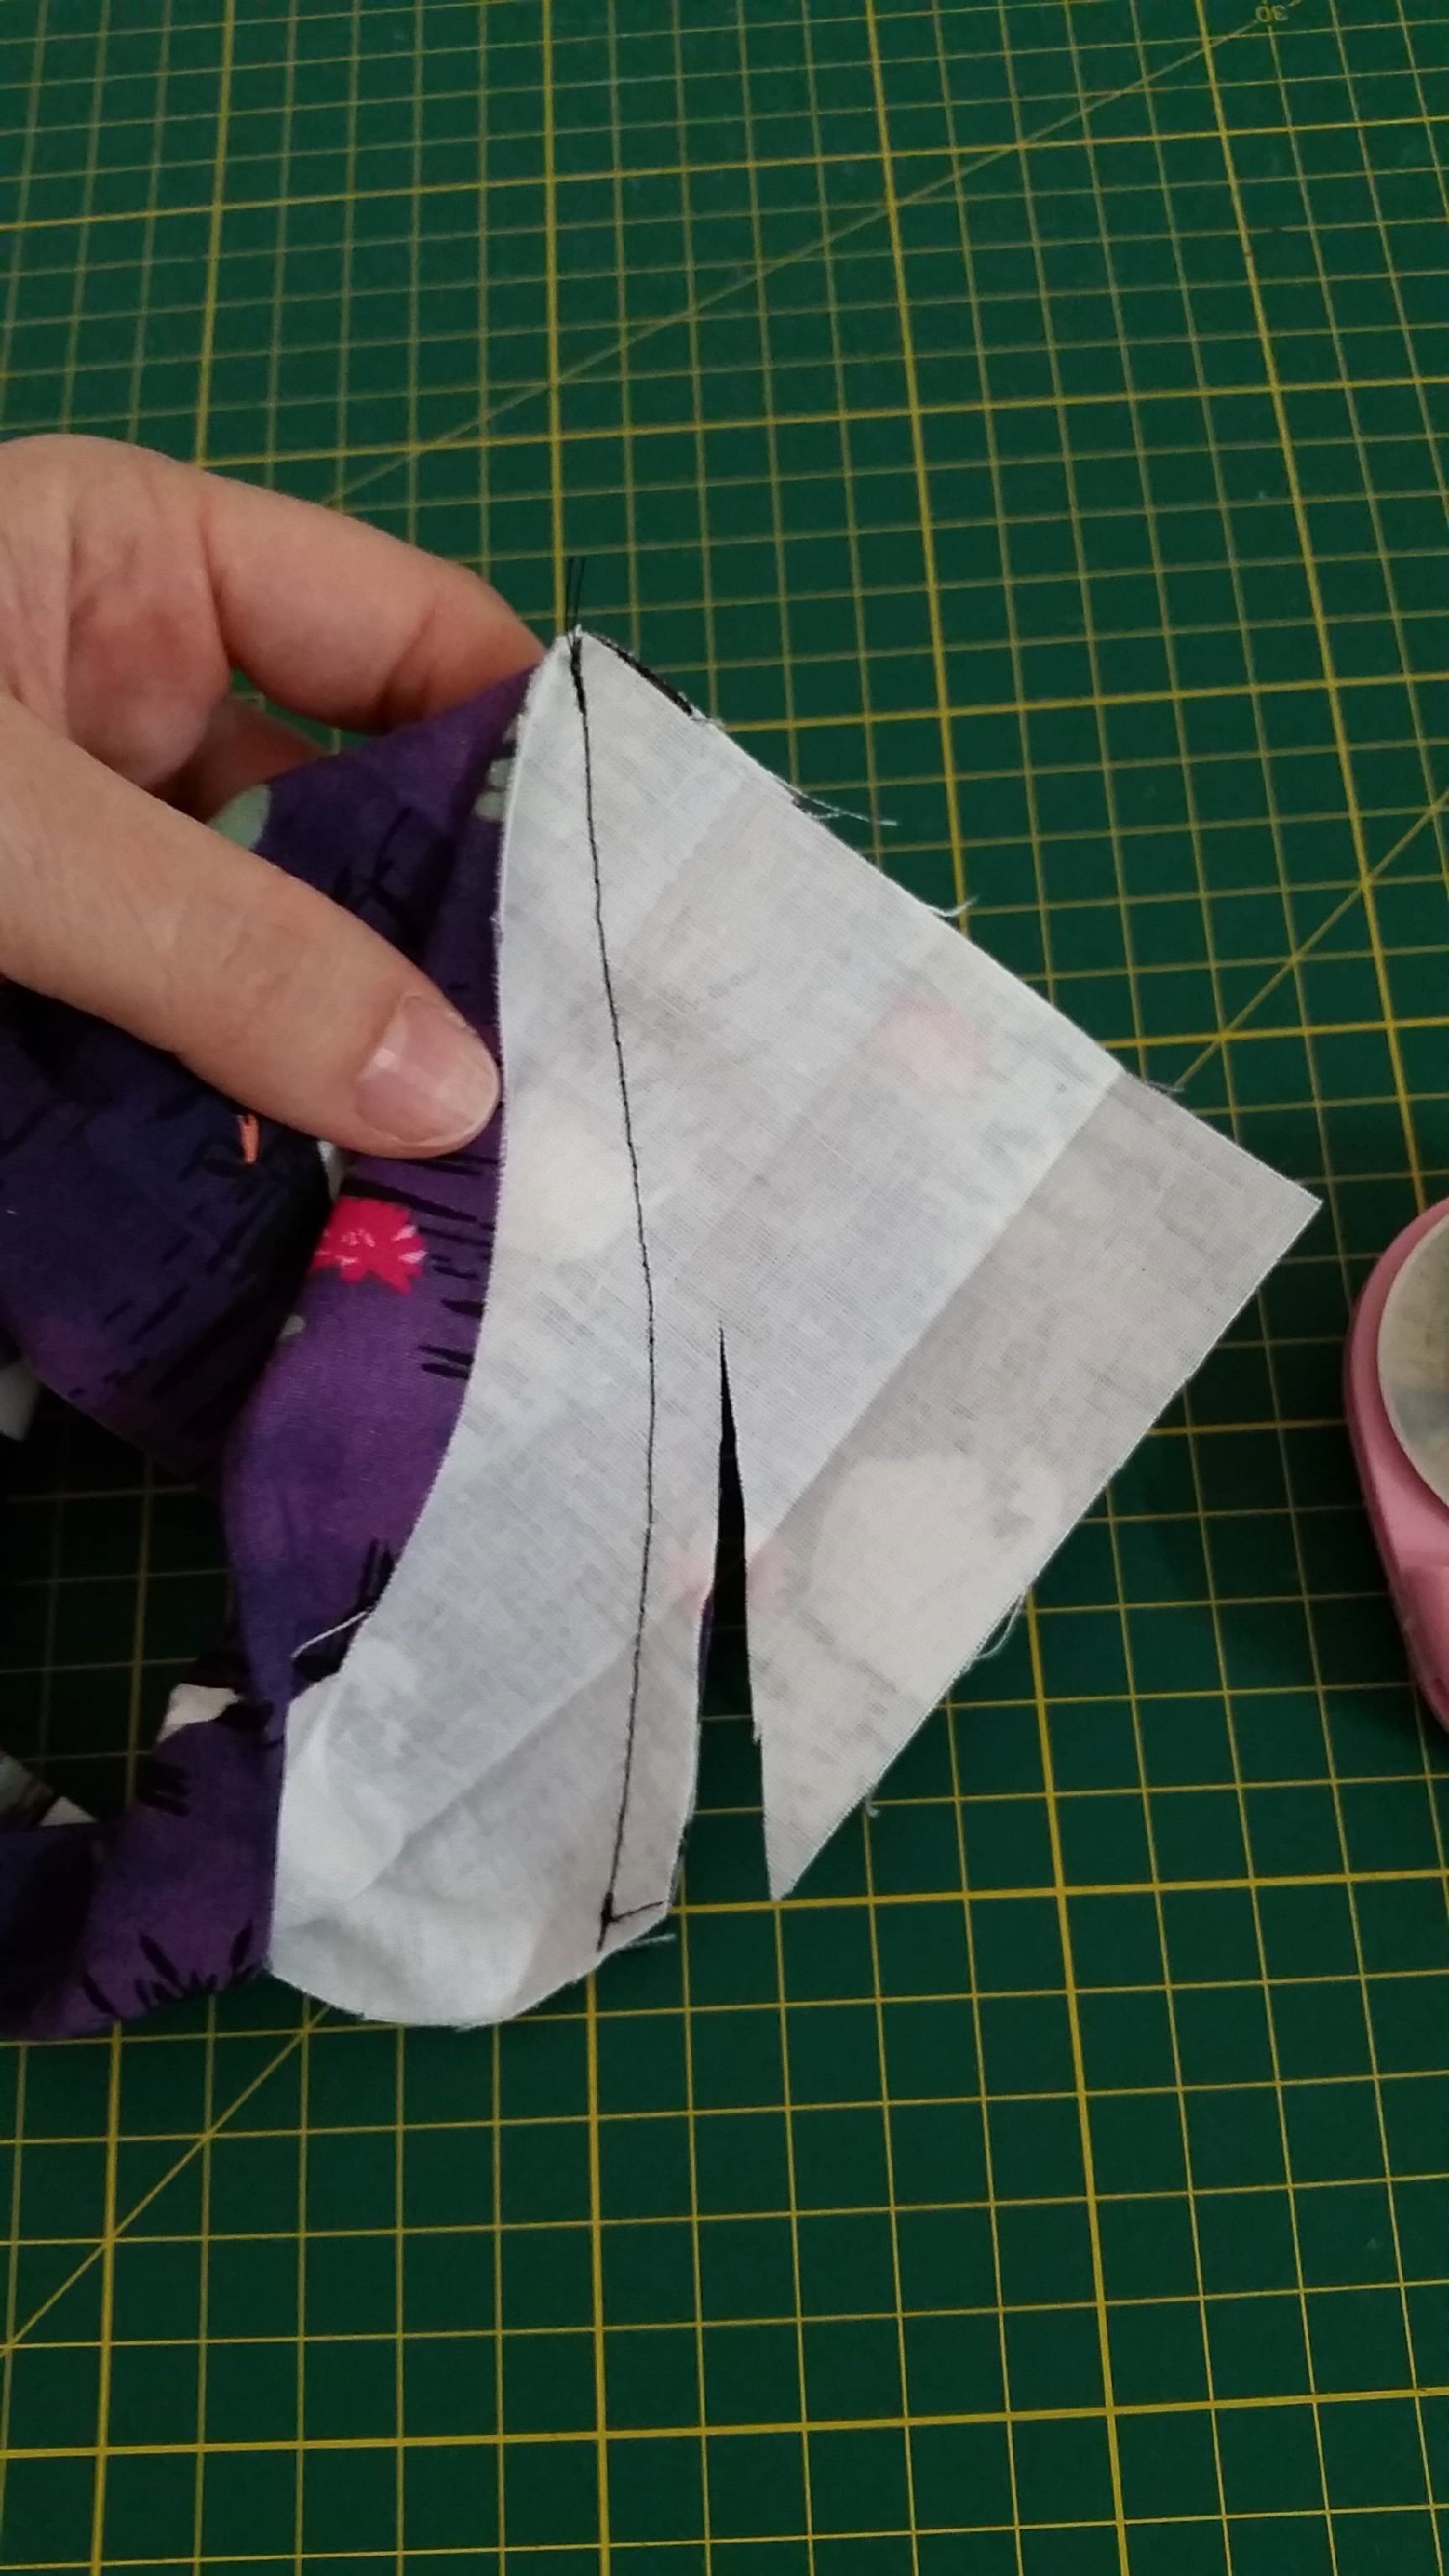
Once you have sewn this line open up the loop to see if it now creates a circle.

If it does you can now trim off the triangle piece about ¼” away from the seam.
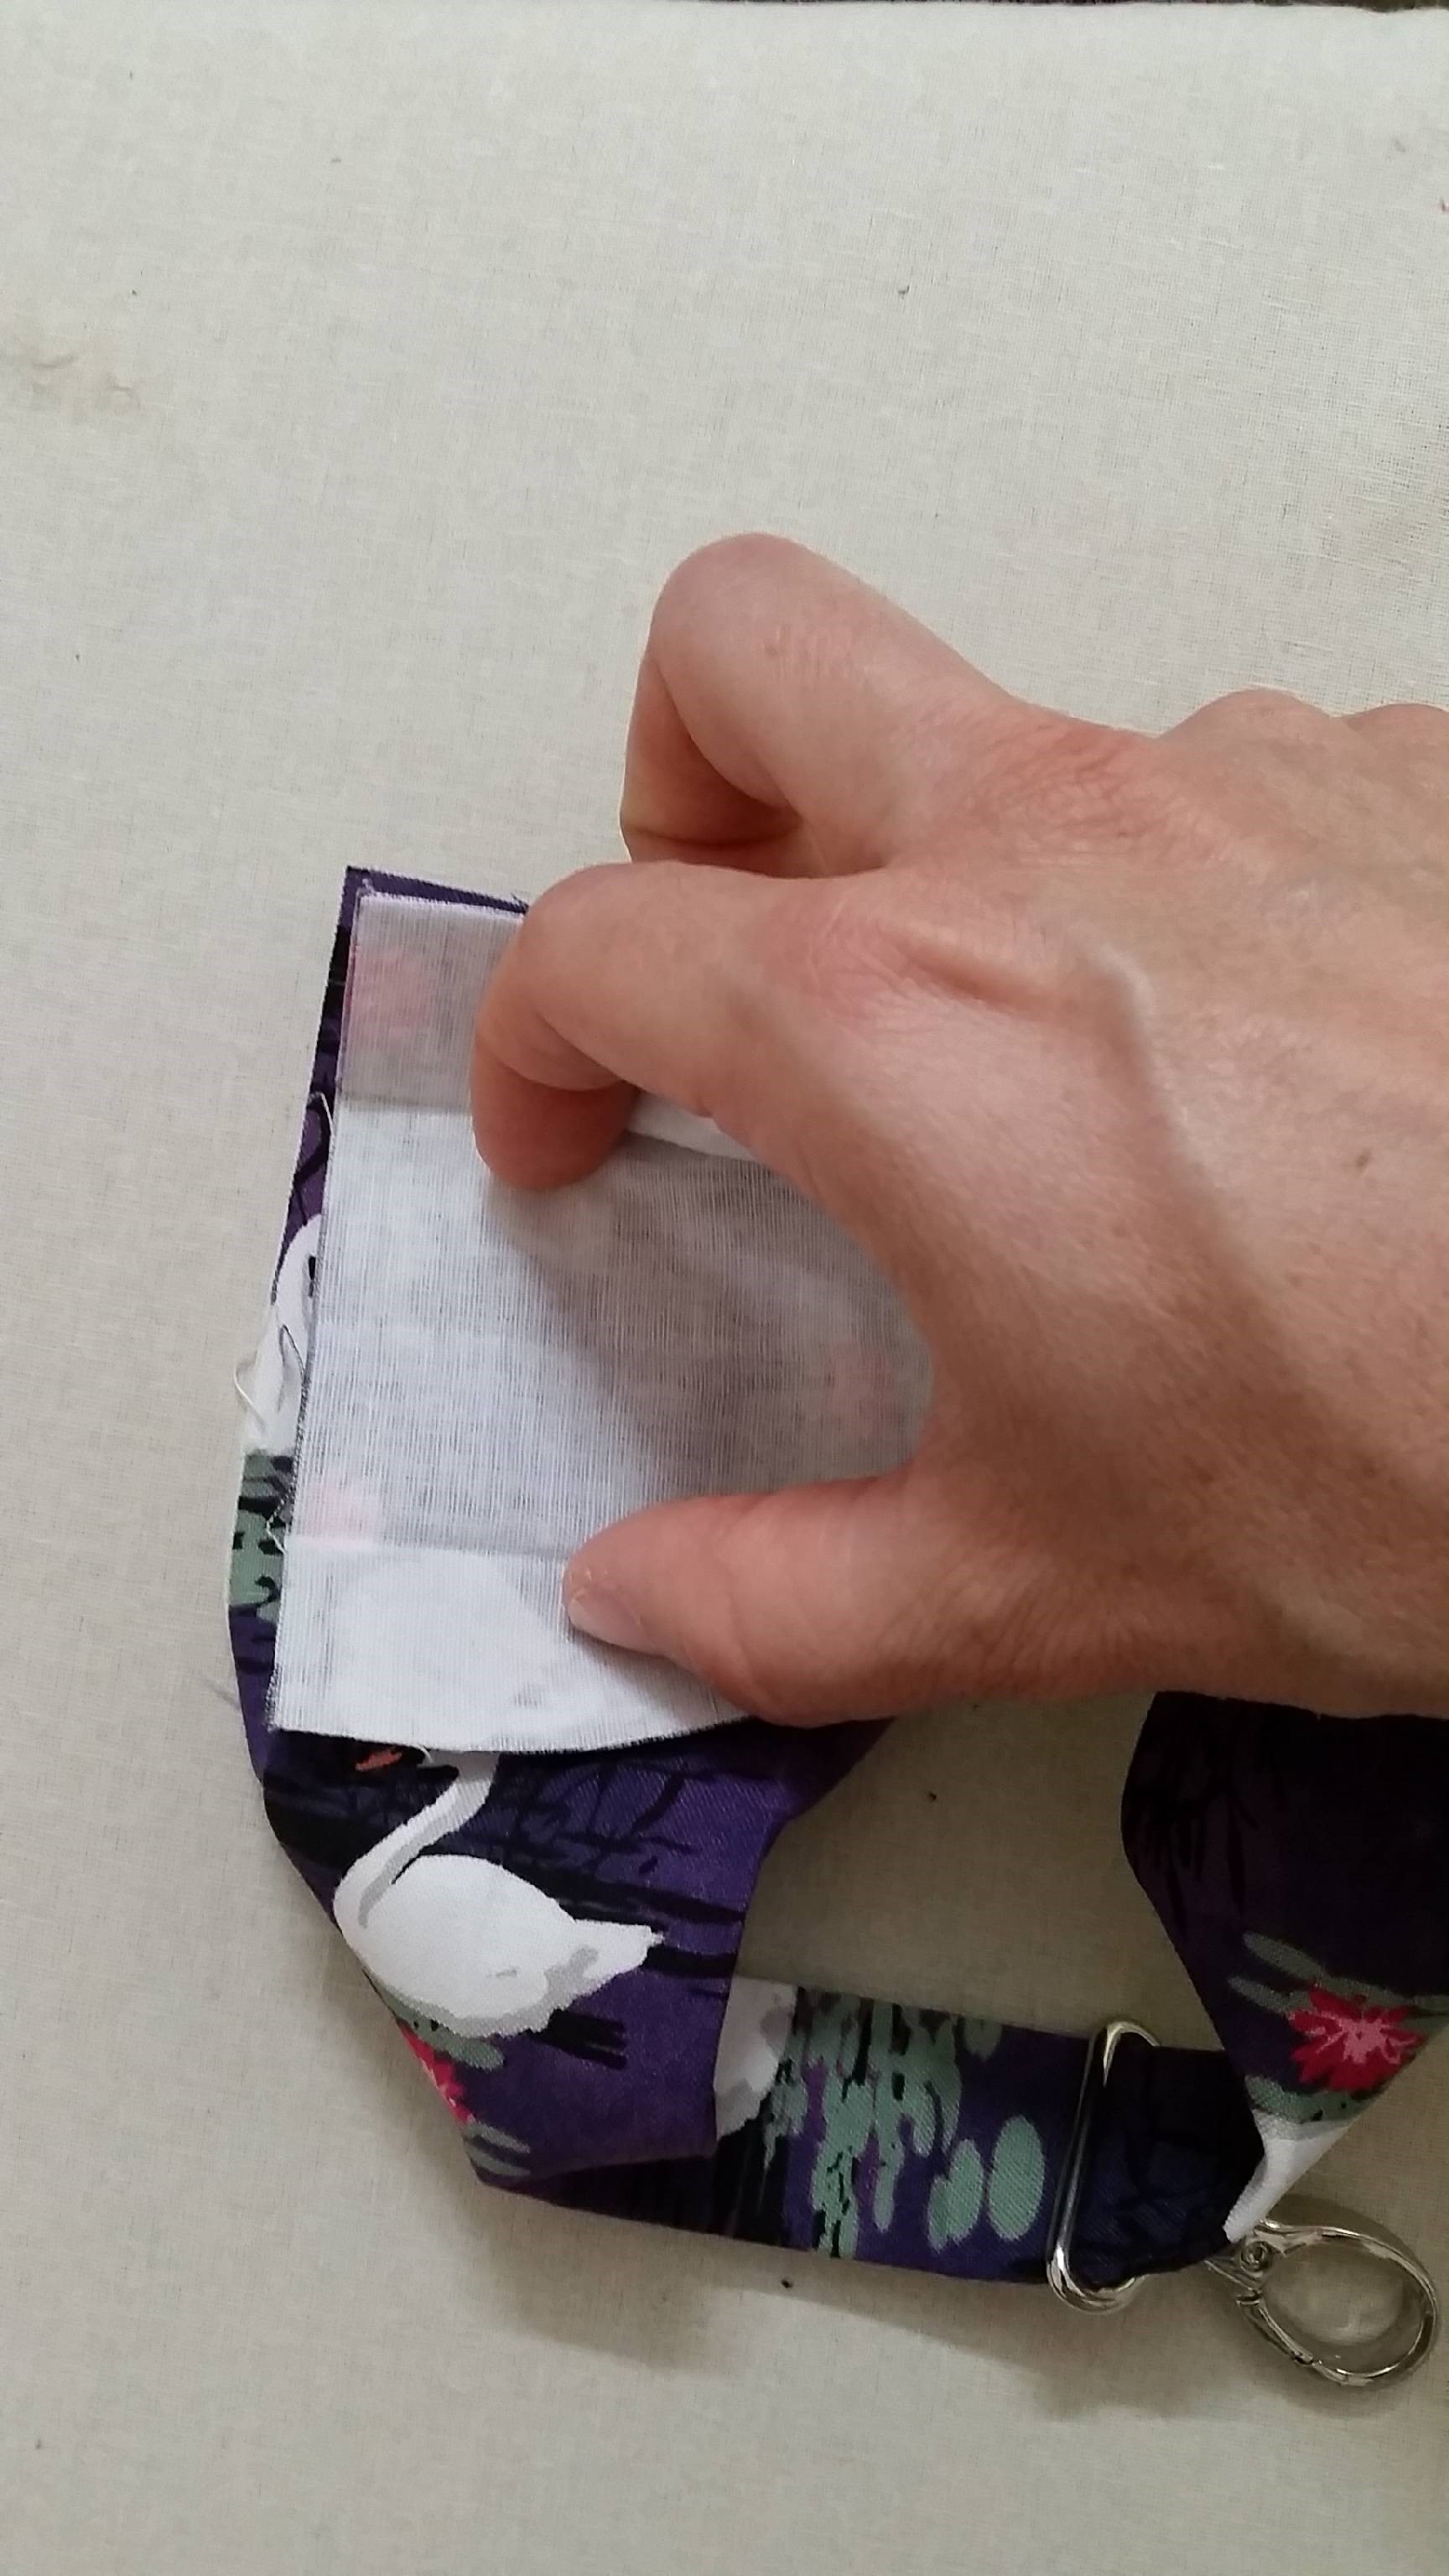
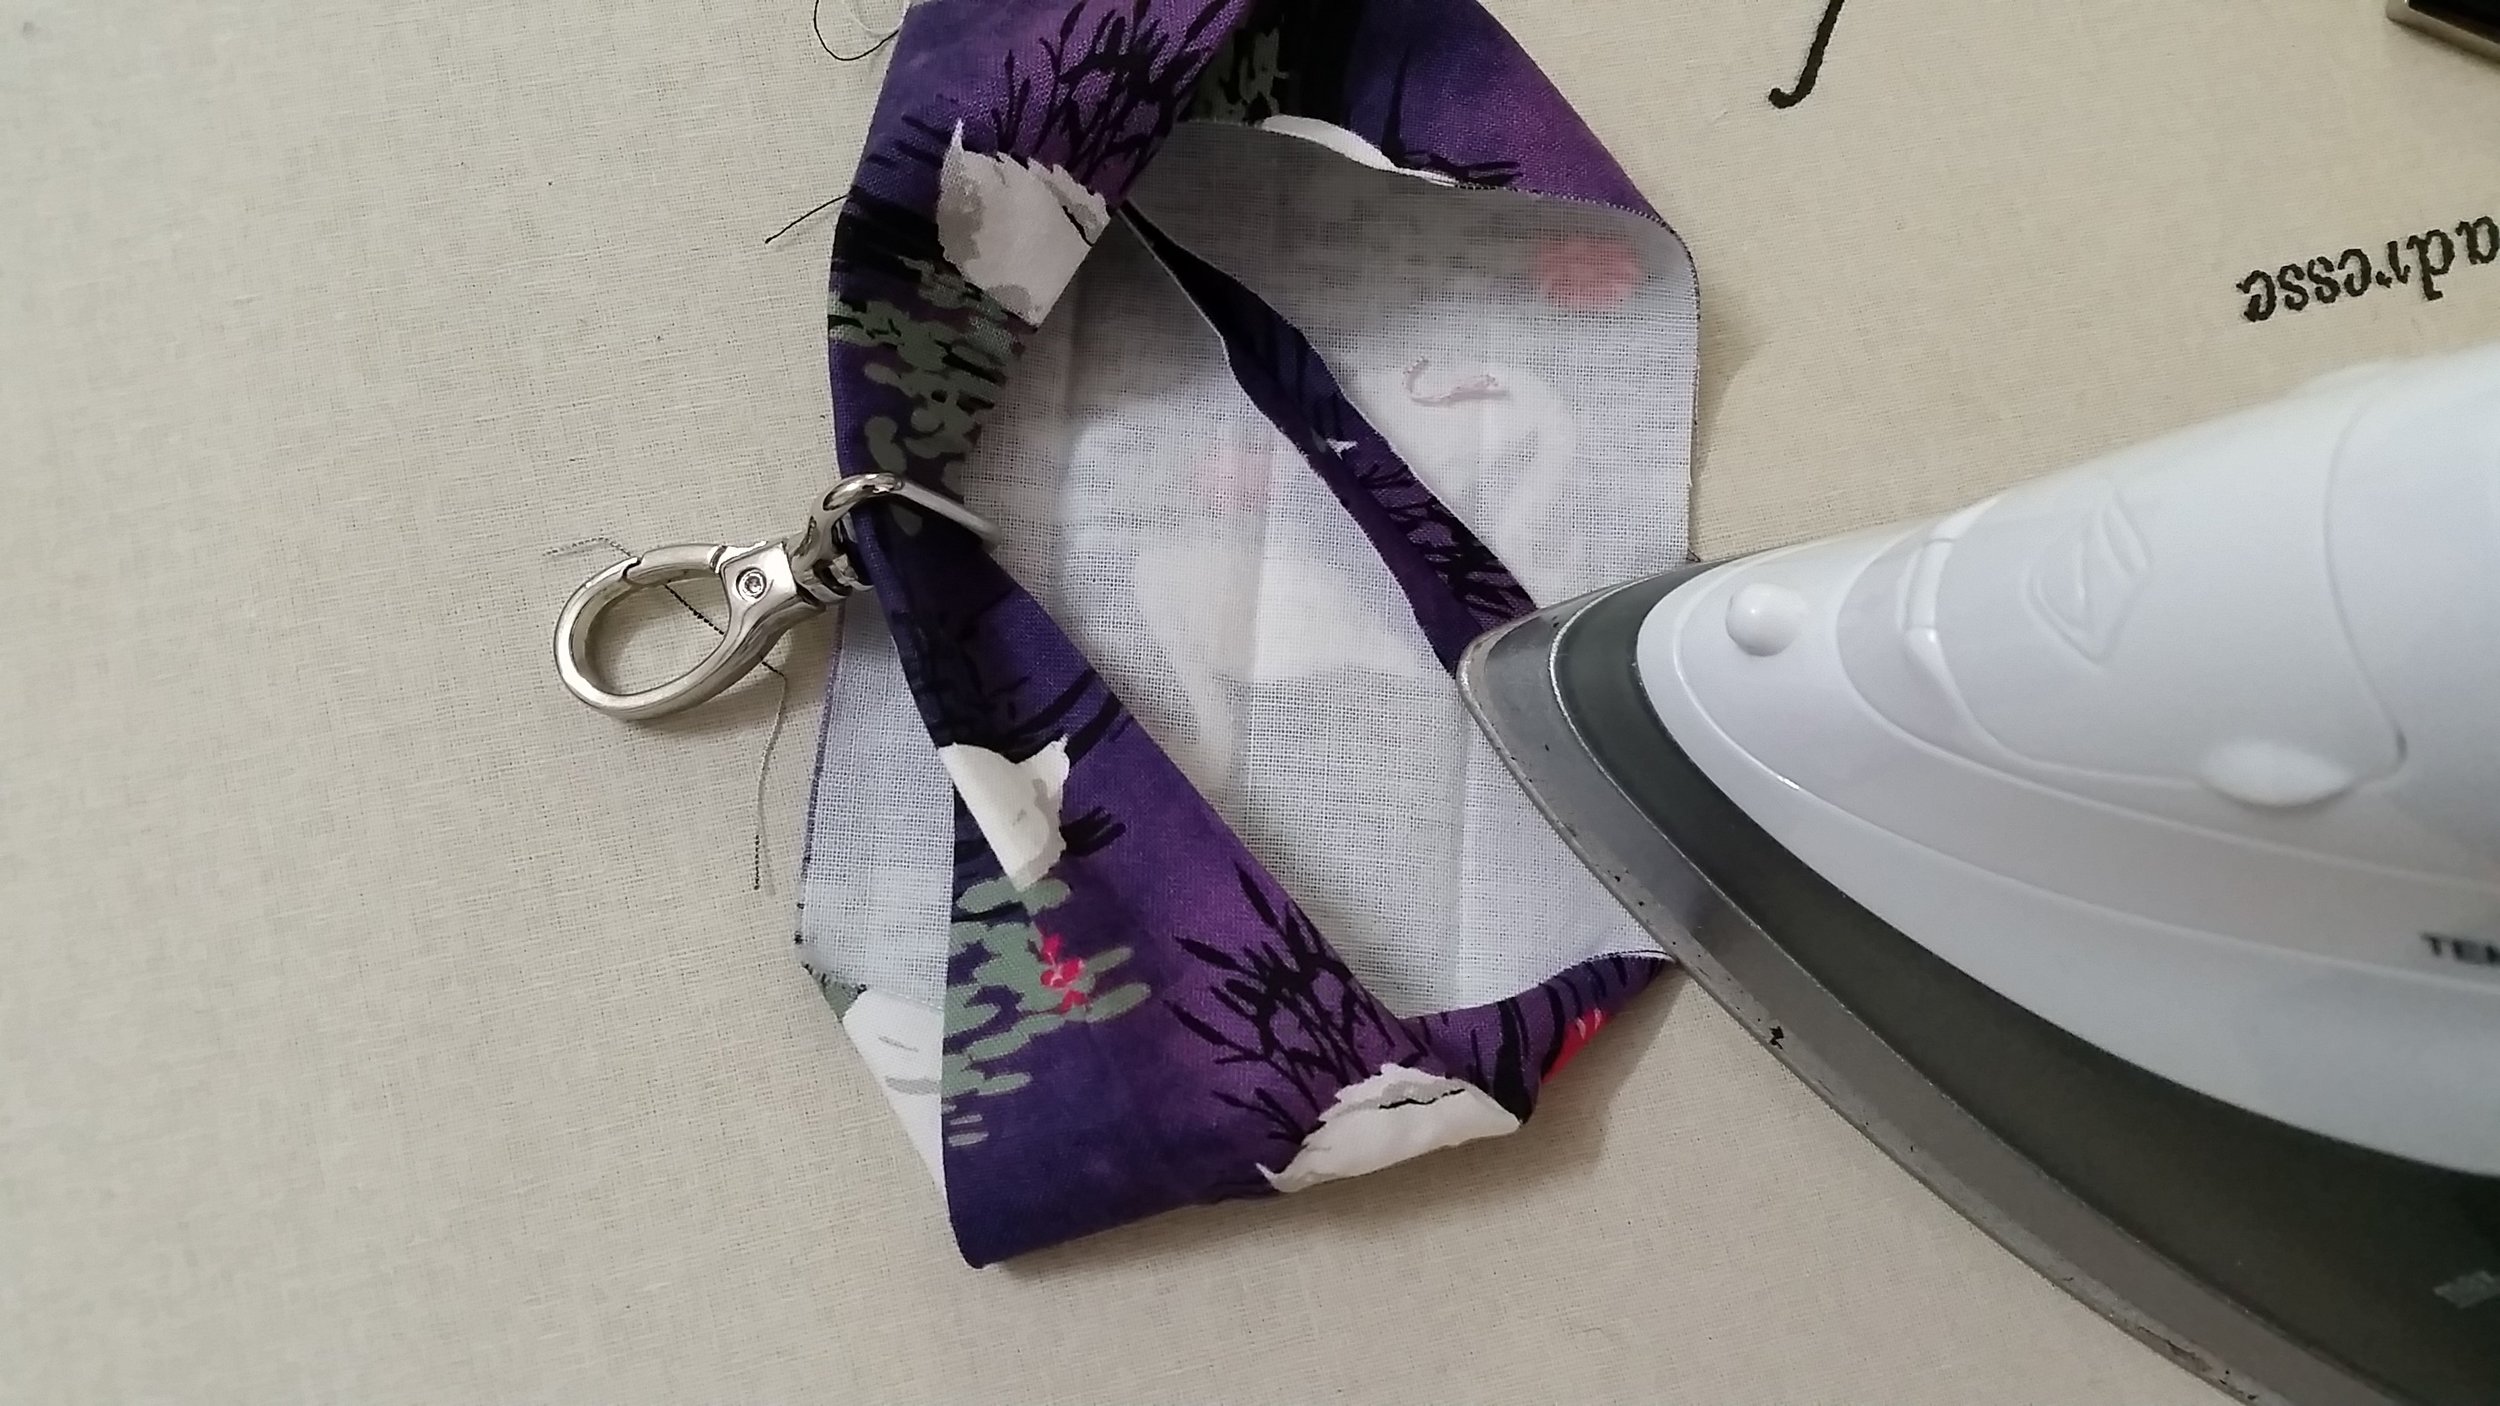
Step 5:
Press the seam open. Refold the raw edges into the middle and you will have a perfect loop. Sew around each side about 1/8” away from the edge.
Step 6:
Sew around each side about 1/8” away from the edge.


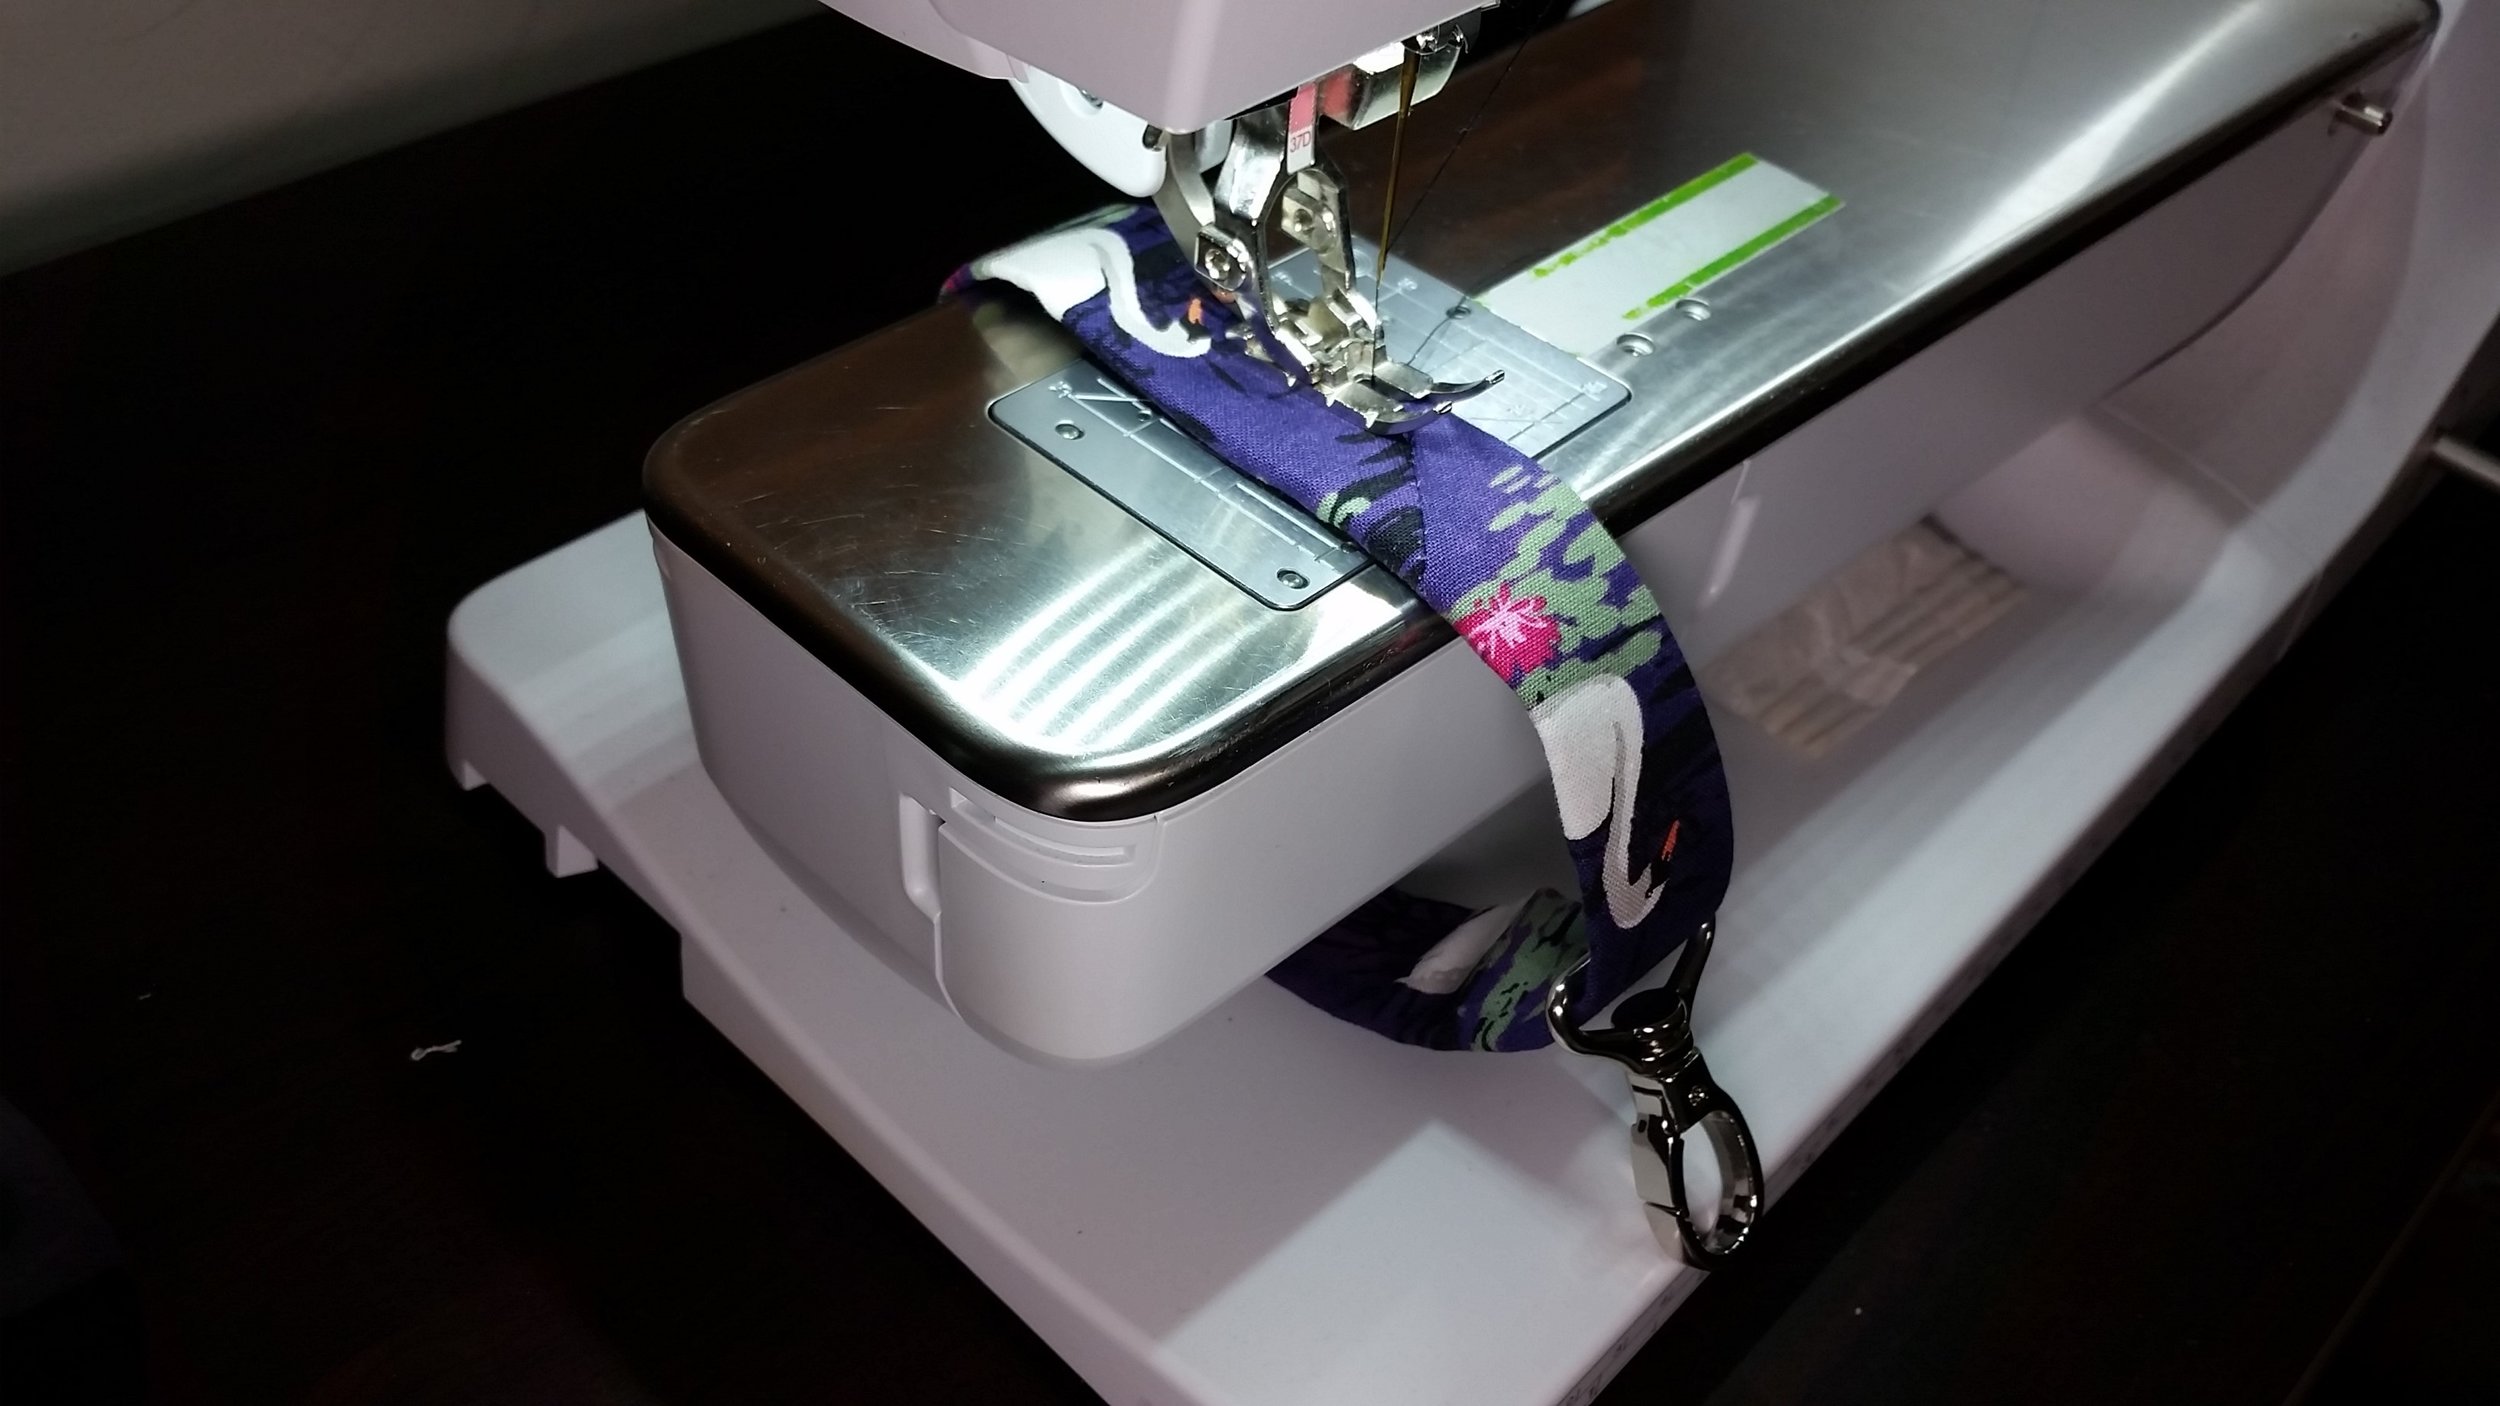
Step 7:
Make a fold at one end to secure your swivel hook and sew as close to the Swivel Hook as you can or add a rivet if you prefer. Your Wrist Strap is now complete.


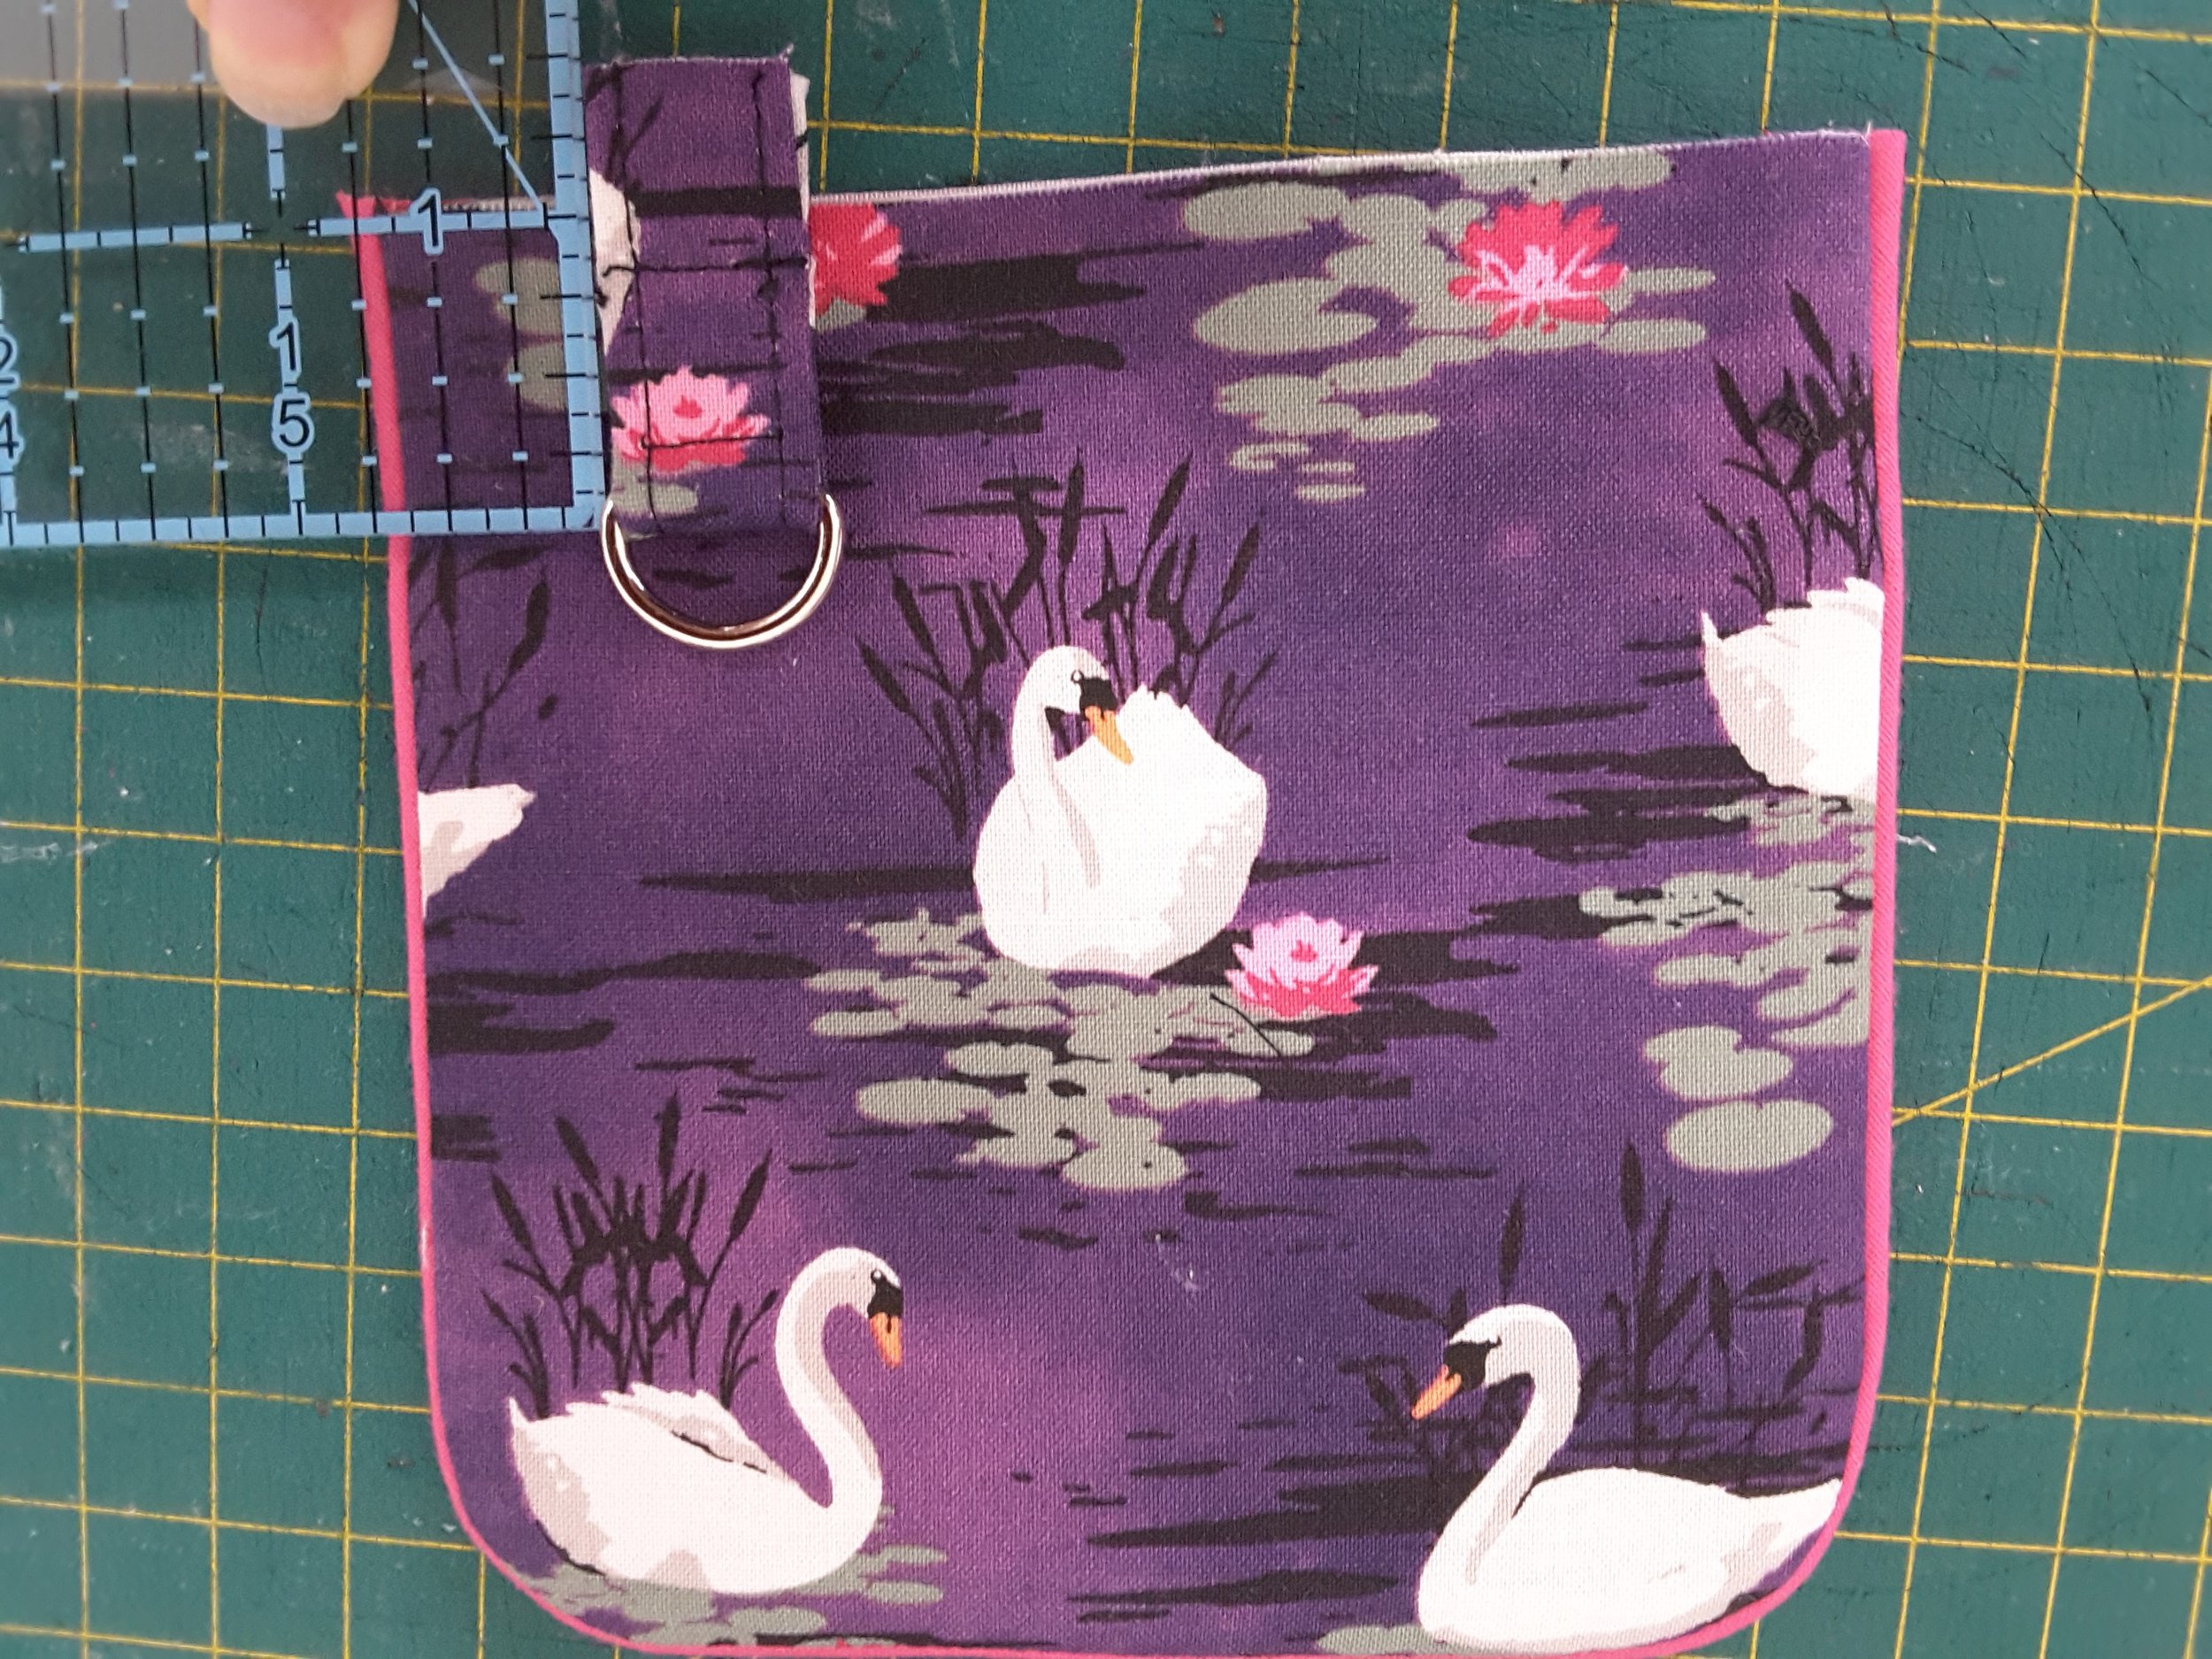
Adding the connector to your Limelight Wallet
After you have completed step 3 on page 6, take you flap piece and place it exterior side up. Measure in ¾” from the side (I’m right handed so I put mine on the left) and 1” down from the raw top edge. Baste stitch about ¼ inch in from the raw edge.
And that’s it!! You can now complete your wallet as per the instructions. Please remember to share your creations on the RLR Creations Sewing Patterns Group (https://www.facebook.com/groups/RLRCreationsSewingPatterns/) page on Facebook. We would love to see your unique twists on this versatile pattern
Next week, I will be sharing with you an exclusive Paper Piecing design designed by myself, made especially for the Limelight Wallet flap. Its probably one of the easiest paper piece designs, which makes it great for beginners to paper piecing, but it also makes a great quick embellishment to your next Limelight Wallet.
If you would like to learn more about the extremely talented Tanya Summers and see the amazing things she creates hop over to her facebook page at Little Mate's Wardrobe and take a moment to view her fabulous bags at her Etsy Store HERE!