
Happy Holidays!!
I can’t think of any better way to start the Christmas season than participating in the yearly Michael Miller Fabrics Holiday Blog hop!
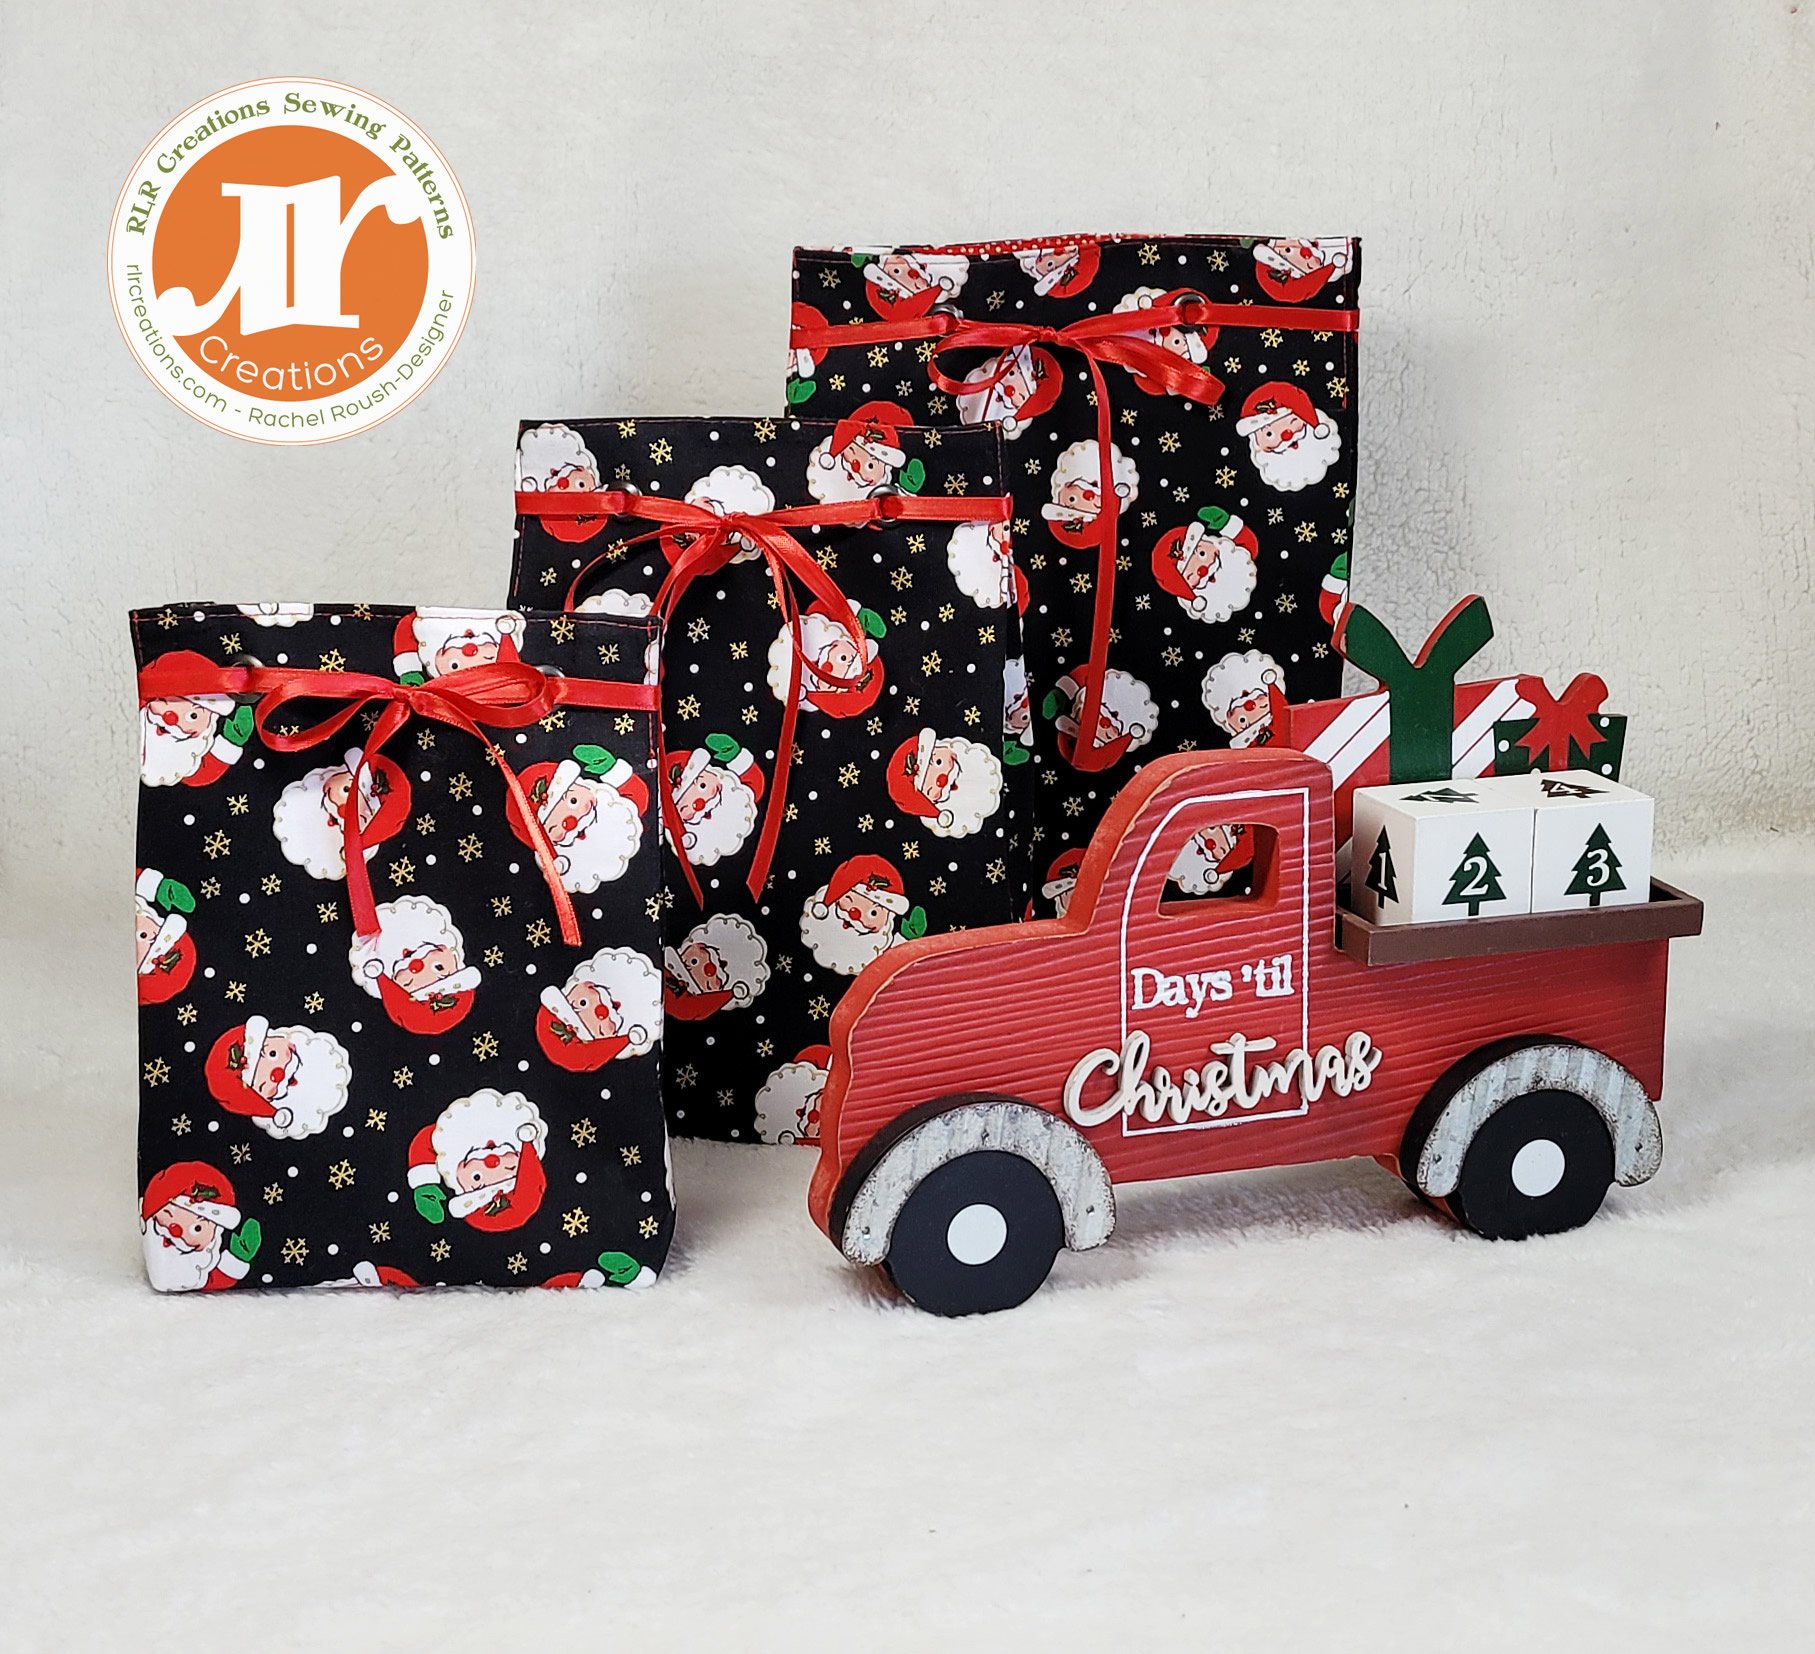

CM9639-BLAC-D / Winking Santas

CM1065-PAPR-D / garden pindot with metallic
This year I decided to stick with the theme of creating a unique and sustainable (not to mention Pretty!) way to “wrap” your holiday presents for family and friends. So, for the 2022 Michael Miller Fabrics Holiday Blog Hop I have designed a Reusable Gift Bag you can sew up in a minimal amount of time. Best of all I created the Reusable Gift Bag in 3 different sizes!
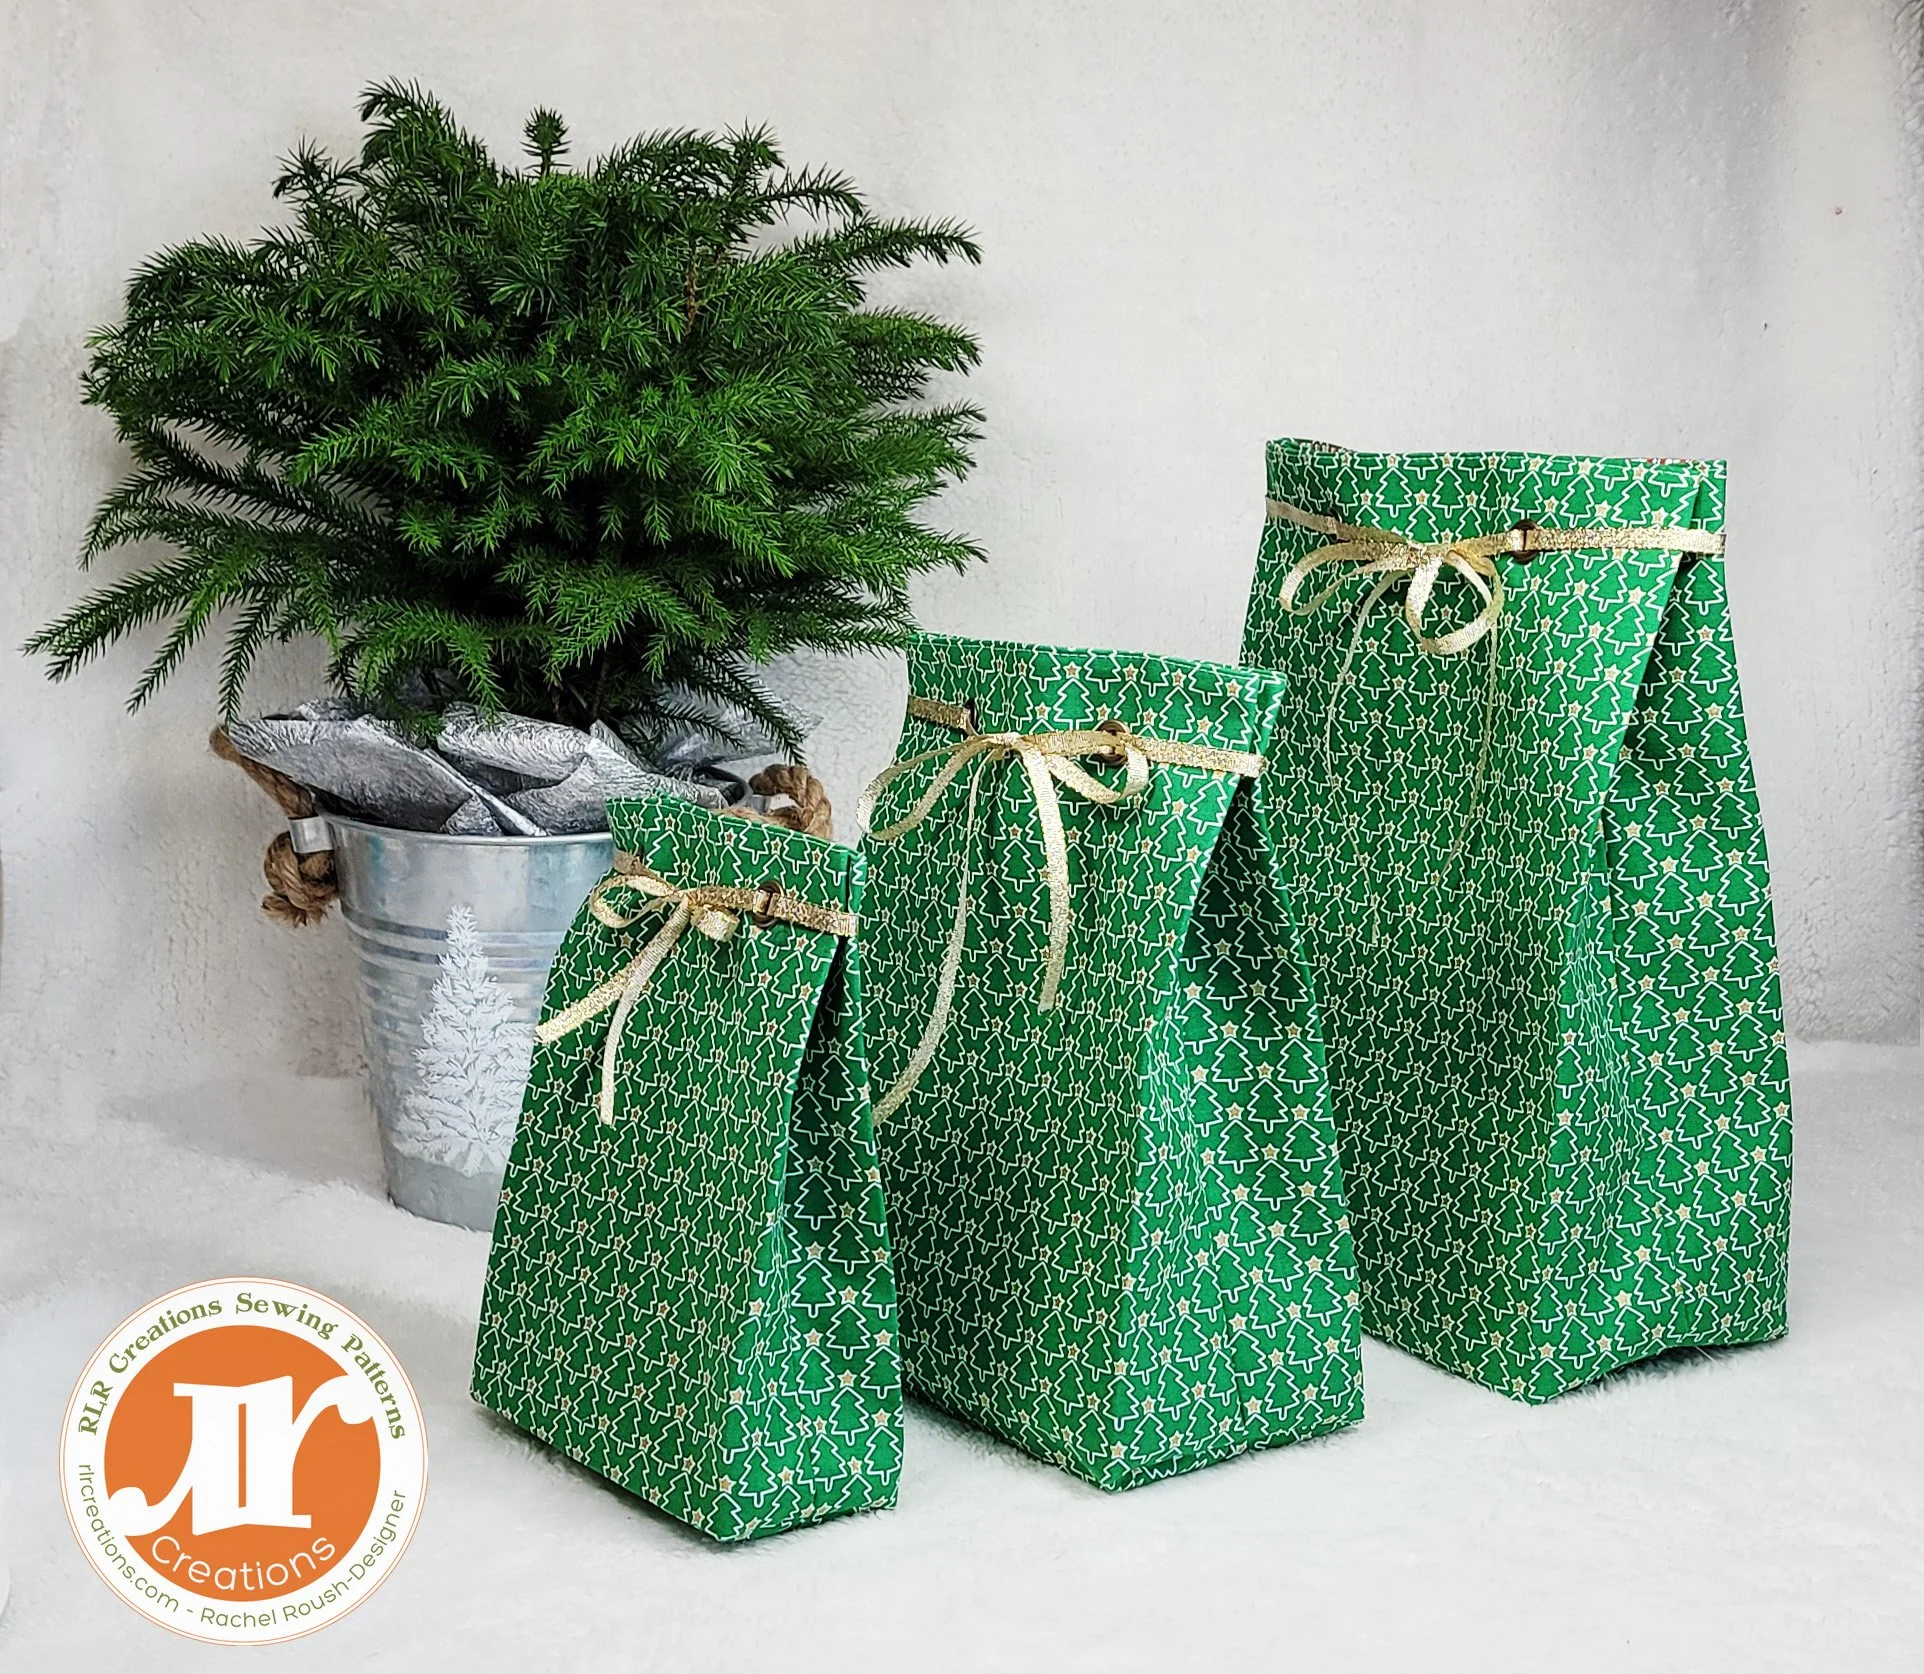

CM9637-GREE-D /

So, grab your favorite Michael Miller Fabrics Holiday Prints and follow along with the free step by step tutorial below.


Reusable Gift Bag Finished sizes are:
Small Size: 5 1/2” x 7 1/2” x 2 1/2”
Medium Size: 6 1/2” x 9 1/2” x 4”
Large Size: 8 1/2” x 11 1/2” x 4 1/2”
Reusable Holiday Gift Bags Tutorial
Materials Needed
FABRICS AND INTERFACINGS:
(Amounts listed will be enough to complete all three sizes!)
1 yard 44” wide Quilting Cotton -Main Fabric
1 yard 44” wide Quilting Cotton Lining Fabric- Lining Fabric
1 yard 45” Pellon SF101 Shapeflex Interfacing - Interfacing
OTHER:
1 yard 44” wide Quilting Cotton -Main Fabric
12- ¼” diameter grommets- (4 per each bag)
4 yards ¼” wide ribbon
Sewing Machine
Coordinating Thread
Pins or sewing clips
Cut the fabrics and interfacing for each sized bag using the chart below:

1. Following the manufacture’s directions fuse a piece of interfacing to the WRONG SIDE of each Main Fabric piece.
2. Place the two Main Fabrics RIGHT SIDES TOGETHER, and the two Lining Fabrics RIGHT SIDES TOGETHER for each size.
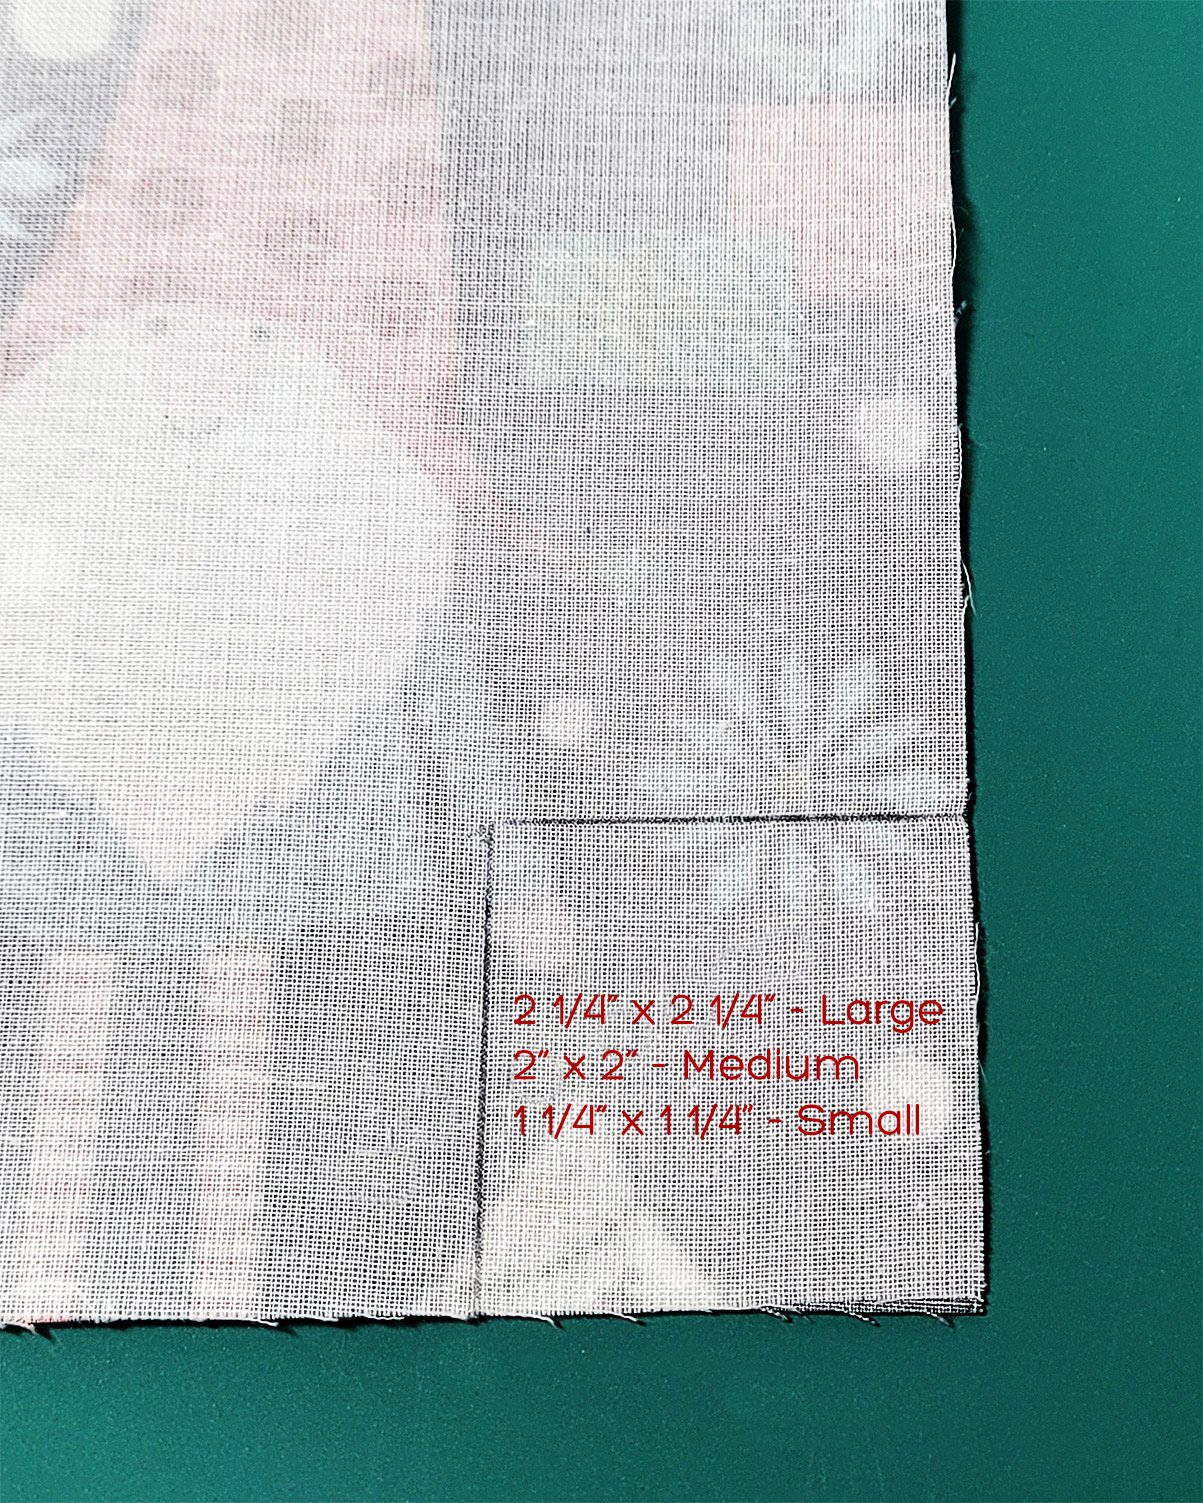
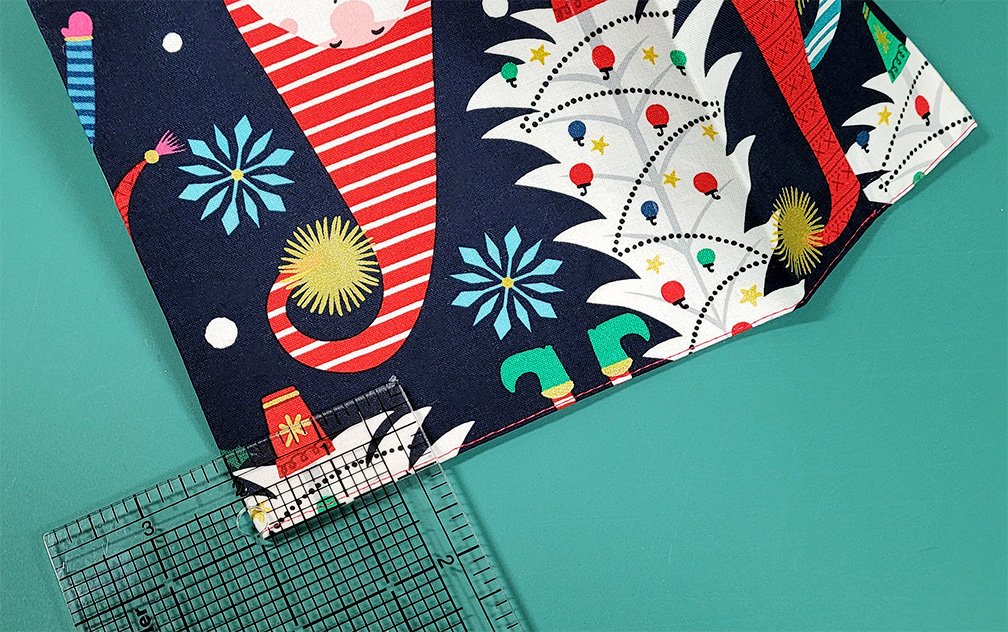
3. MITERING THE CORNERS:
Making sure the two layered fabrics are aligned together along all sides, for both the Main Fabrics and Lining Fabrics, measure and cut a square from each bottom corner as follows:
For the Large- Measure, mark, and cut a 2 ¼” square from each bottom side.
For the Medium- Measure, mark, and cut a 2” square from each bottom side.
For the Small- Measure, mark, and cut a 1 ¼” square from each bottom side.

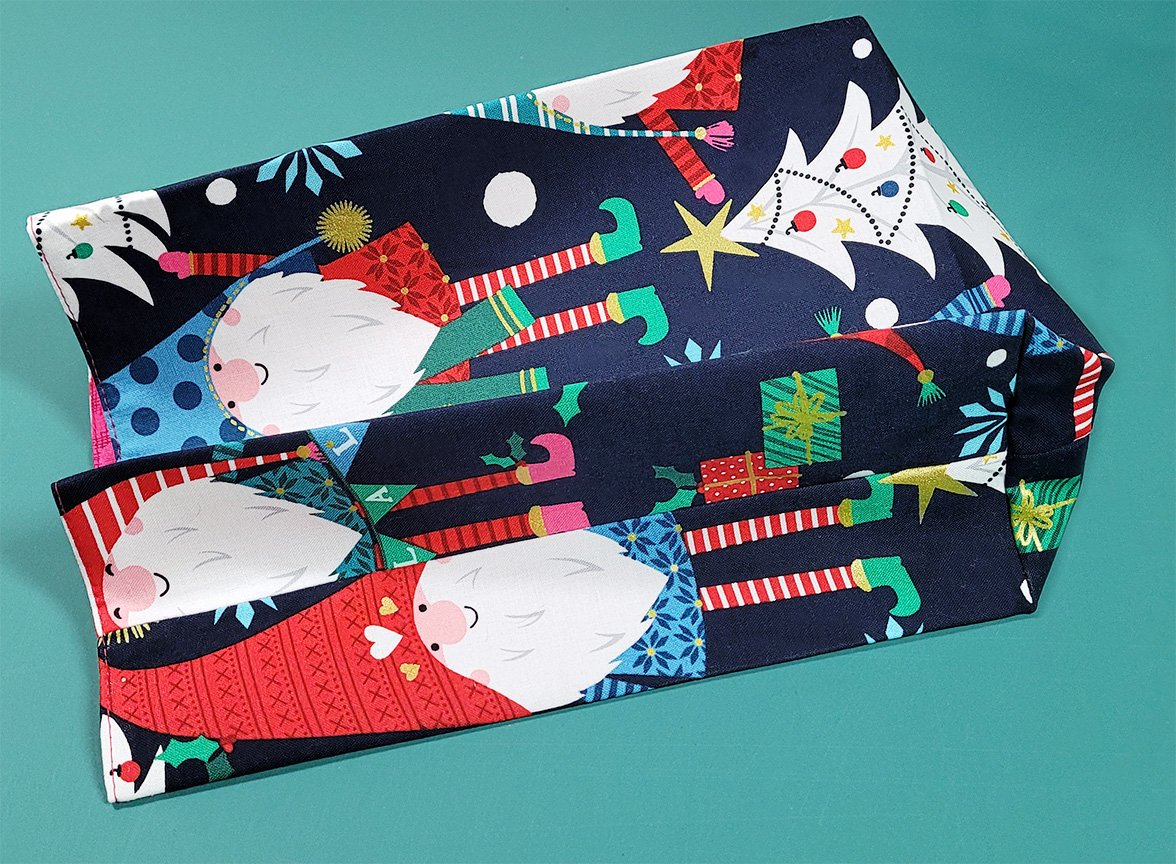
4. Take the two Main Fabric pieces (RIGHT SIDES TOGETHER) and pin the side and bottom edges together. Stitch down both sides and across the bottom with a 1/4” seam allowance.
5. Next, pin the side and bottom edges of the Lining pieces then stitch down each side with a 3/8” seam allowance, then stitch across the bottom edge leaving a 3” opening at the center for turning.

6. Press the seams open. At the bottom corners on each piece align the side seam and bottom seams together then, align the raw edges and pin in place. Stitch across each corner with a 1/4” seam allowance.

7. Turn the Main Fabric piece RIGHT SIDE OUT. Place the Main Fabric piece into the Lining Fabric piece so the two are RIGHT SIDES TOGETHER. Align the side seams and the top raw edges. Pin in place.

8. Stitch all the way around the top with a ¼” seam allowance.
9. Turn RIGHT SIDE OUT by pulling the Main Fabric through the opening in the Lining.

10. Once the entire bag is turned through the lining fabric, align the unsewn section at the bottom of the lining, keeping the raw edges tucked in, and pin. Edge stitch across to close the opening.
11. Tuck the Lining down into the Main and press the top seamed edge. Then, topstitch around the top edge with a ¼” seam allowance.
12. At one bag corner fold all of the layers together the length of the bag and press. Repeat for the remaining 3 corners. Align the two folds together at each side and press again.

13. Add the Grommets to the front and back of each bag.
Mark the position for the grommets as follows
For the Large- Measure and mark 1” down from the top edge and 2 ¼” in from each side edge.
For the Medium- Measure and mark 1” down from the top edge and 2” in from each side edge.
For the Small- Measure and mark 7/8” down from the top edge and 1¼” in from each side edge.
14. Following the manufacture’s directions install two eyelets to each side of the bags.

15. Cut 1 yard of the ¼” ribbon then thread it through the eyelets on the Small bag.
Cut 1 ½” yard pieces of the ribbon for the Medium and Large sizes and thread though the eyelets on each bag.
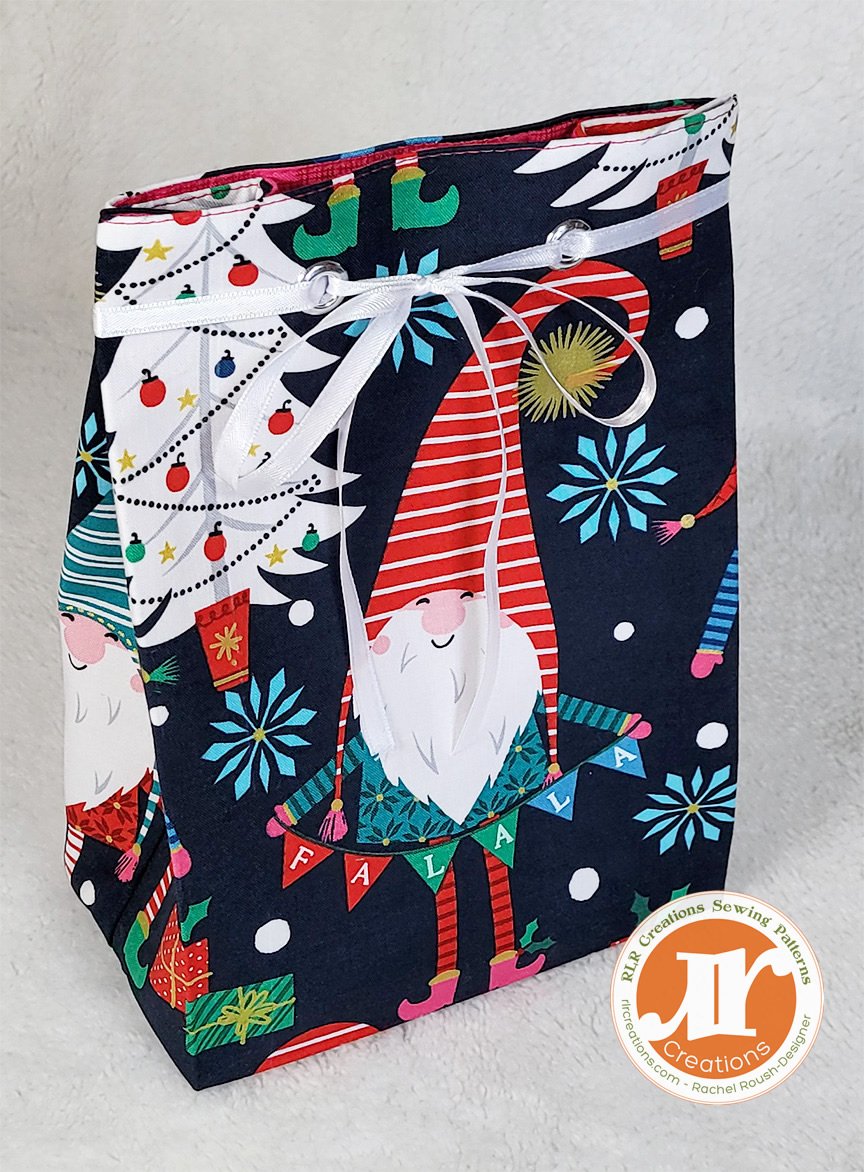
I hope you love sewing up your very own Reusable Holiday Gift Bags as much as I did creating them.
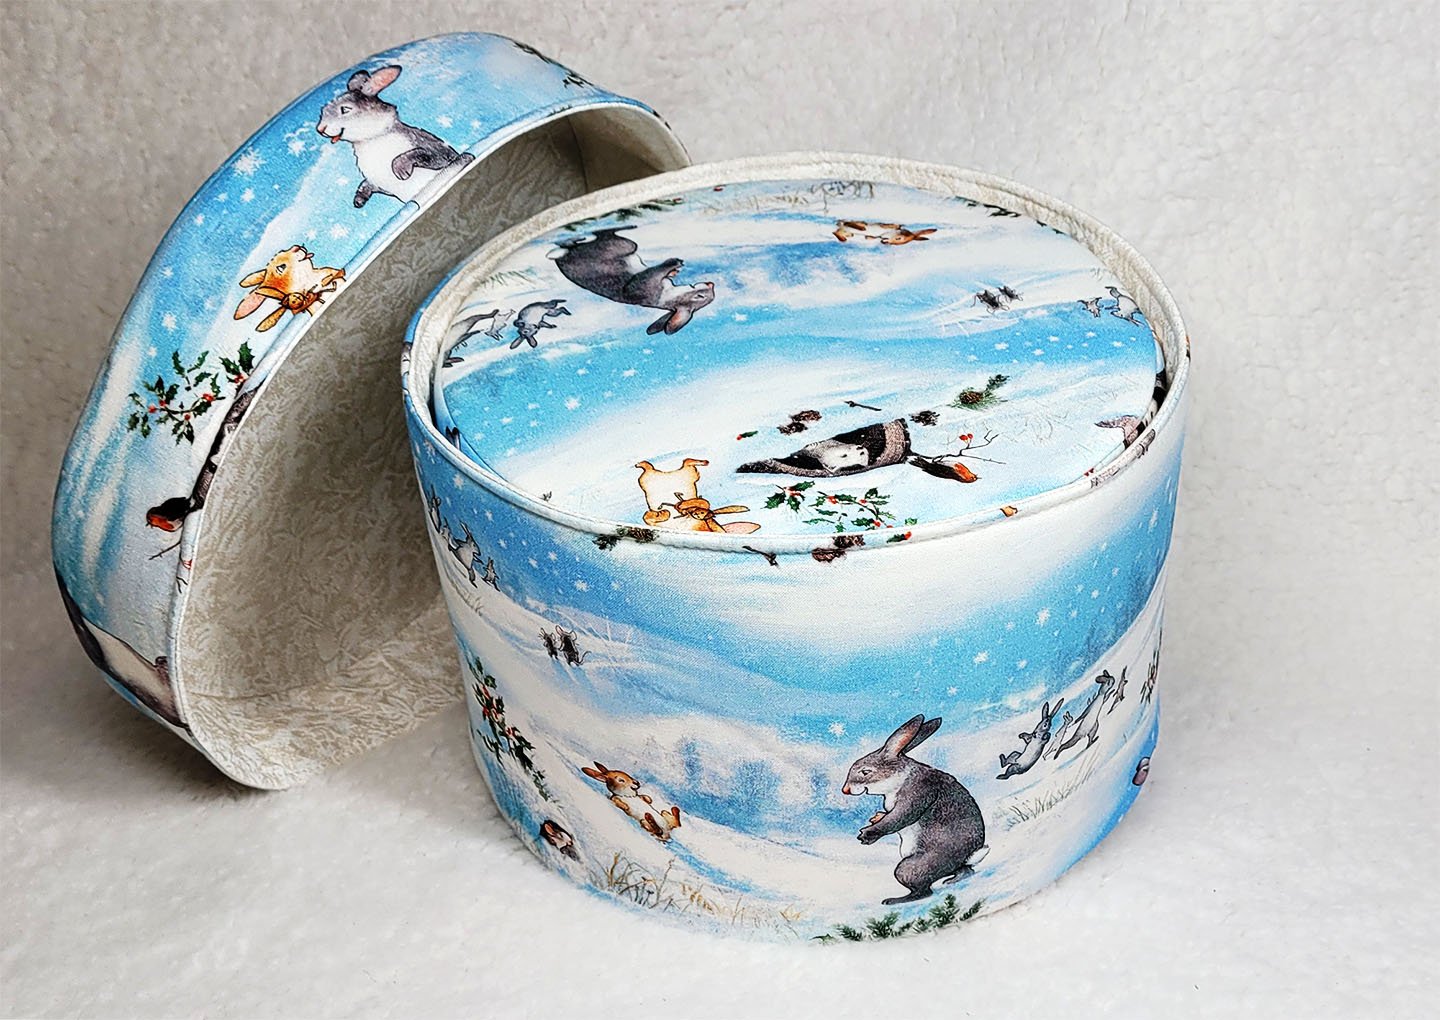
If you are looking for more unique and sustainable ways to package your gifts this holiday season, check out my free pattern for creating your very own Nesting Band Boxes HERE.

A heartfelt Thank You to Krismely and Michael Miller Fabrics for the opportunity to participate again in their Holiday Blog Hop!
I hope you have the happiest holiday season and a wonderful New Year!
In case you missed any of the previous blog hop participates you can find them here:

Click on the photo above to visit all of the Michael Miller Holiday Blog Hops!