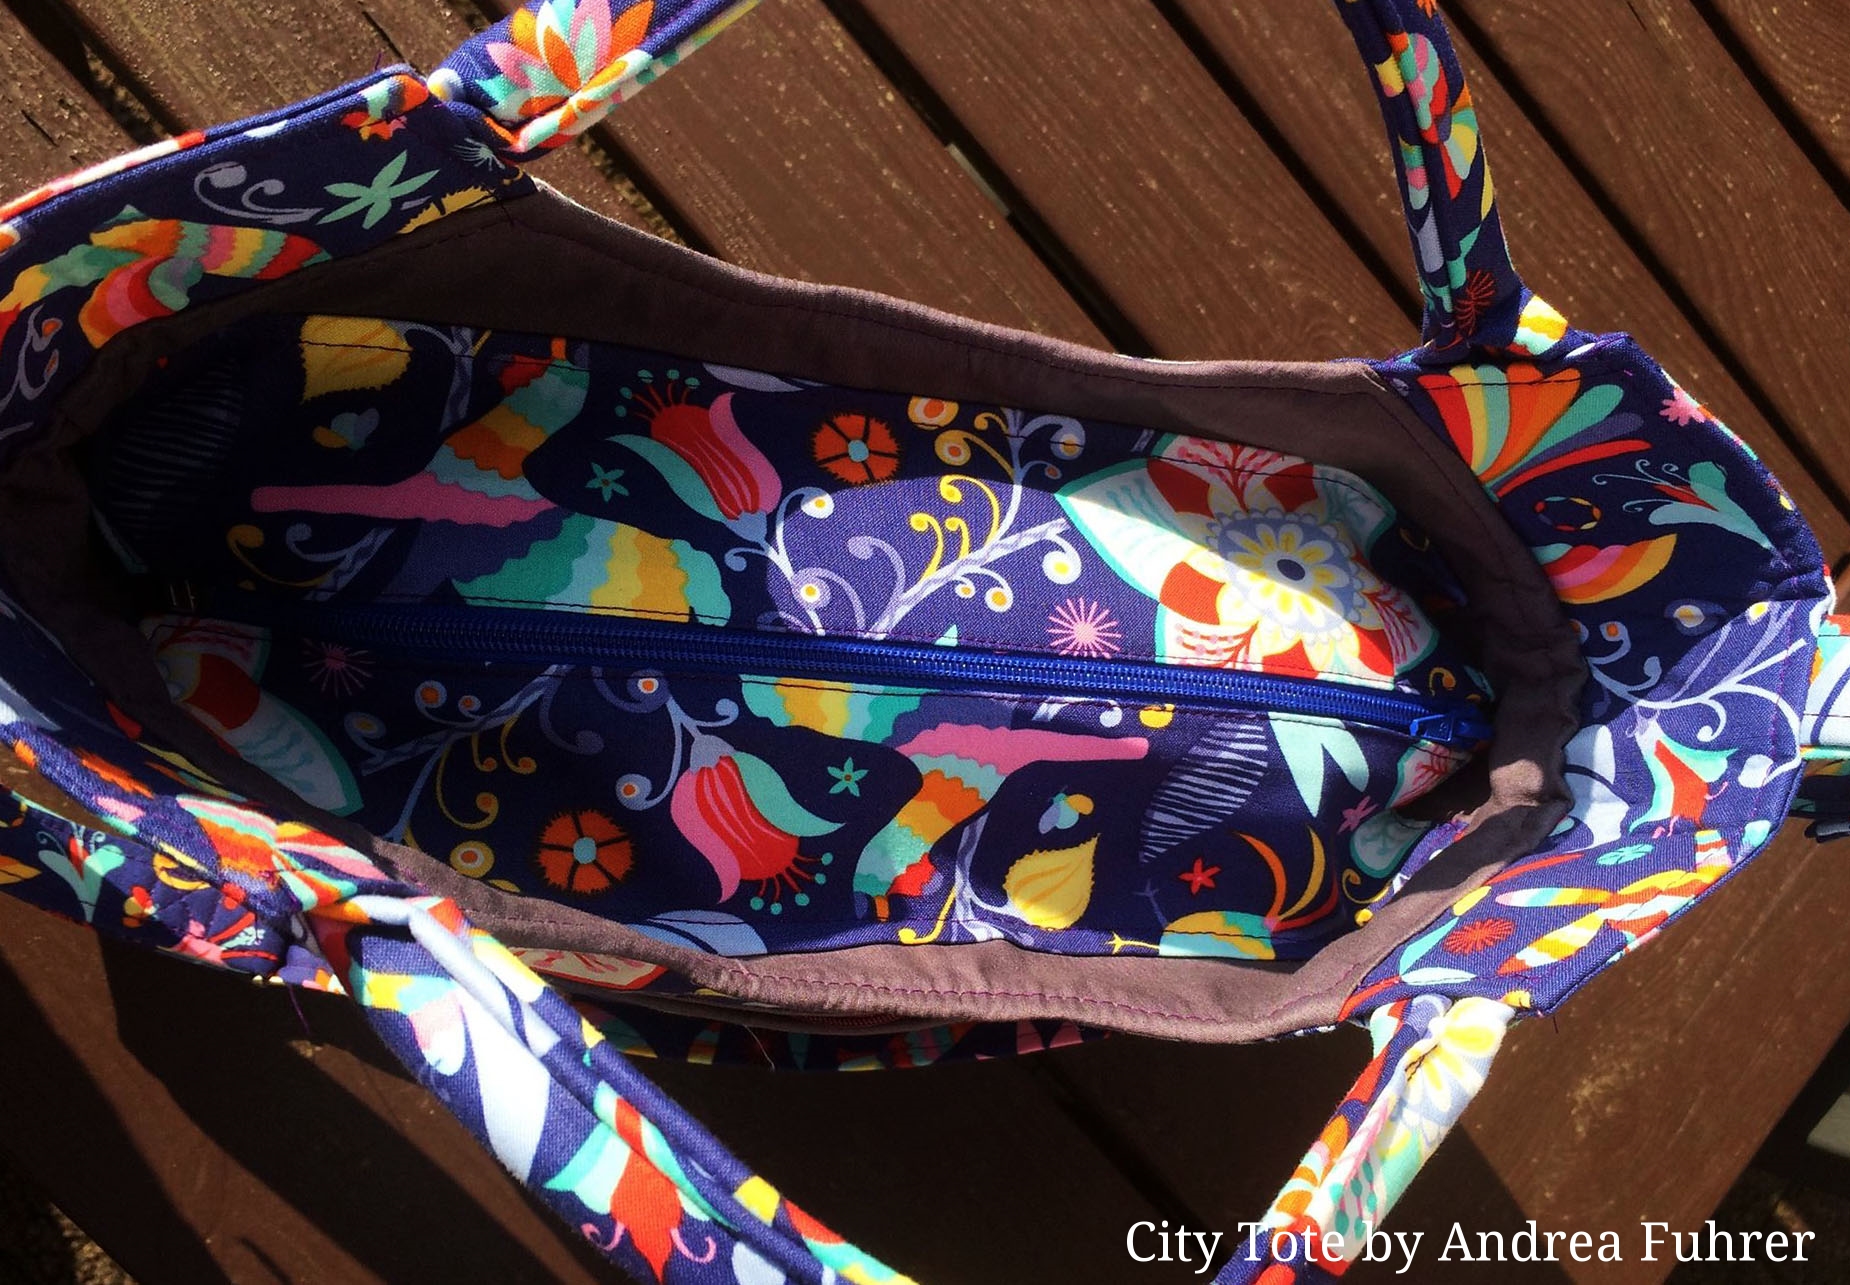
Of all of my Patterns the City Tote continues to be my favorite one and remains one year after it's launch a top seller. Today, on it's one year Published Anniversary, I have revamped the entire pattern to now include pattern piece labels, a before you begin check list, along with even more illustrations to aid you in making your very own from beginning to finish.

THE CITY TOTE IN A DAYTRIPPER AND EVERYDAY SIZE
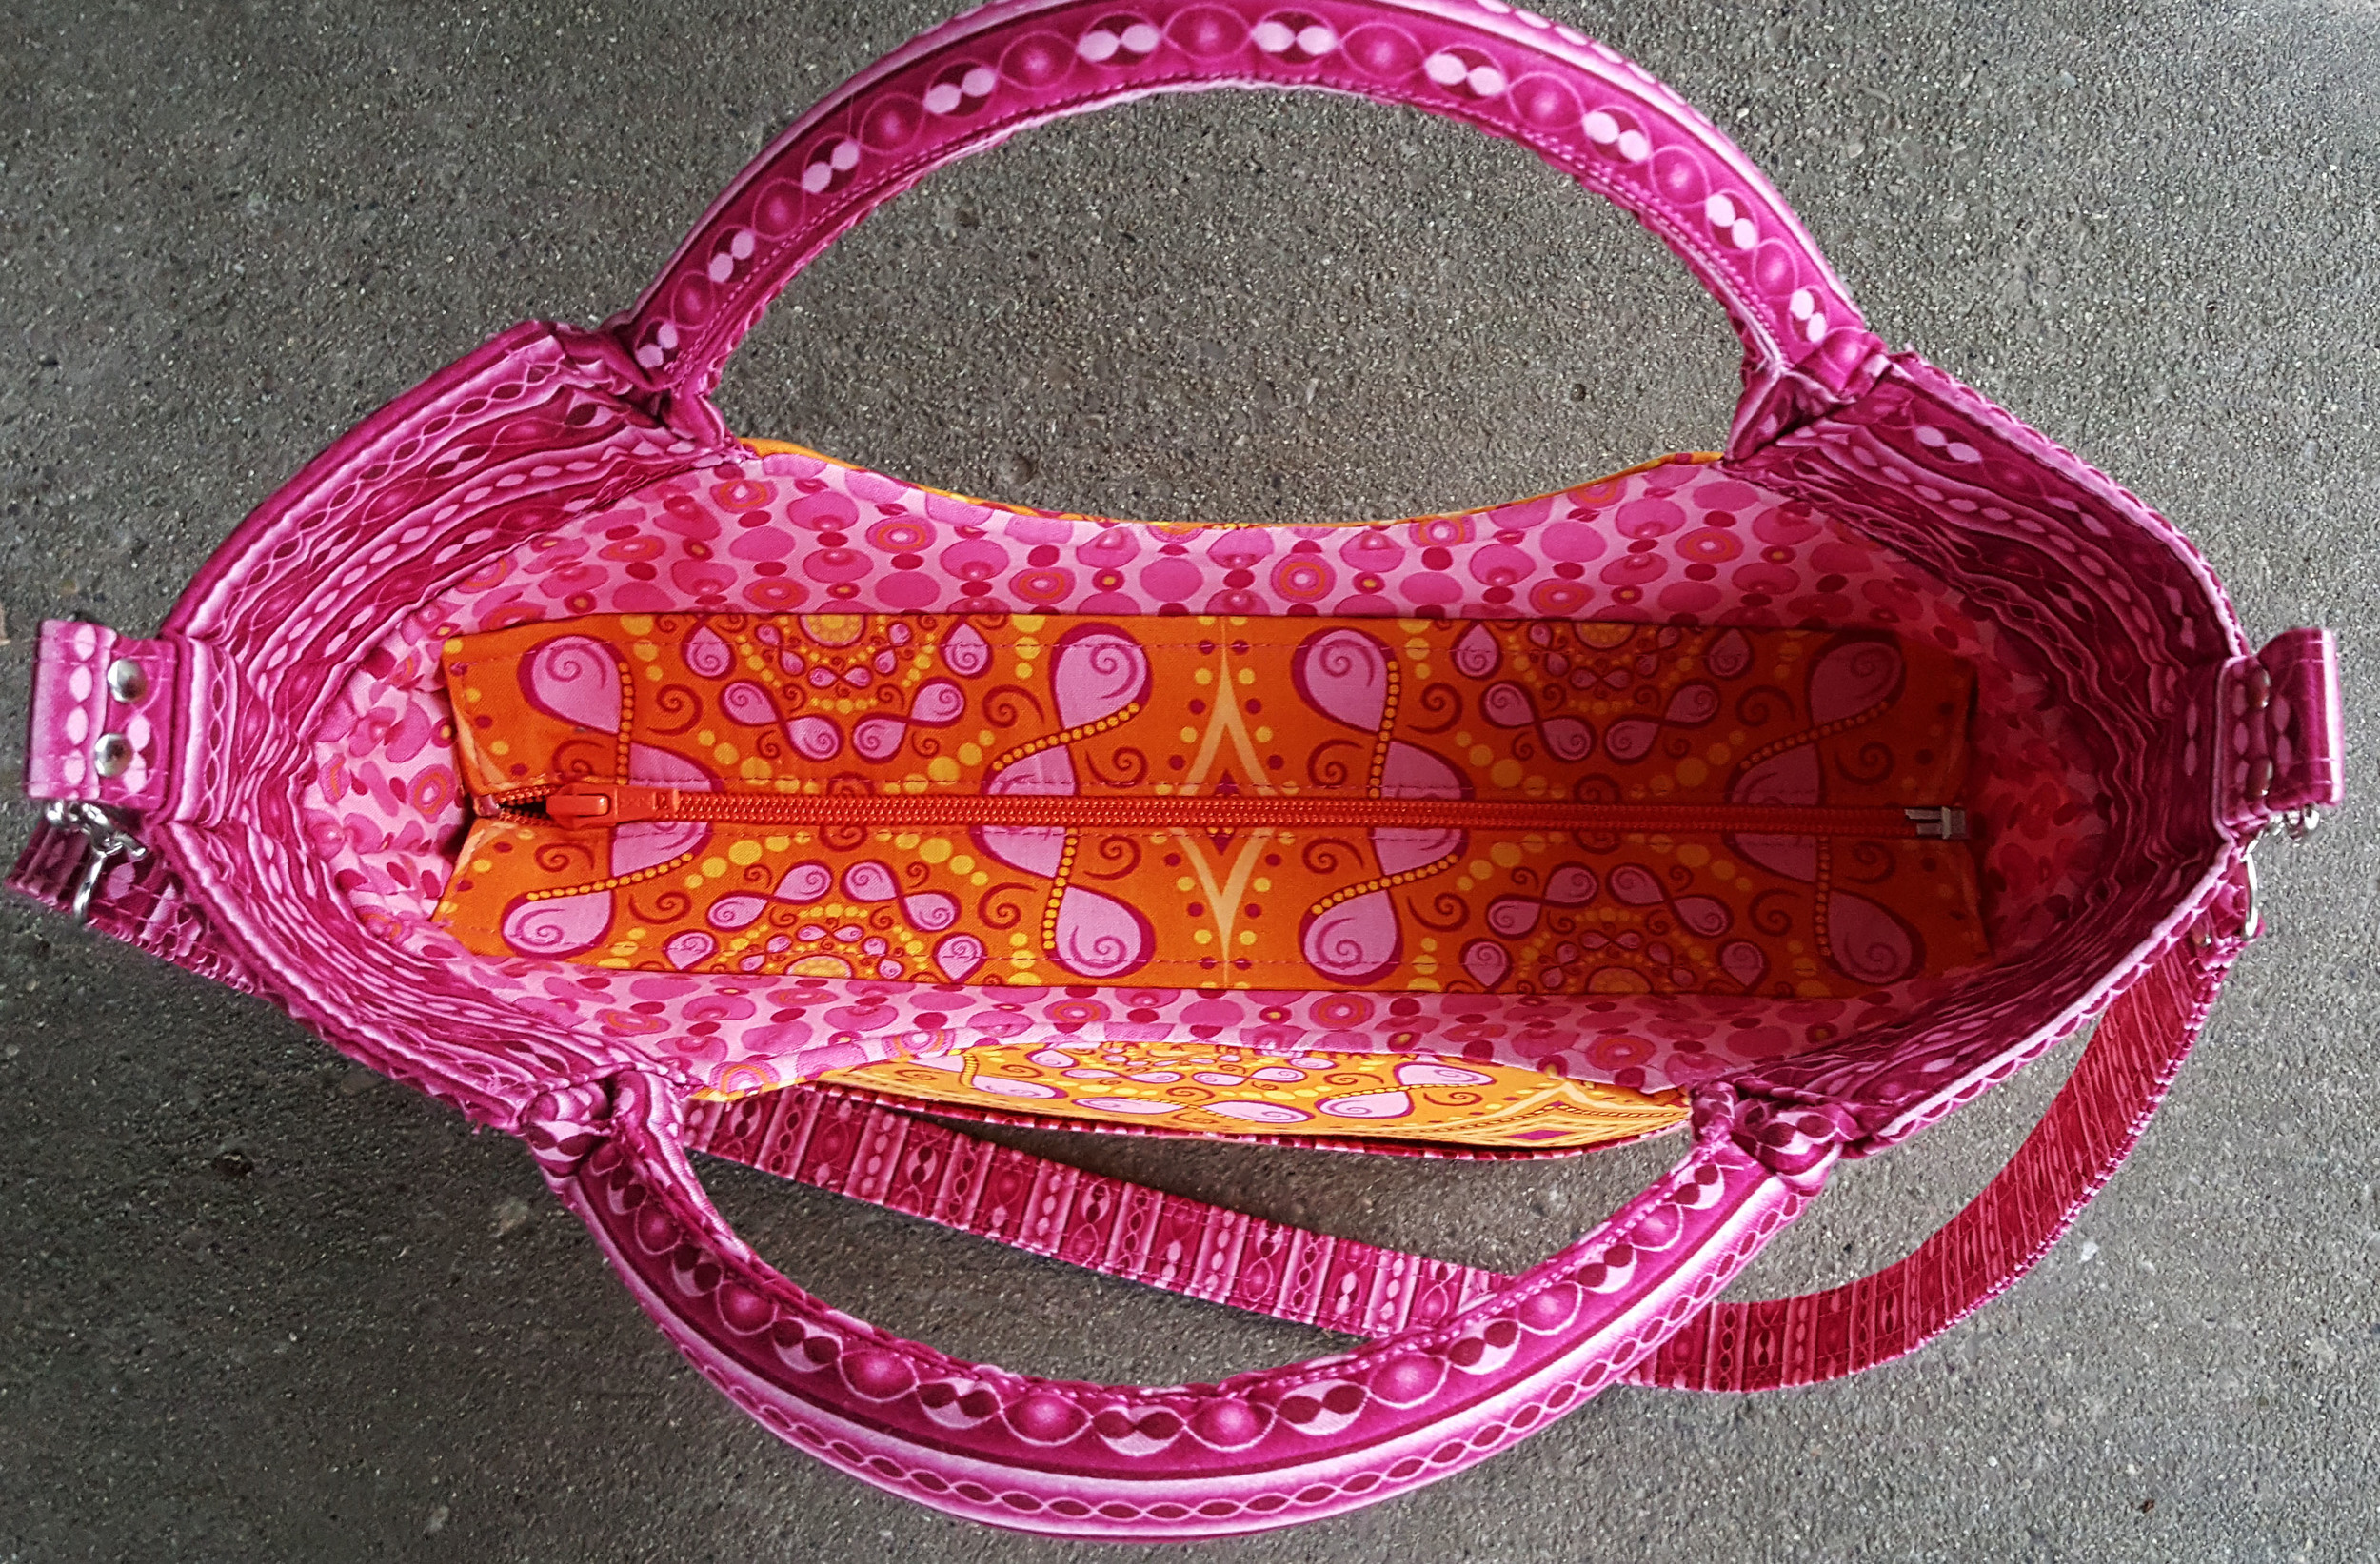
The biggest question I have been asked about the City Tote, specifically the Everyday size is how to add a zipper closure to keep it's contents more secure. So, whether this is your first time making the Everyday sized City Tote or you are ready to make a new one with a zippered top follow along and easily replace the magnetic snap closure with a zipper top closure.
The City Tote: Adding a recessed Zipper

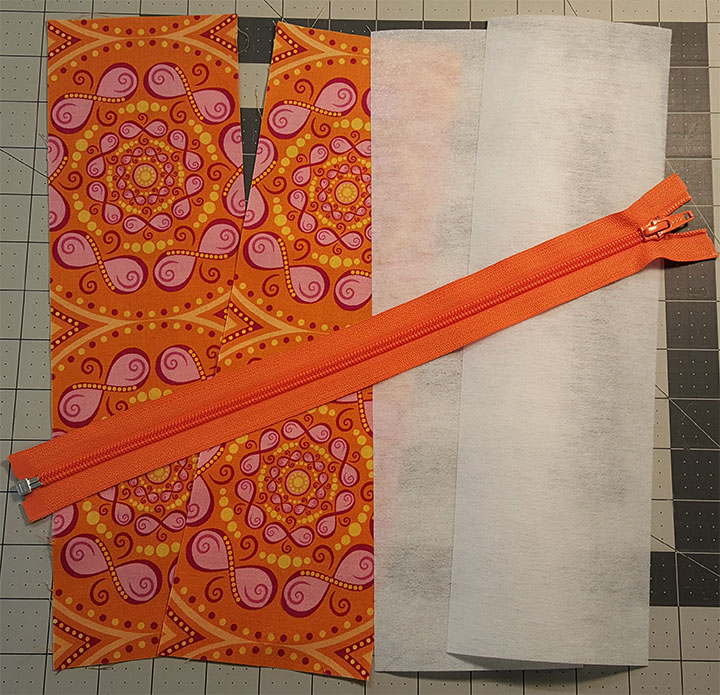
Materials Needed:
- Zipper Panels: 13” x 4” - Cut 2 Main or Lining Fabric (your choice) and 2 Pellon® 809 Décor-Bond® firm, nonwoven, fusible stabilizer
- 1- 12” Separating Zipper
This tutorial is written for the Everyday sized (Small) City Tote.
*If you would like to add a recessed zipper to the Daytripper (Large Size) you can follow the same method but cut your Zipper Panels and interfacing 17" x 5" and you wil need a 16" Separating Zipper.*
Preparing the Pieces:
1. Fuse the interfacing to the wrong sides of the fabric pieces

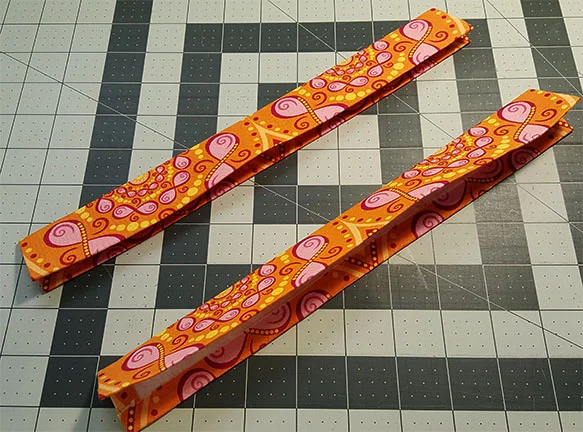
2. Fold a Zipper Panel in half lengthwise, WRONG SIDES TOGETHER and press at the fold. REPEAT with the second Zipper Panel Piece.
2. Open each of the Zipper Panels and place WRONG SIDE UP.
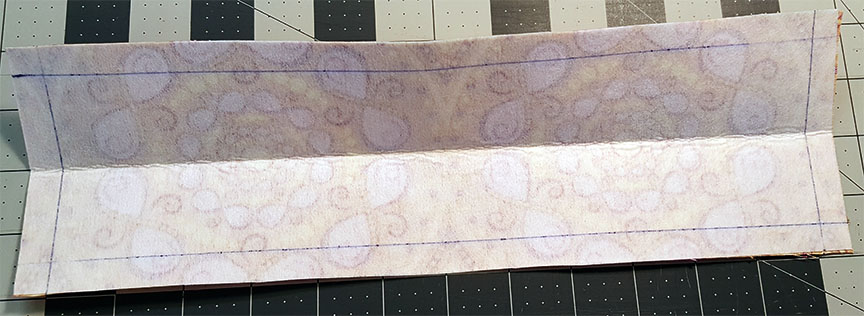
3. Fold the short outer edges in (towards the interfacing) ½” and press.

4. Fold in the long sides in ½” and press.
5. Fold the pieces in half again and crease making sure all of the raw edges are tucked inside and all of the edges are aligned.
**CHECK:
The piece should now measure 12” long.
Adding the Zipper:
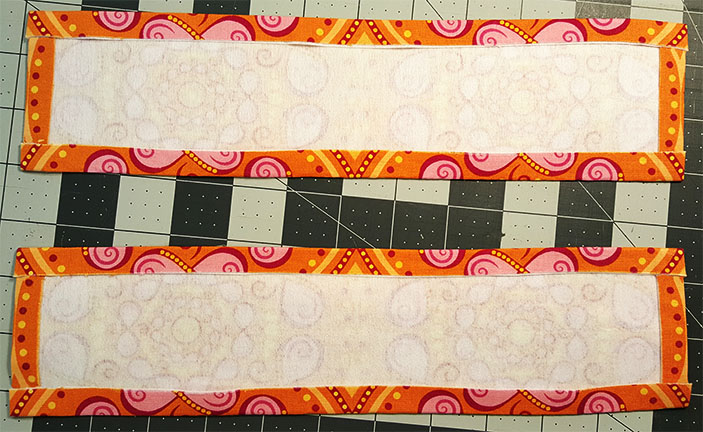
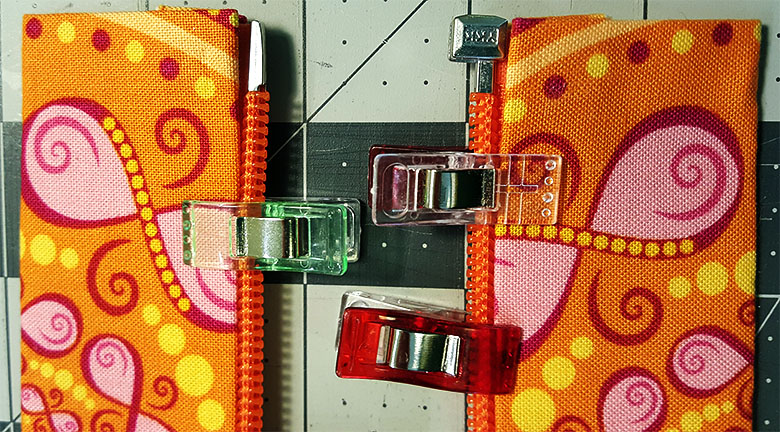
6. Separate your 12” zipper into two pieces.

7. Place one of the zipper pieces into the long edge of one of your Zipper Panels, in between the two layers aligning with the folded in edges on both sides. Pin in place. Repeat with the second zipper to sandwich it between the long outer edges of the other Zipper Panel.
Attaching Zipper Panels to Lining Pieces:
1. Place one of the Lining Fabric Main Panel (Piece C) pieces RIGHT SIDE UP. From the top raw edge measure down 1 ½” and mark a horizontal line across the piece.
2. Align one of the Completed Zipper Panels, RIGHT SIDE UP, along the vertical line you just drew and 1” in from both sides. Pin in place.
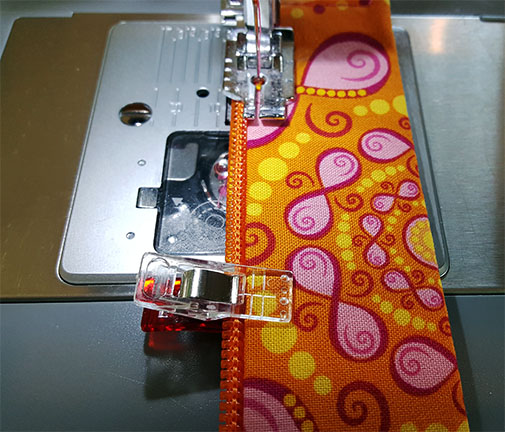
3. Sew across the pinned edge with a ¼” seam allowance to attach.

**Be sure that the zipper pieces are placed correctly so they match and you can zip it closed.


8. Sew down the short edge and across the bottom, then up the second short edge side with ¼” seam allowance on both pieces.
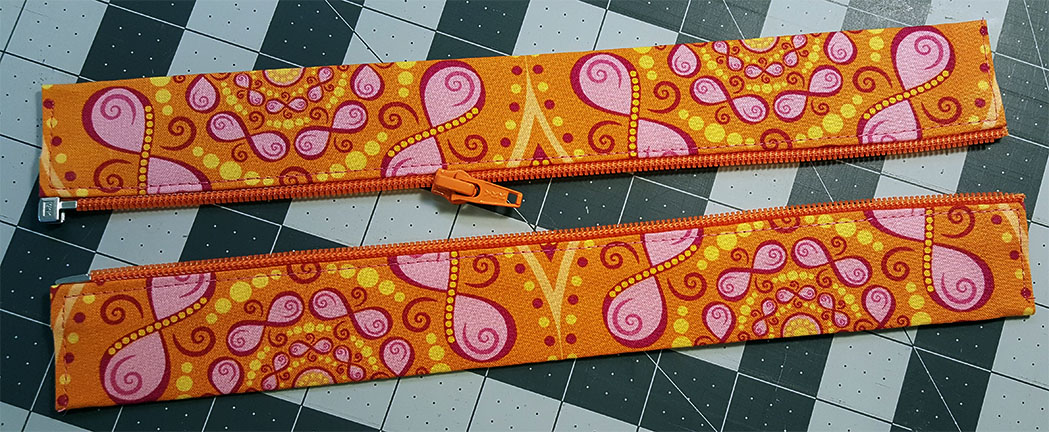


4. REPEAT STEPS 1-3 to attach the other completed Zipper Panel to the second Lining Piece. Be sure that the zipper pieces match so you can zip it closed.


Finishing:
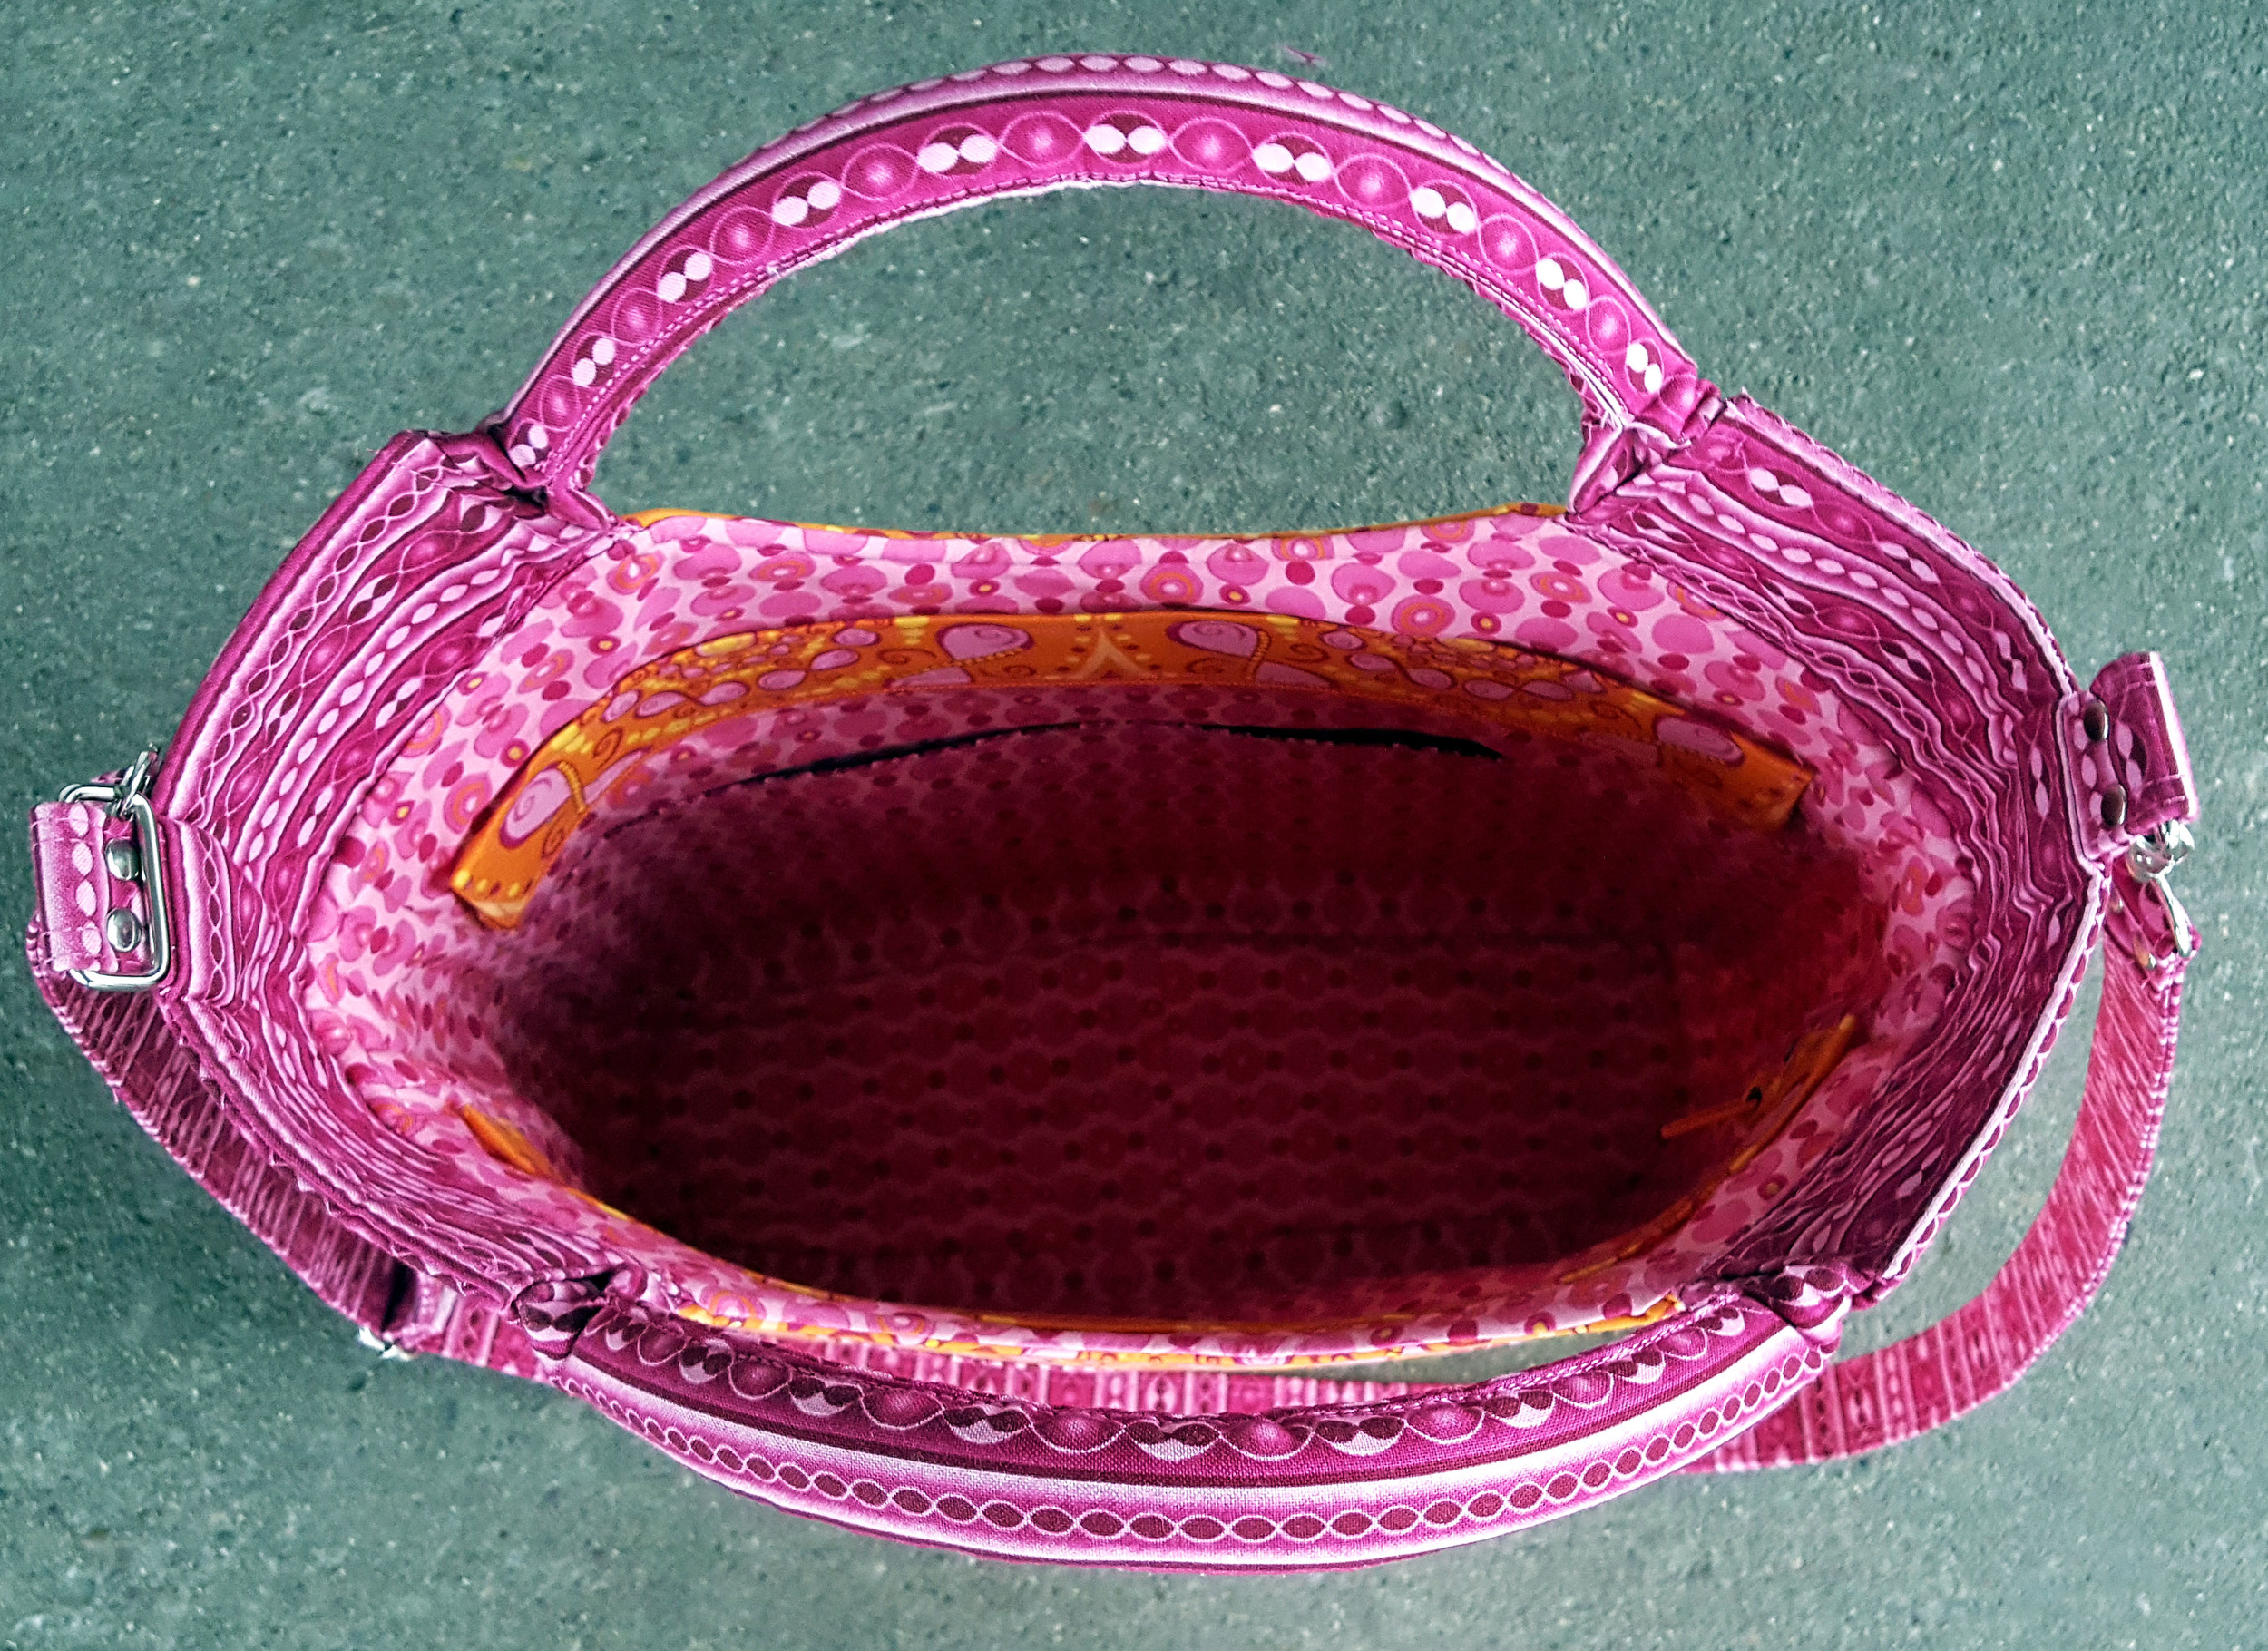
Now you are ready to continue with the instructions to finish your City Tote, starting on Page 7: Side Panels.
If you would like a downloadable copy of these instructions to add to your printed pattern. You can grab the PDF here.
If you have not purchased the City Tote pattern yet now is a great time to give it a try.
To celebrate the one year anniversary of the City Tote pattern it will be on sale, 25% off, all weekend long (March 11th-13th 2016)!
You can get your copy here: On Craftsy
or on my website here: City Tote Pattern
Need some more inspiration?
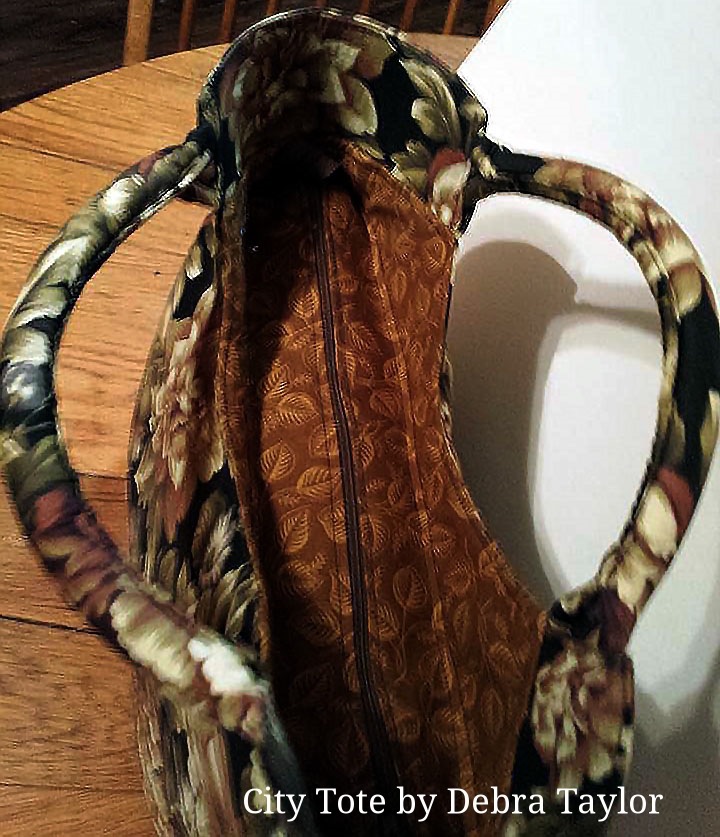
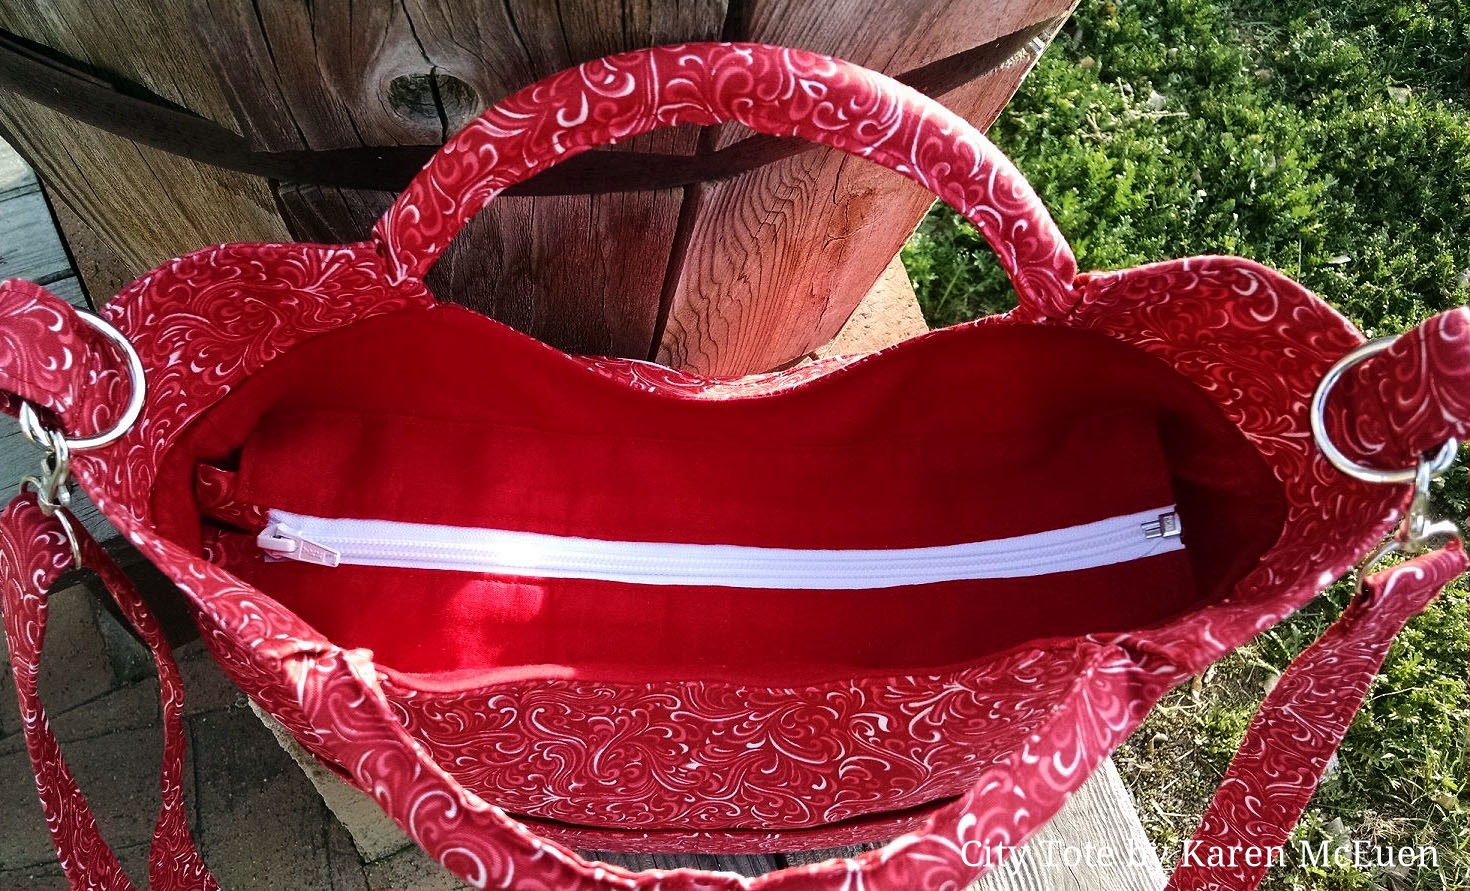
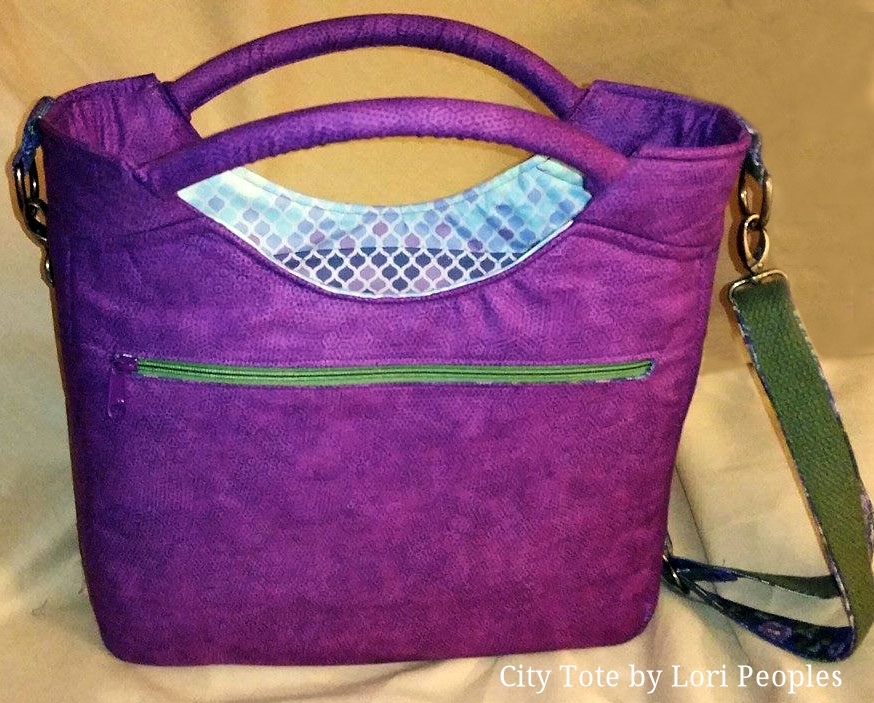
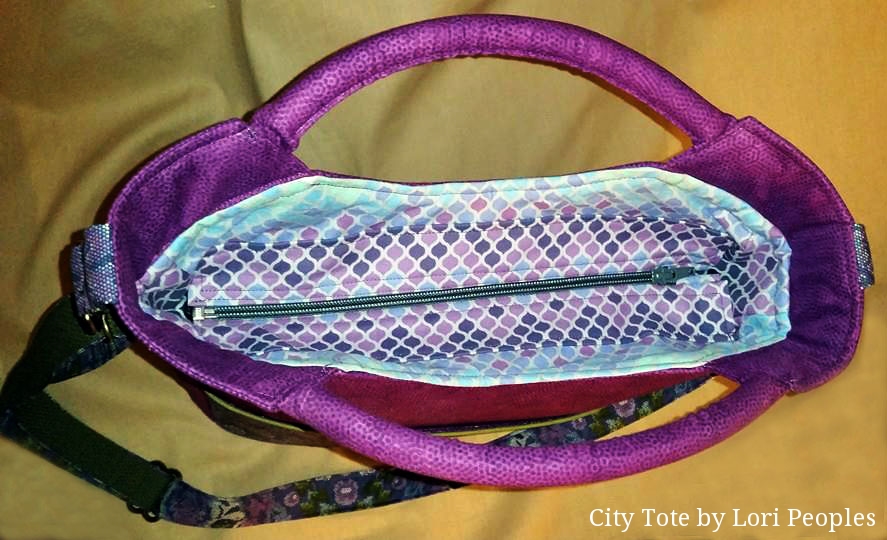
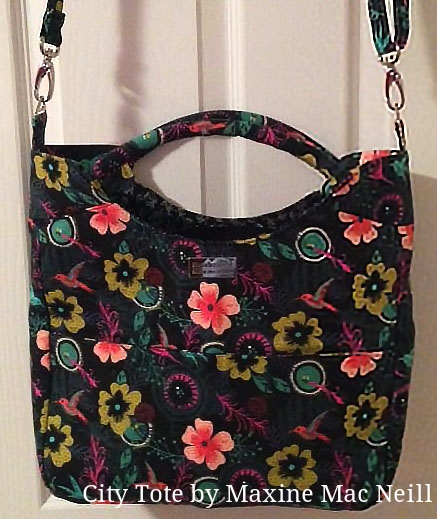
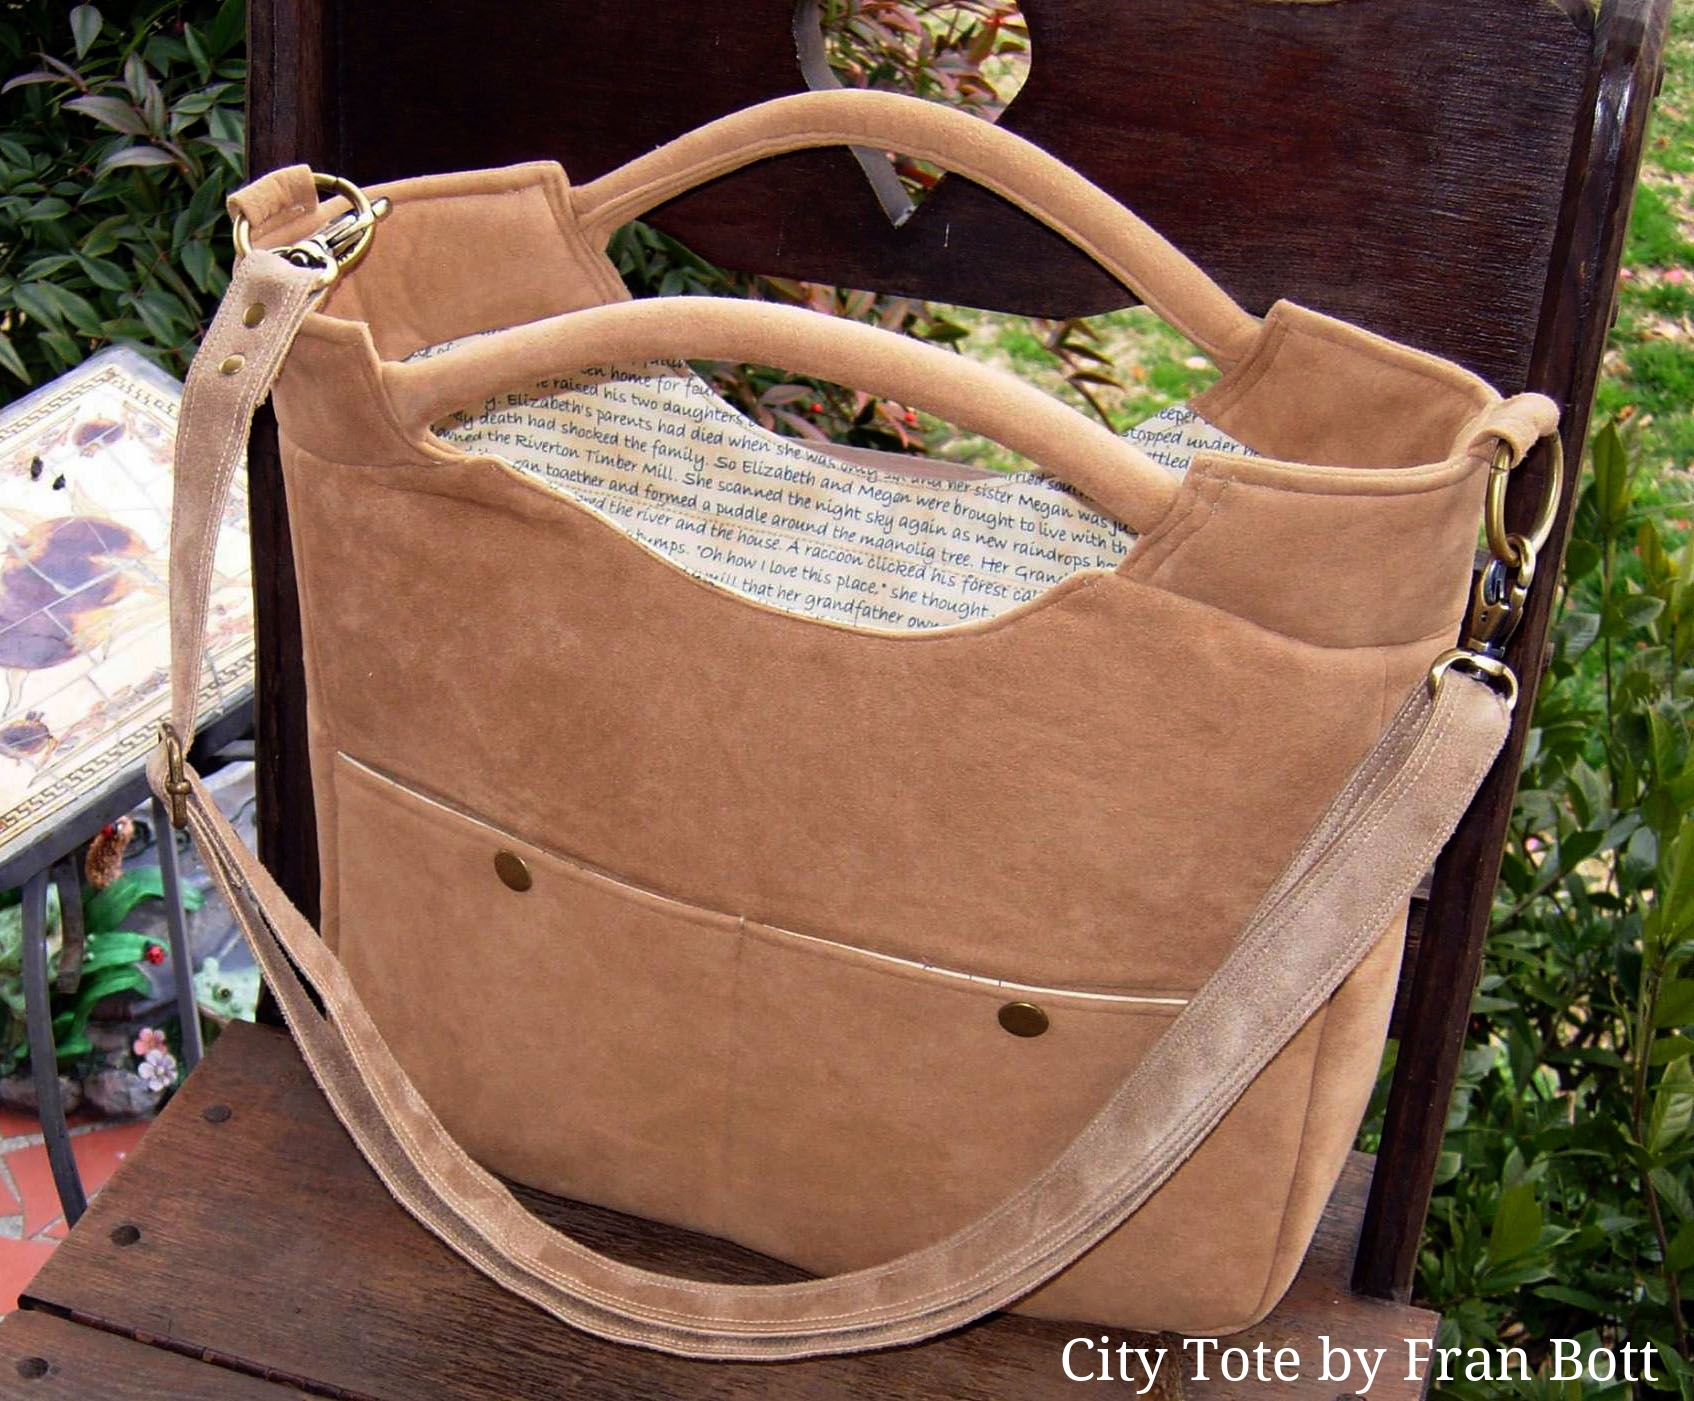
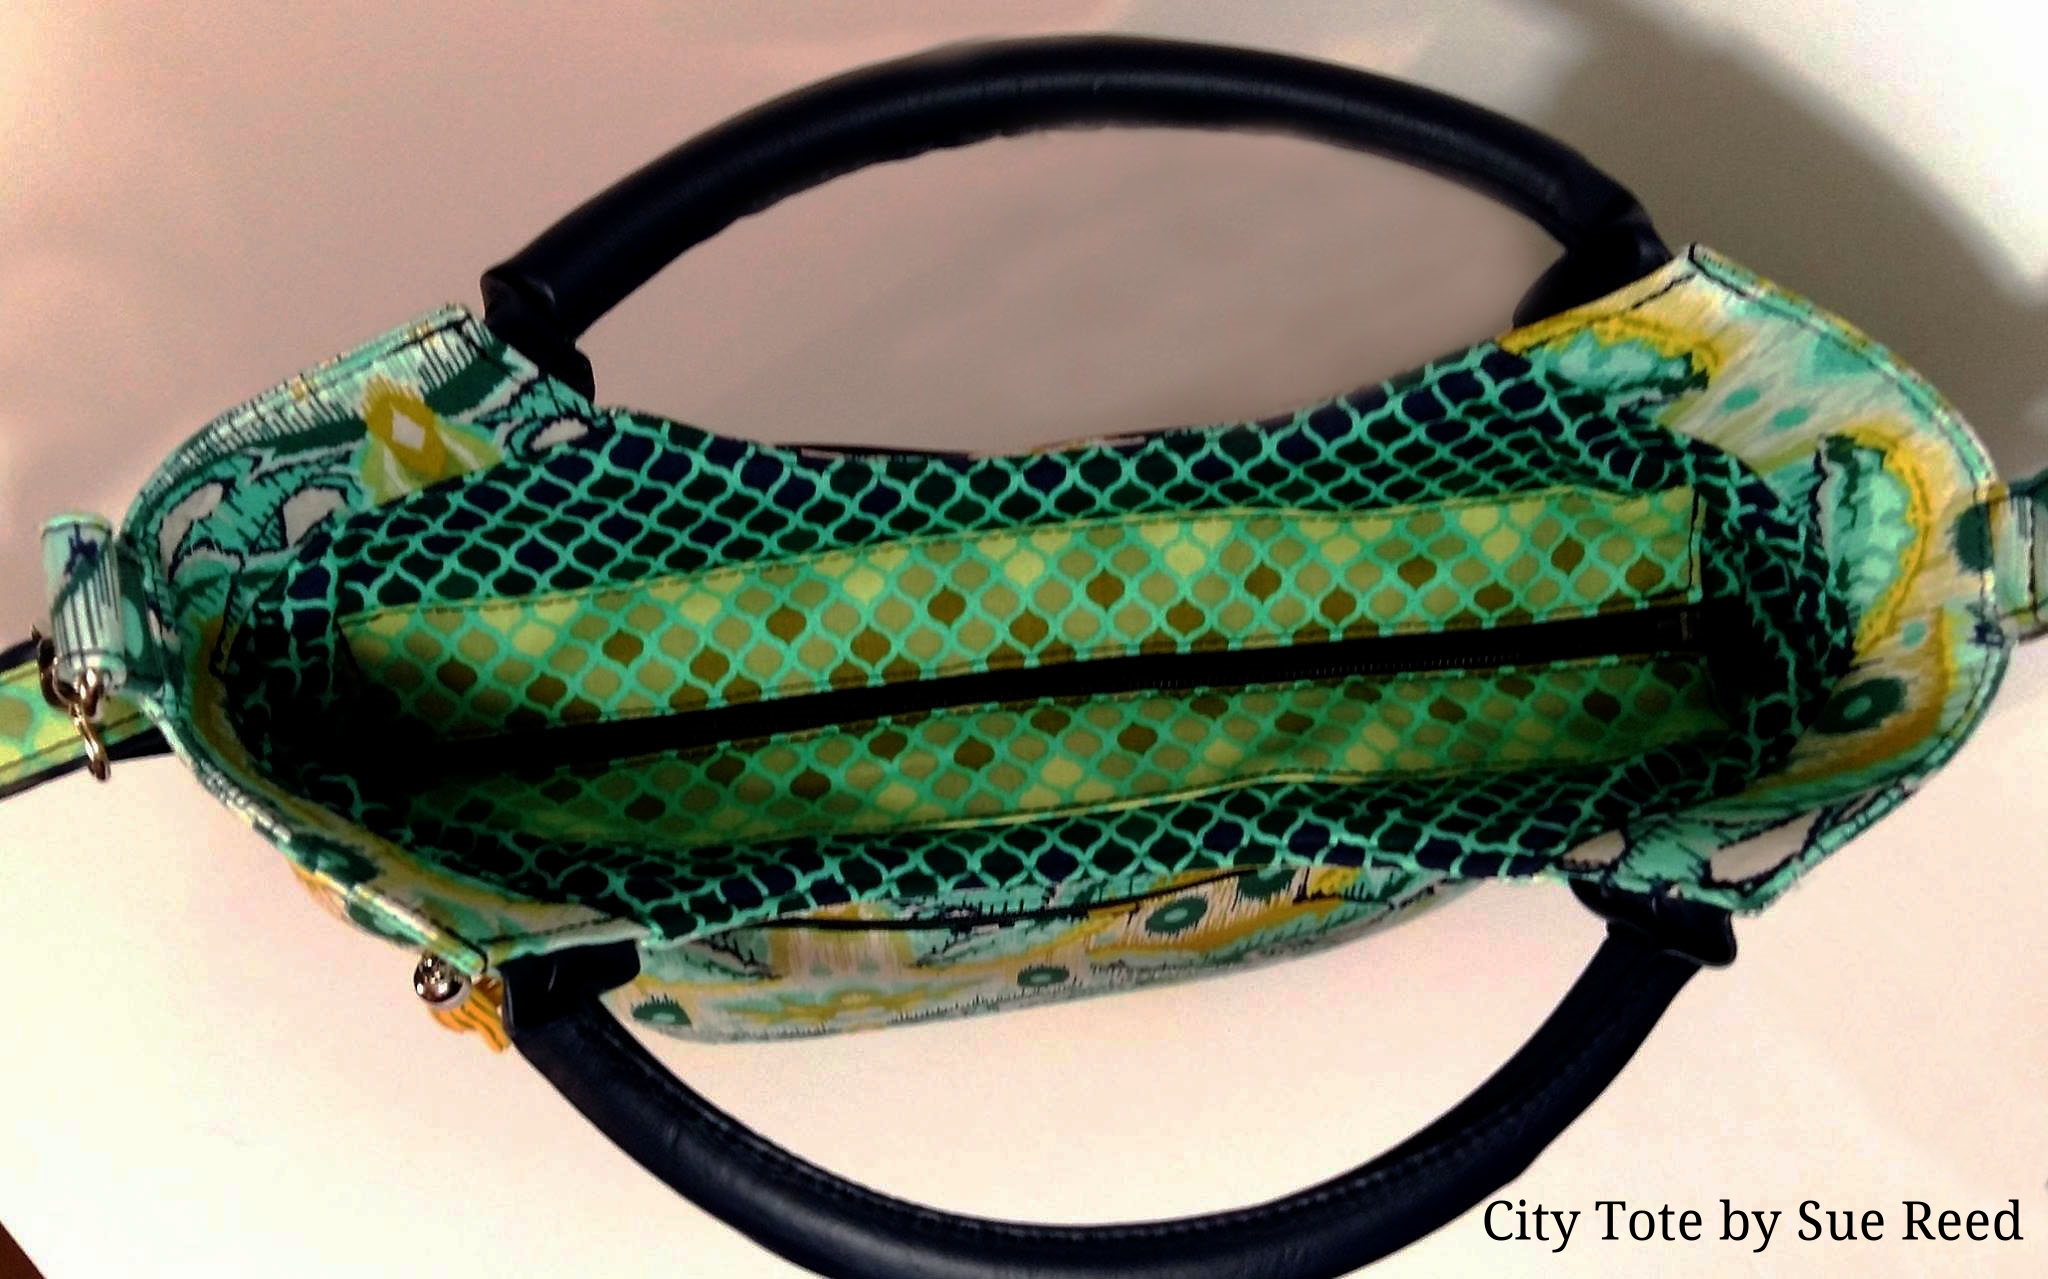
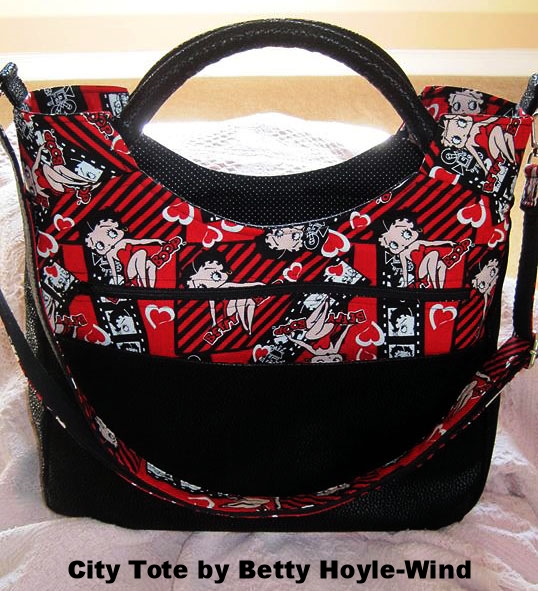
Take a moment to check out all of the fantastic City Totes with the Recessed Zipper Add-on made by my amazing pattern testers!