Welcome back to the RLR Creations “Pattern Spotlight”.
I’m Tanya Summers, Creative Director at Little Mate’s Wardrobe and one of your friendly admin on the RLR Creations Sewing Patterns group. In this edition, I am looking forward to show you some more tips and tricks in creating the RLR Creations “Titania Tote” pattern to help you create your very best version of one of my favourite patterns.

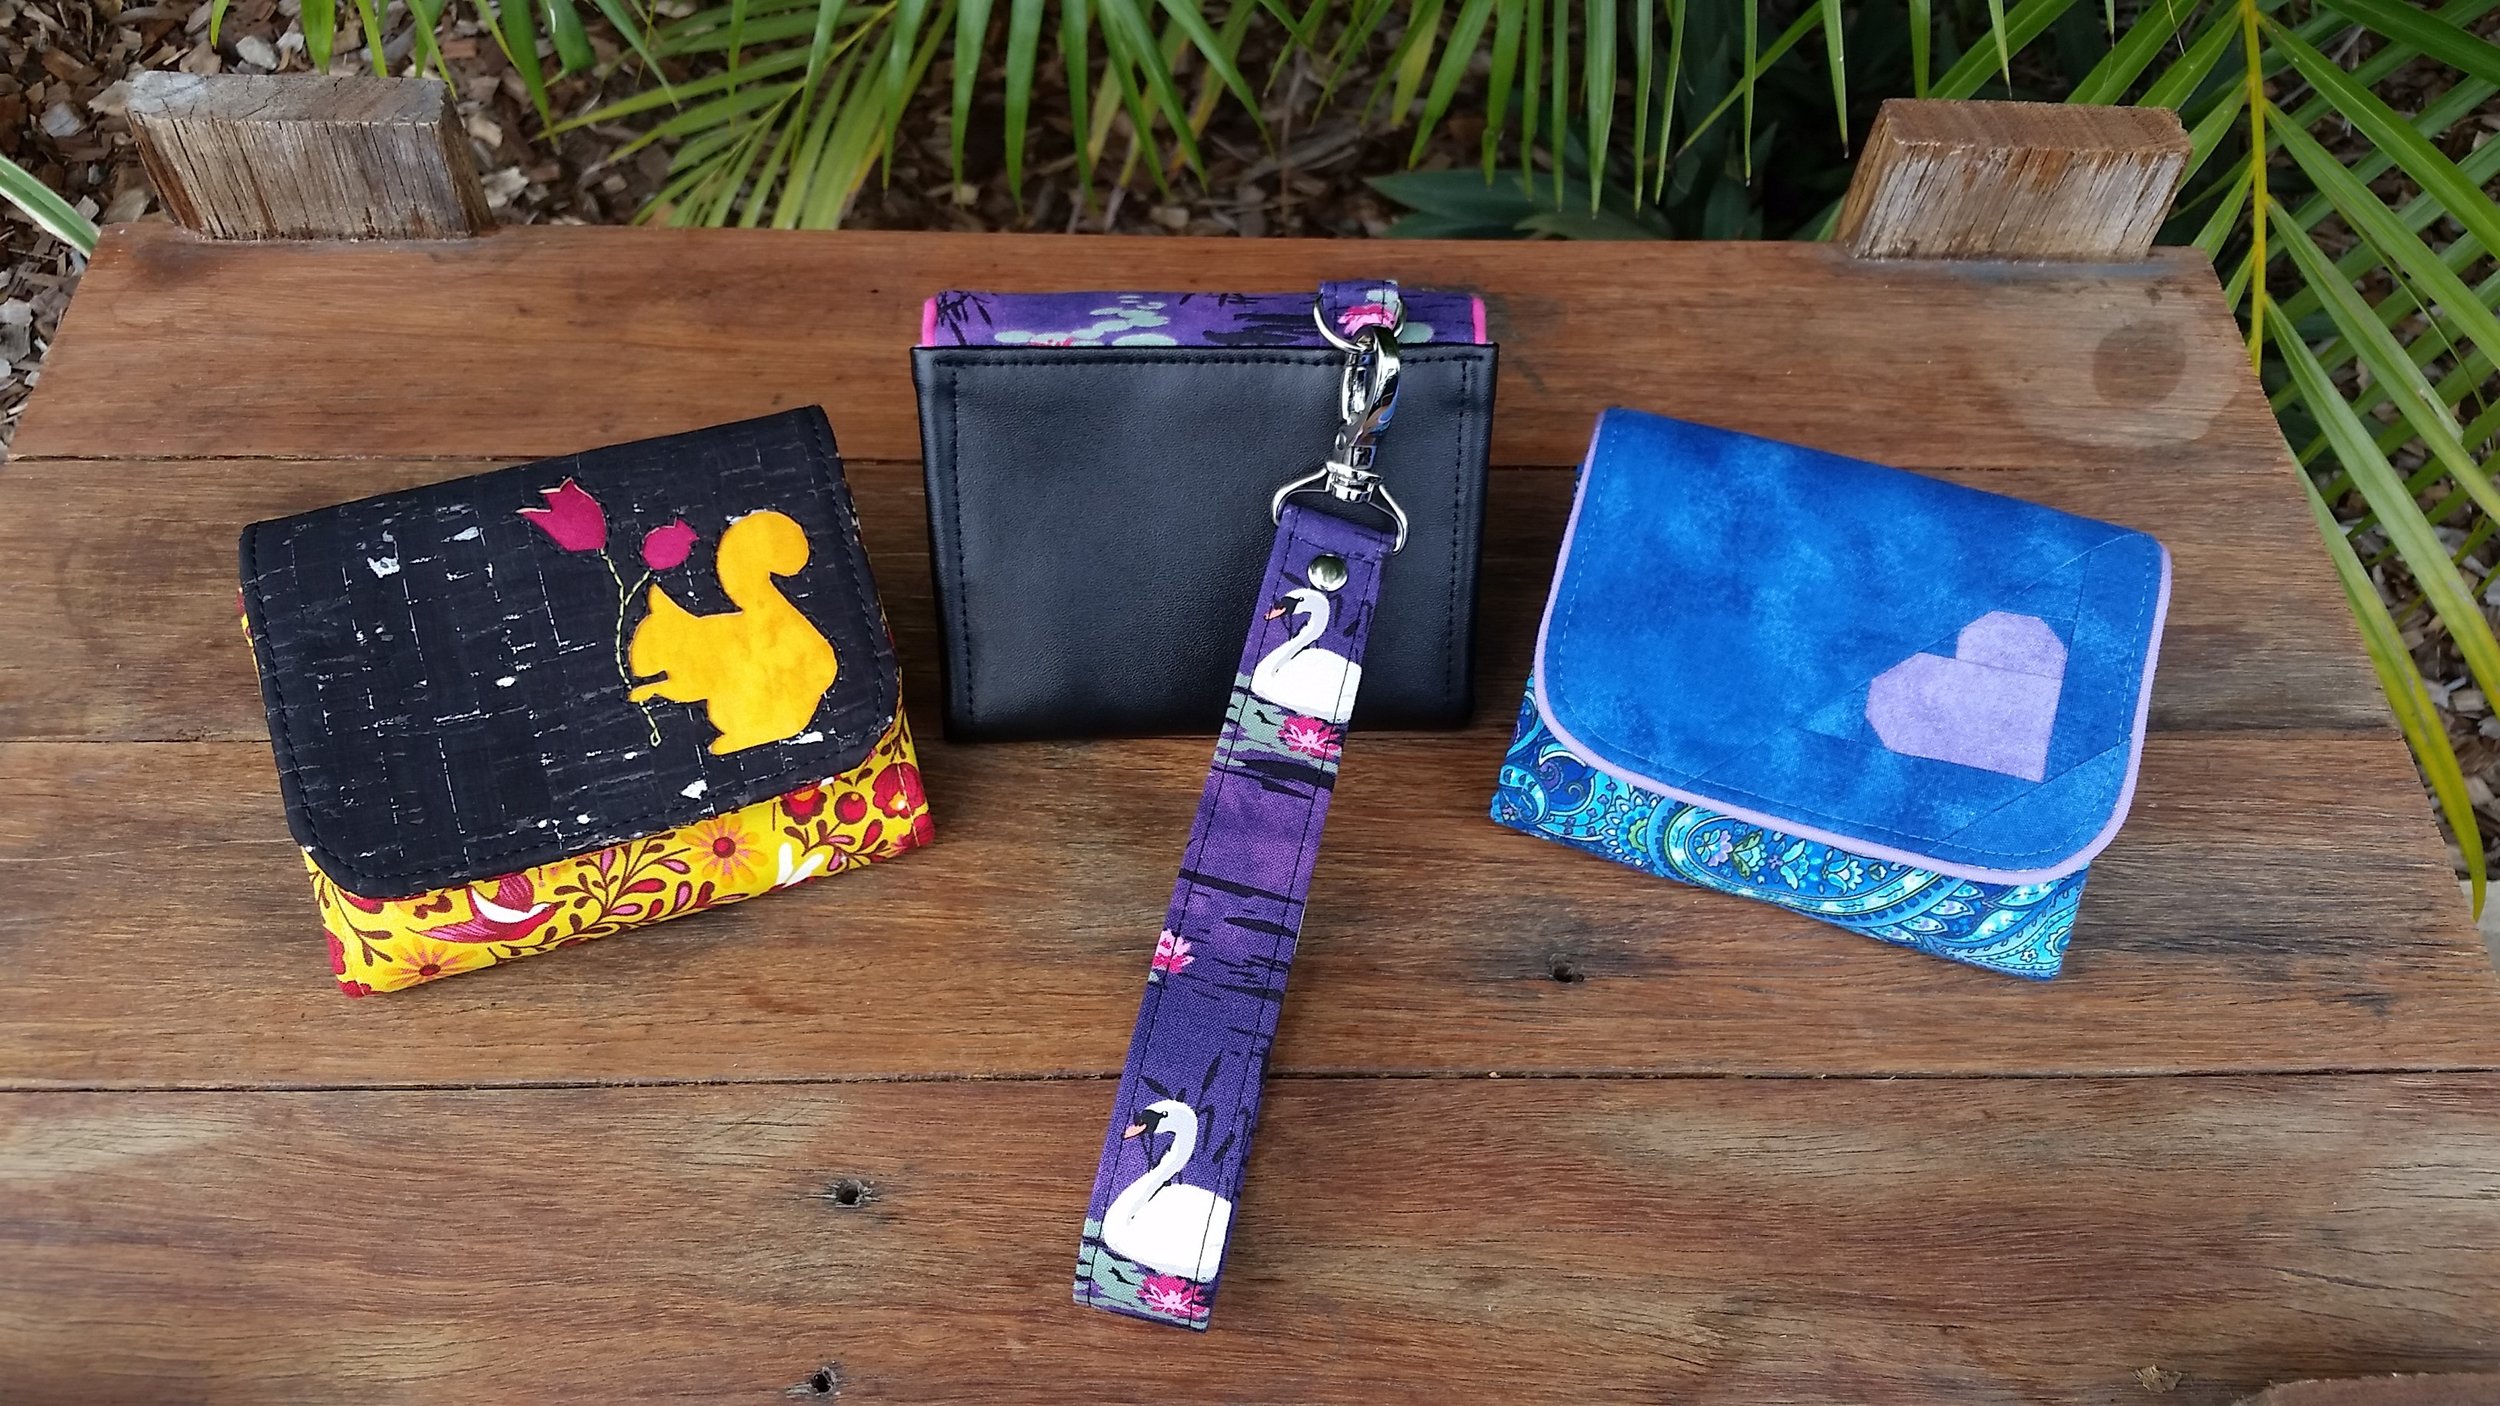
Bag and Photo by Tanya Summers
Firstly, you will need a copy of the Titania Tote pattern, which is available for purchase on which is available for purchase on rlrcreations.com, Craftsy and Etsy.. We had a special discount code for you last week when purchasing the Titania pattern from rlrcreation.com, so click HERE if you need to read last week’s blog.
Last week’s blog had lots of information about and tips on creating the Front Exterior Welt Pocket and preparing and attaching the Strap Connectors and contrast Bottom so click on the link to have a read while you are getting your discount code!
This week’s blog will feature how to make a peek-a-boo feature on the Internal Zip Pocket and also give you some tips and tricks for attaching and top stitching your Top Main Zip.
Let’s get started!!
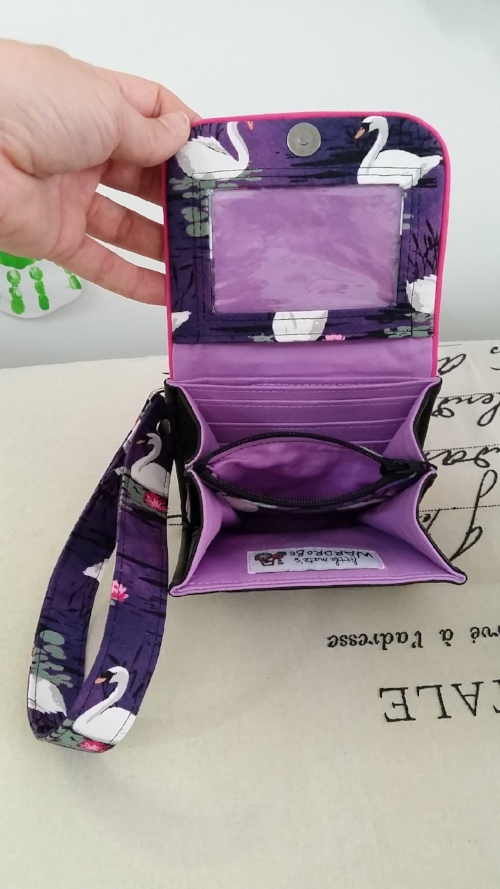
Making a Peek-a-boo feature on the Internal Zip Pocket
This is a cute way to add a bit of excitement to your interior by using up a leftover scrap fabric!

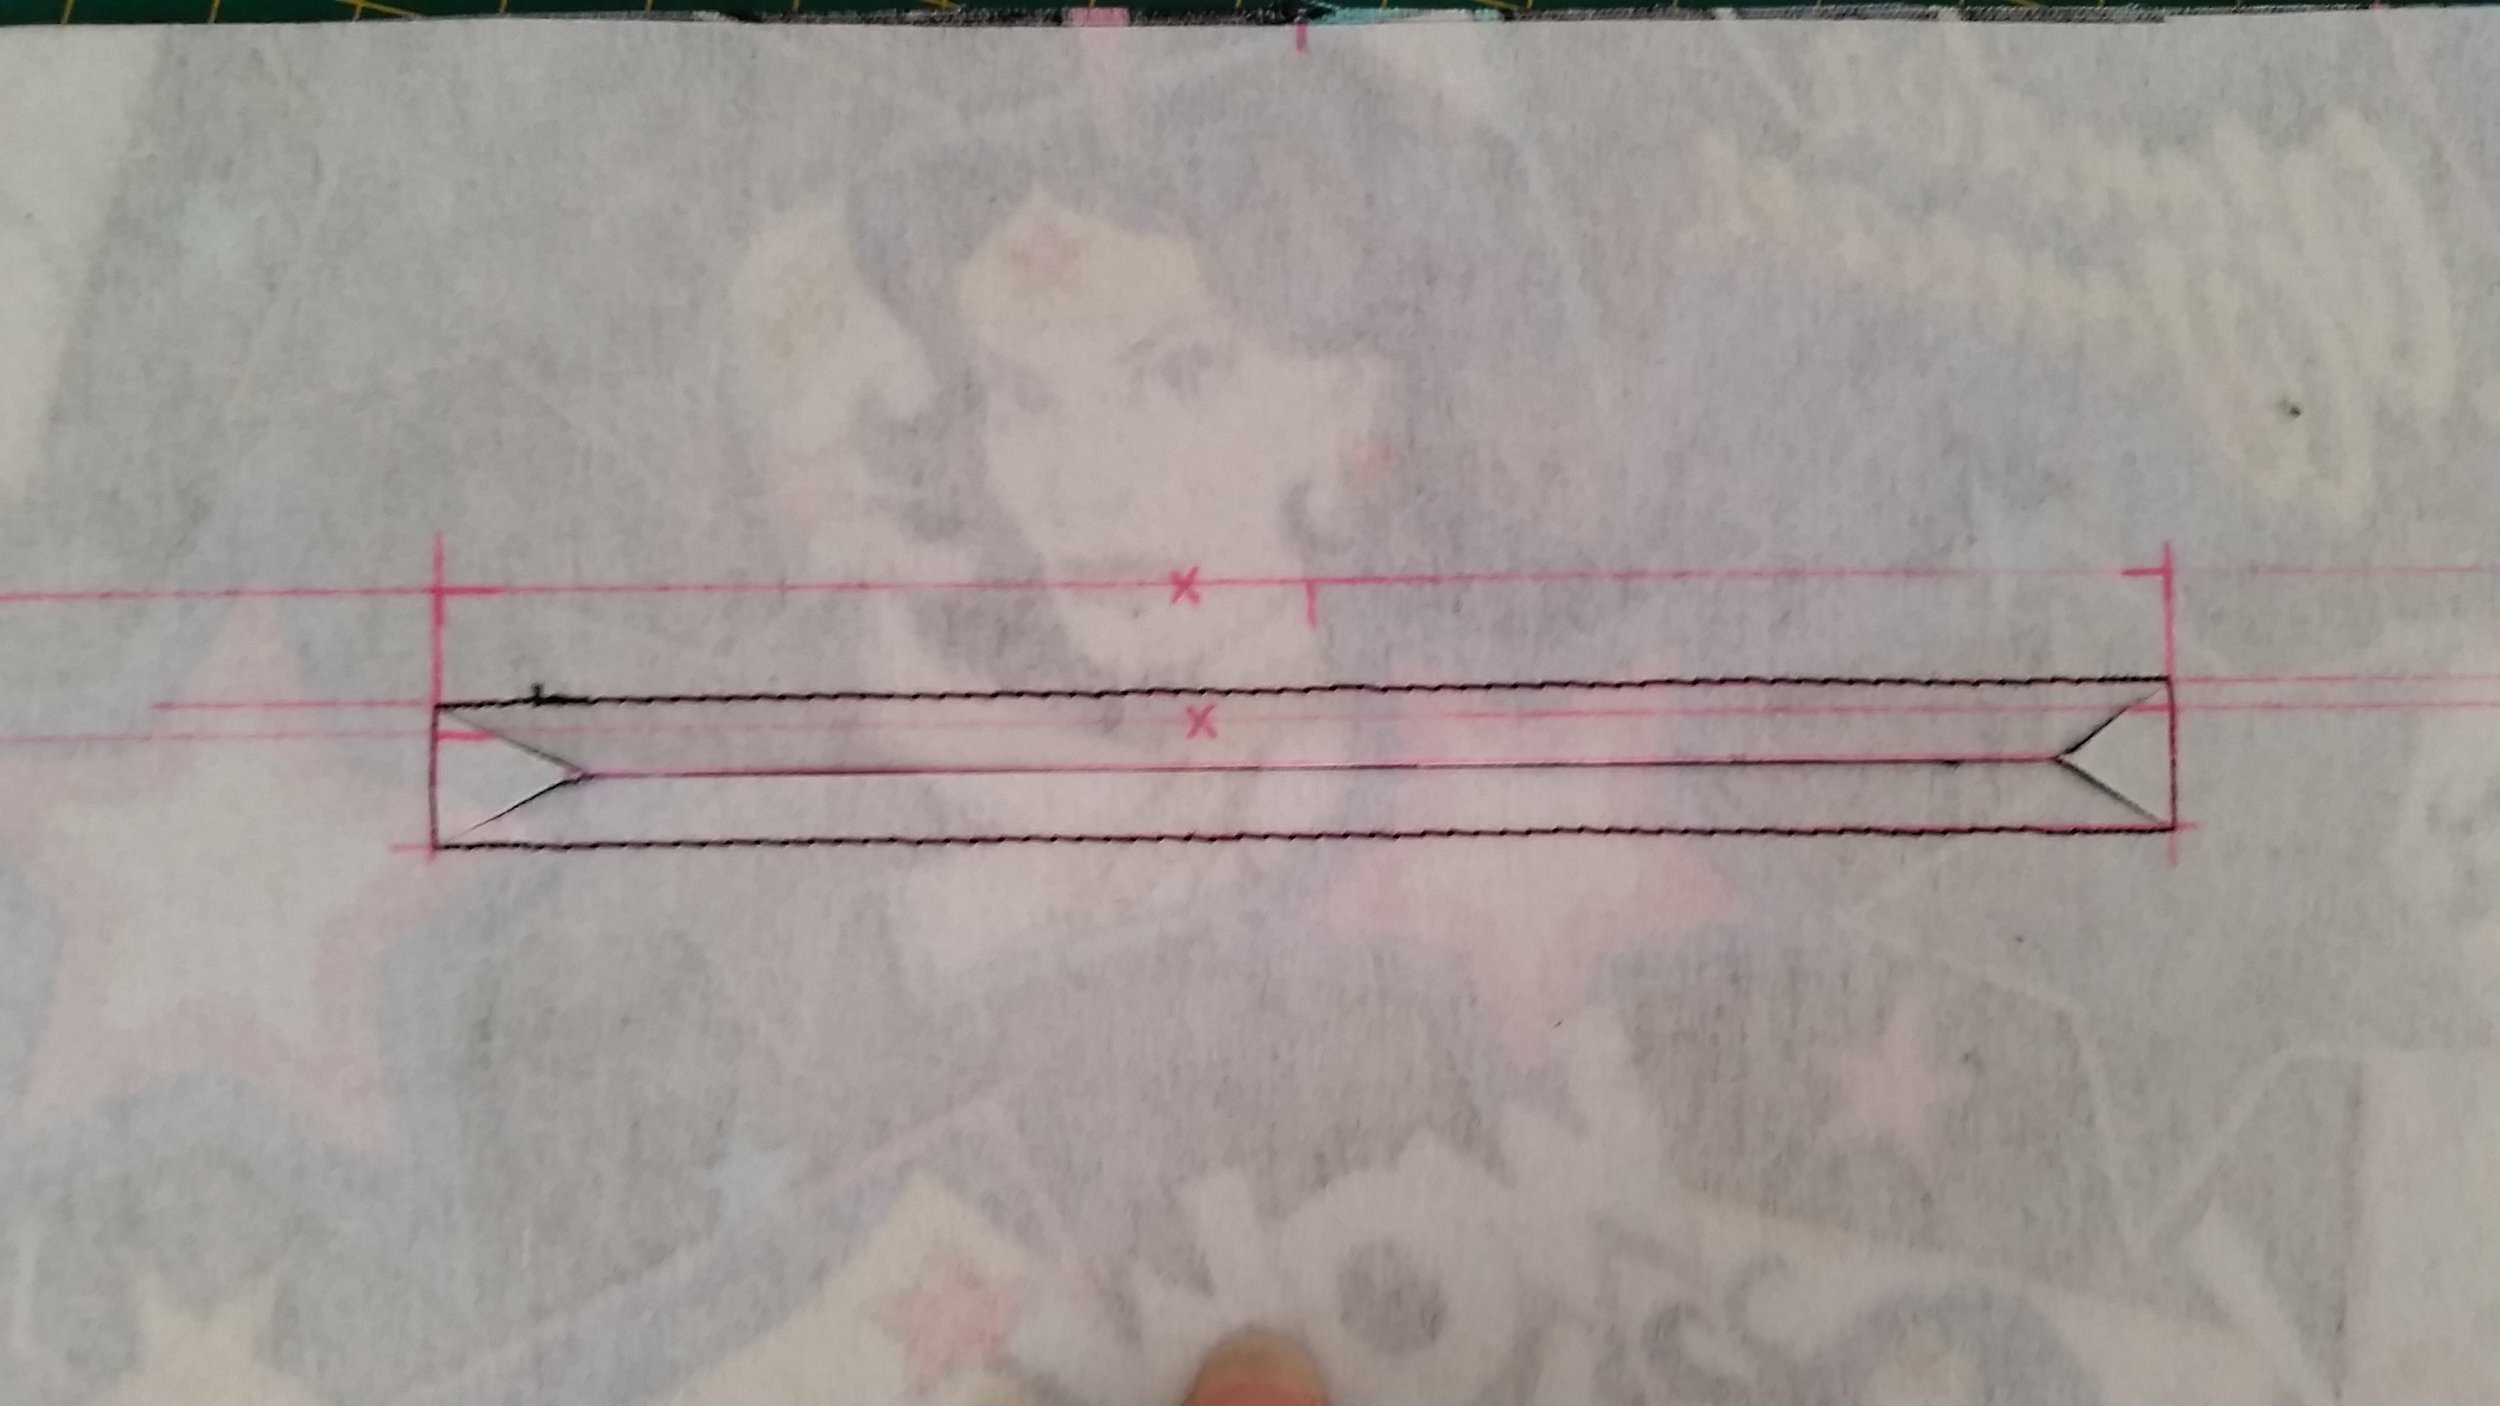
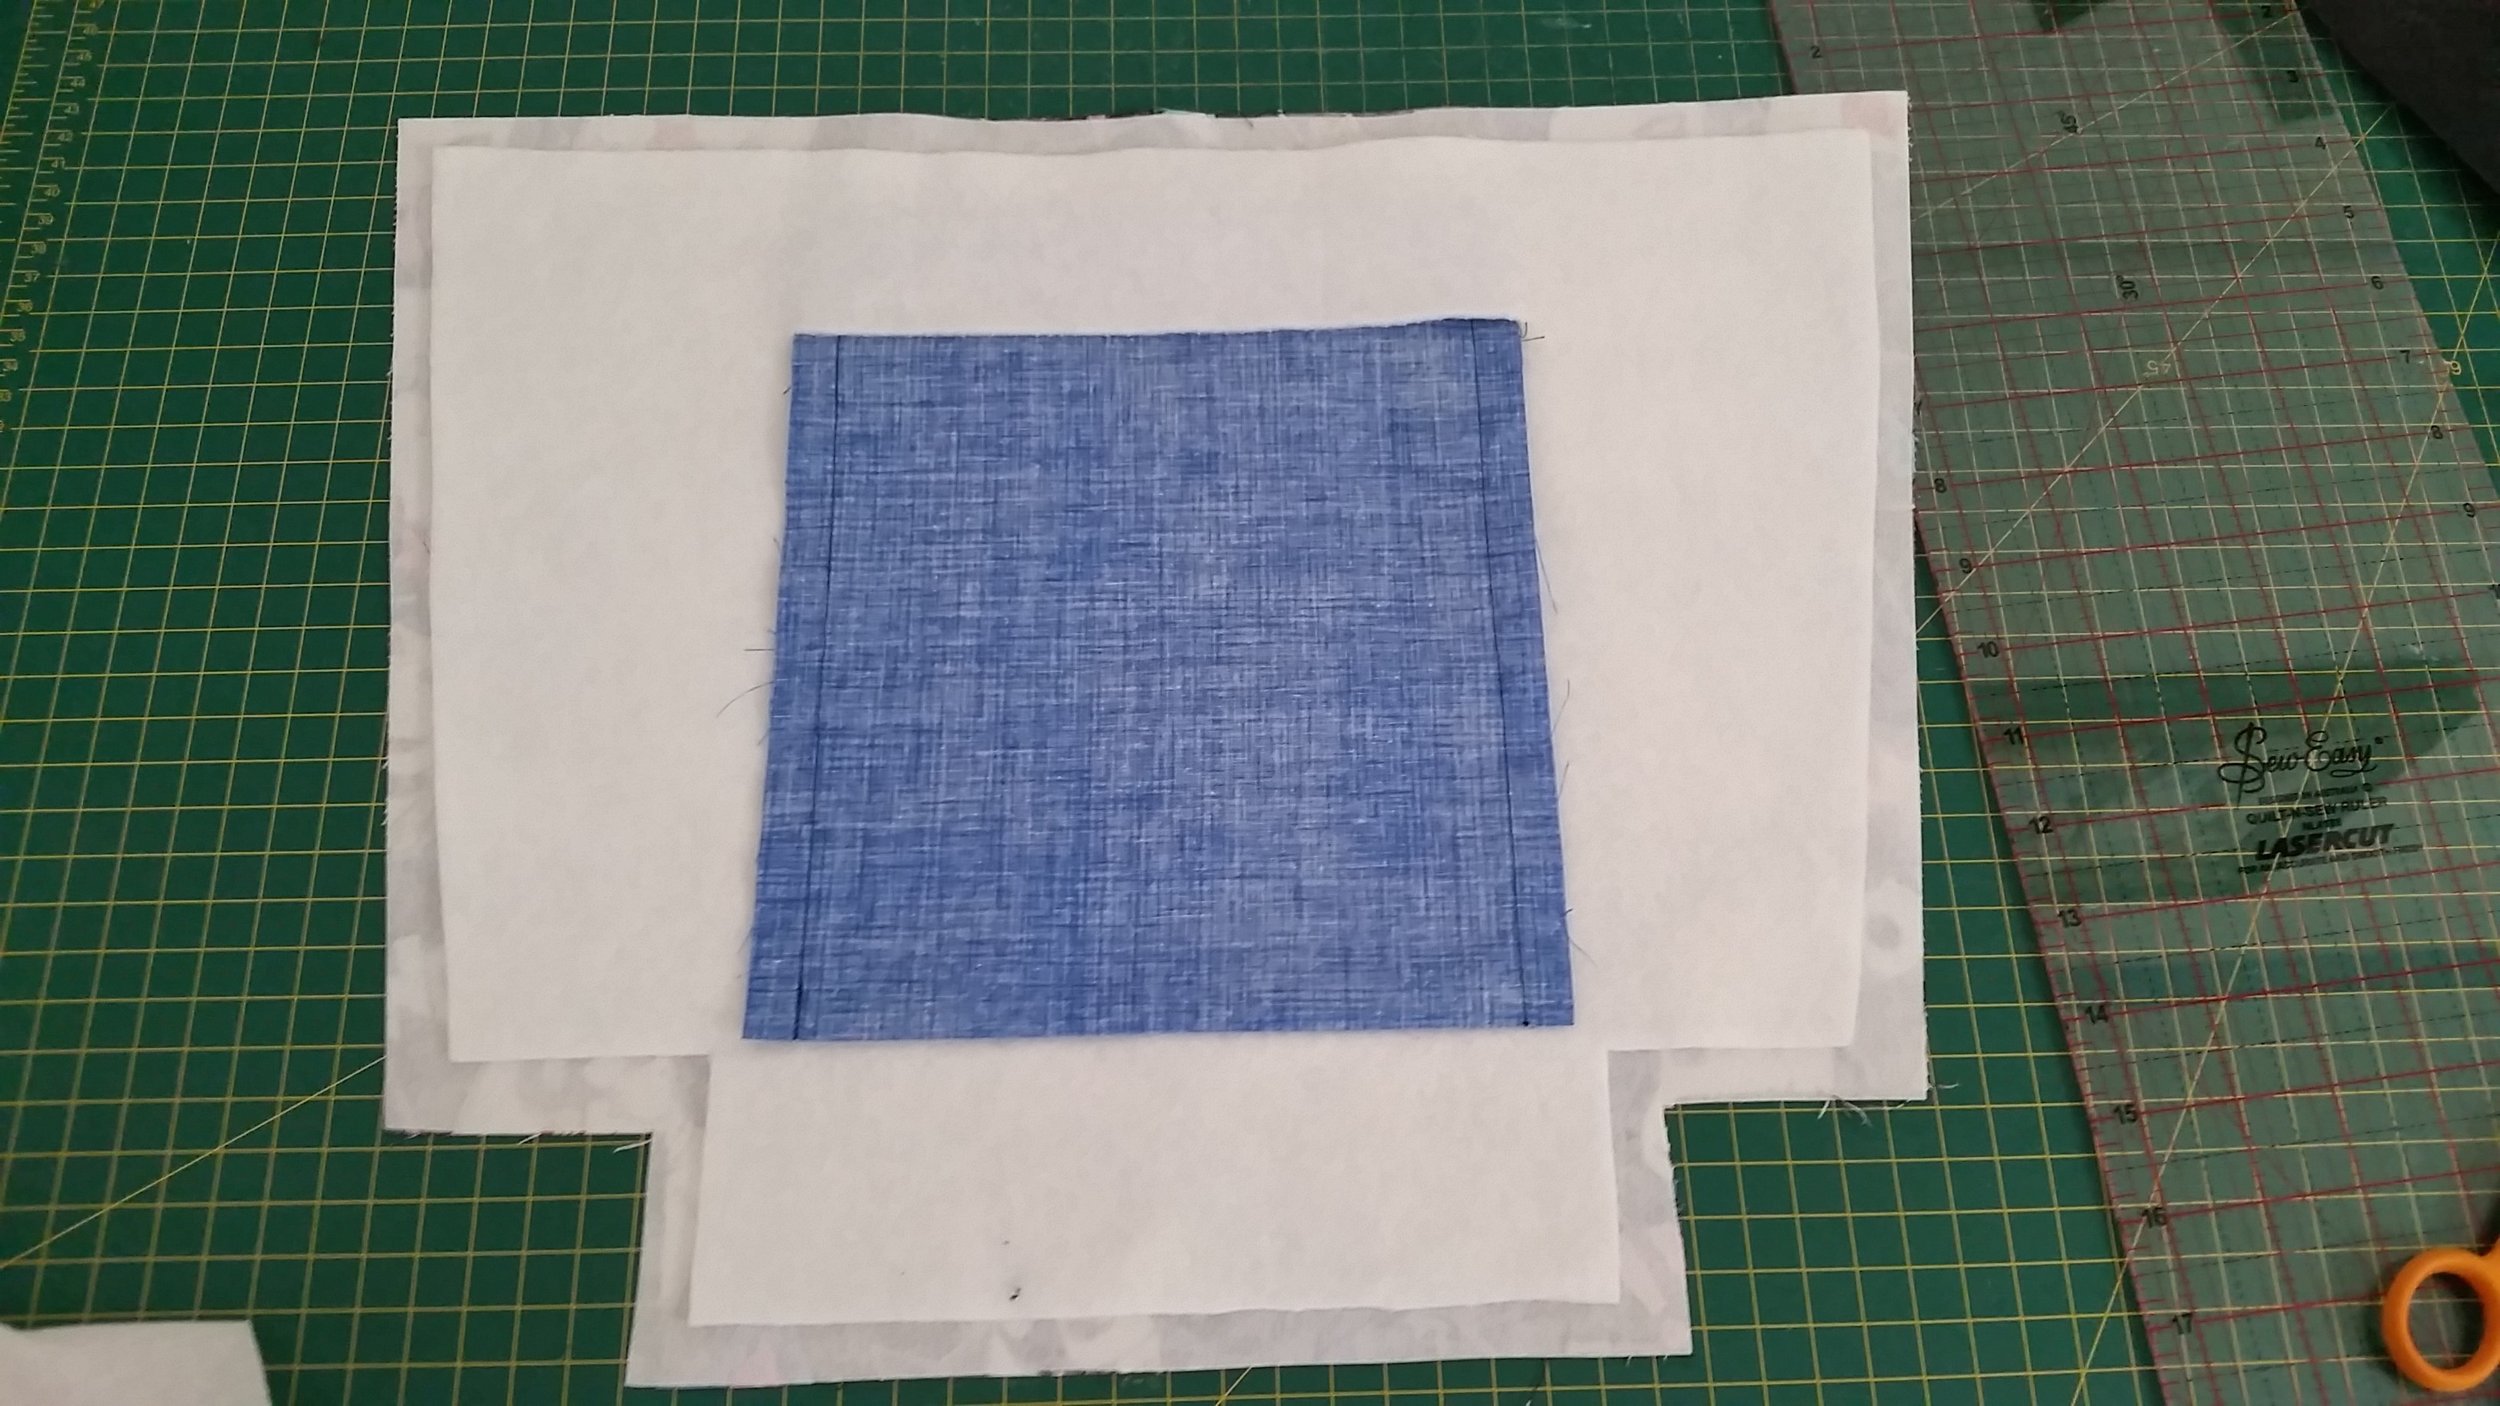
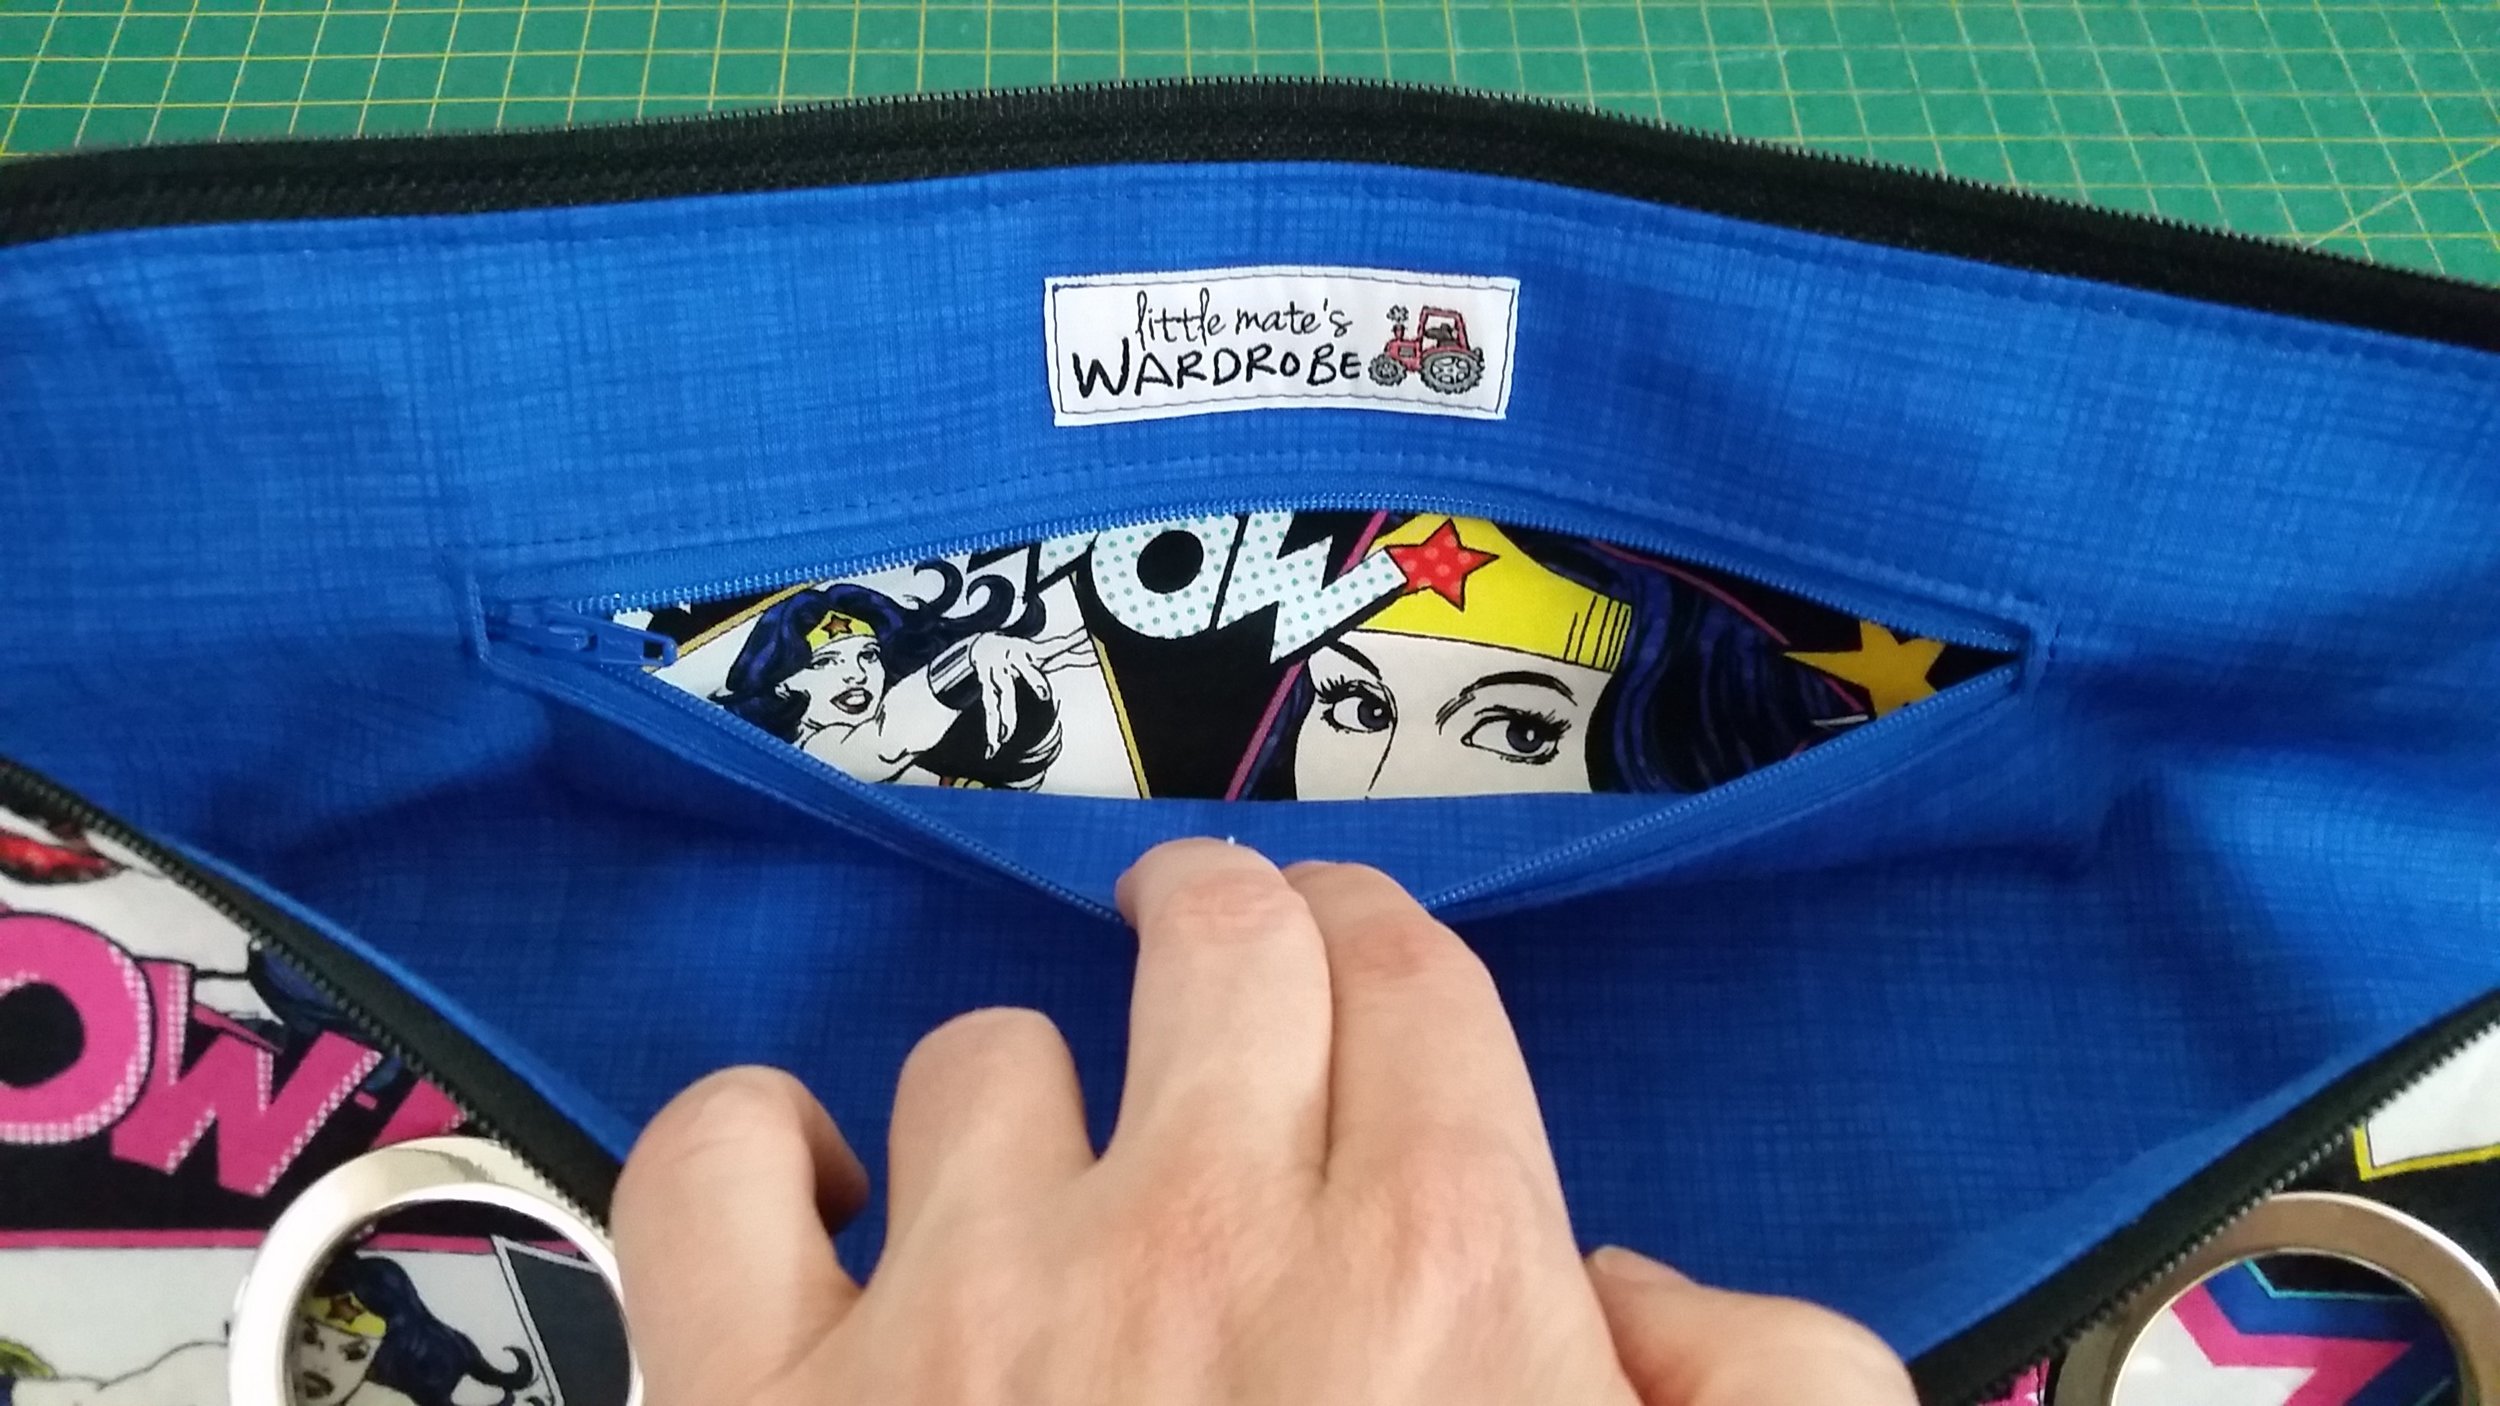
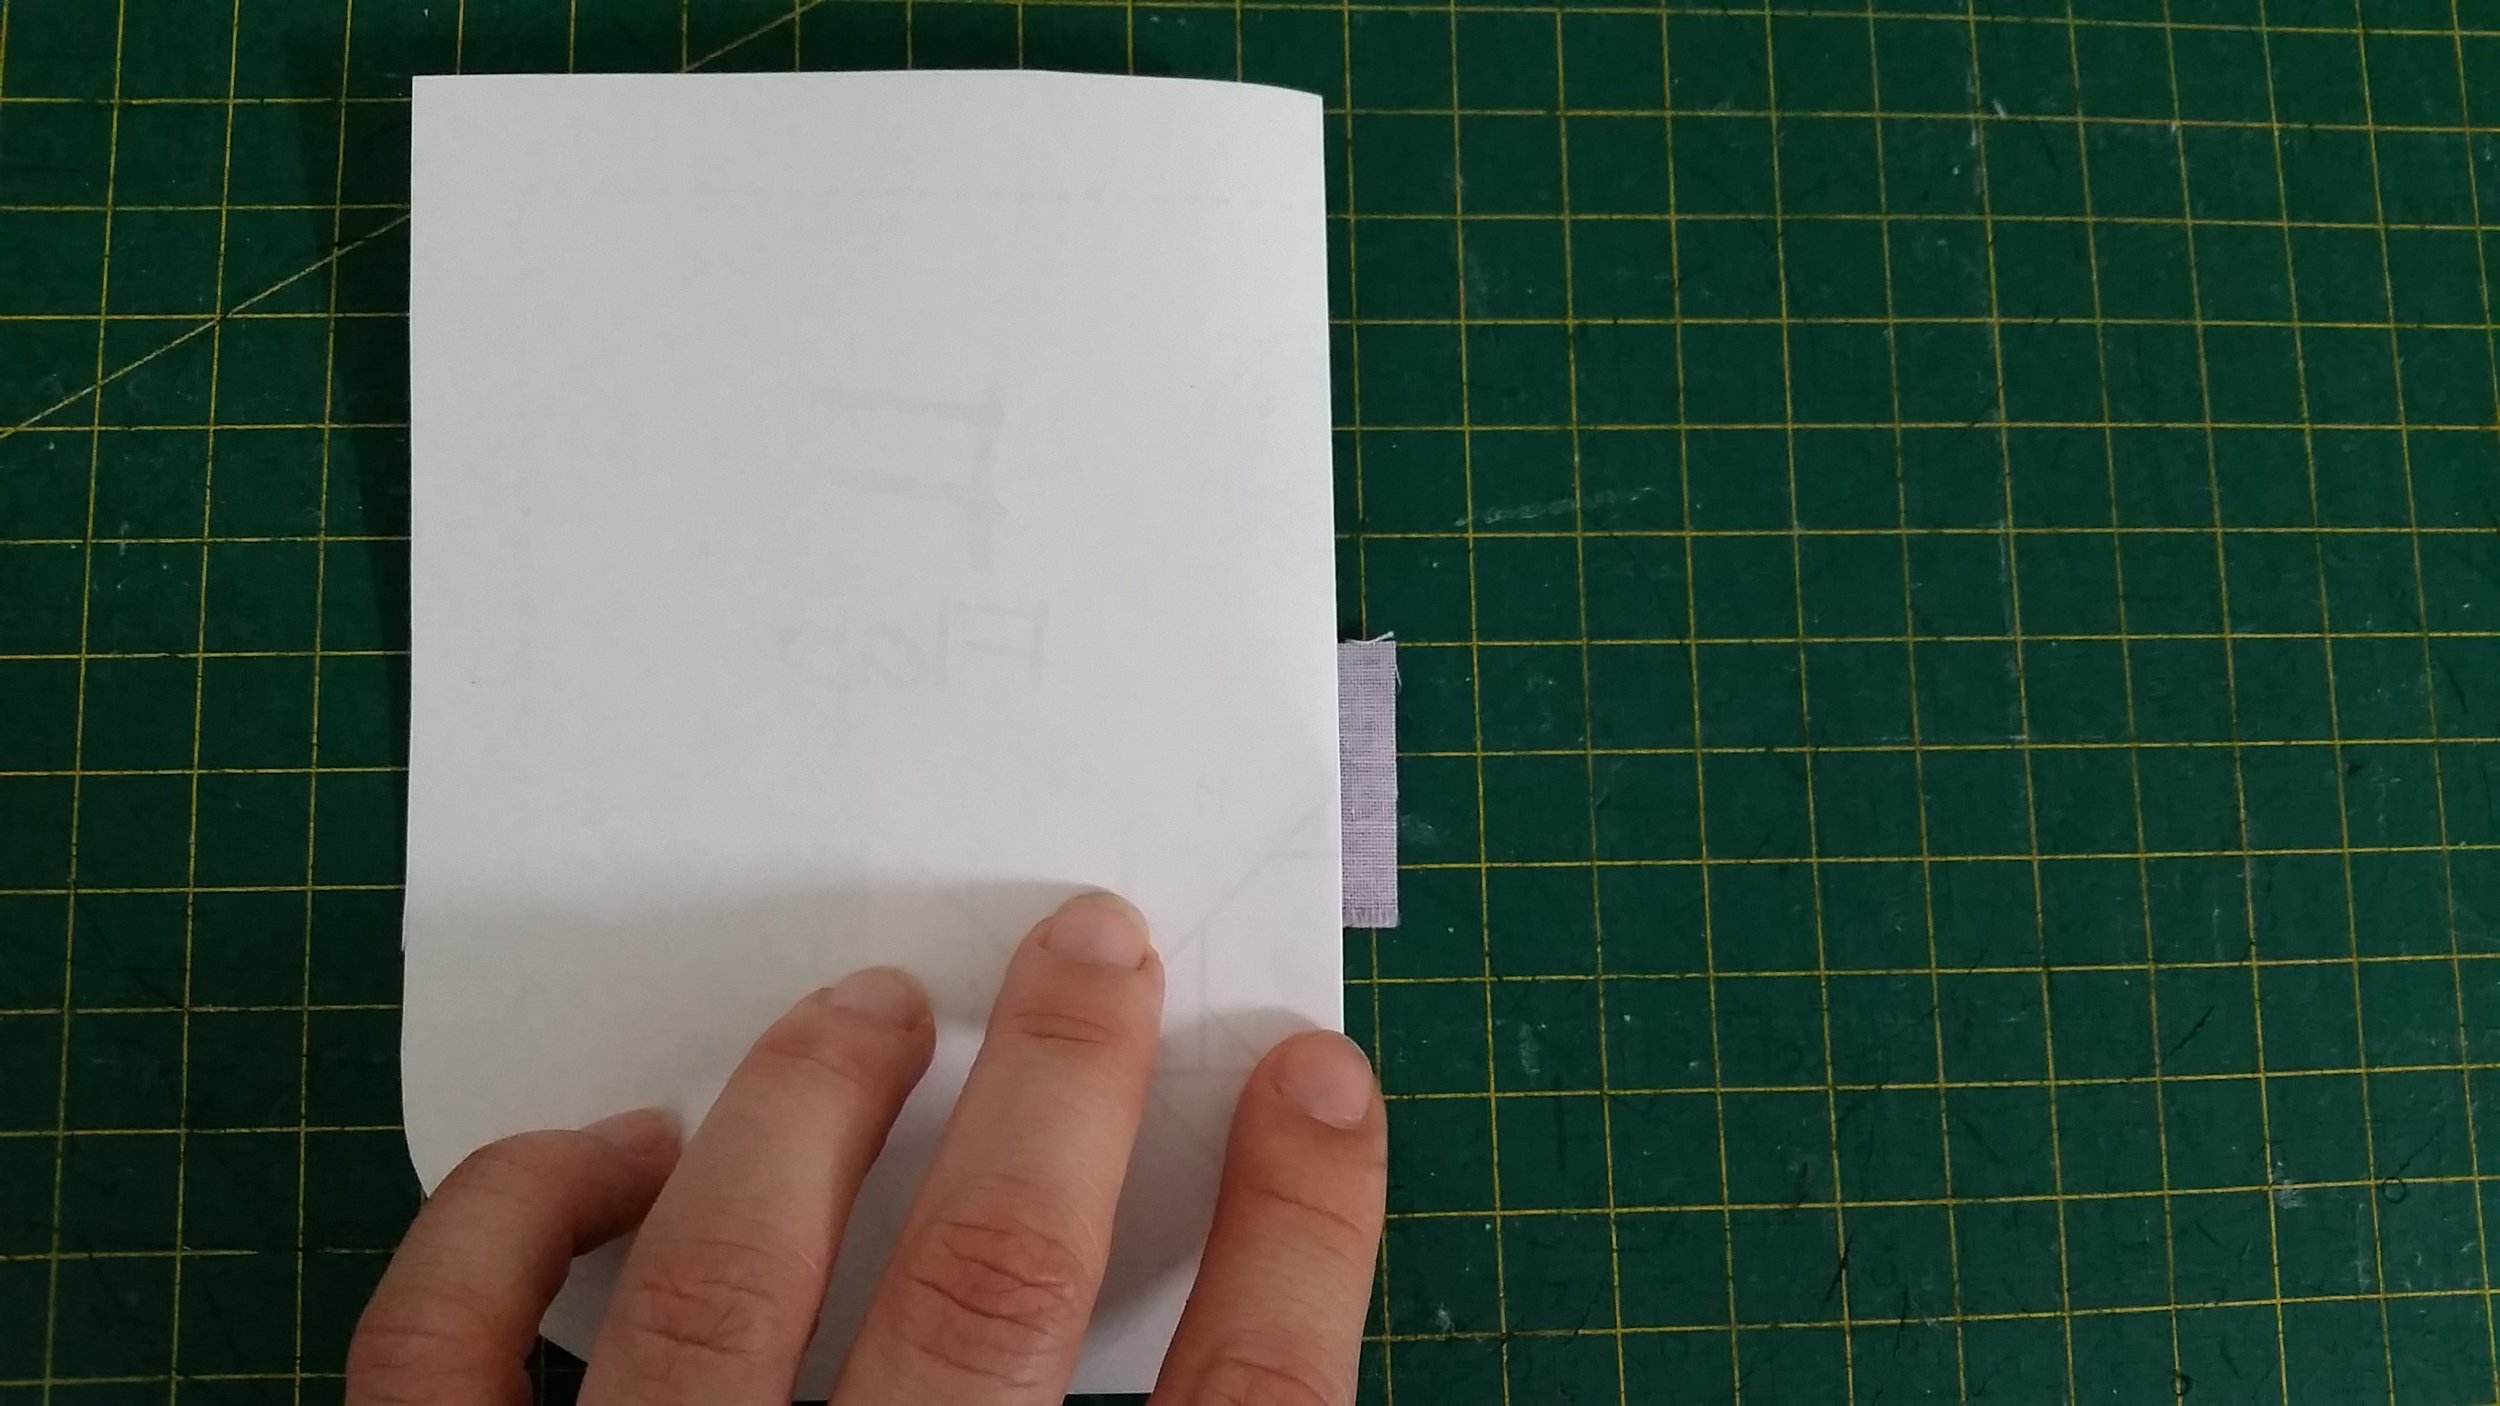
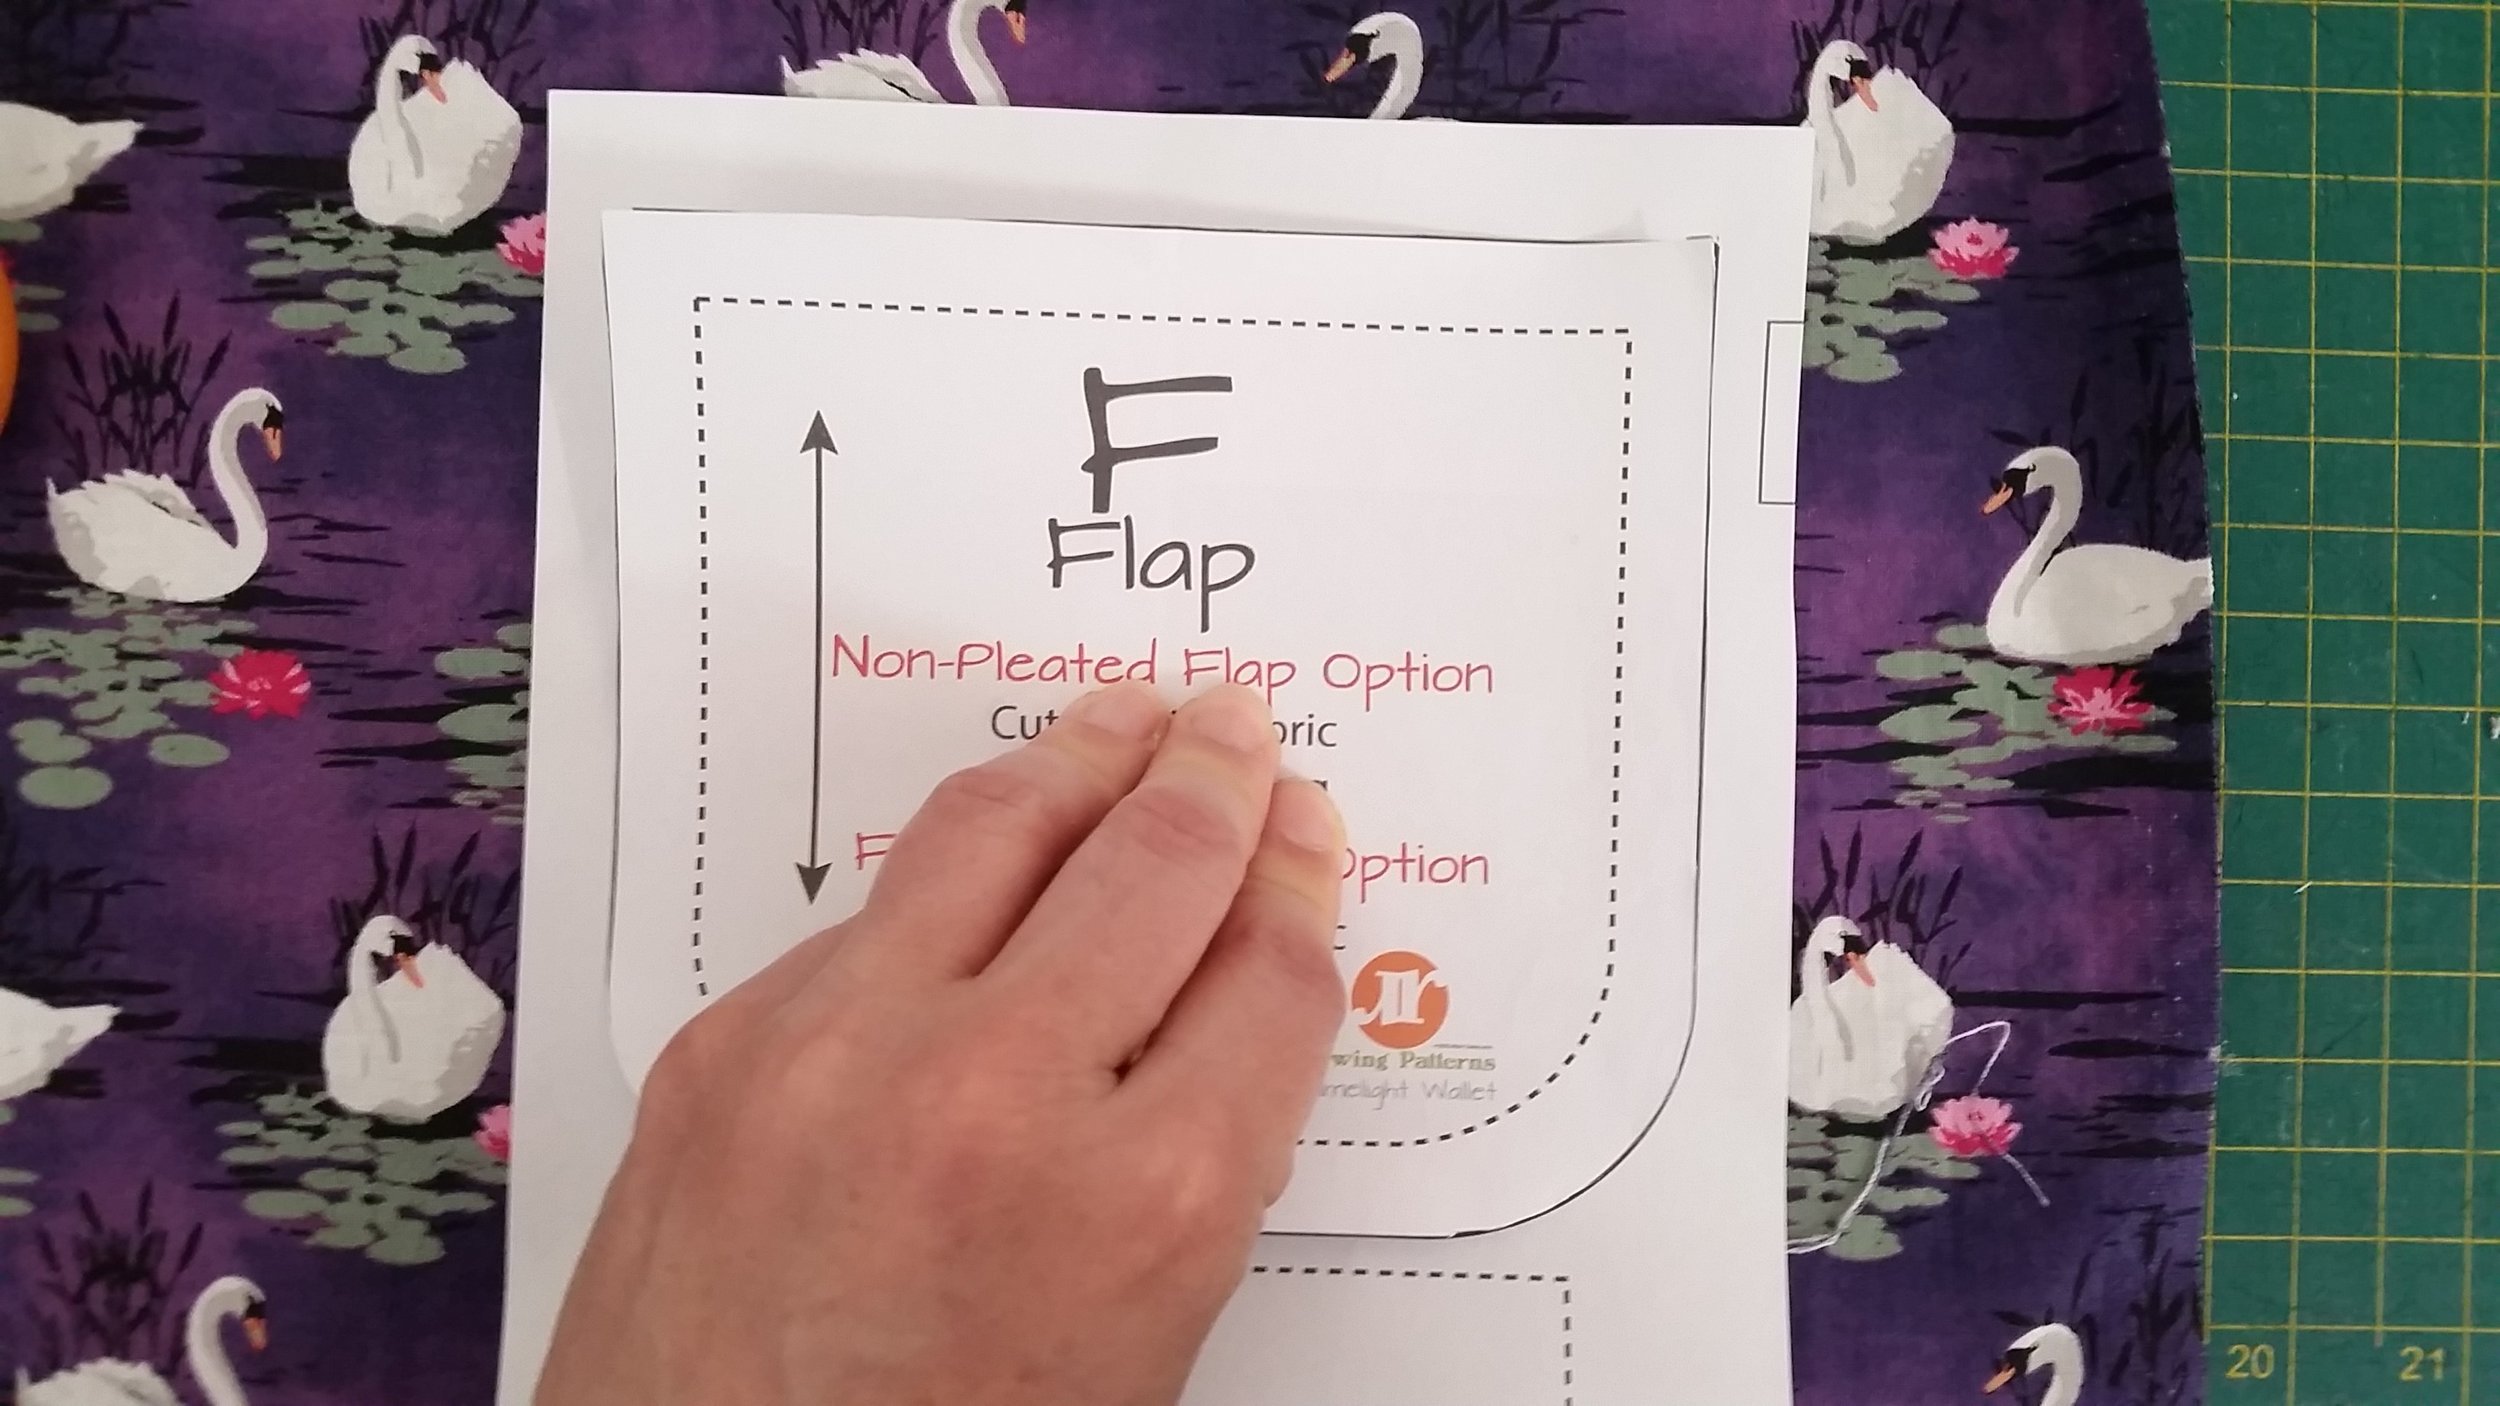
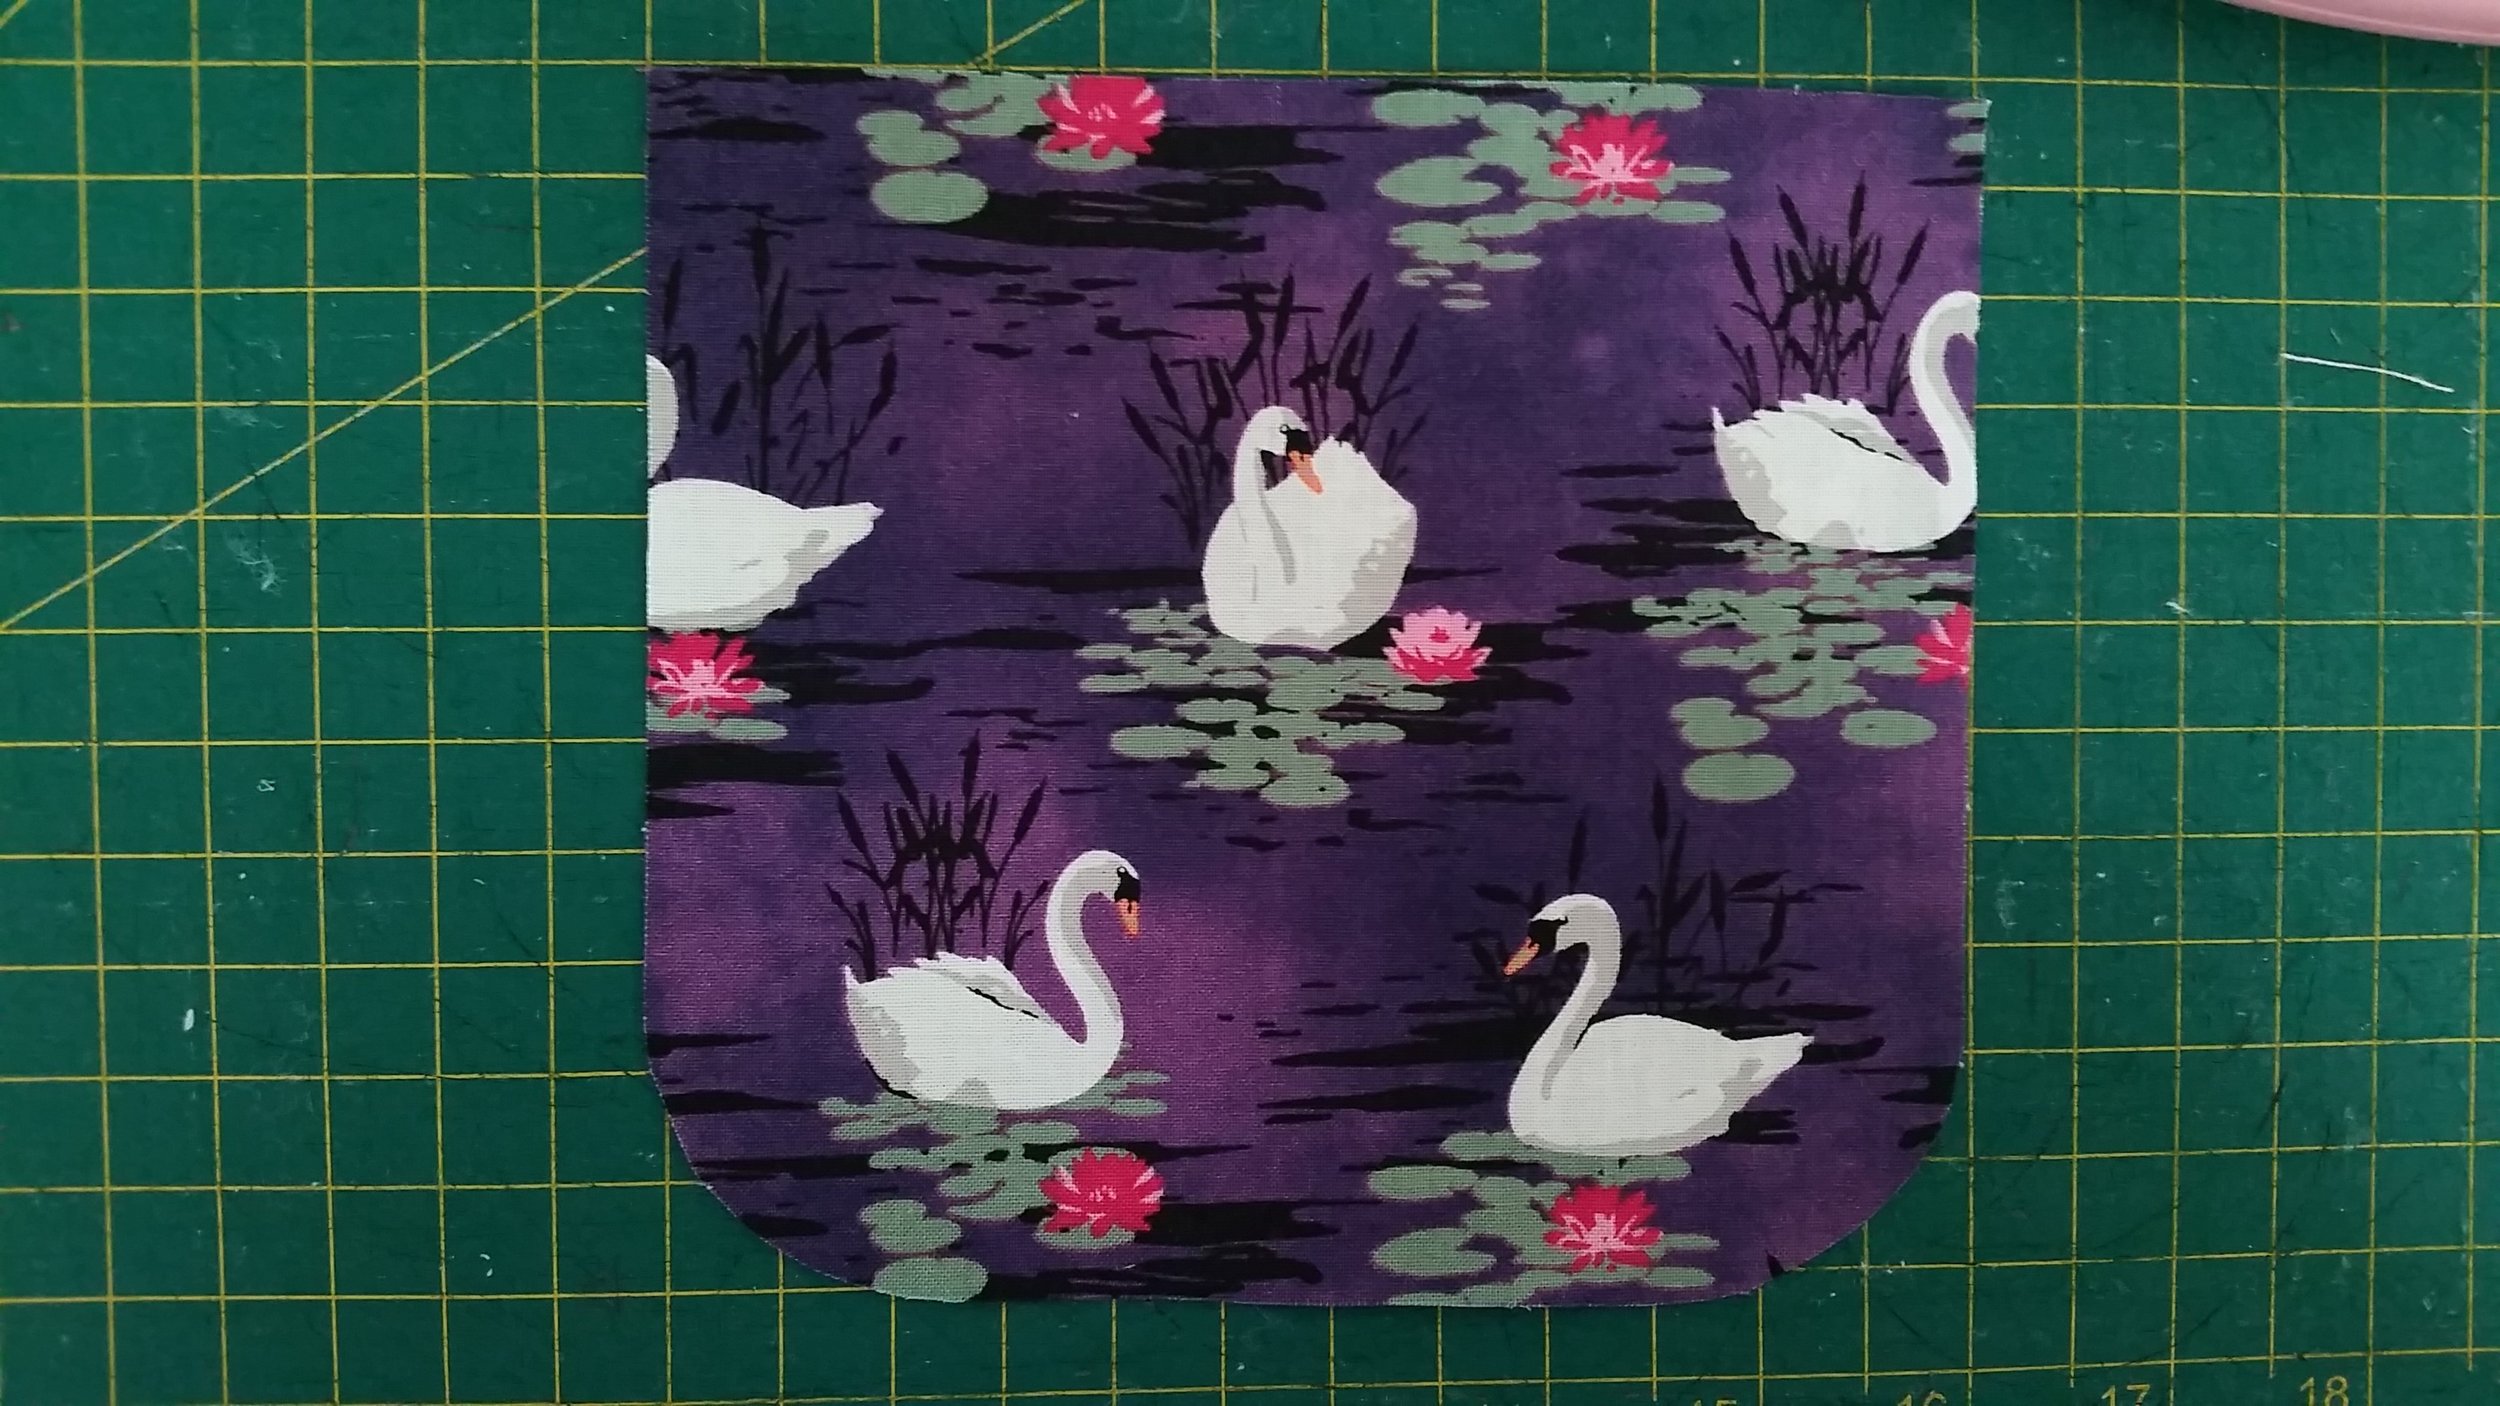
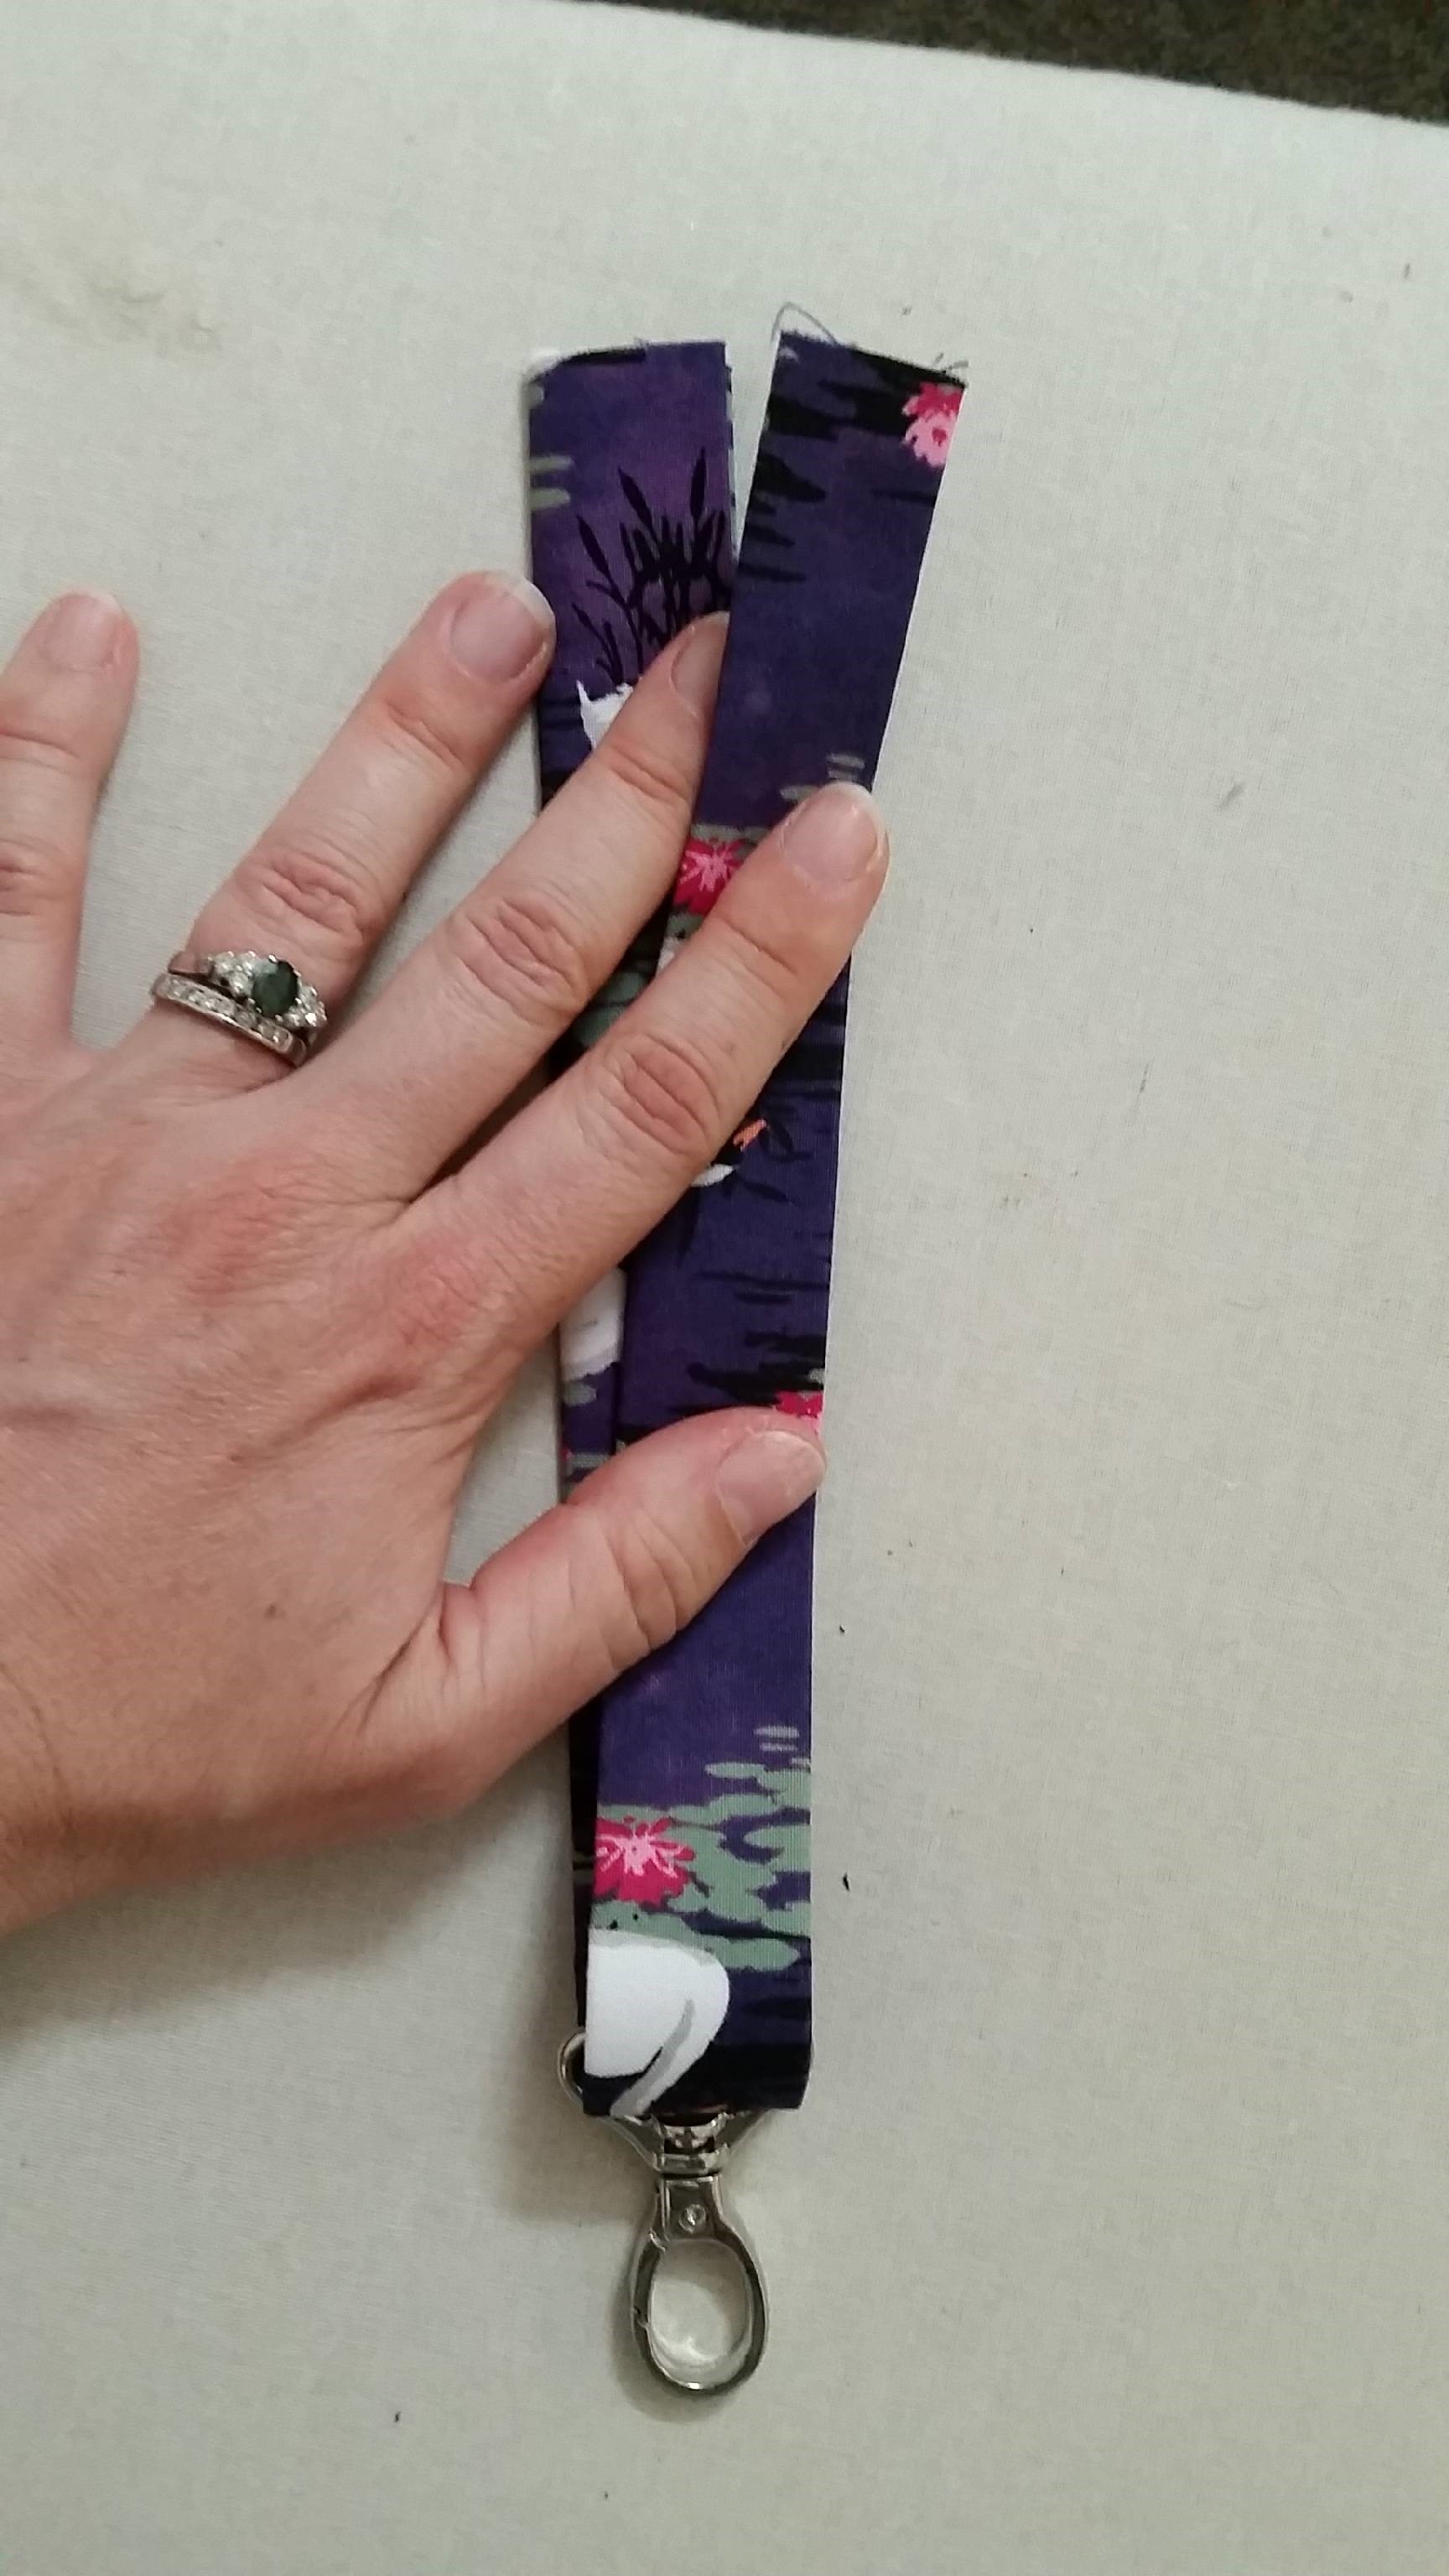
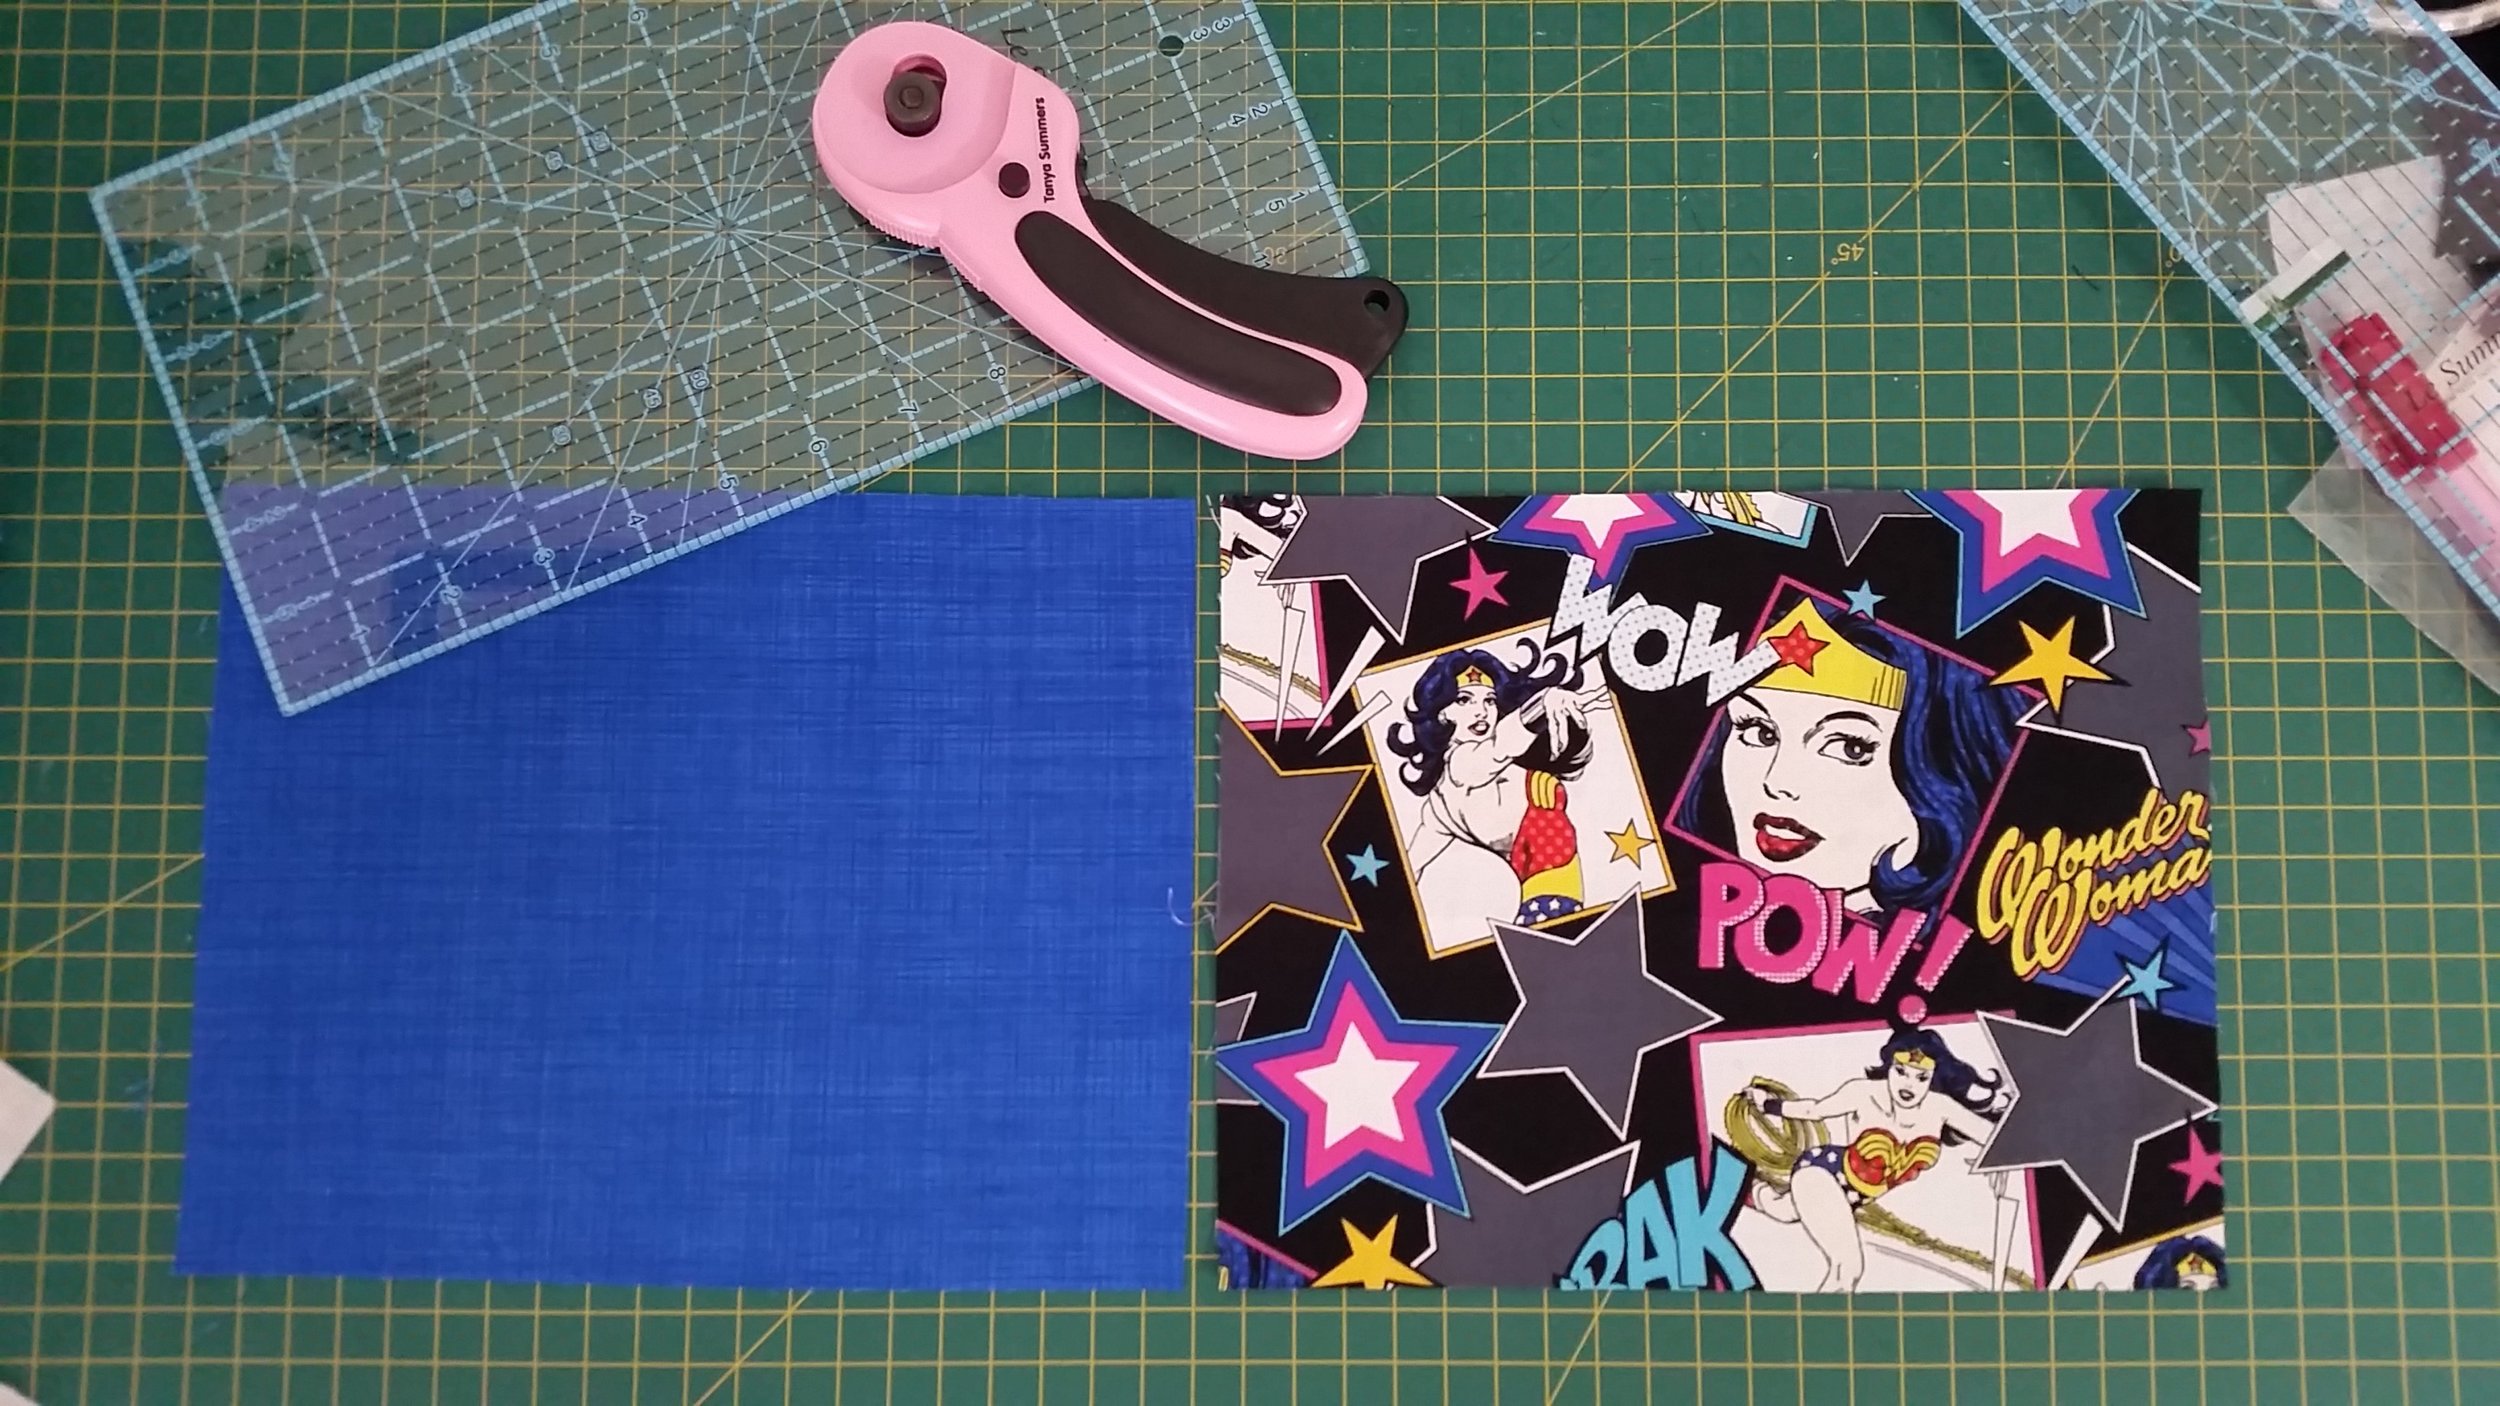
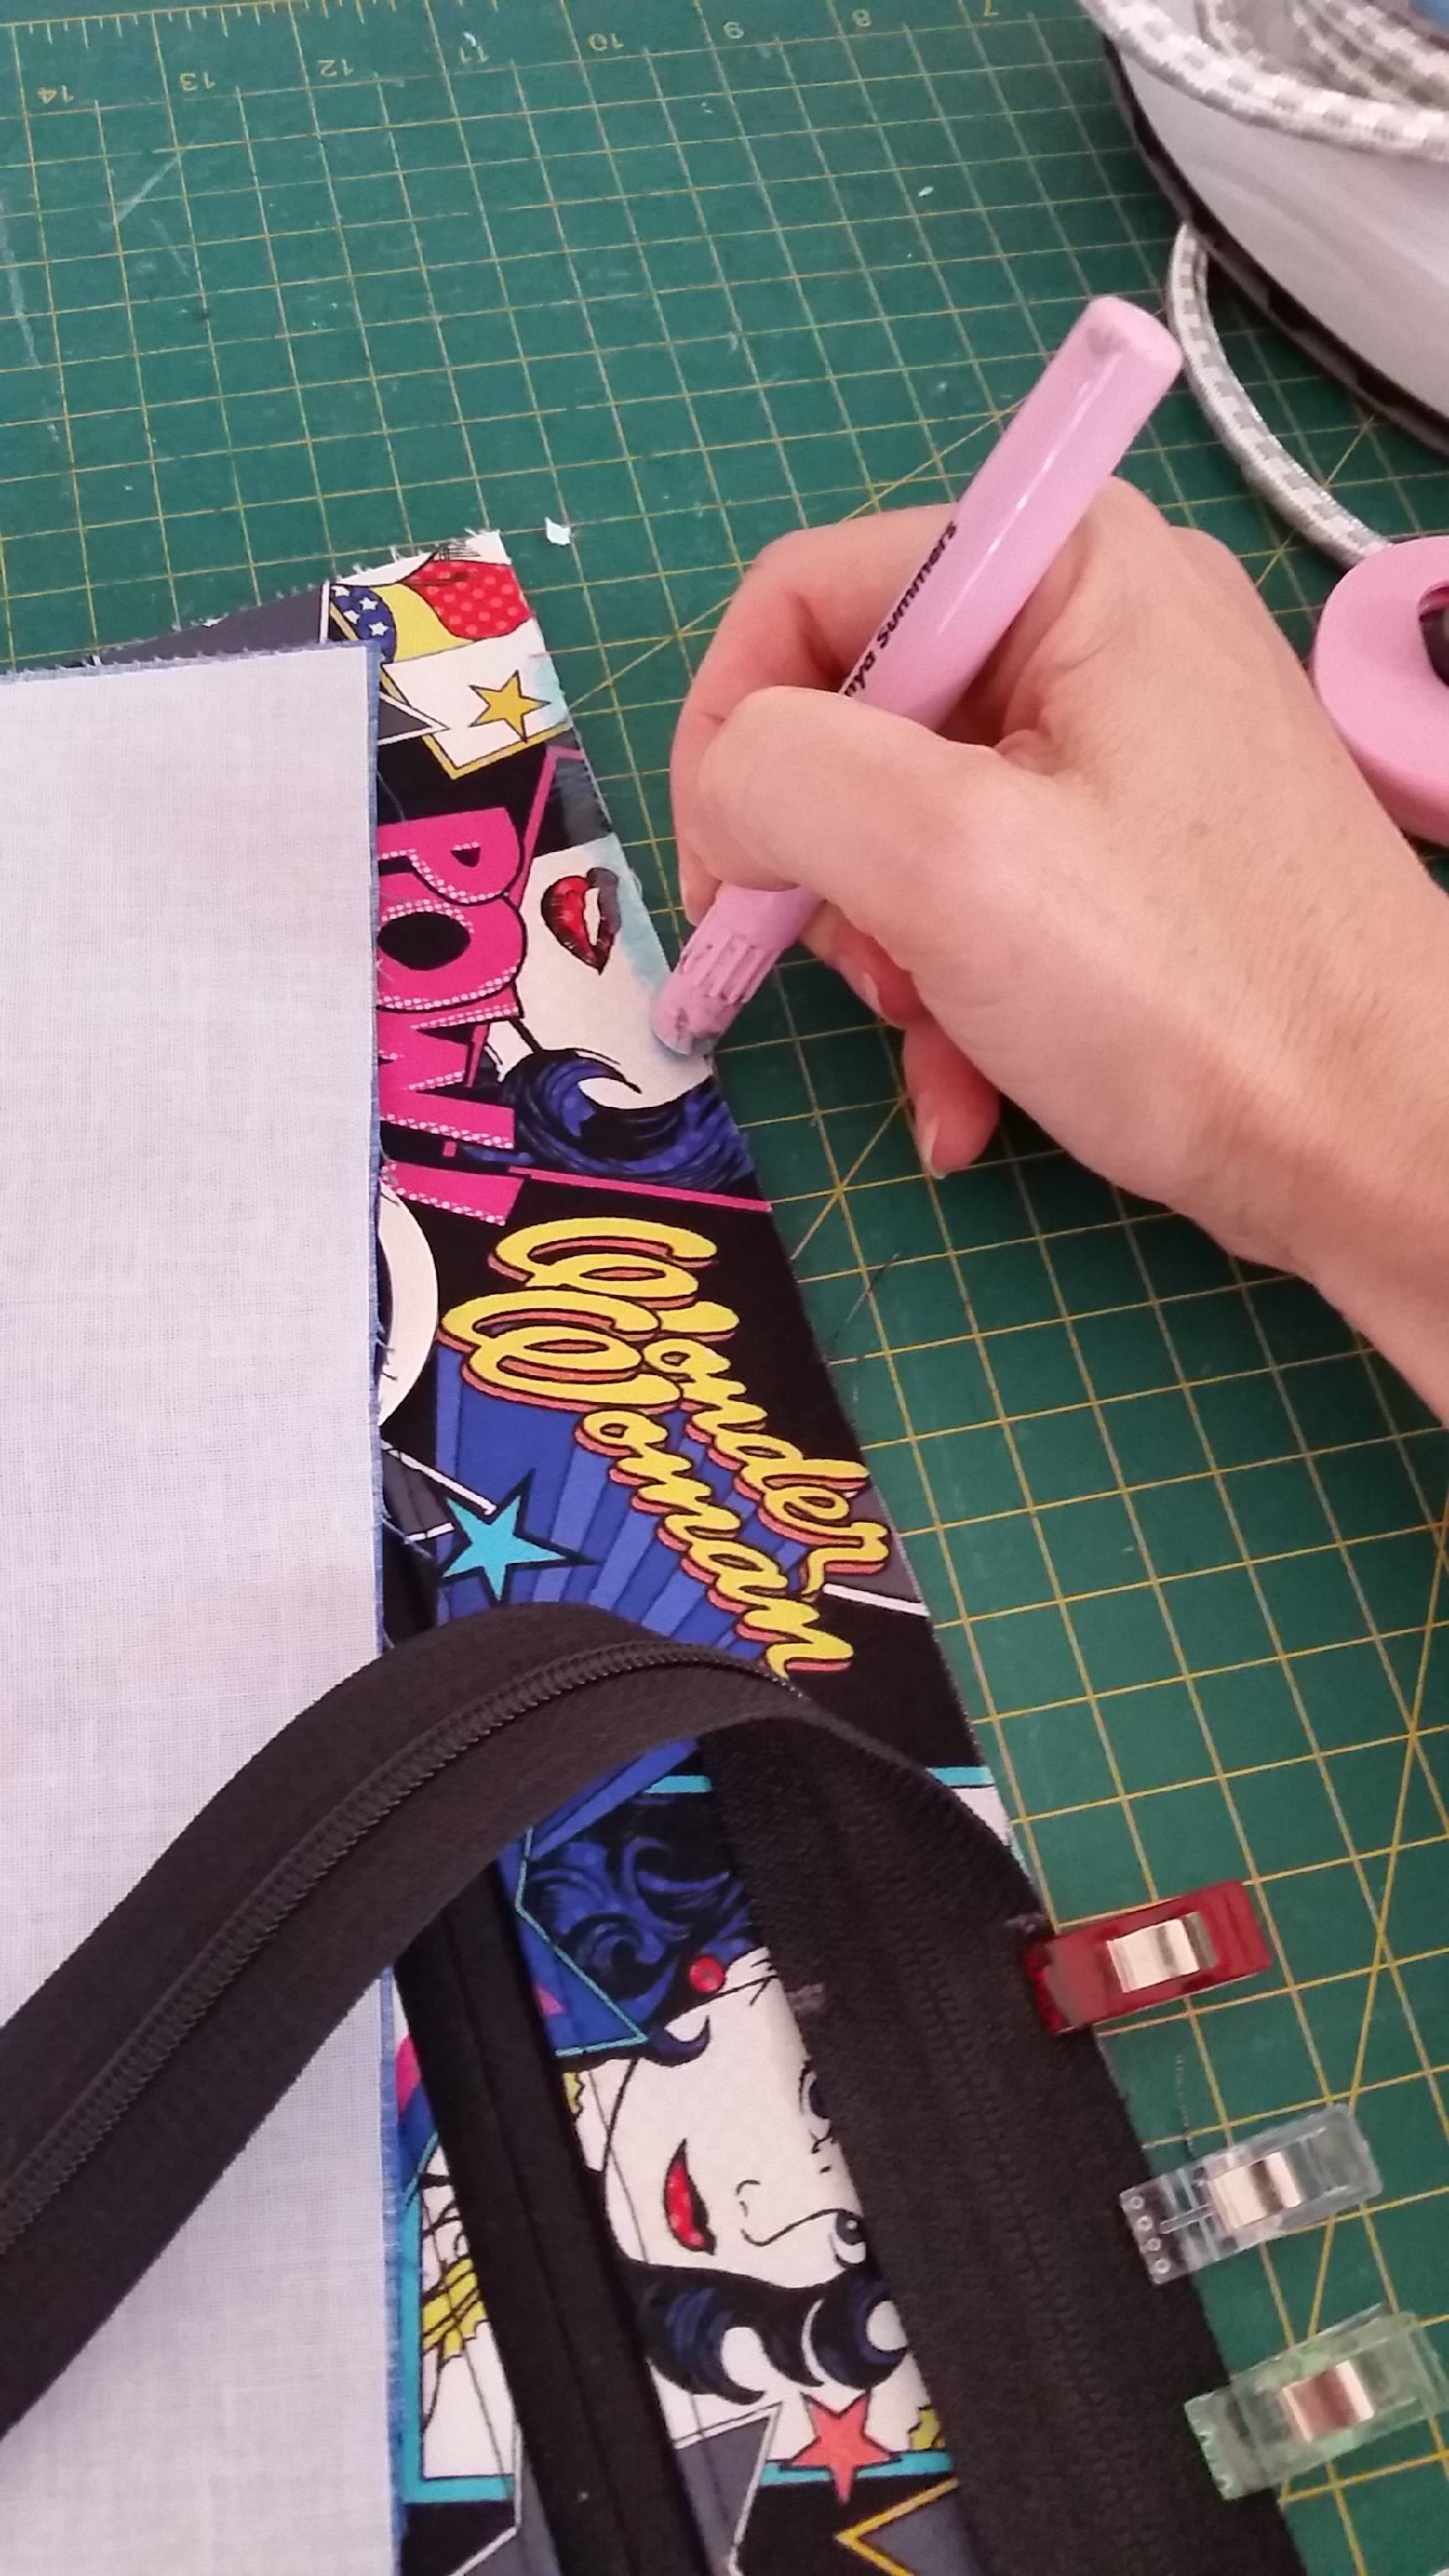
Instead of cutting Piece H – Interior Pocket Lining, you will need to cut 2 separate pieces of fabric 10½” wide x 8” high, I have cut one plain to match the interior lining and one ‘picture piece’ to use as my focal point.
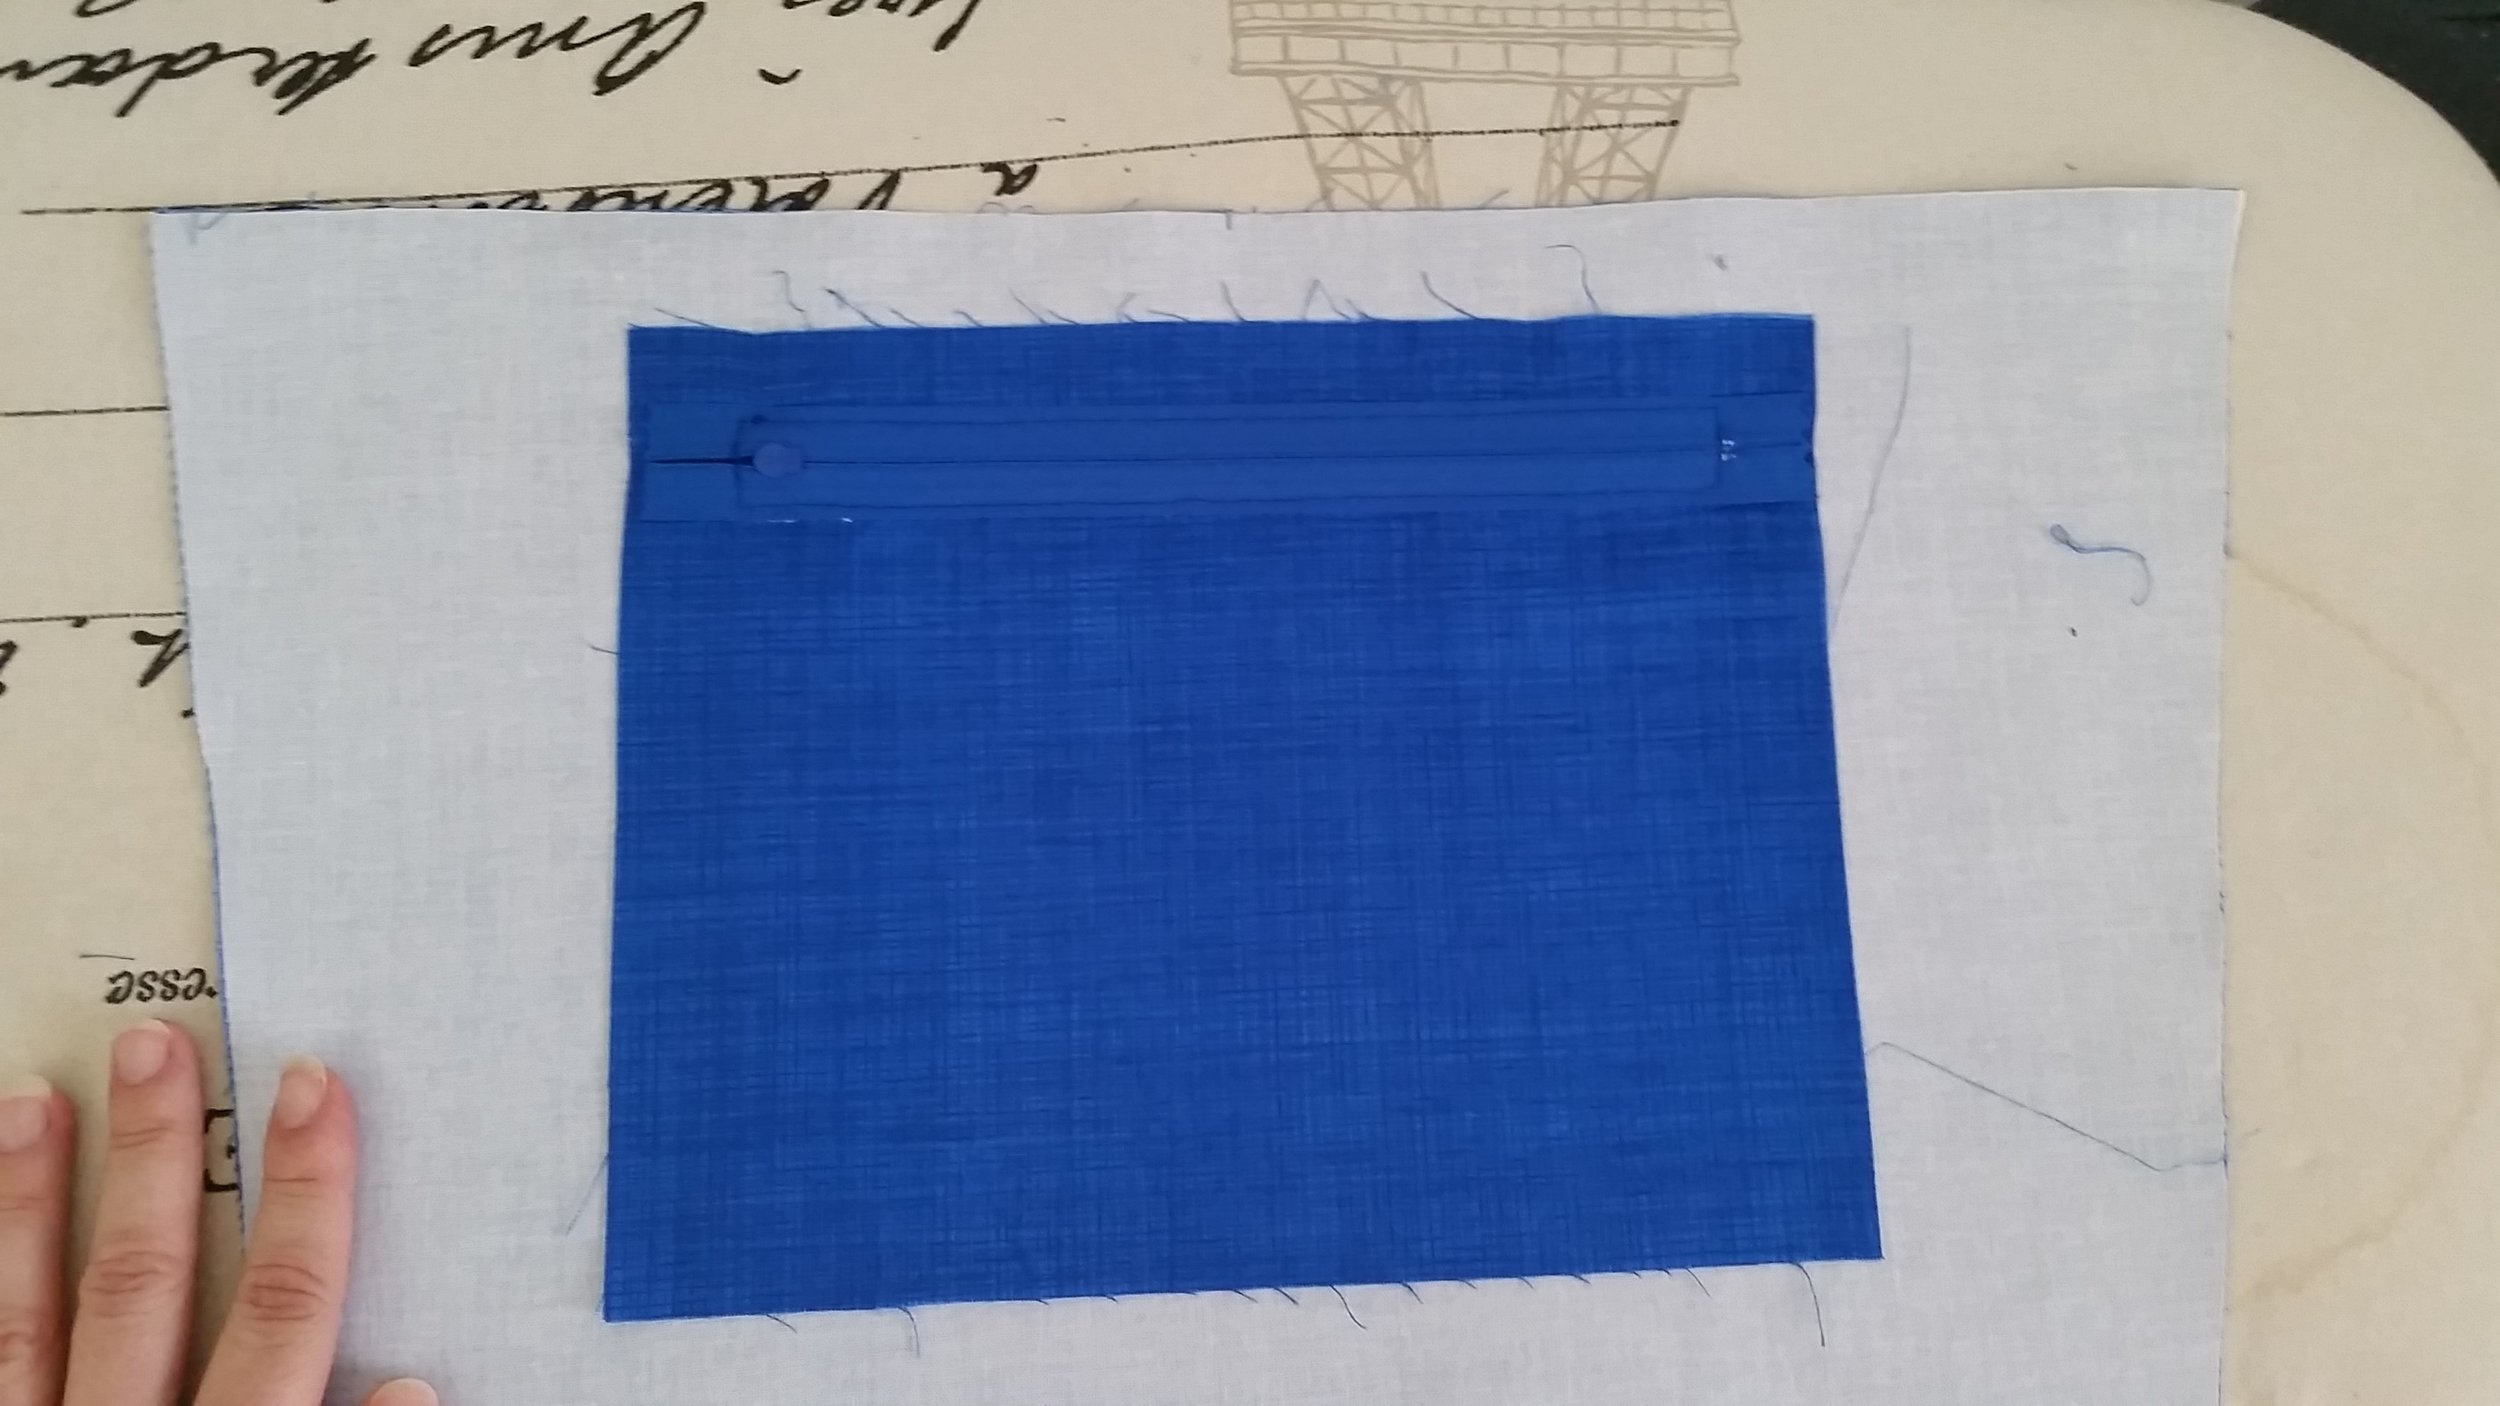
Using your non-picture piece, place it right side down in the centre of your interior main piece and follow the instructions for creating a zipper pocket on pages 13-14, stopping after you complete Step 12 ‘adding the zipper’.

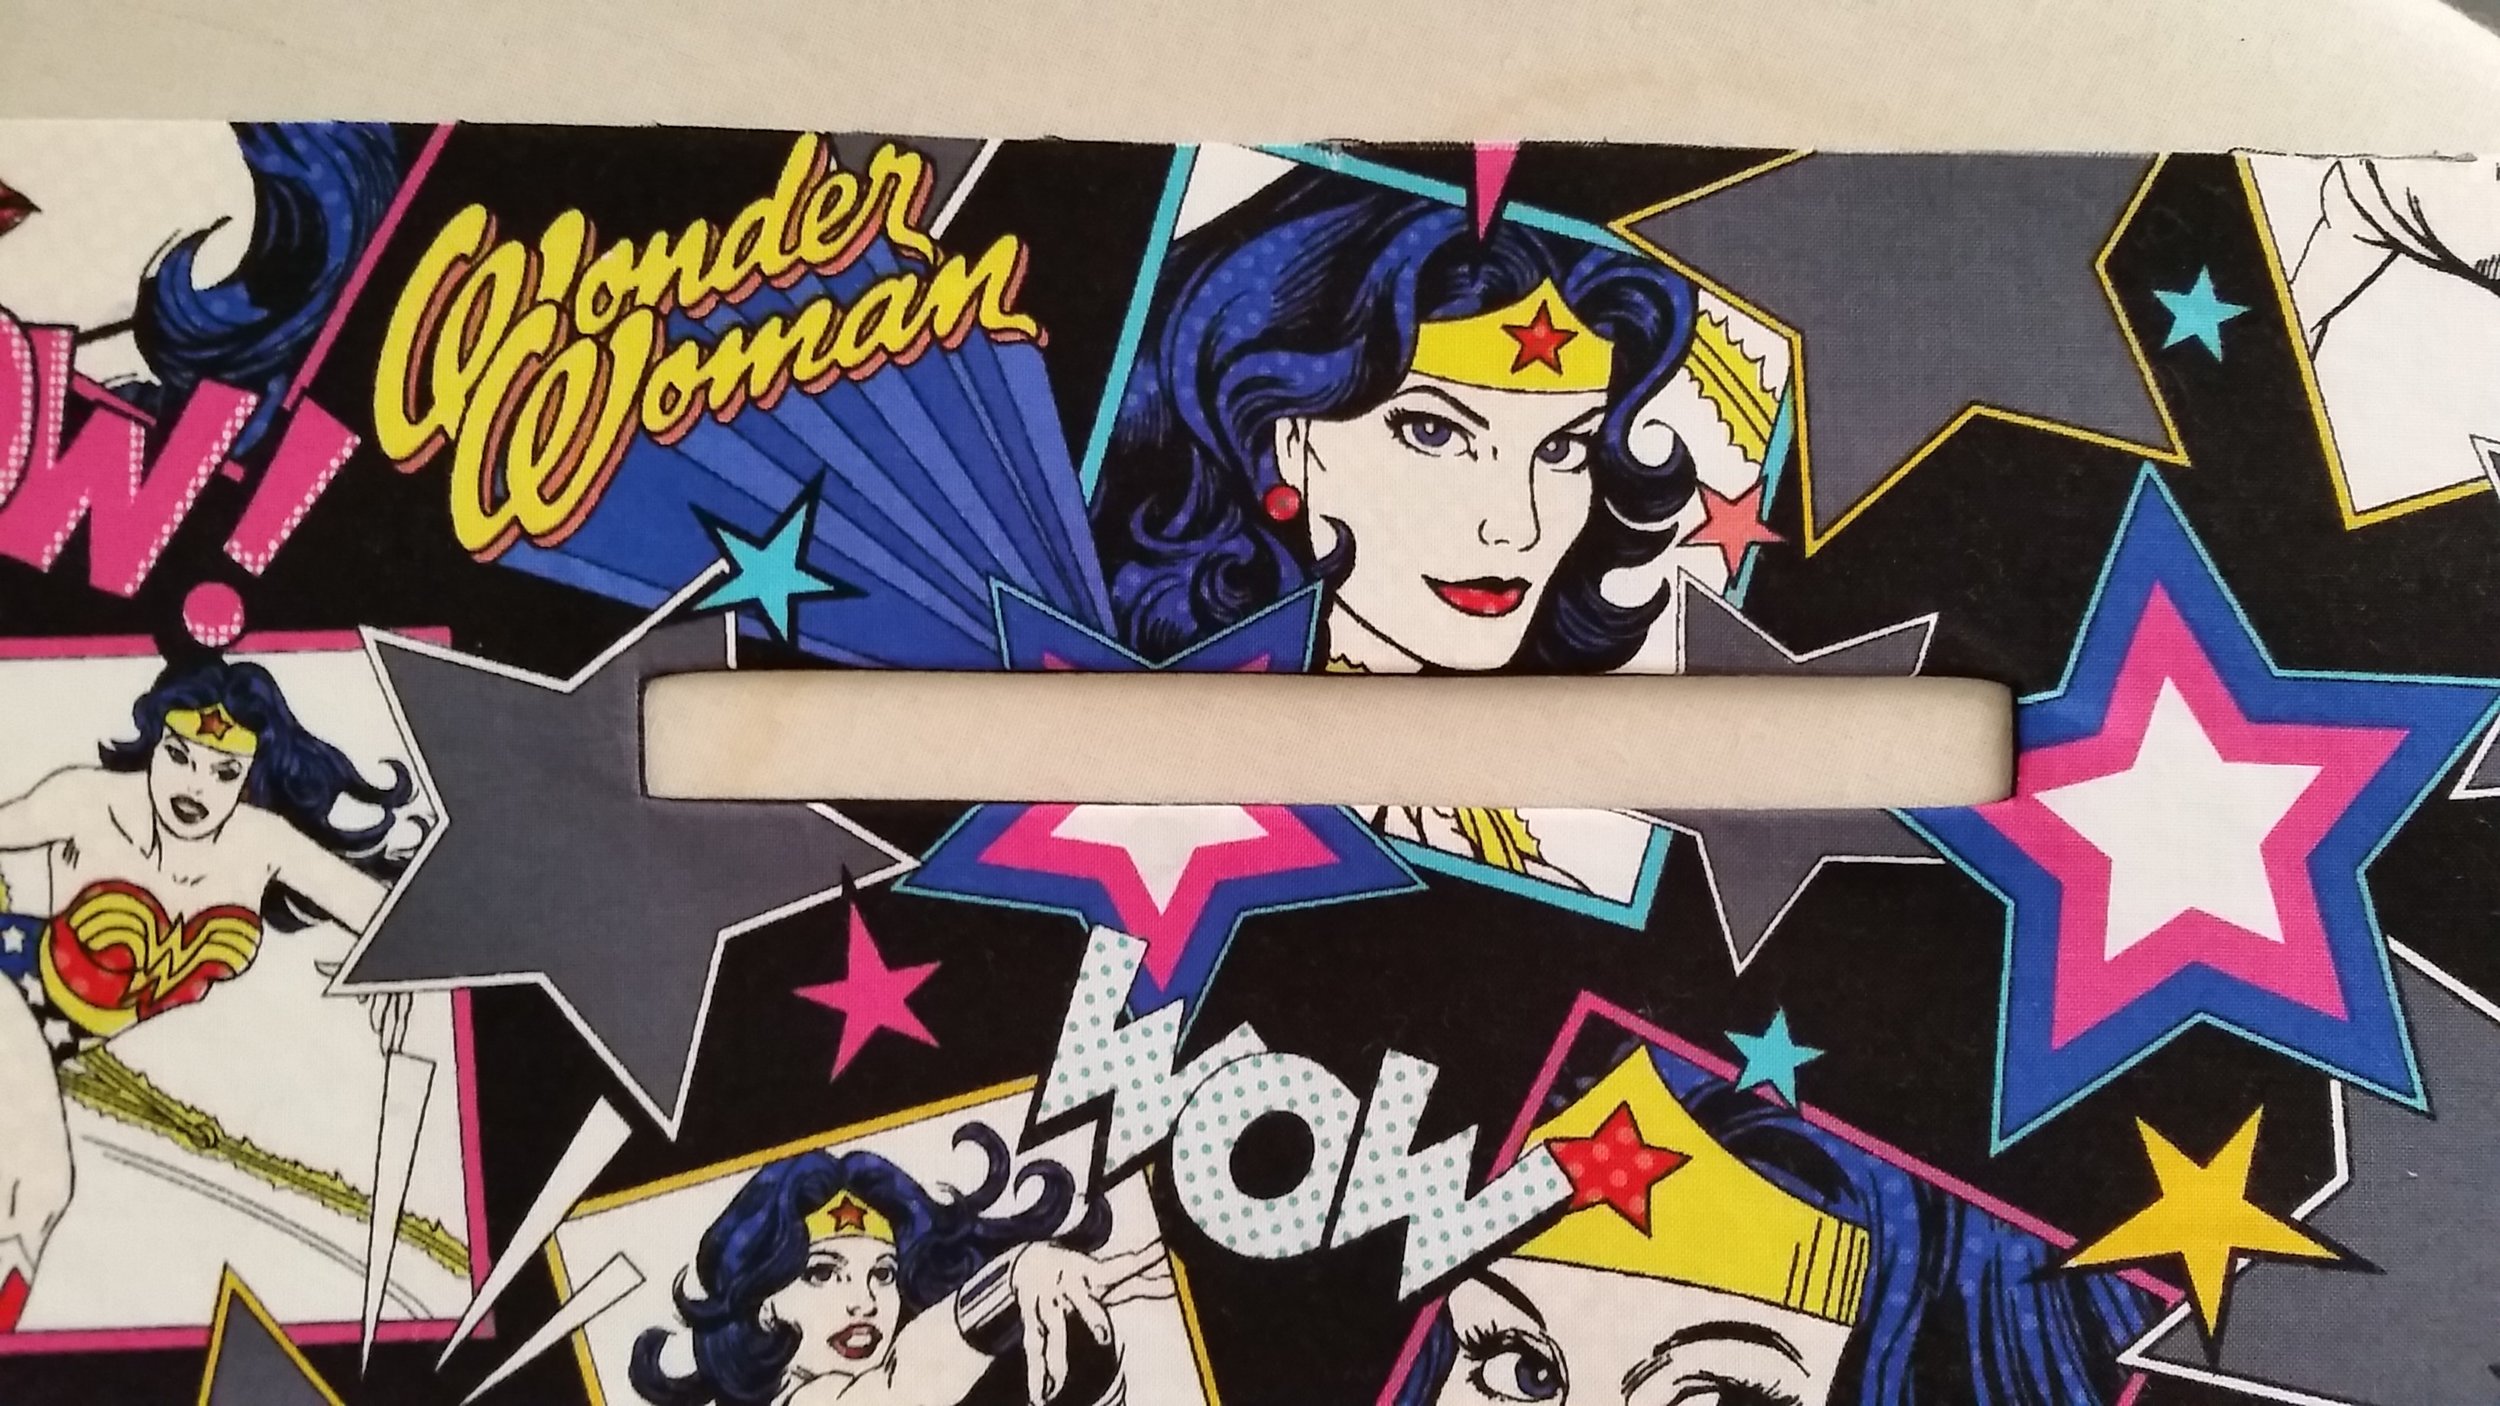
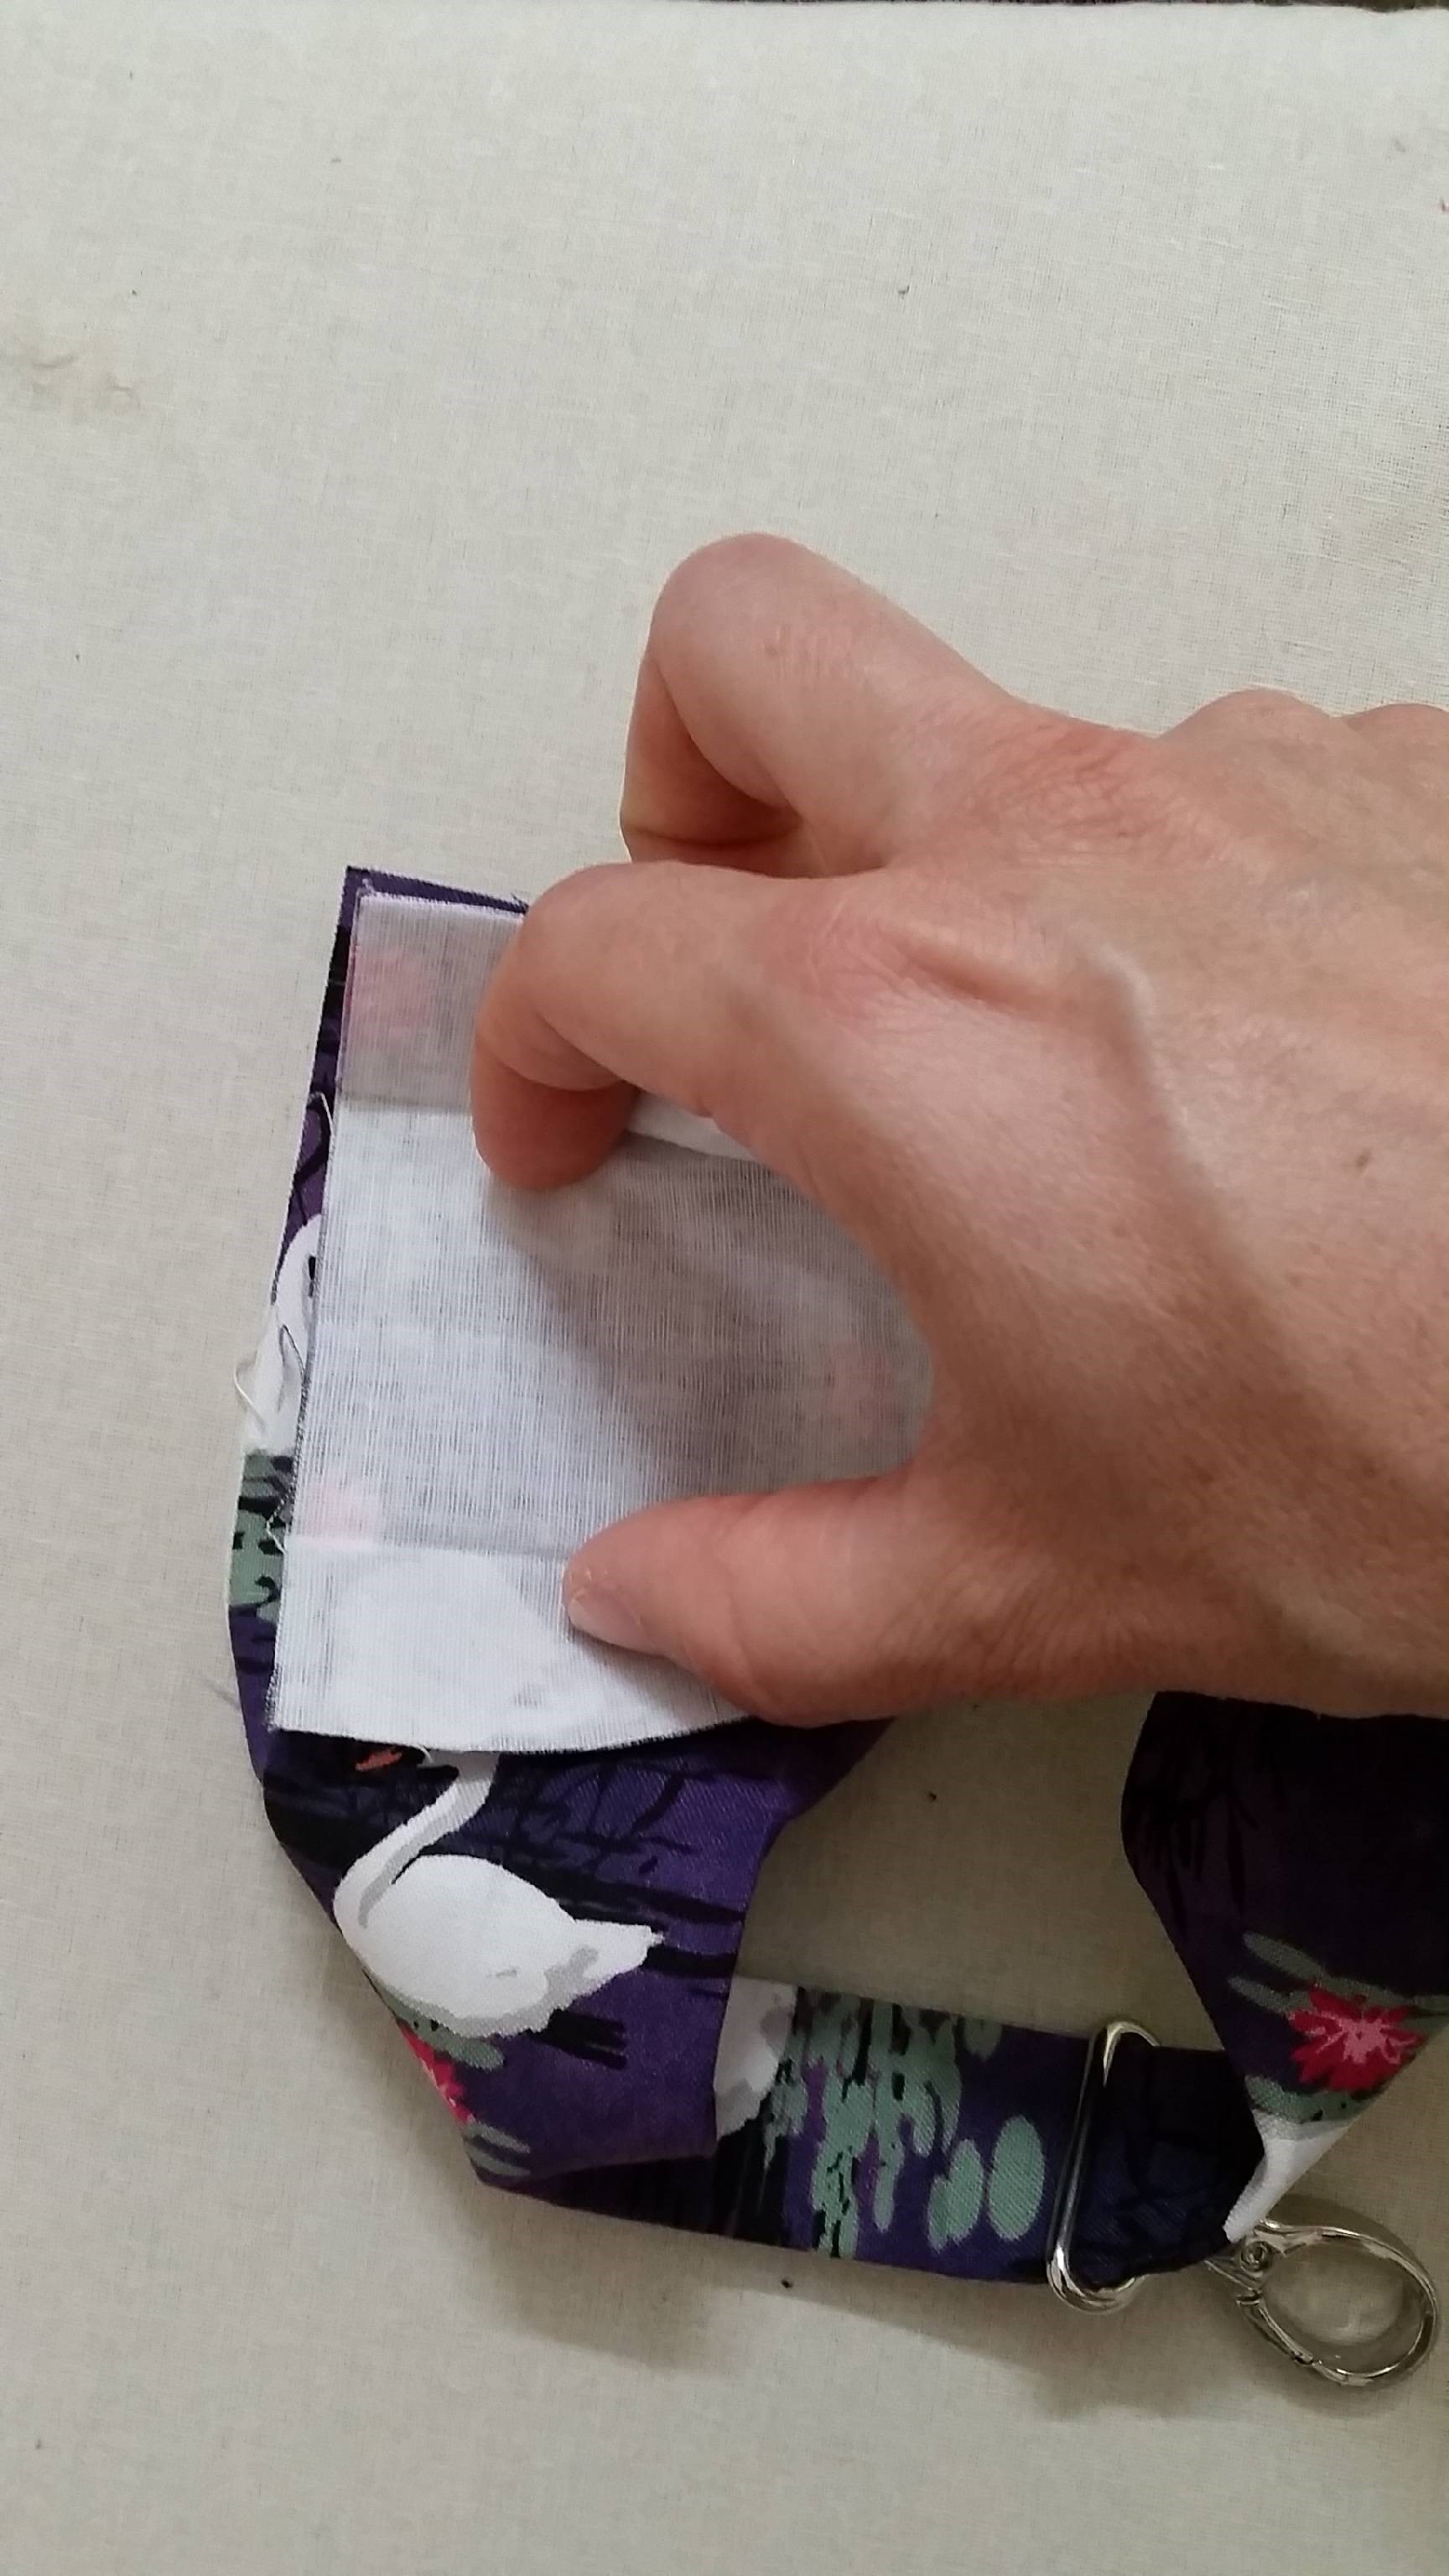
Once you have added your zipper, your interior main piece will look like this on the wrong side.
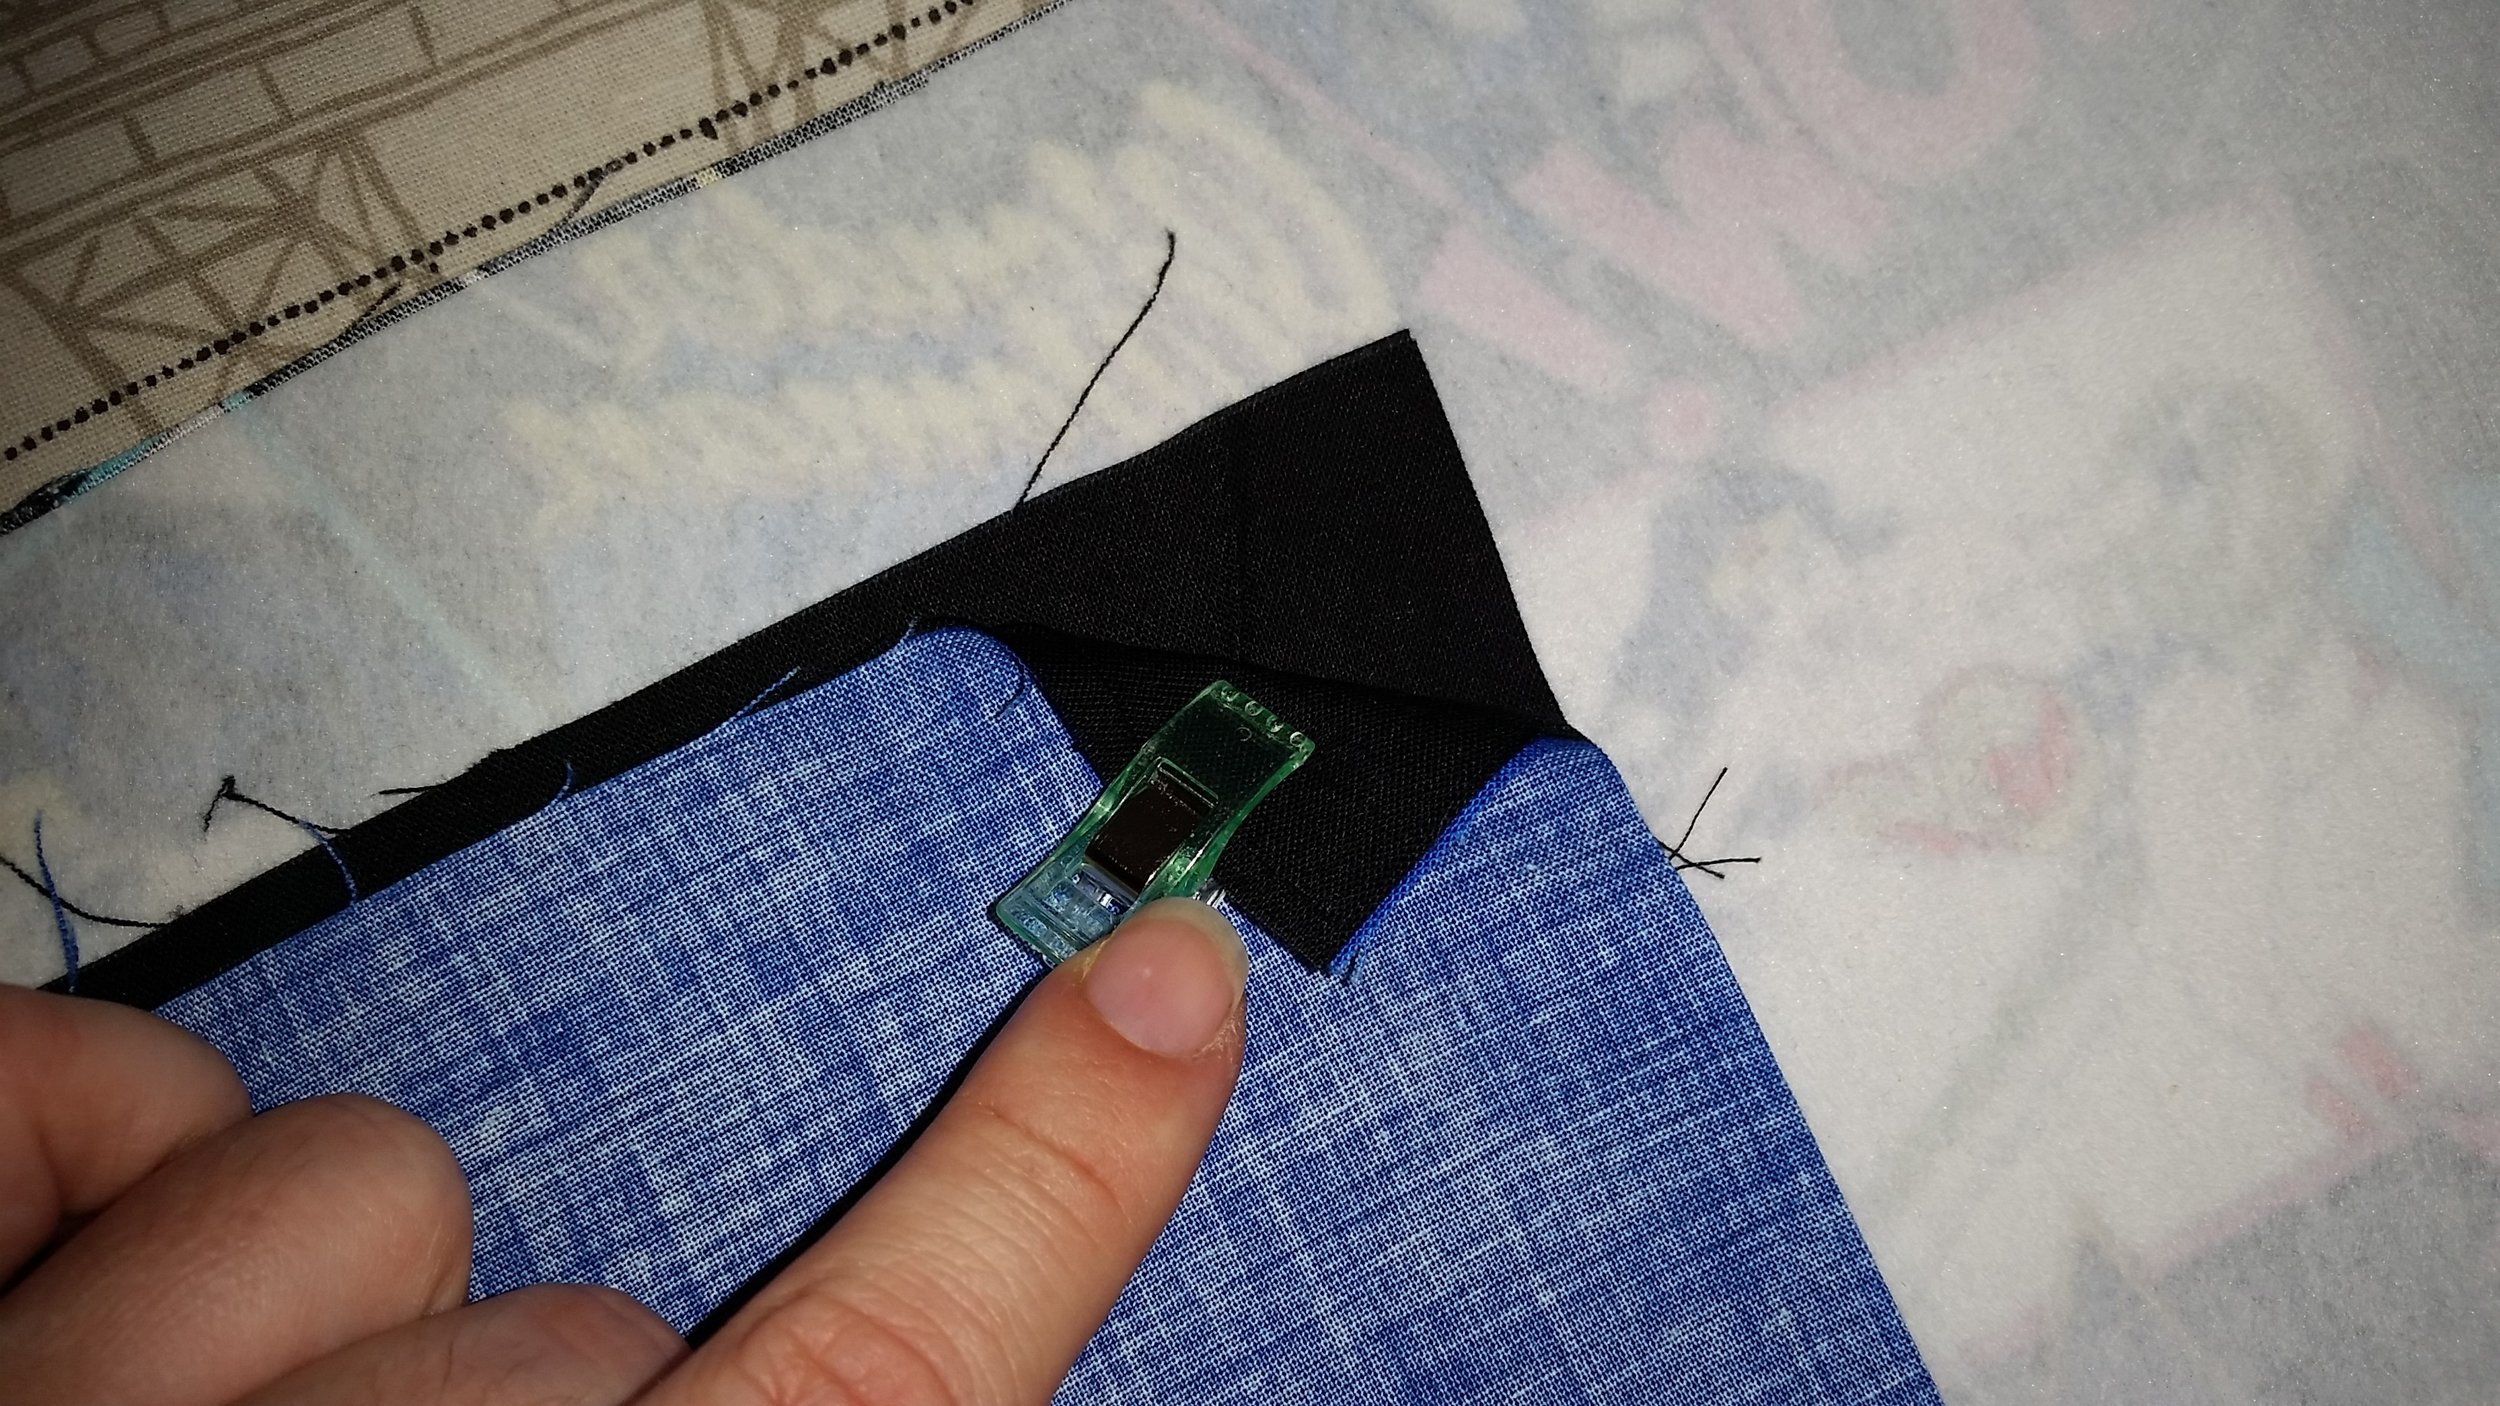
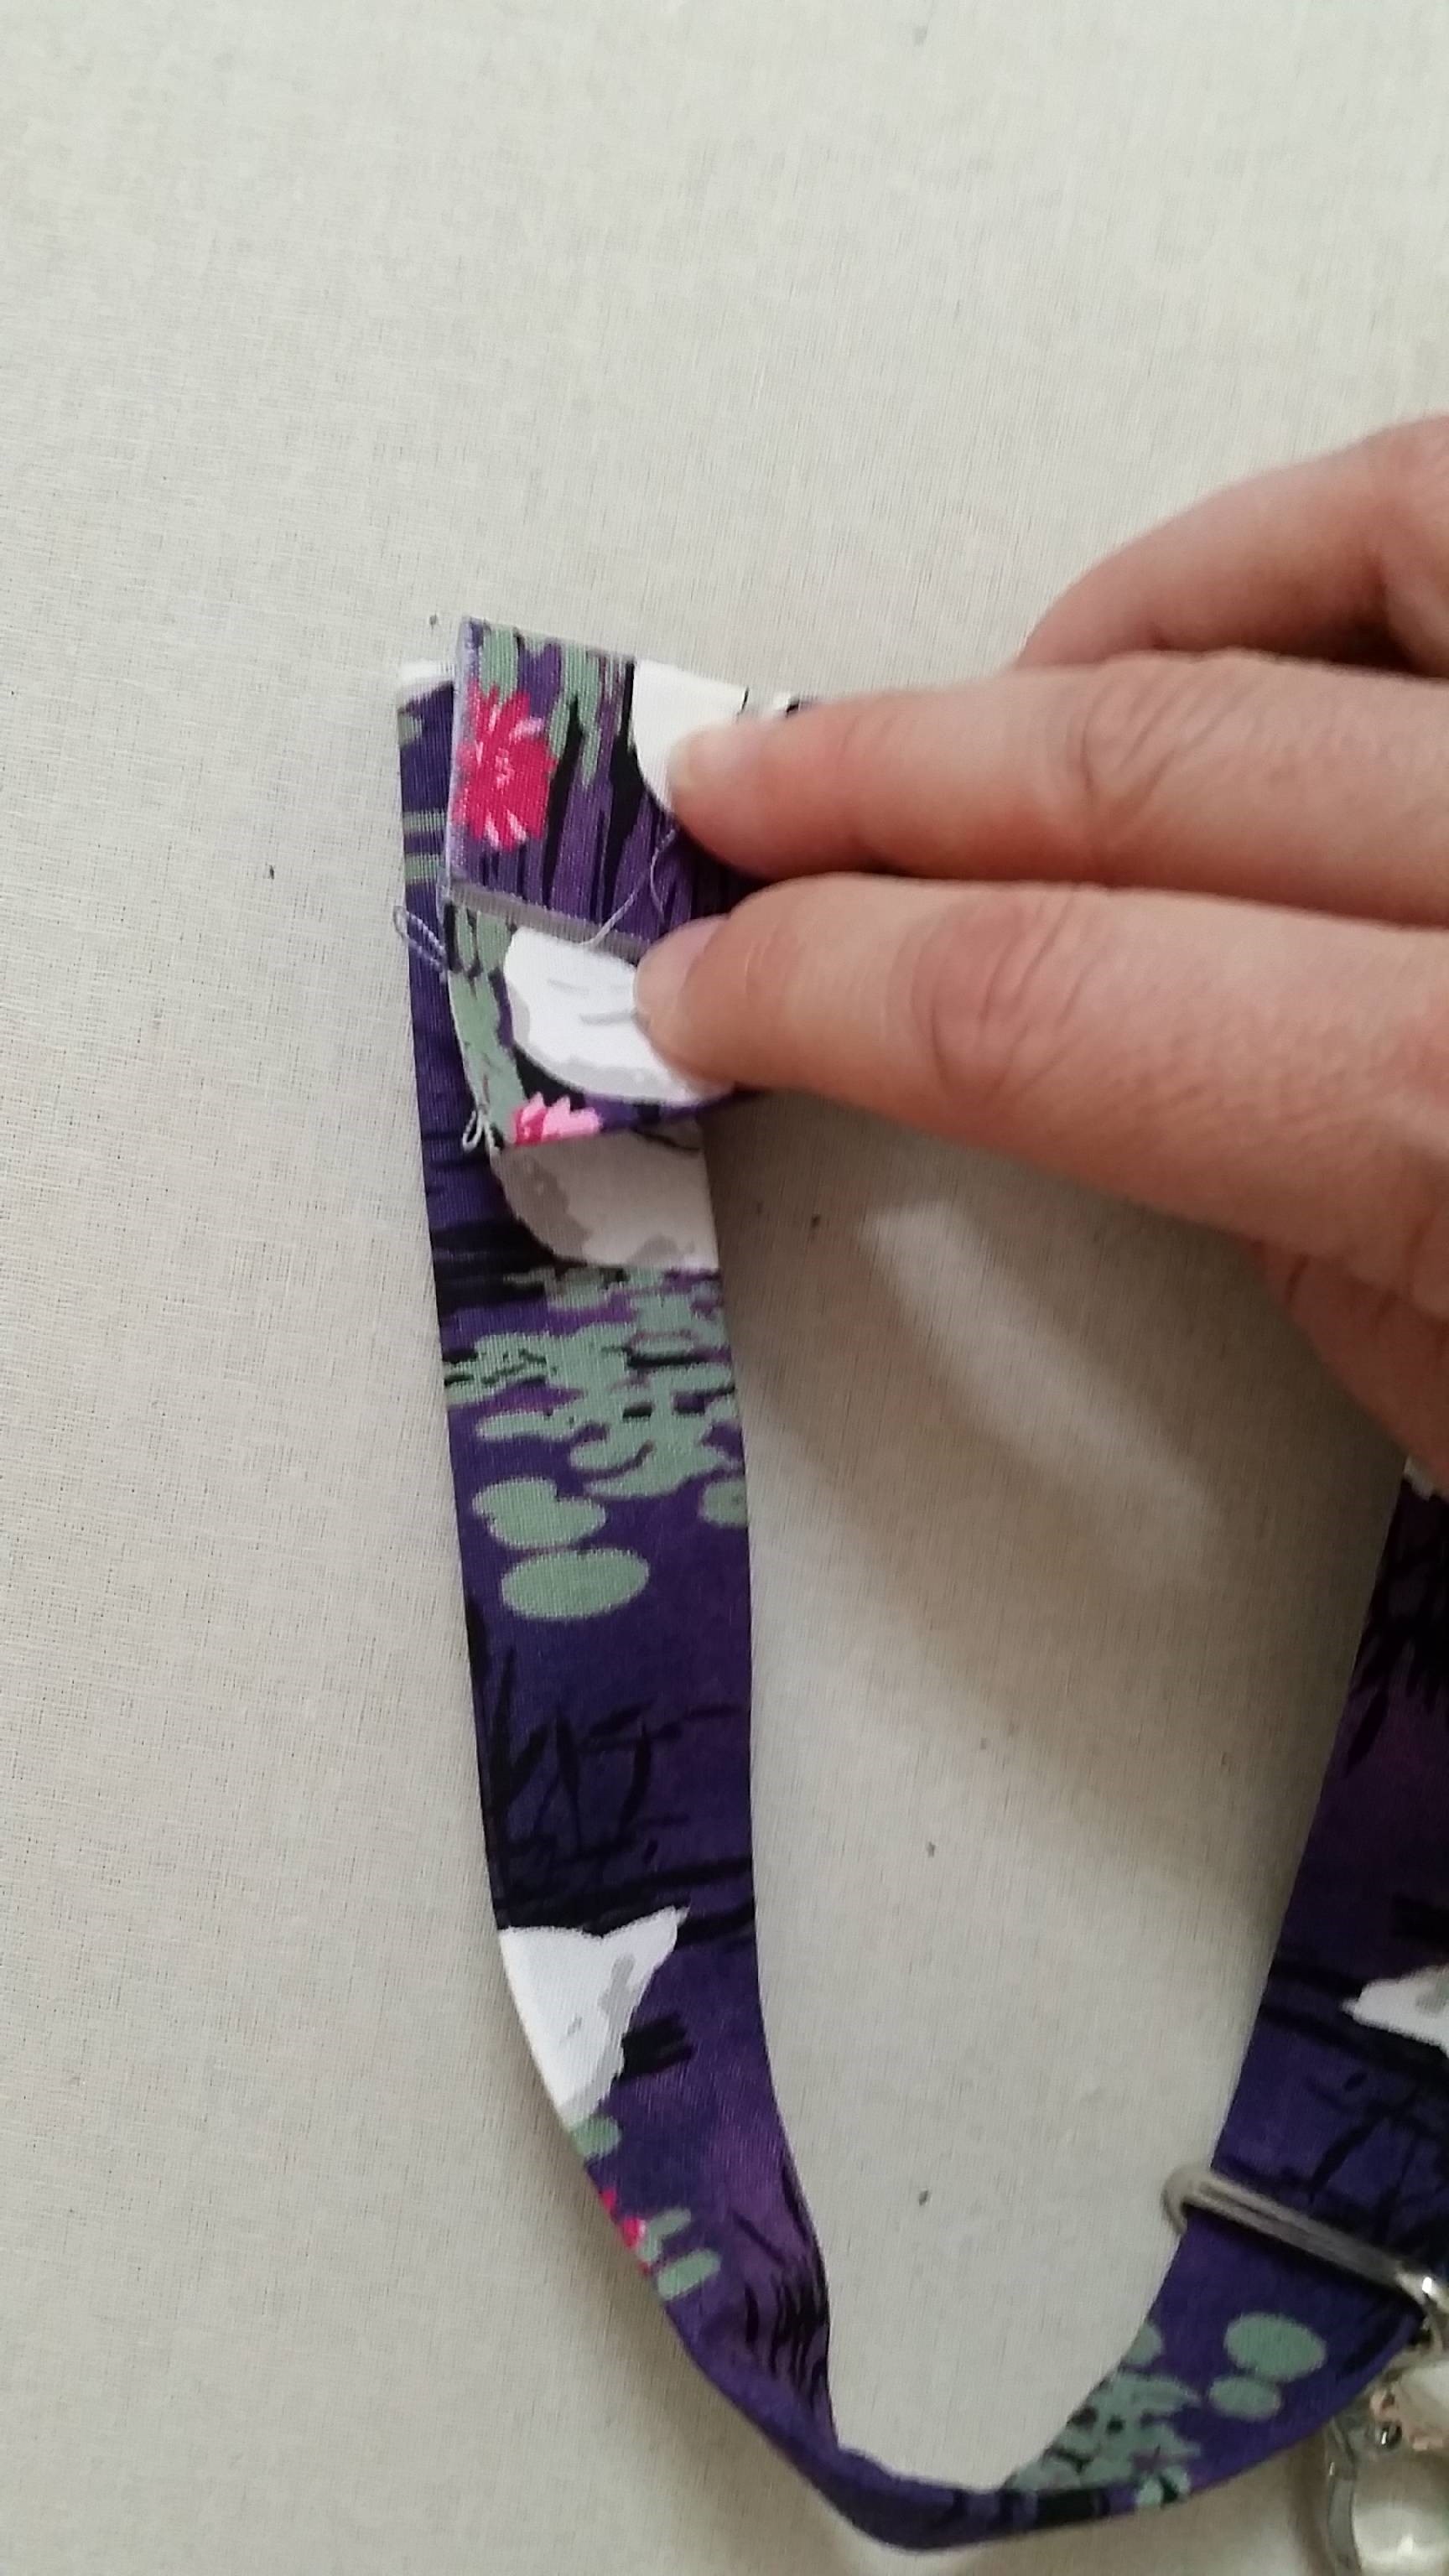
Lay your picture pocket lining piece on top of the non-picture piece right sides together. Pin or clip around the sides and top of the pieces (but NOT the bottom), then sew around the 3 sides using a 3/8” seam allowance.
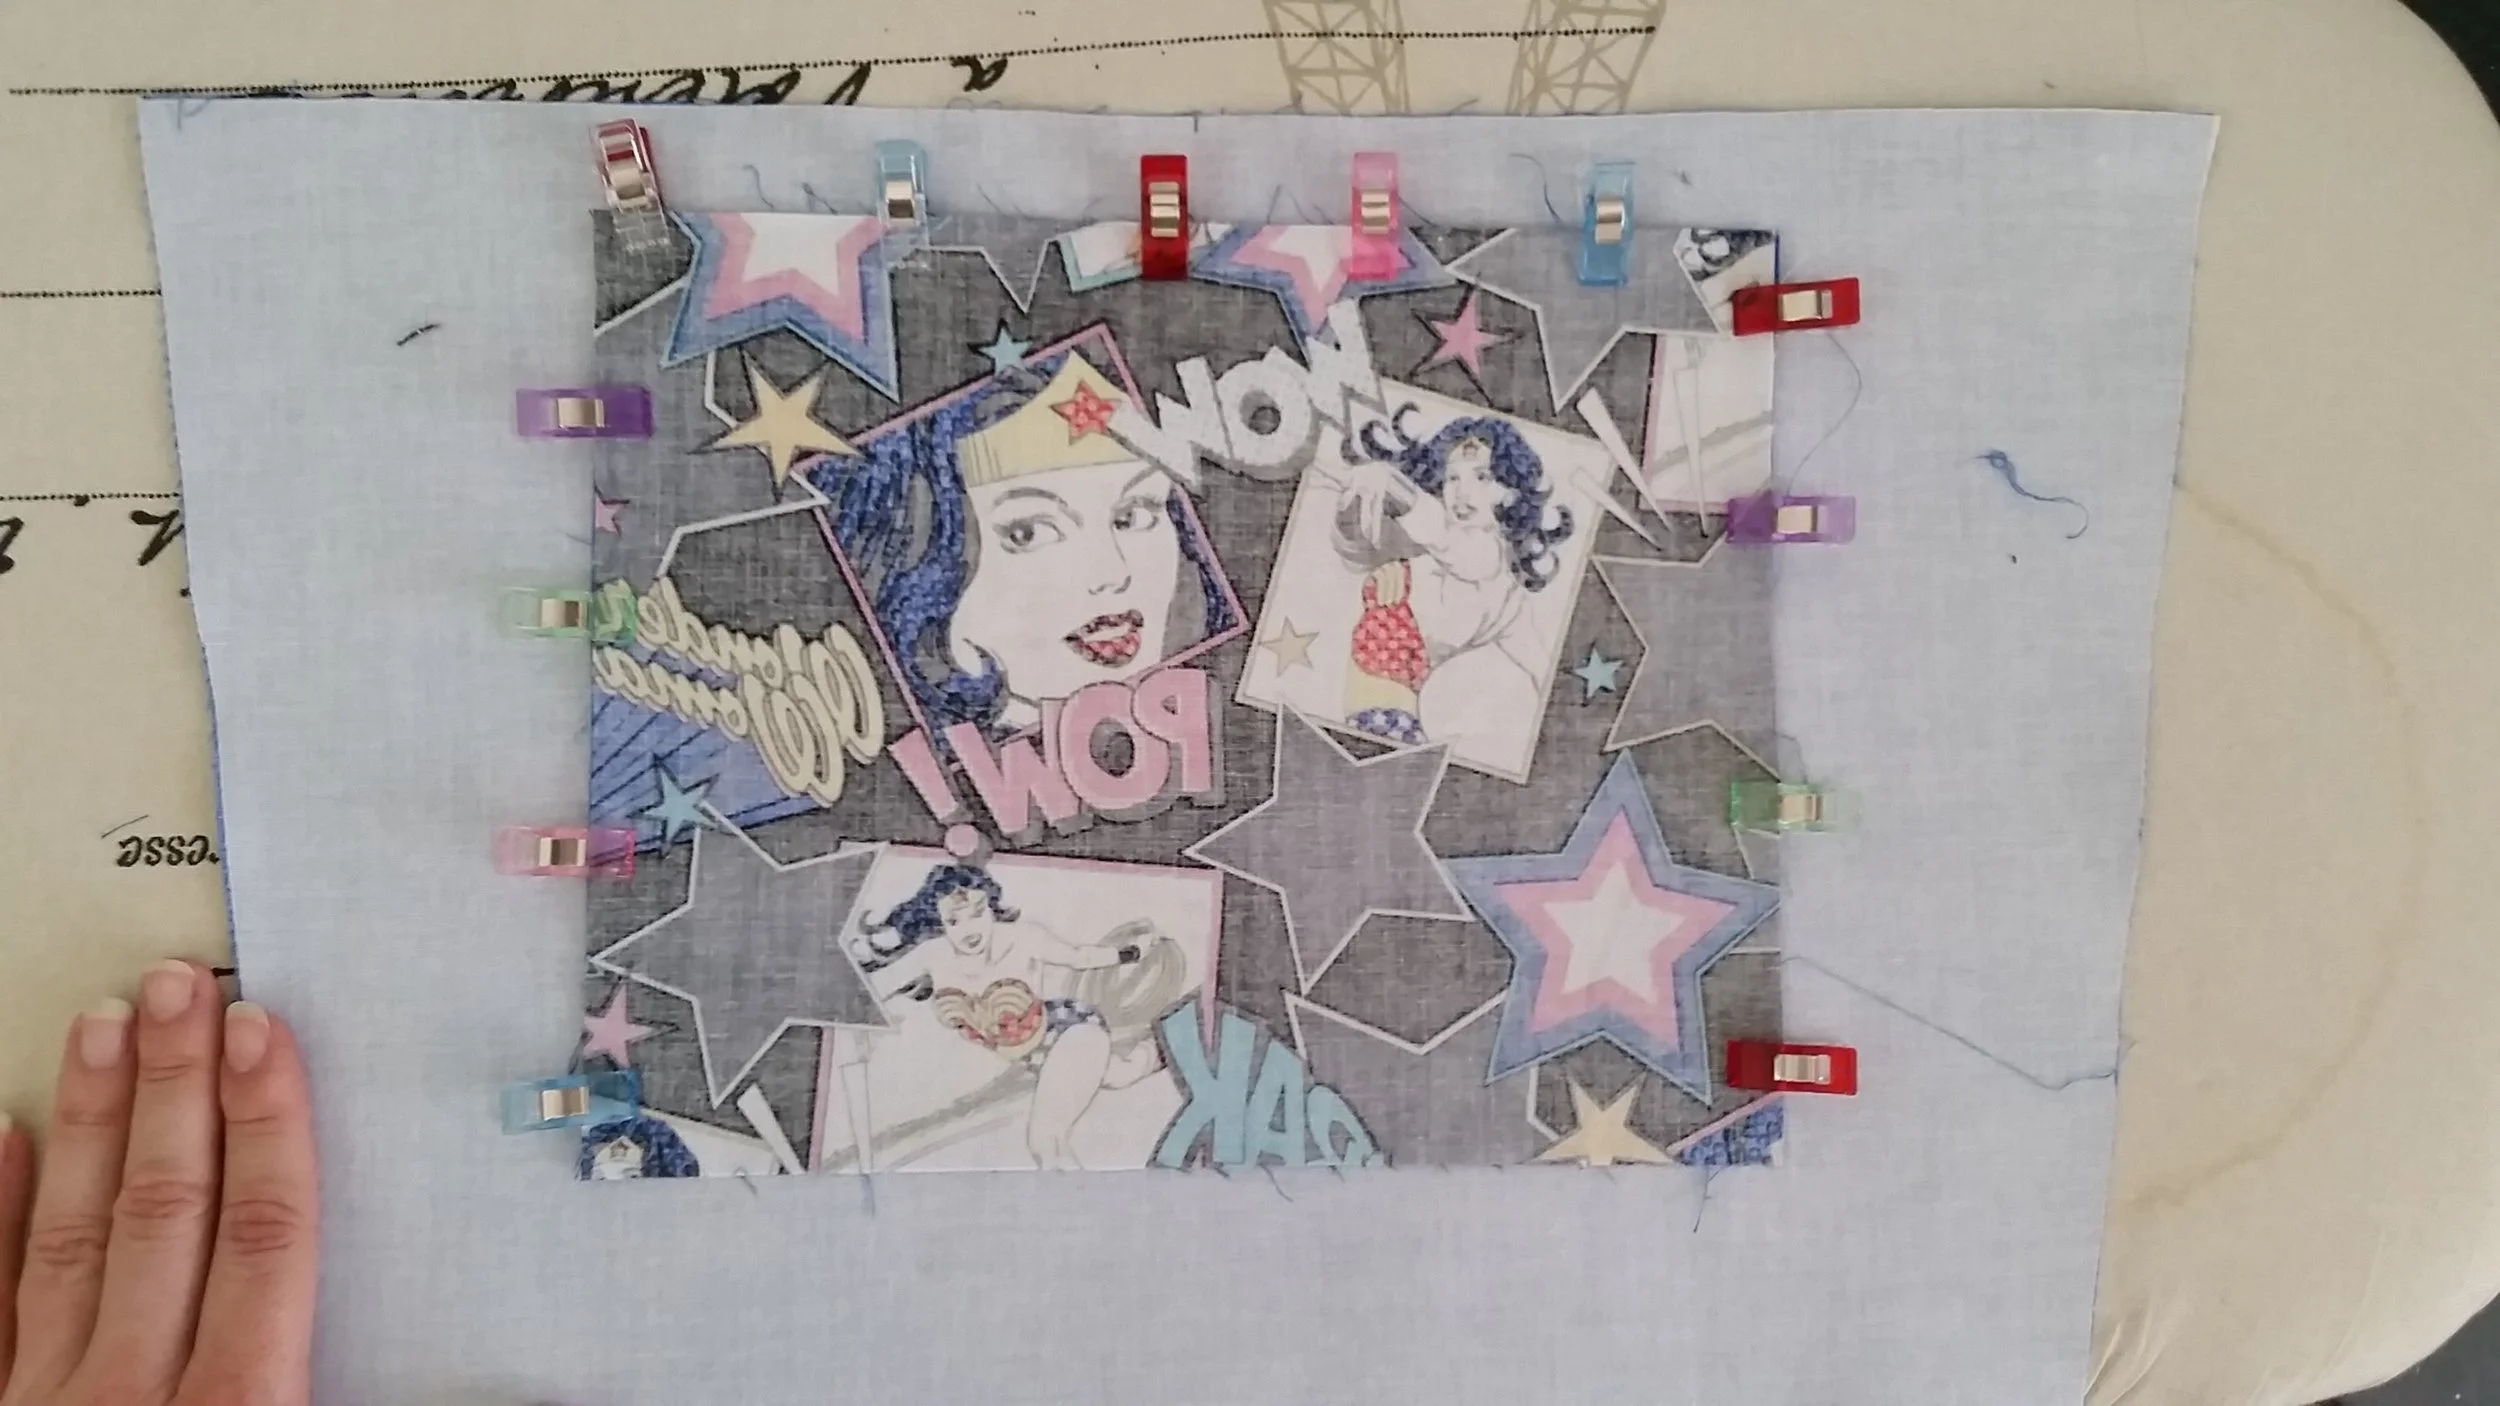
Remember to fold your interior main piece out of the way while you sew the two pocket pieces together.

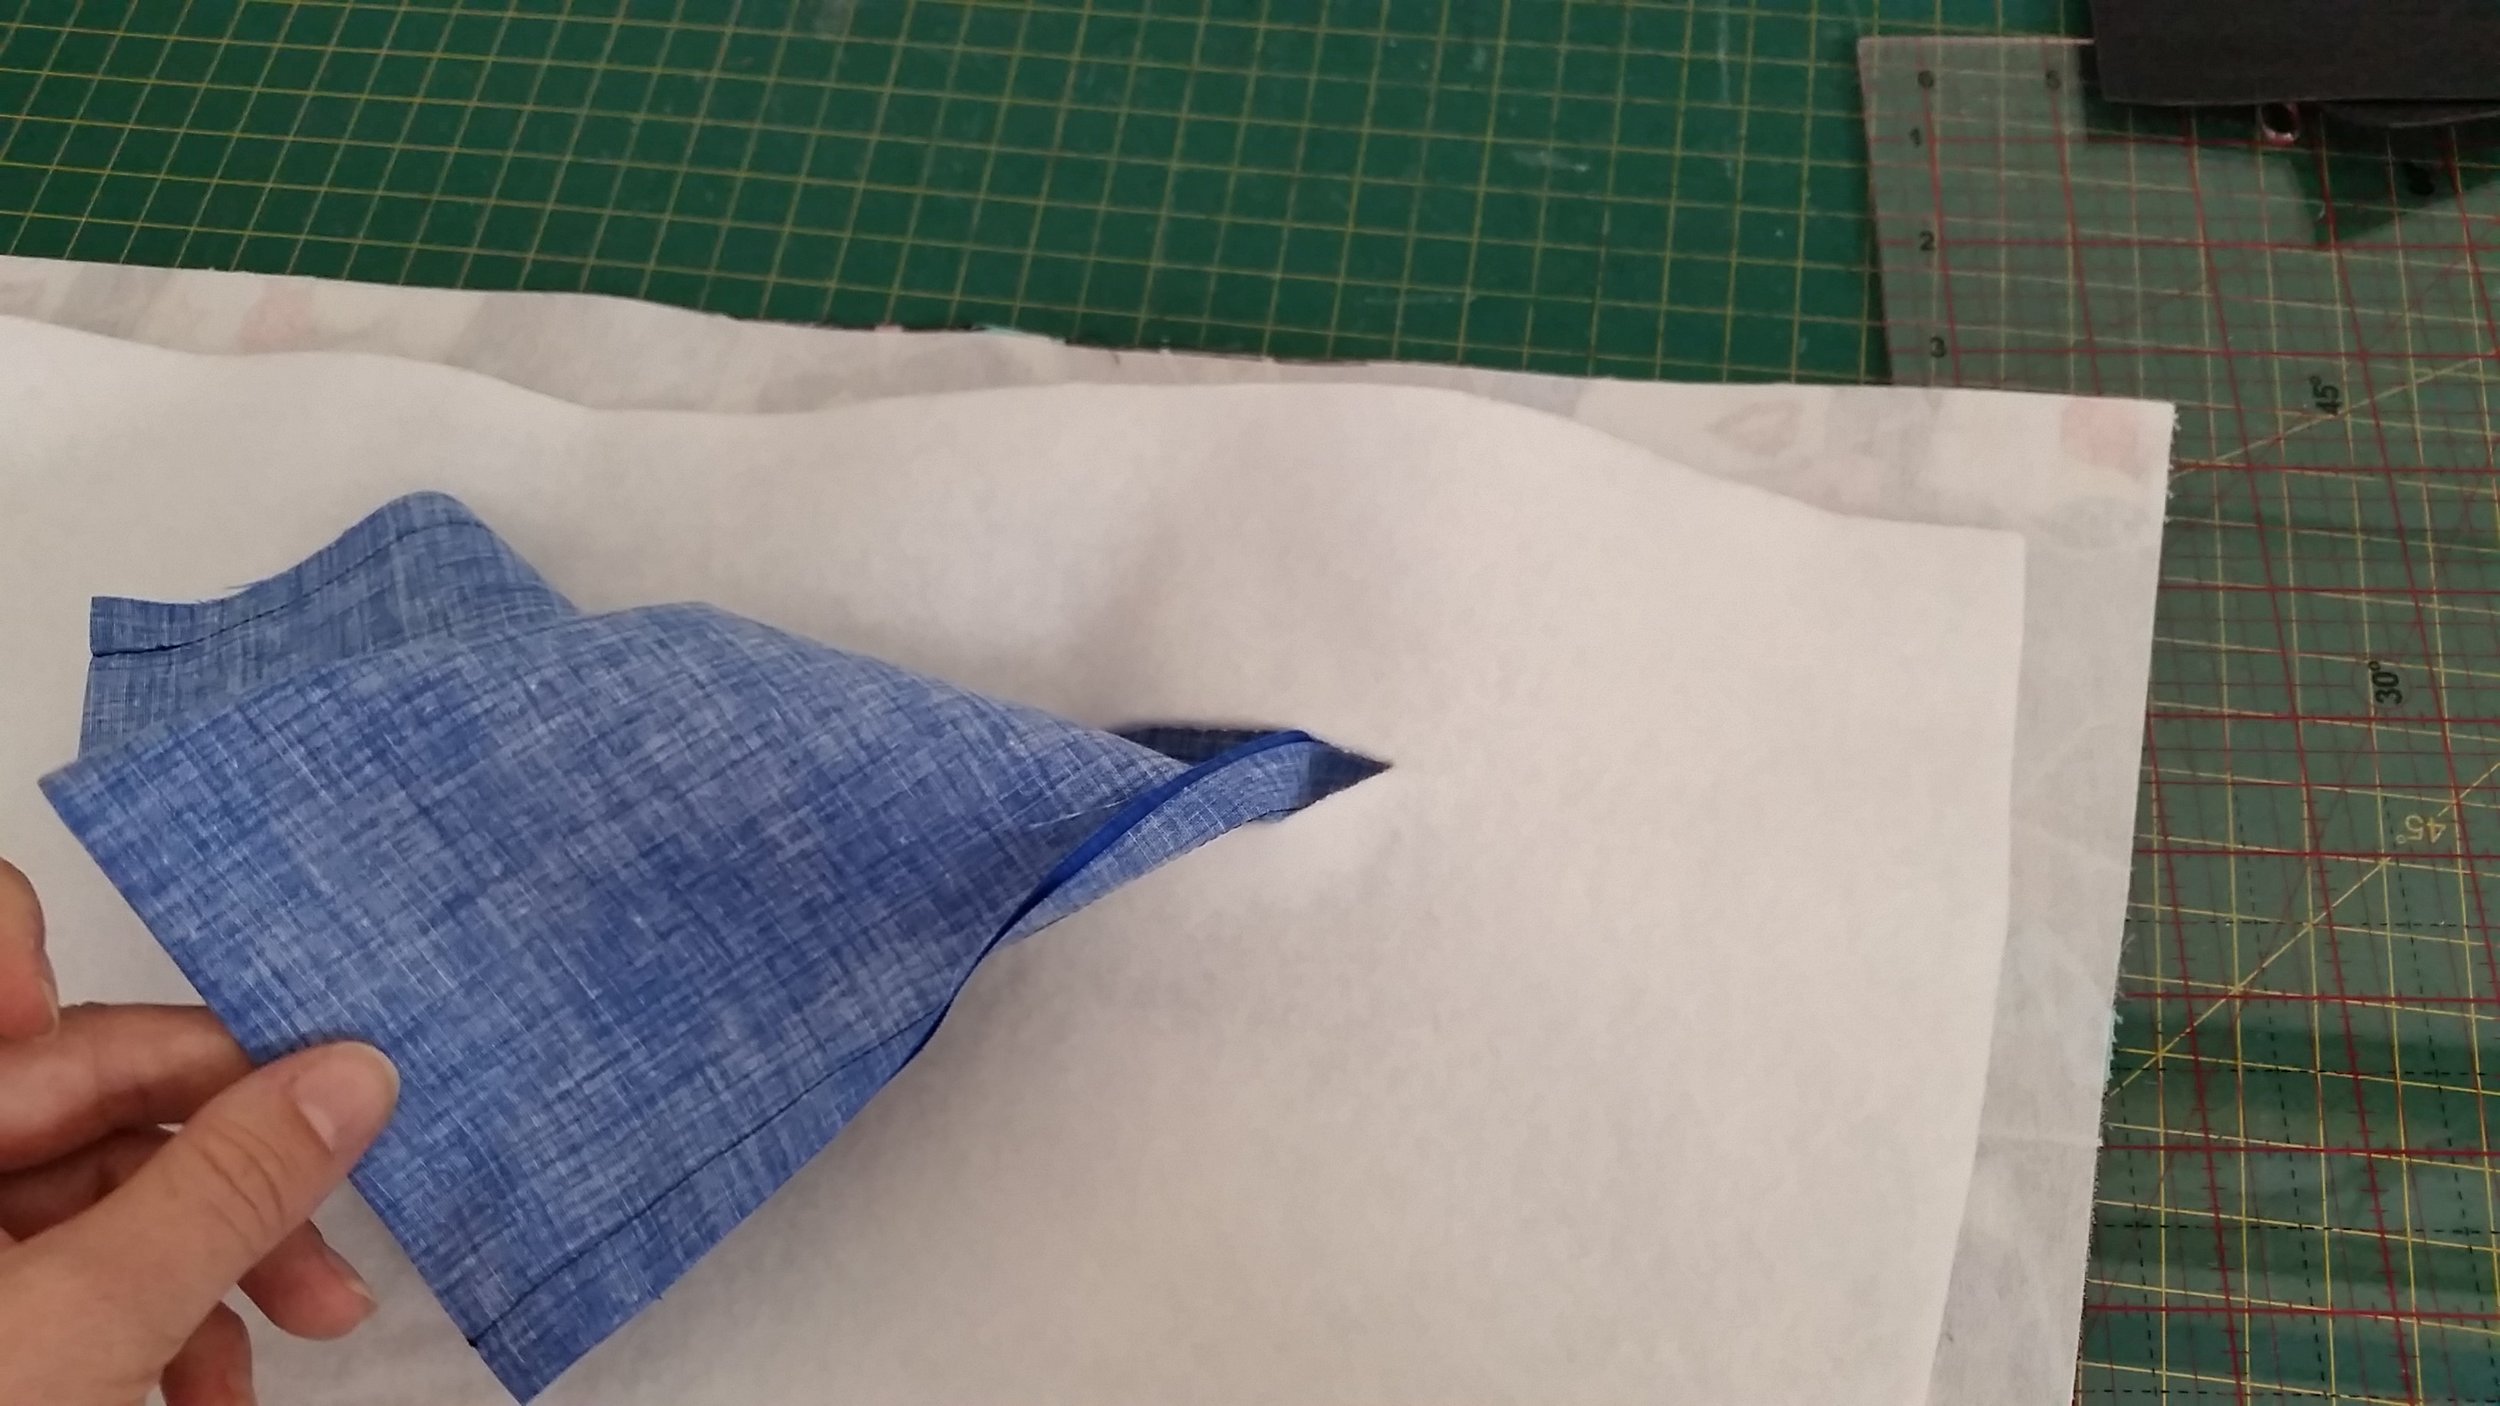
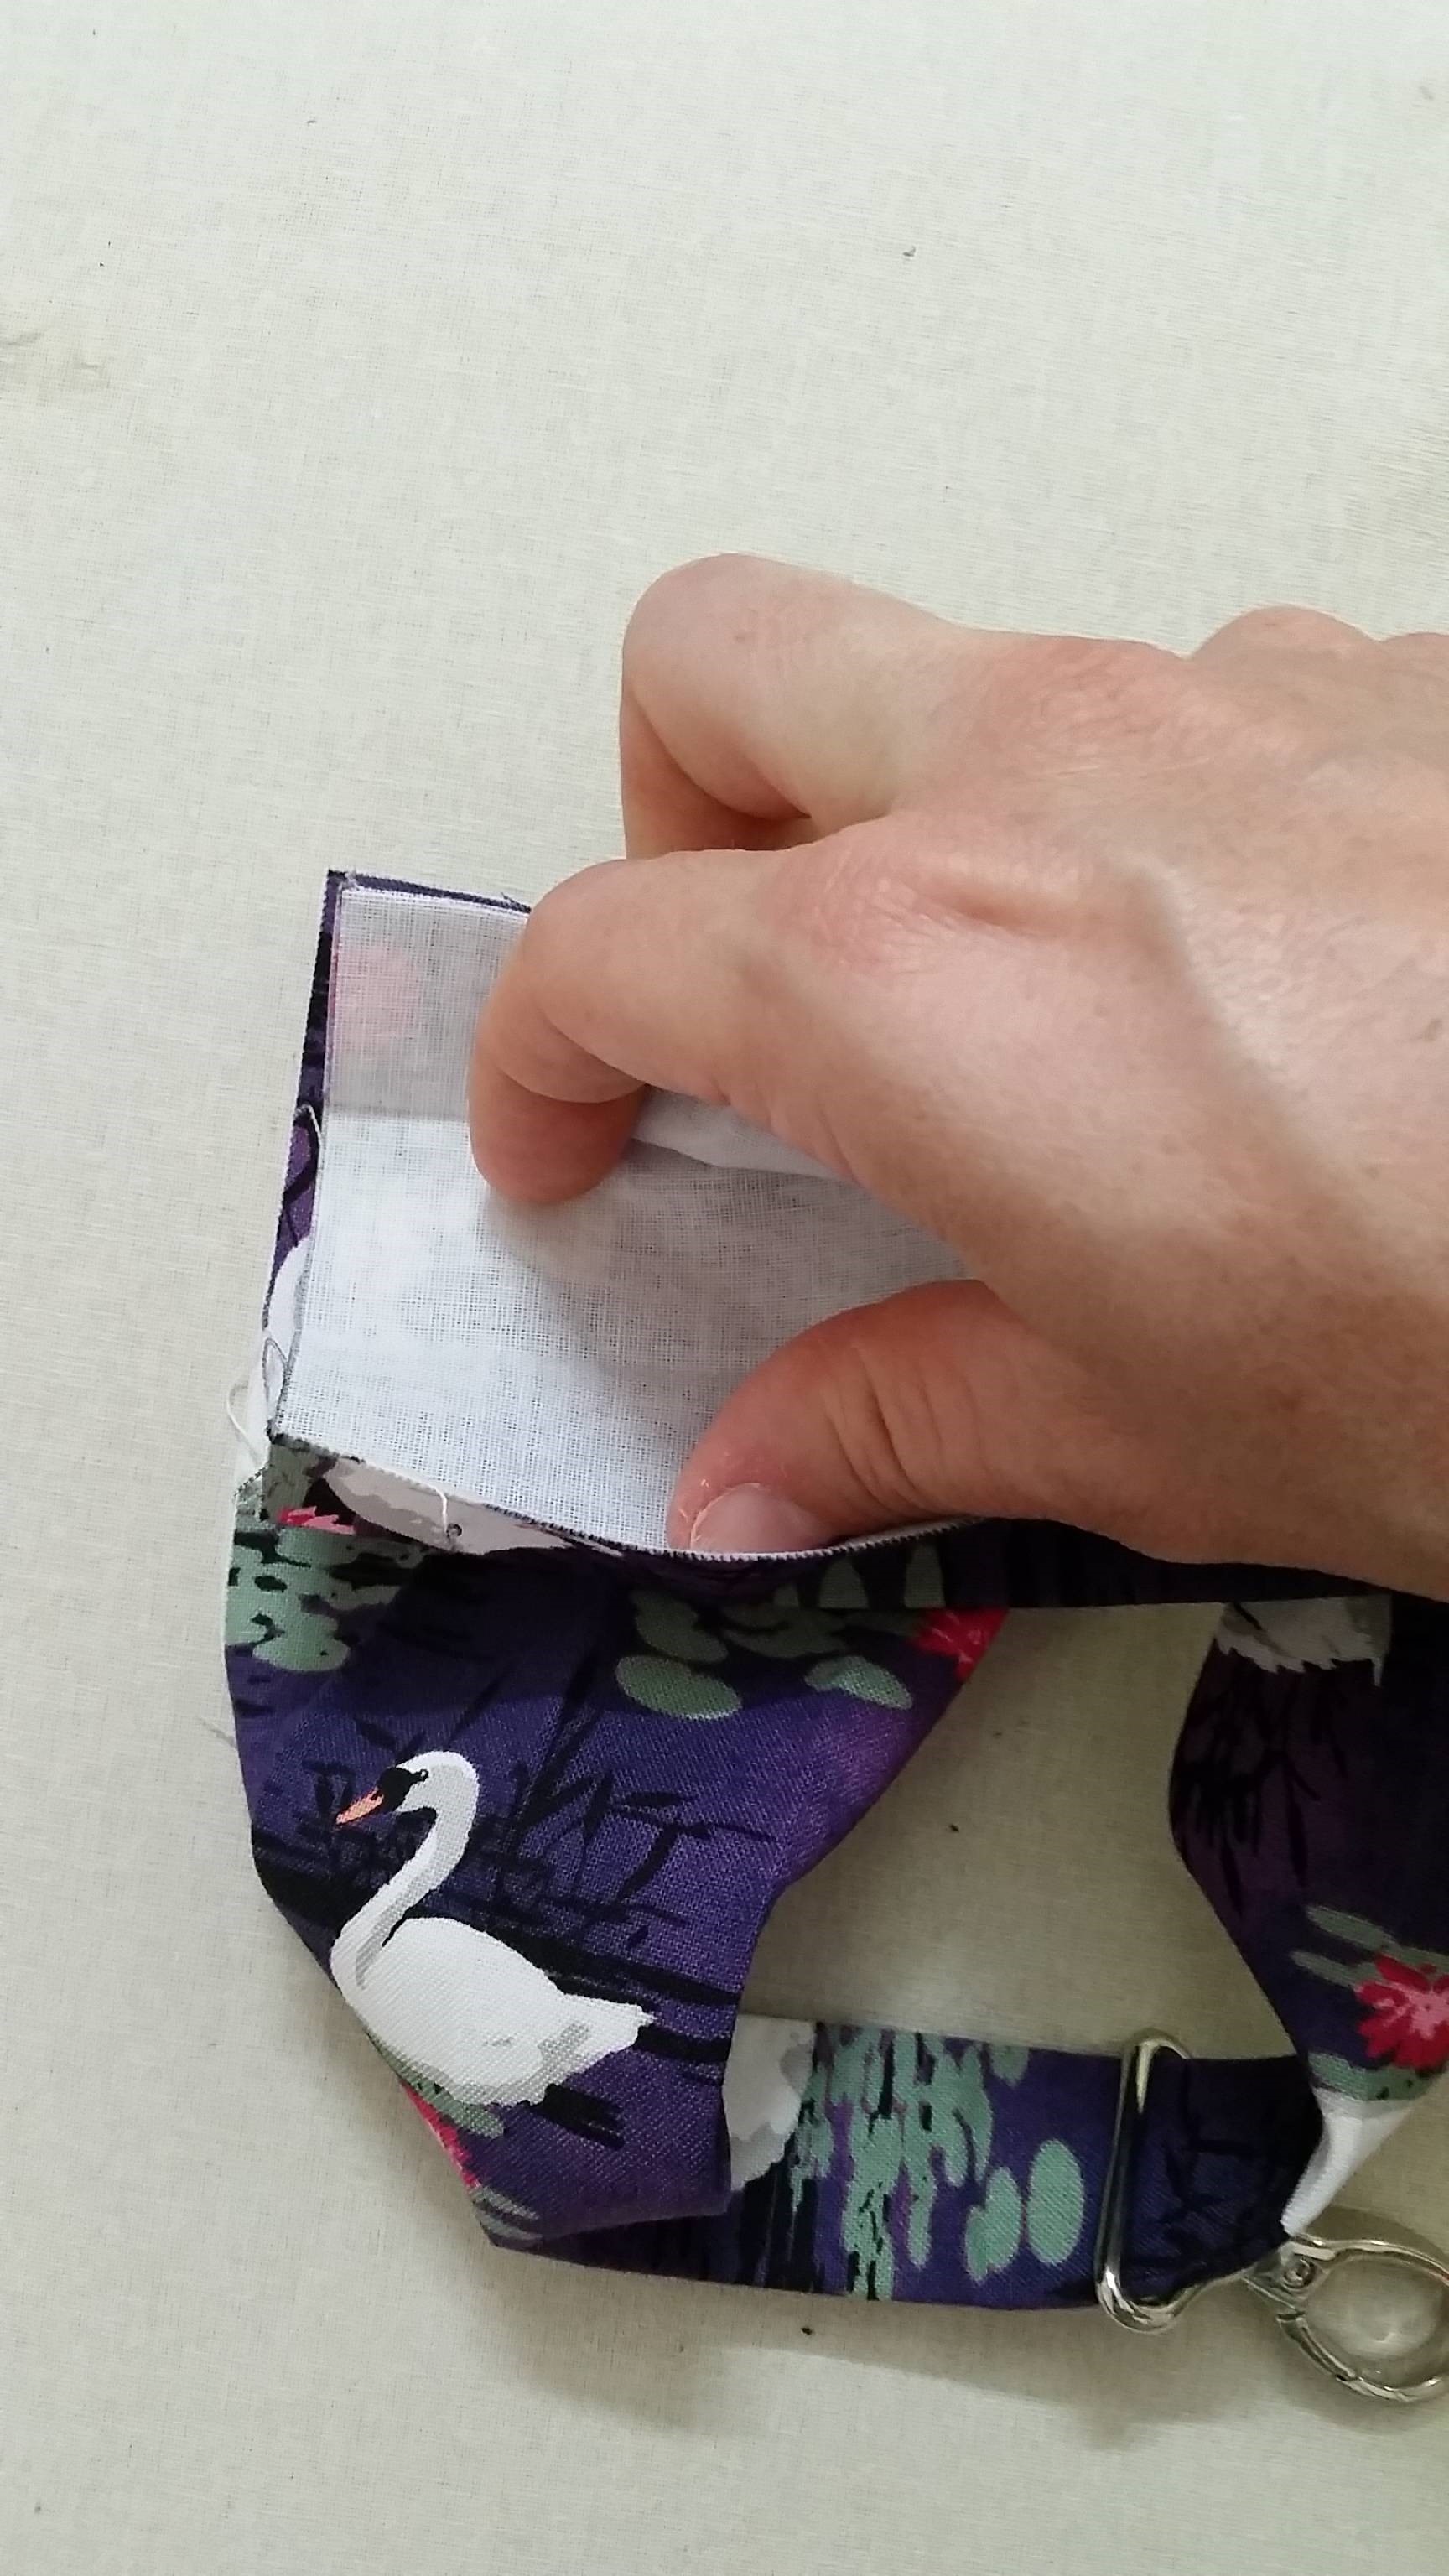
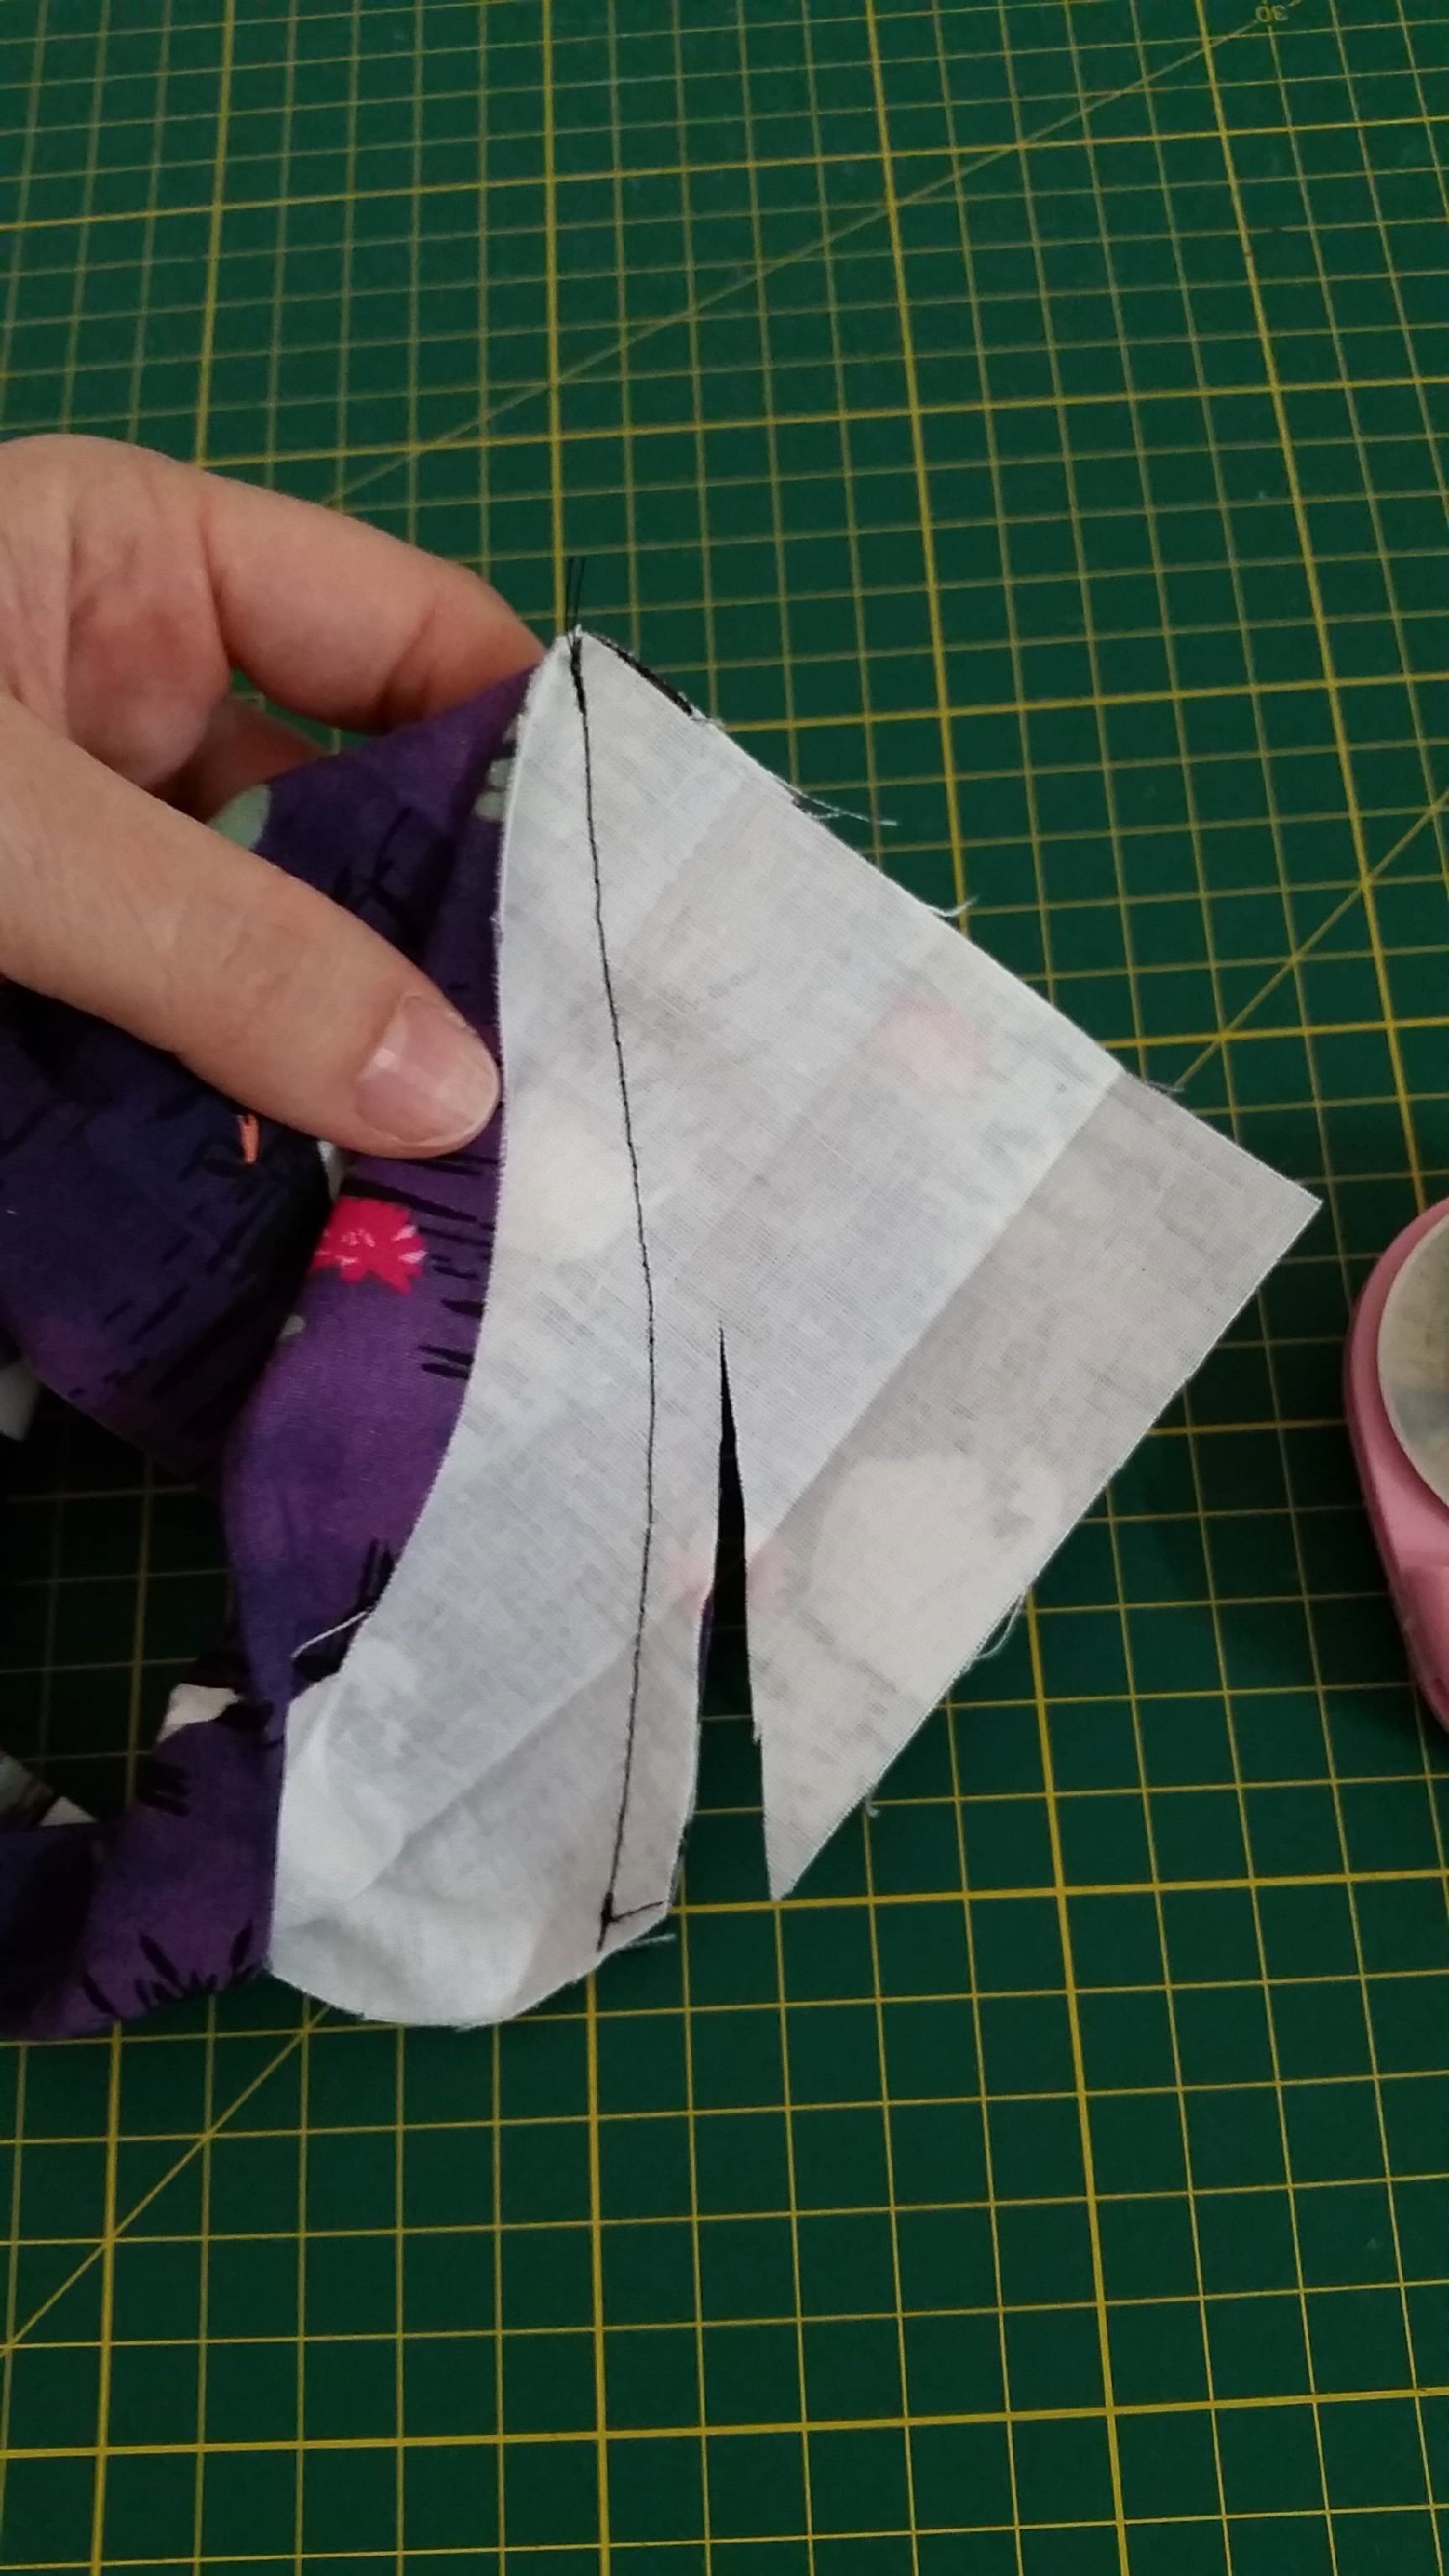
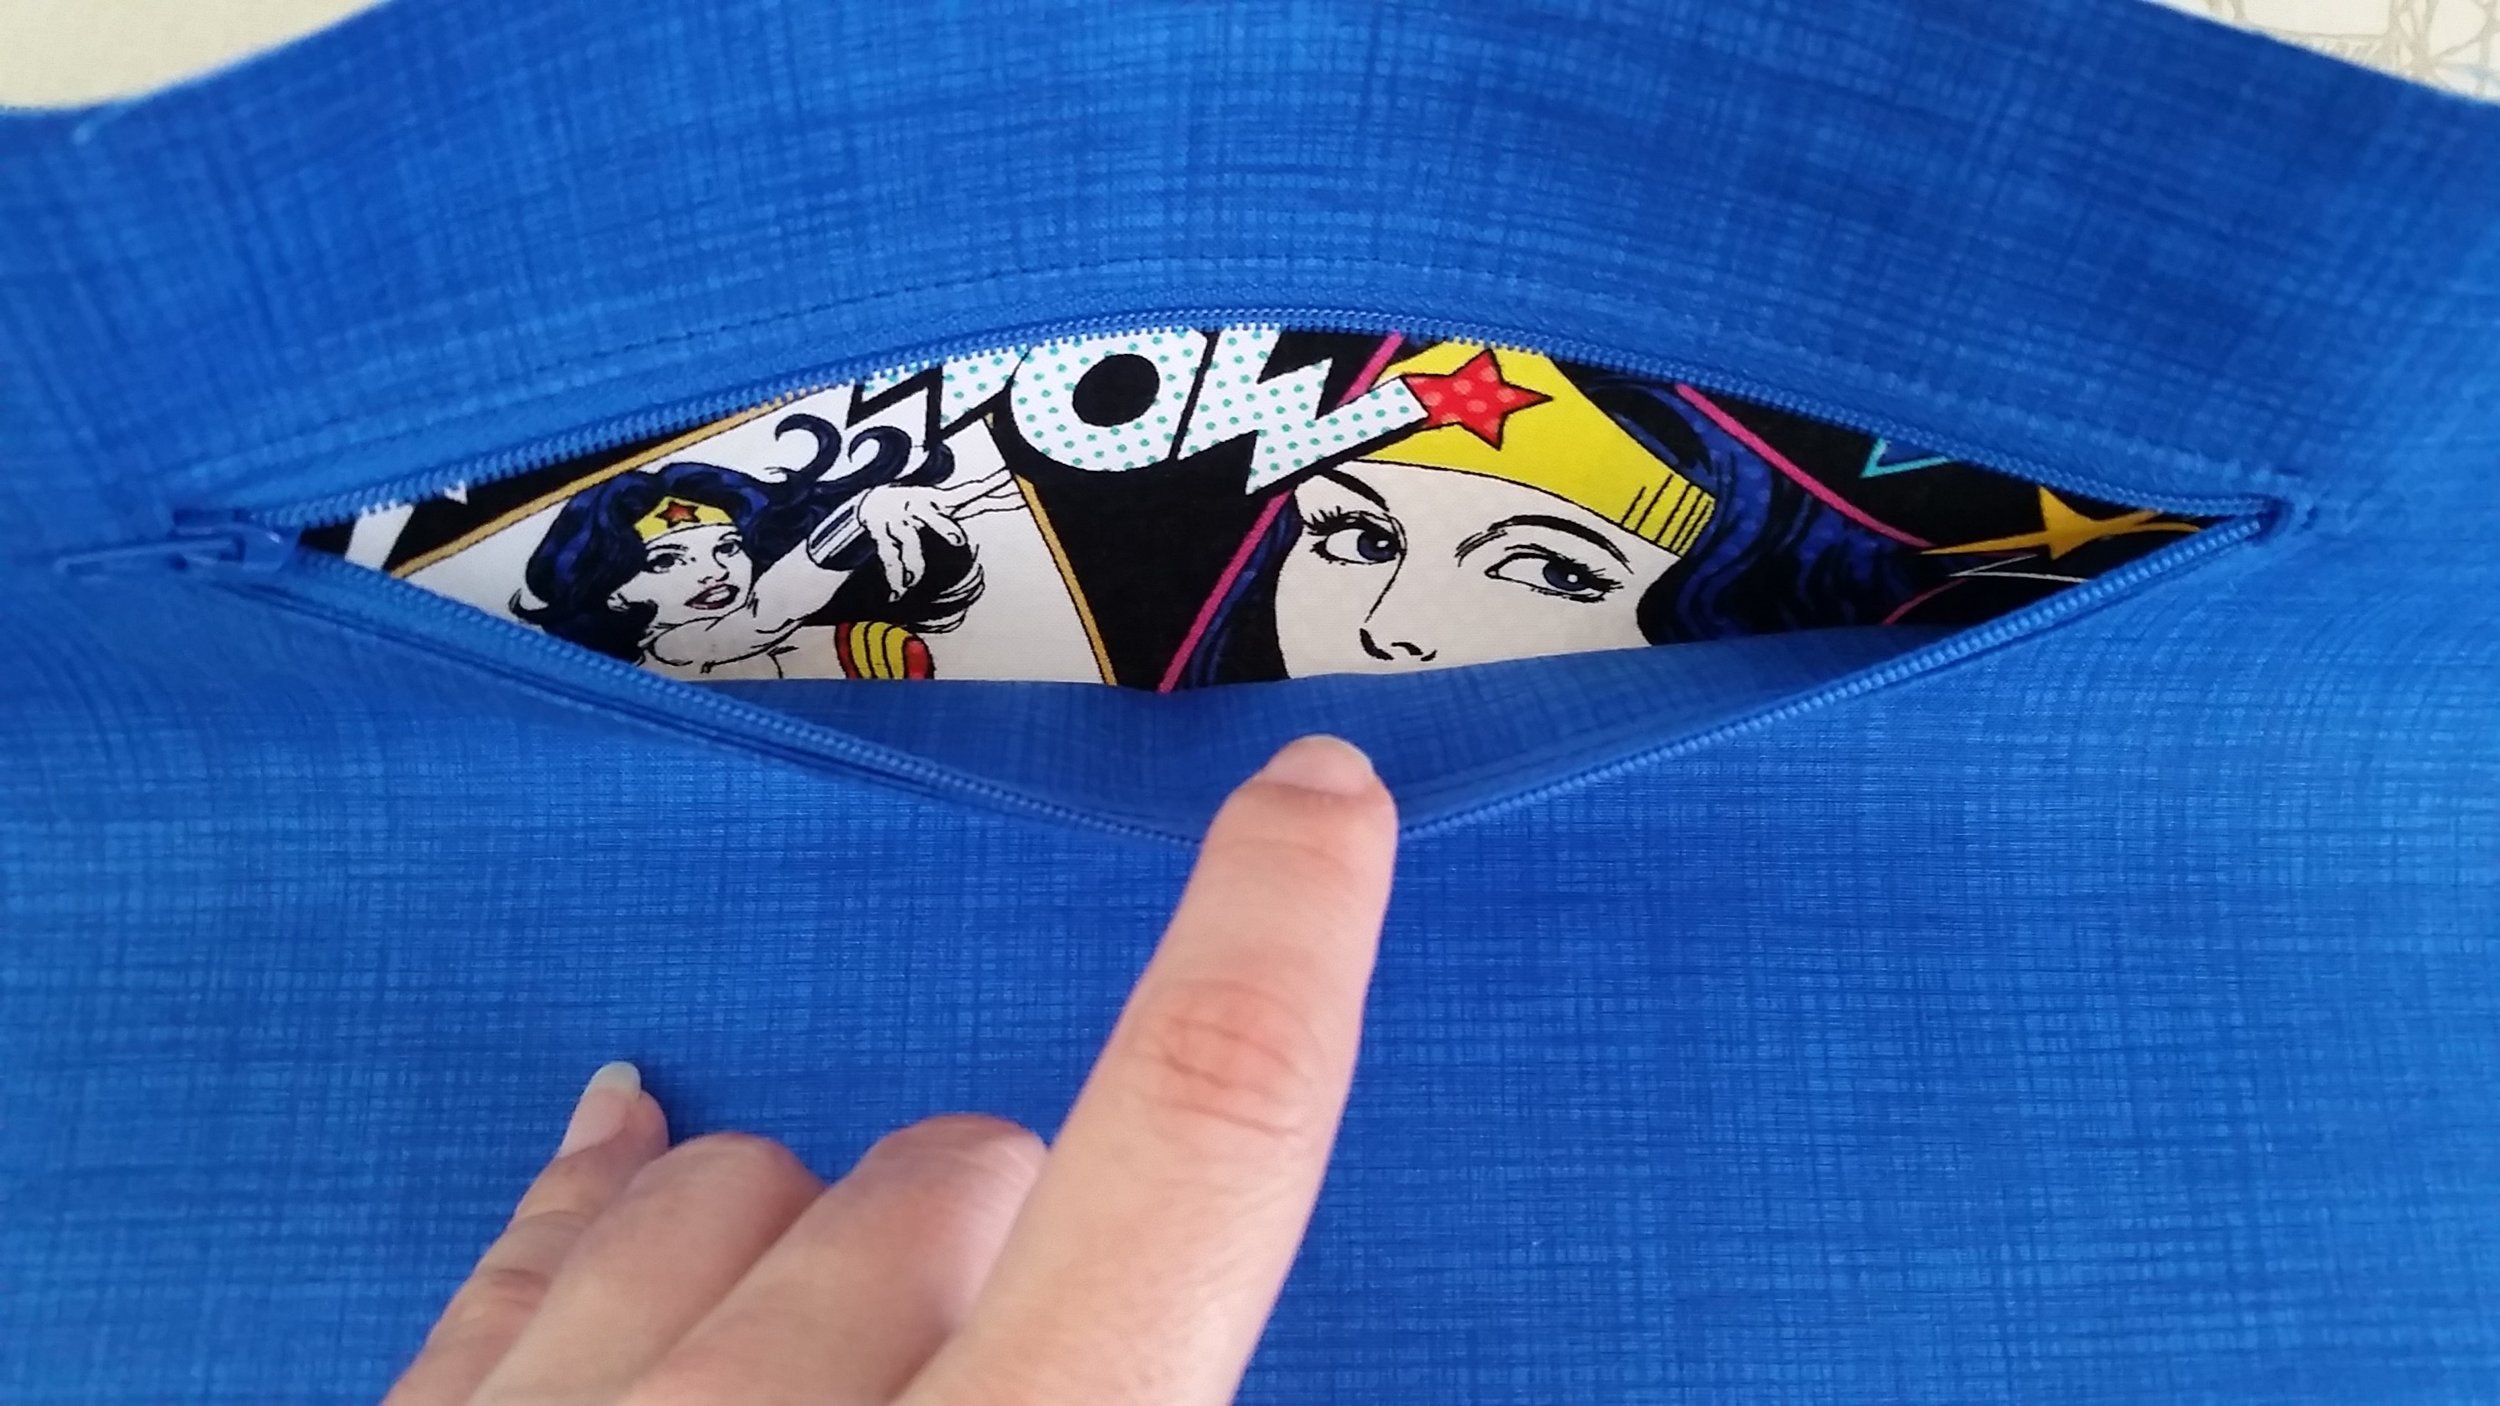
After you have sewn the three sides, the bottom of your pocket will remain open or unsewn. This is the nifty hole we will use to turn our bag right side out!!

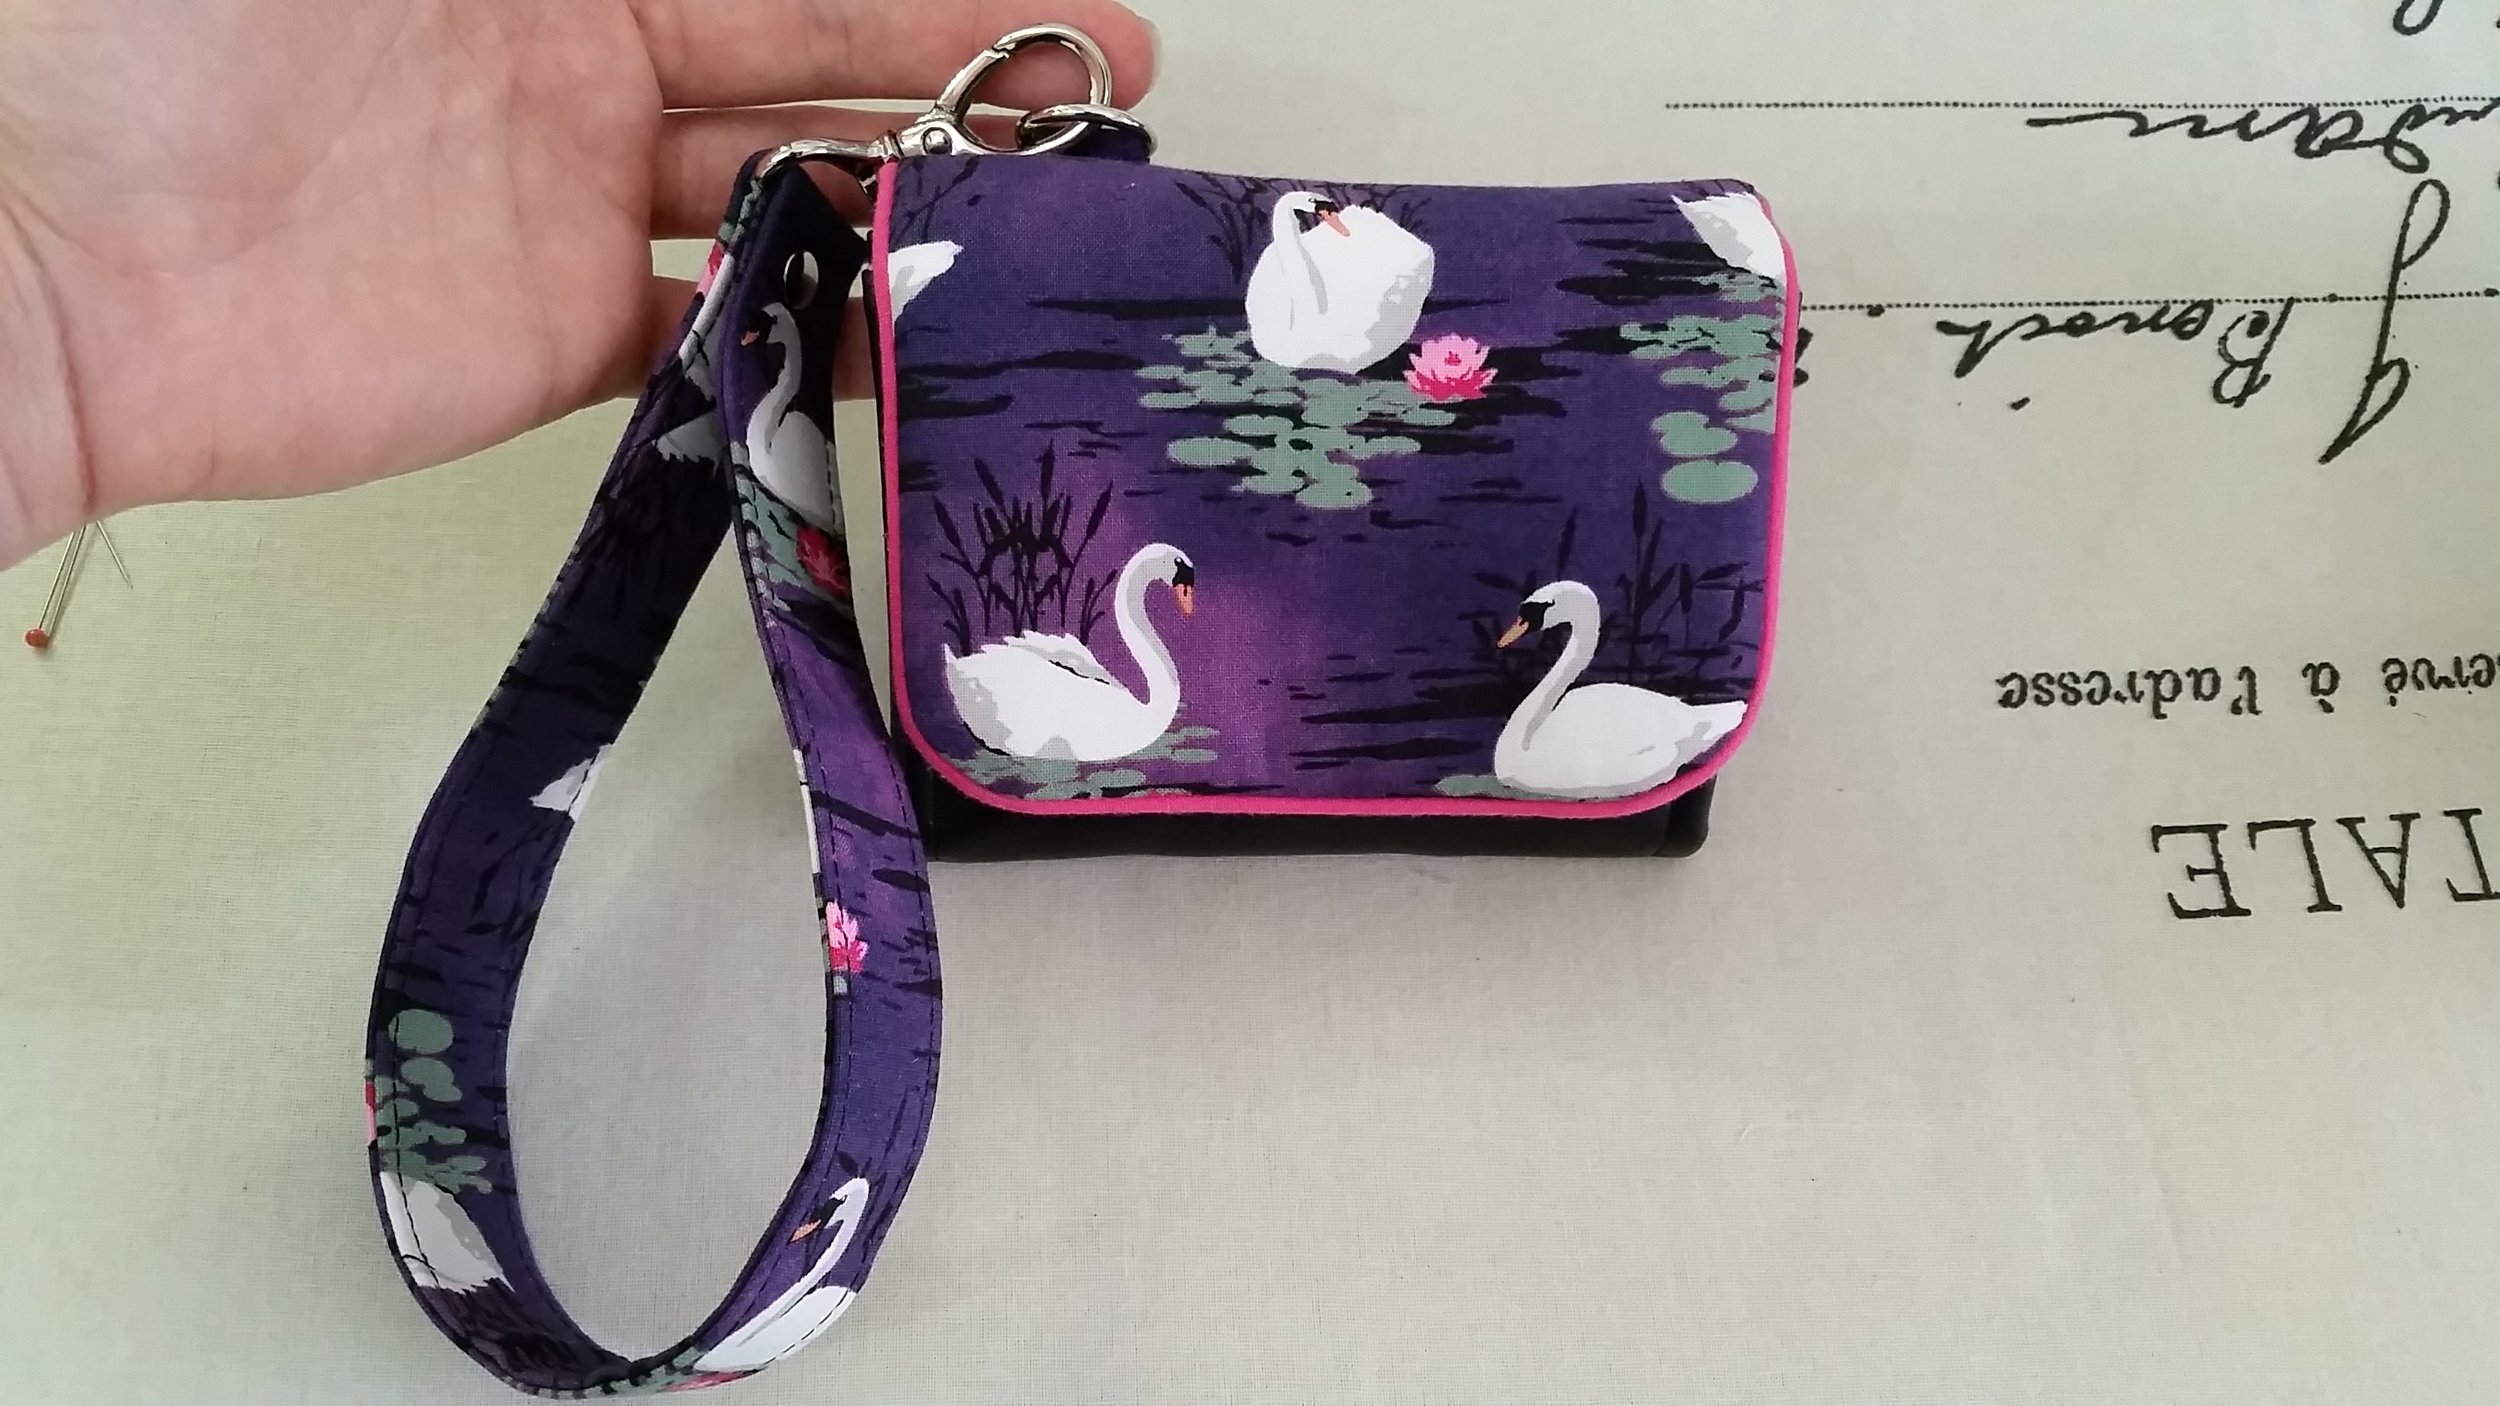
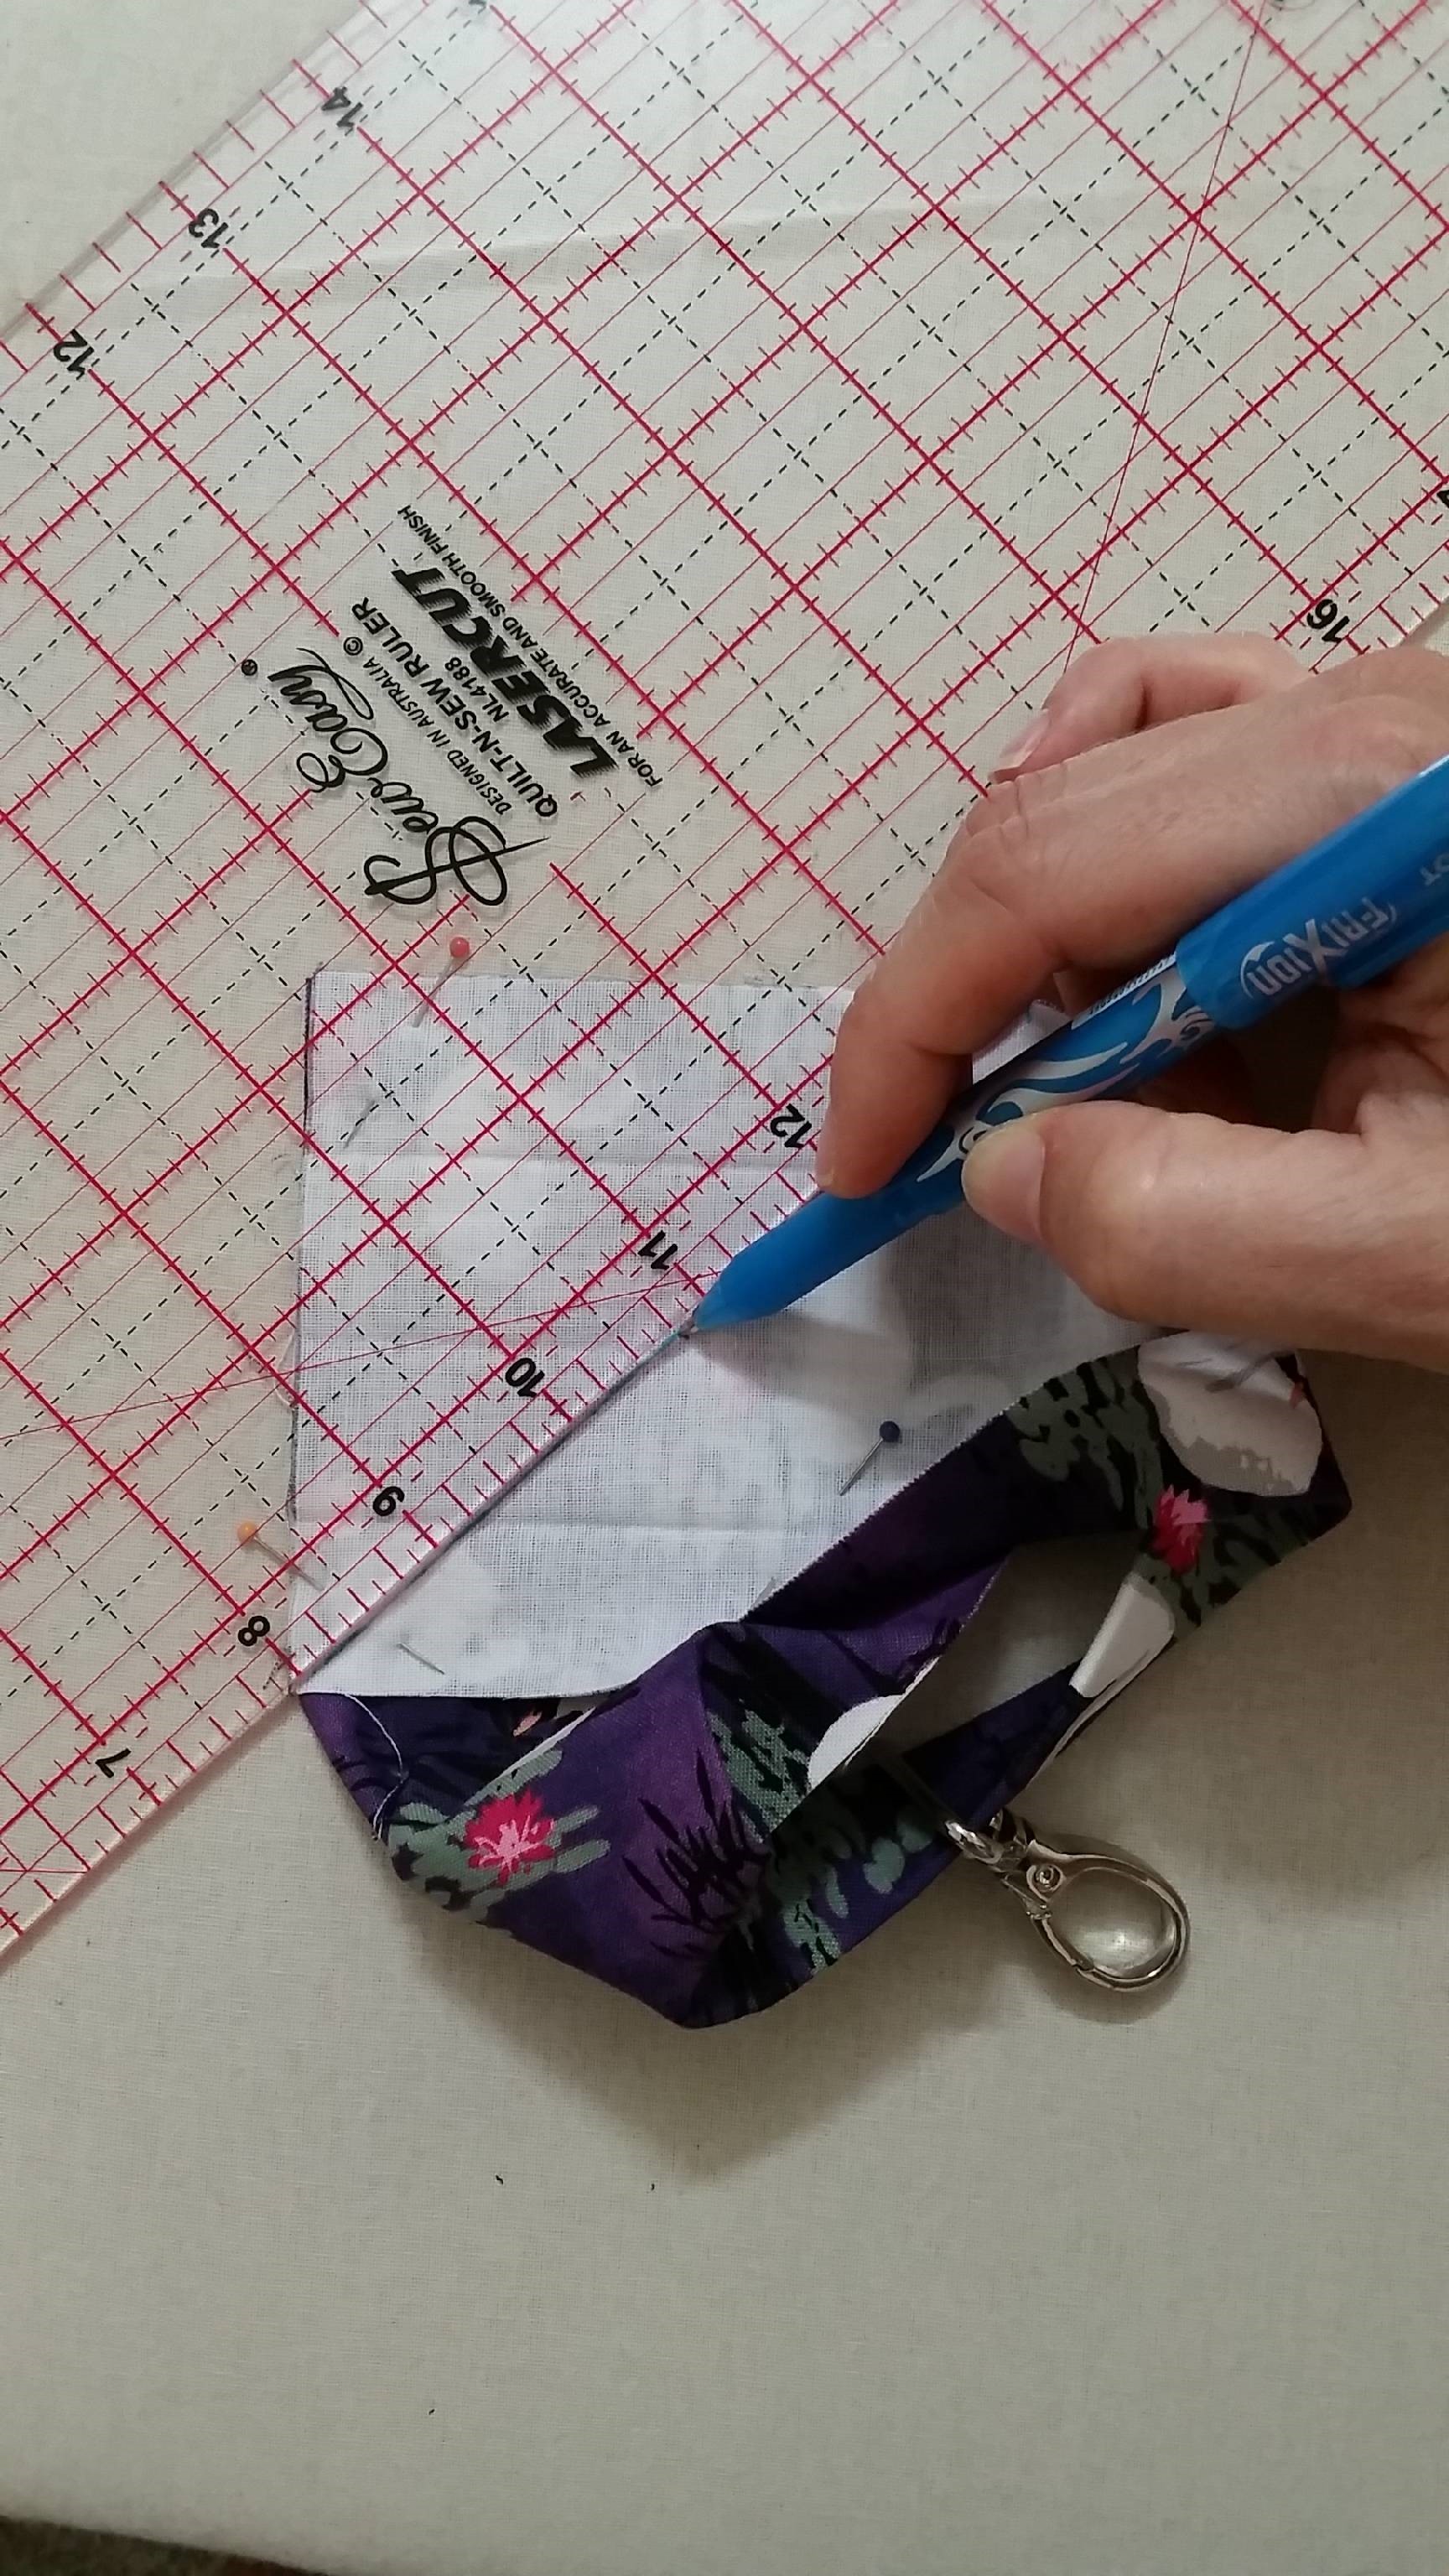
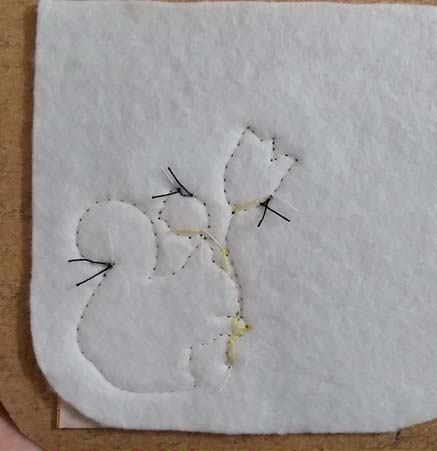
Peek-a-boo! View from the front with our zip open. Perfect!
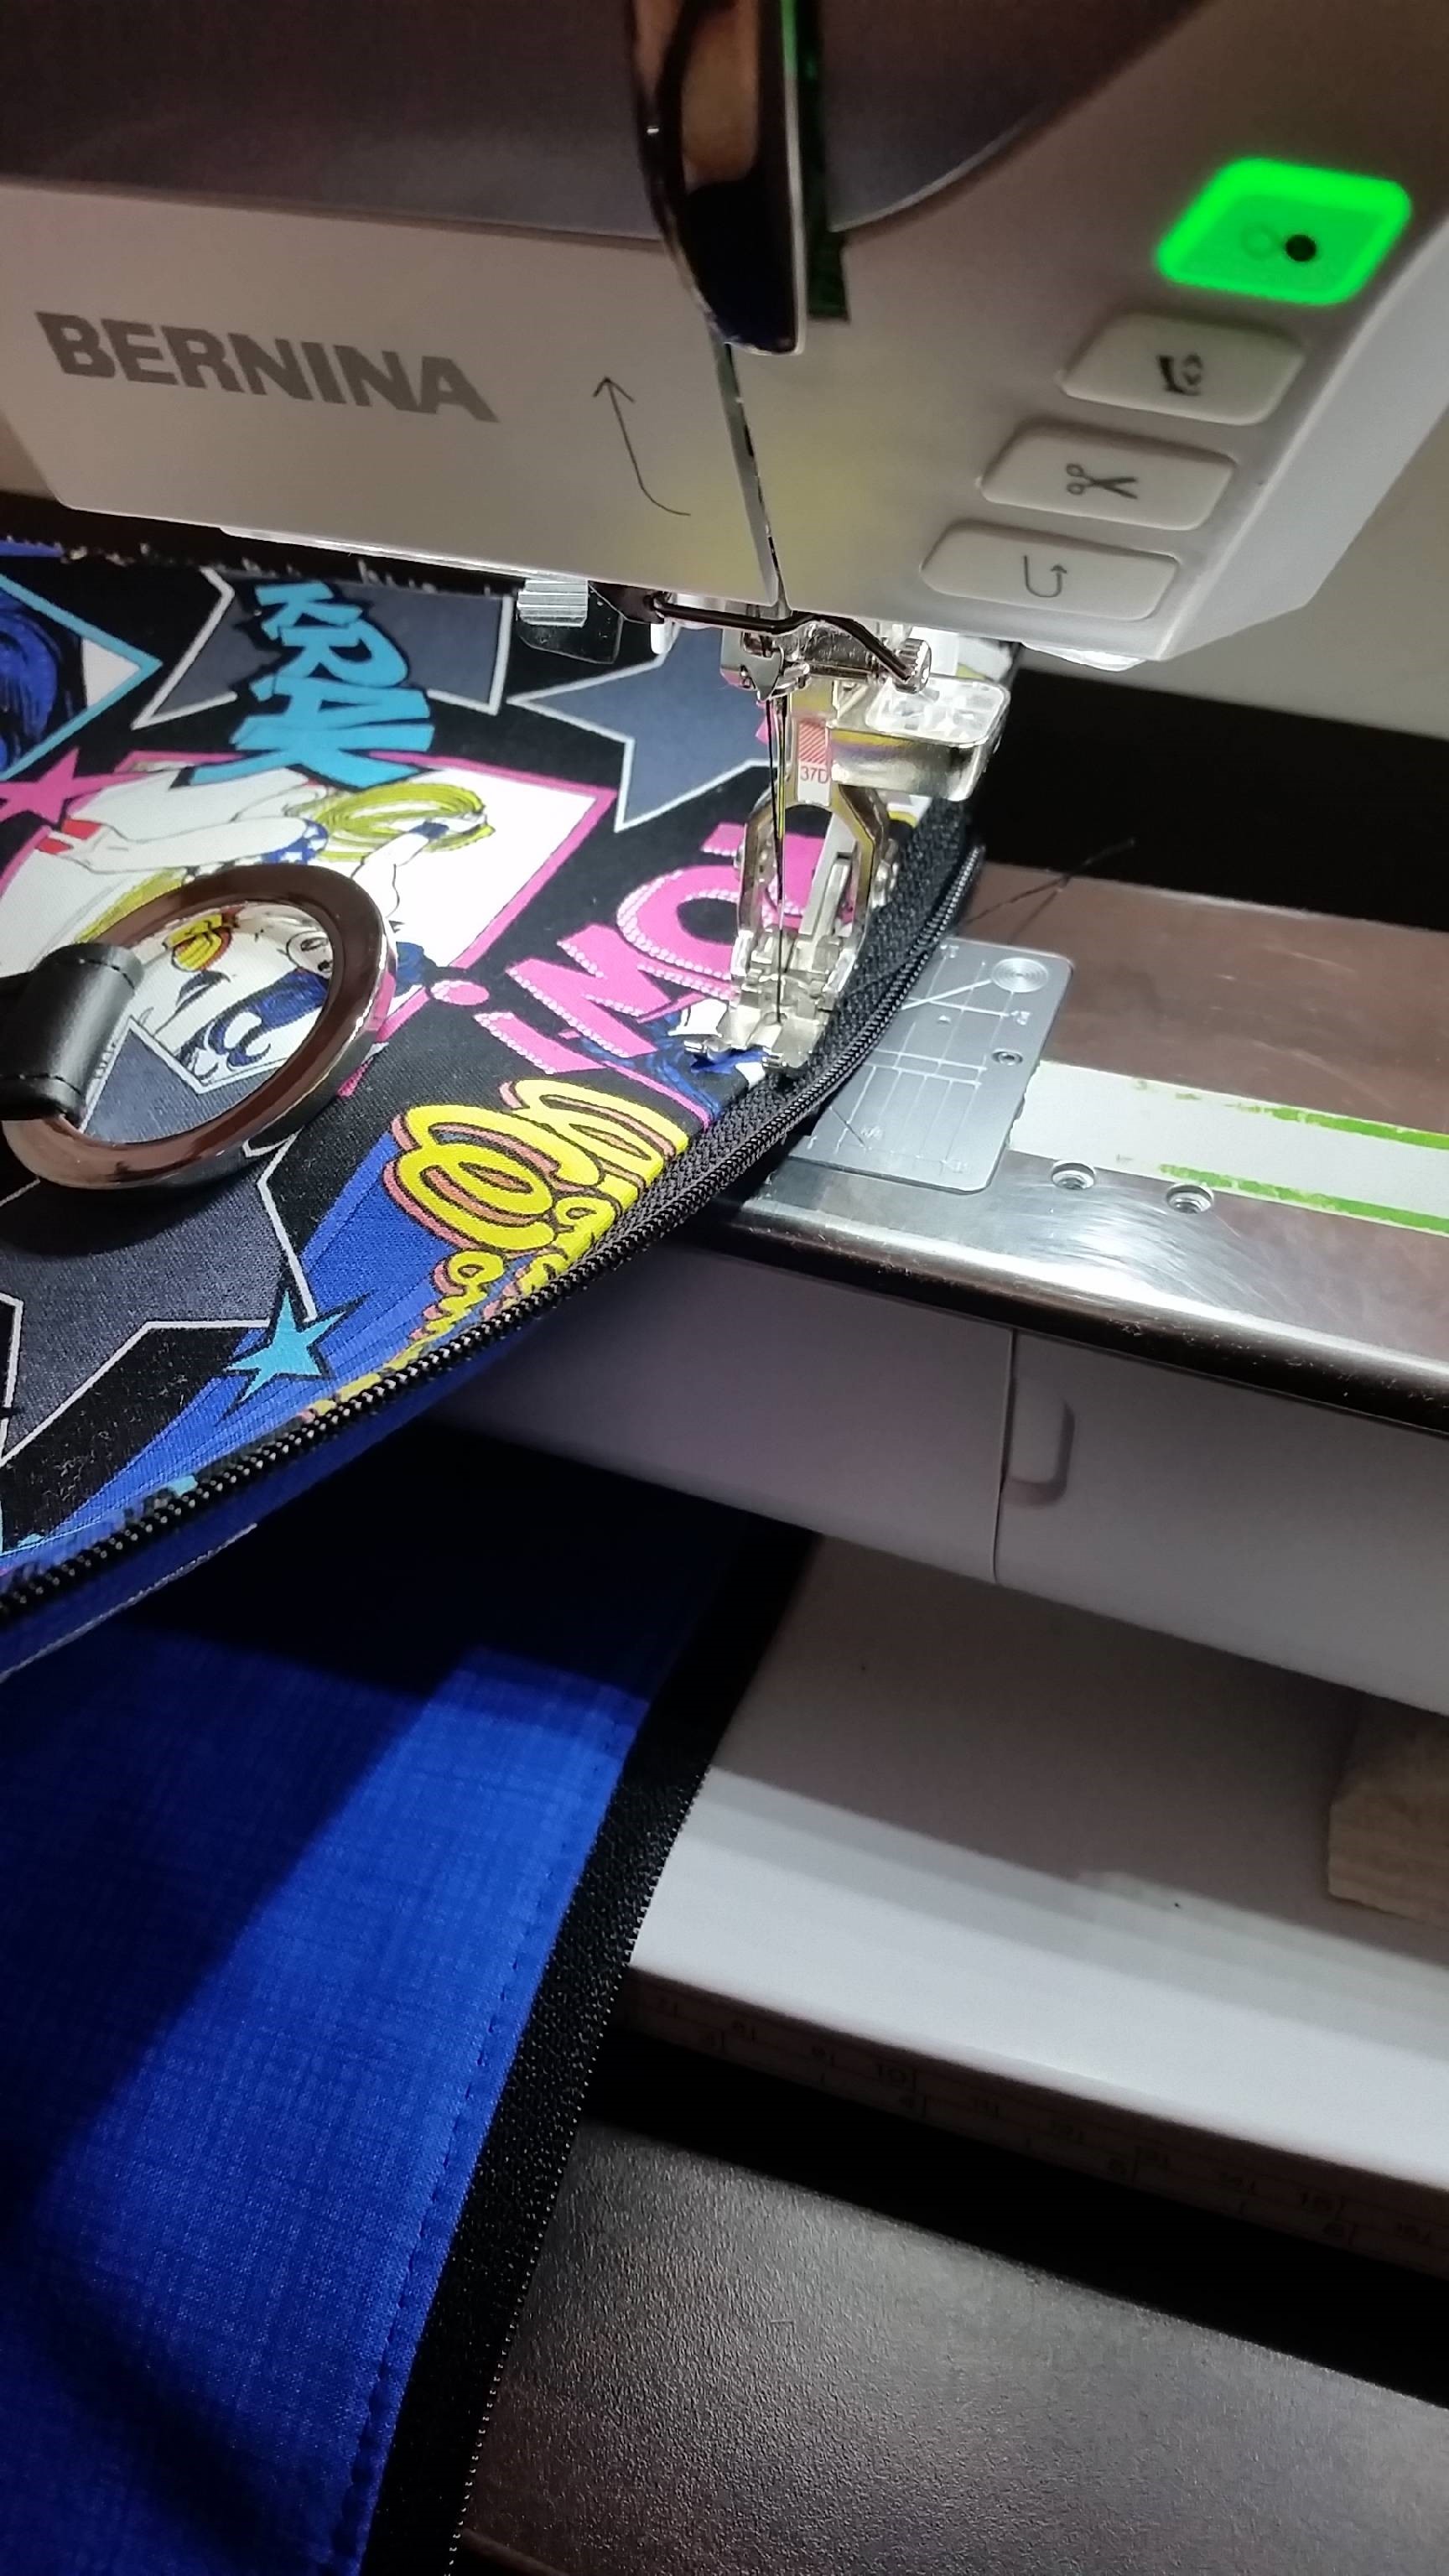
Attaching and Top Stitching your Top Main Zip
Note: You will need to have completed steps 1-7 on page 16 to prepare your zip.
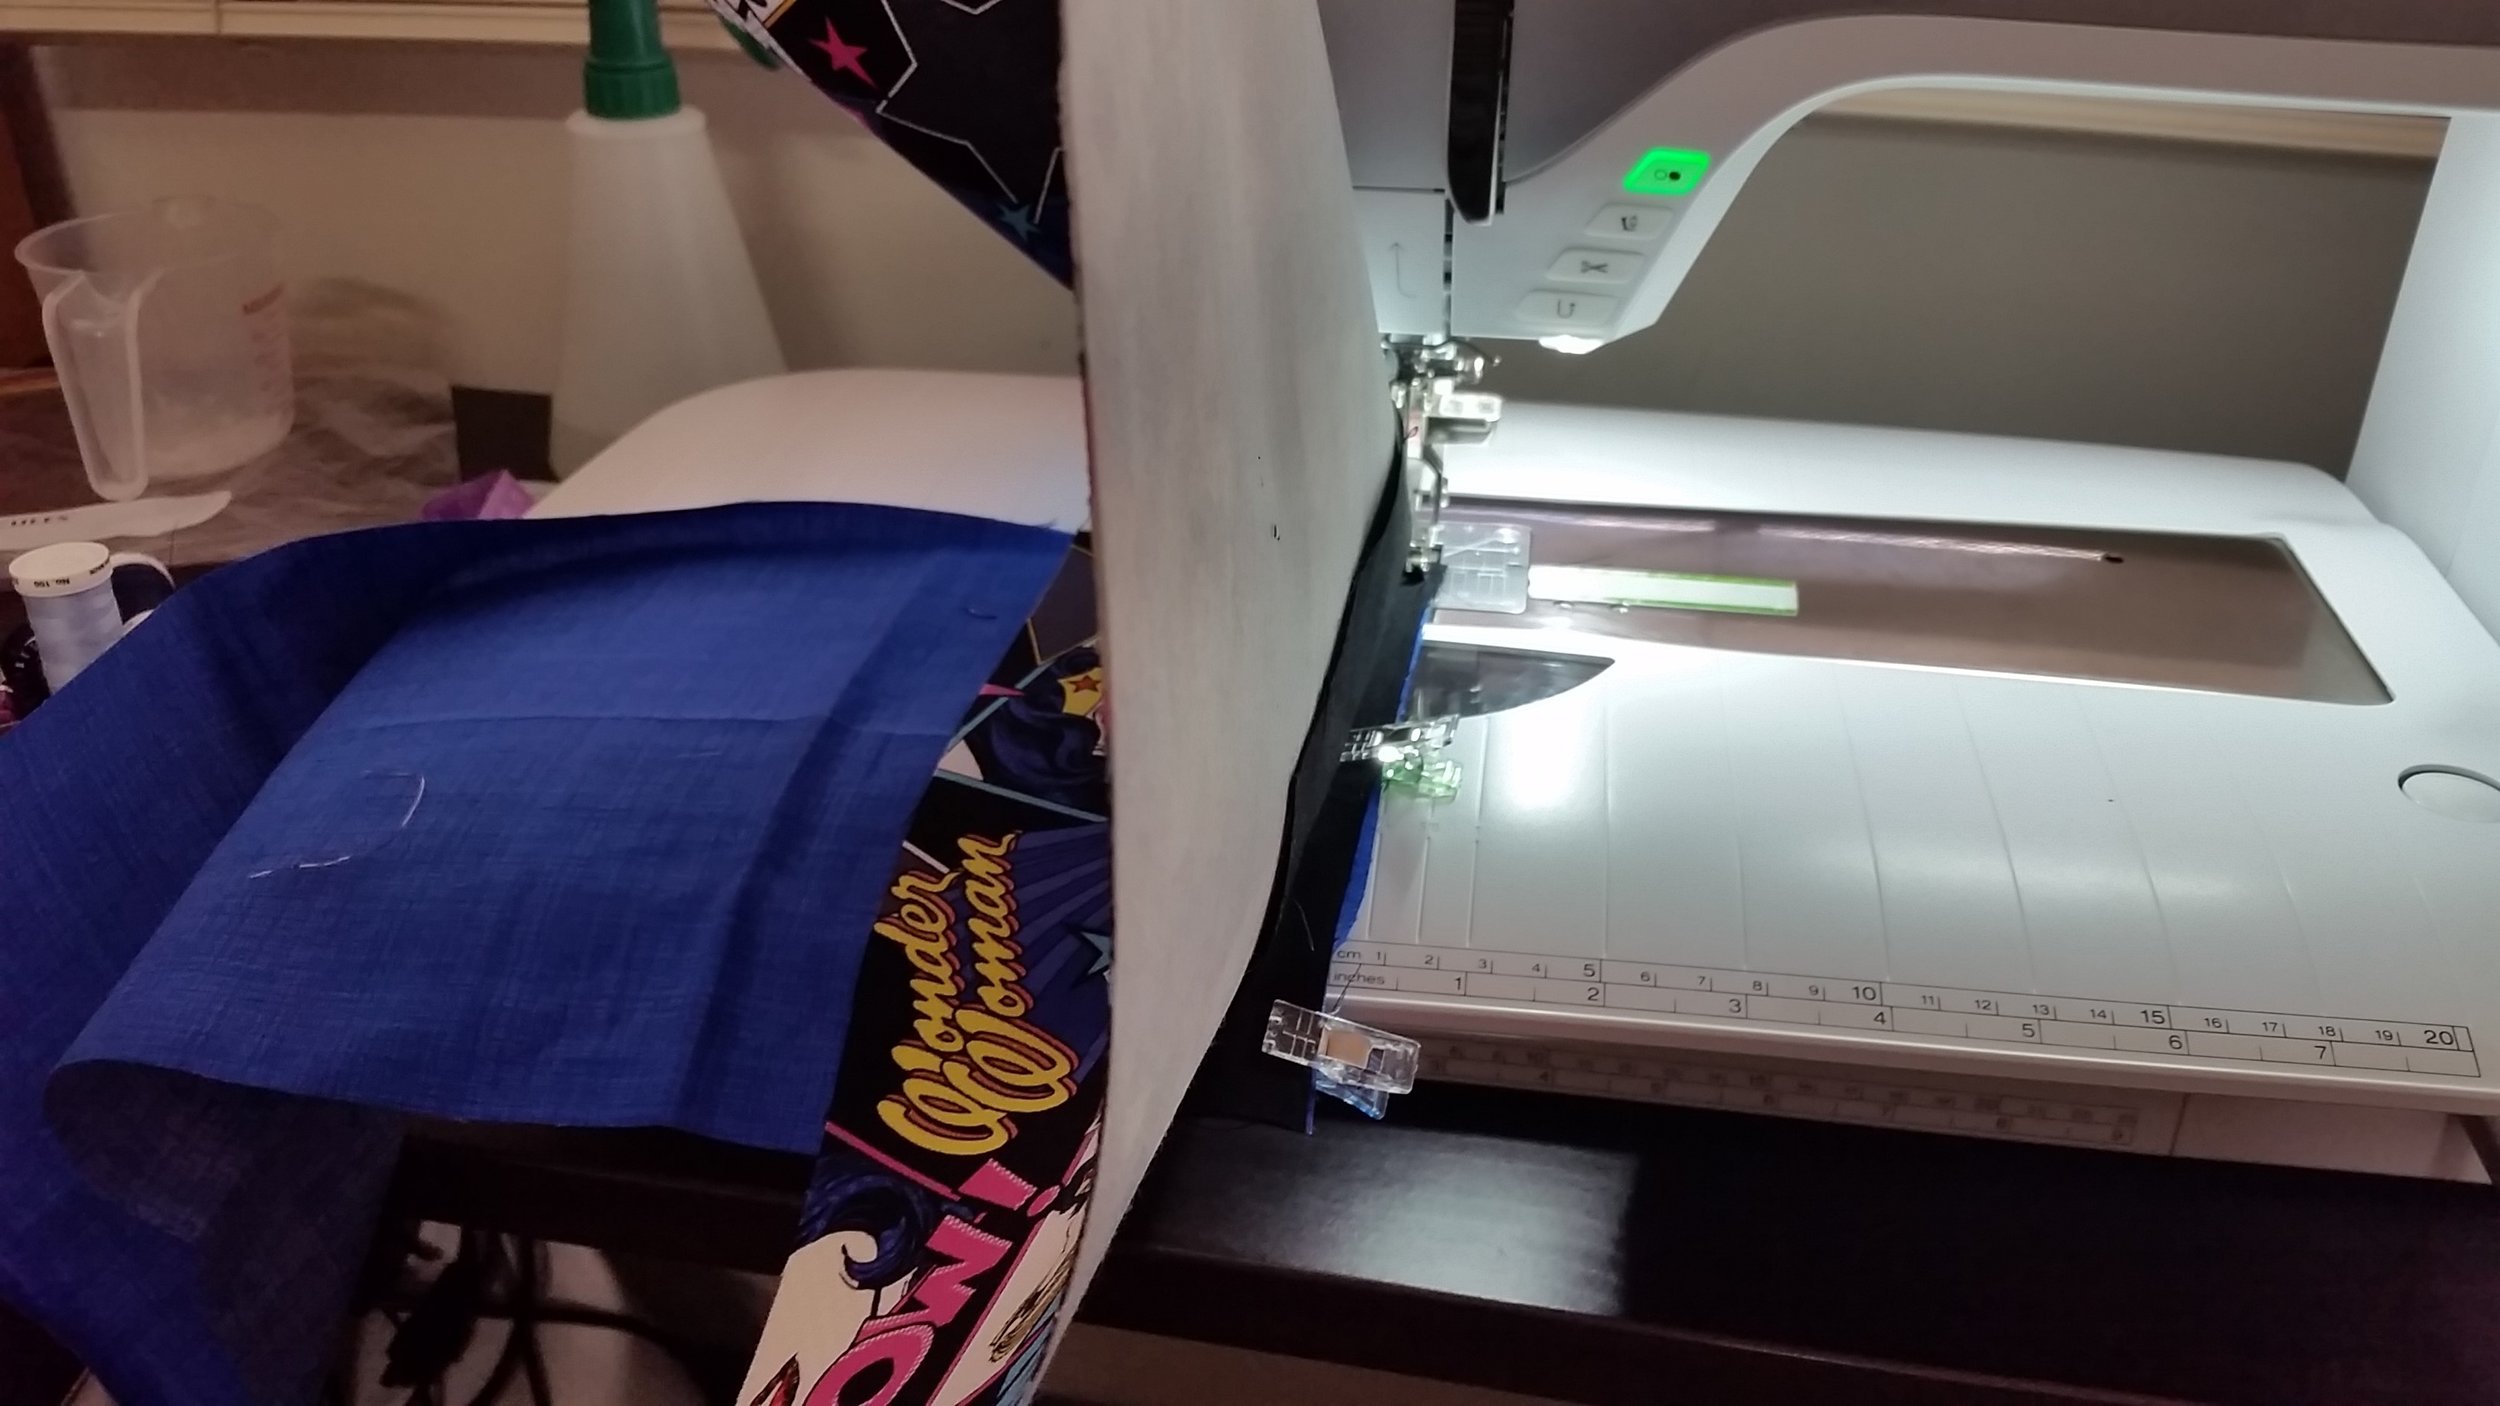
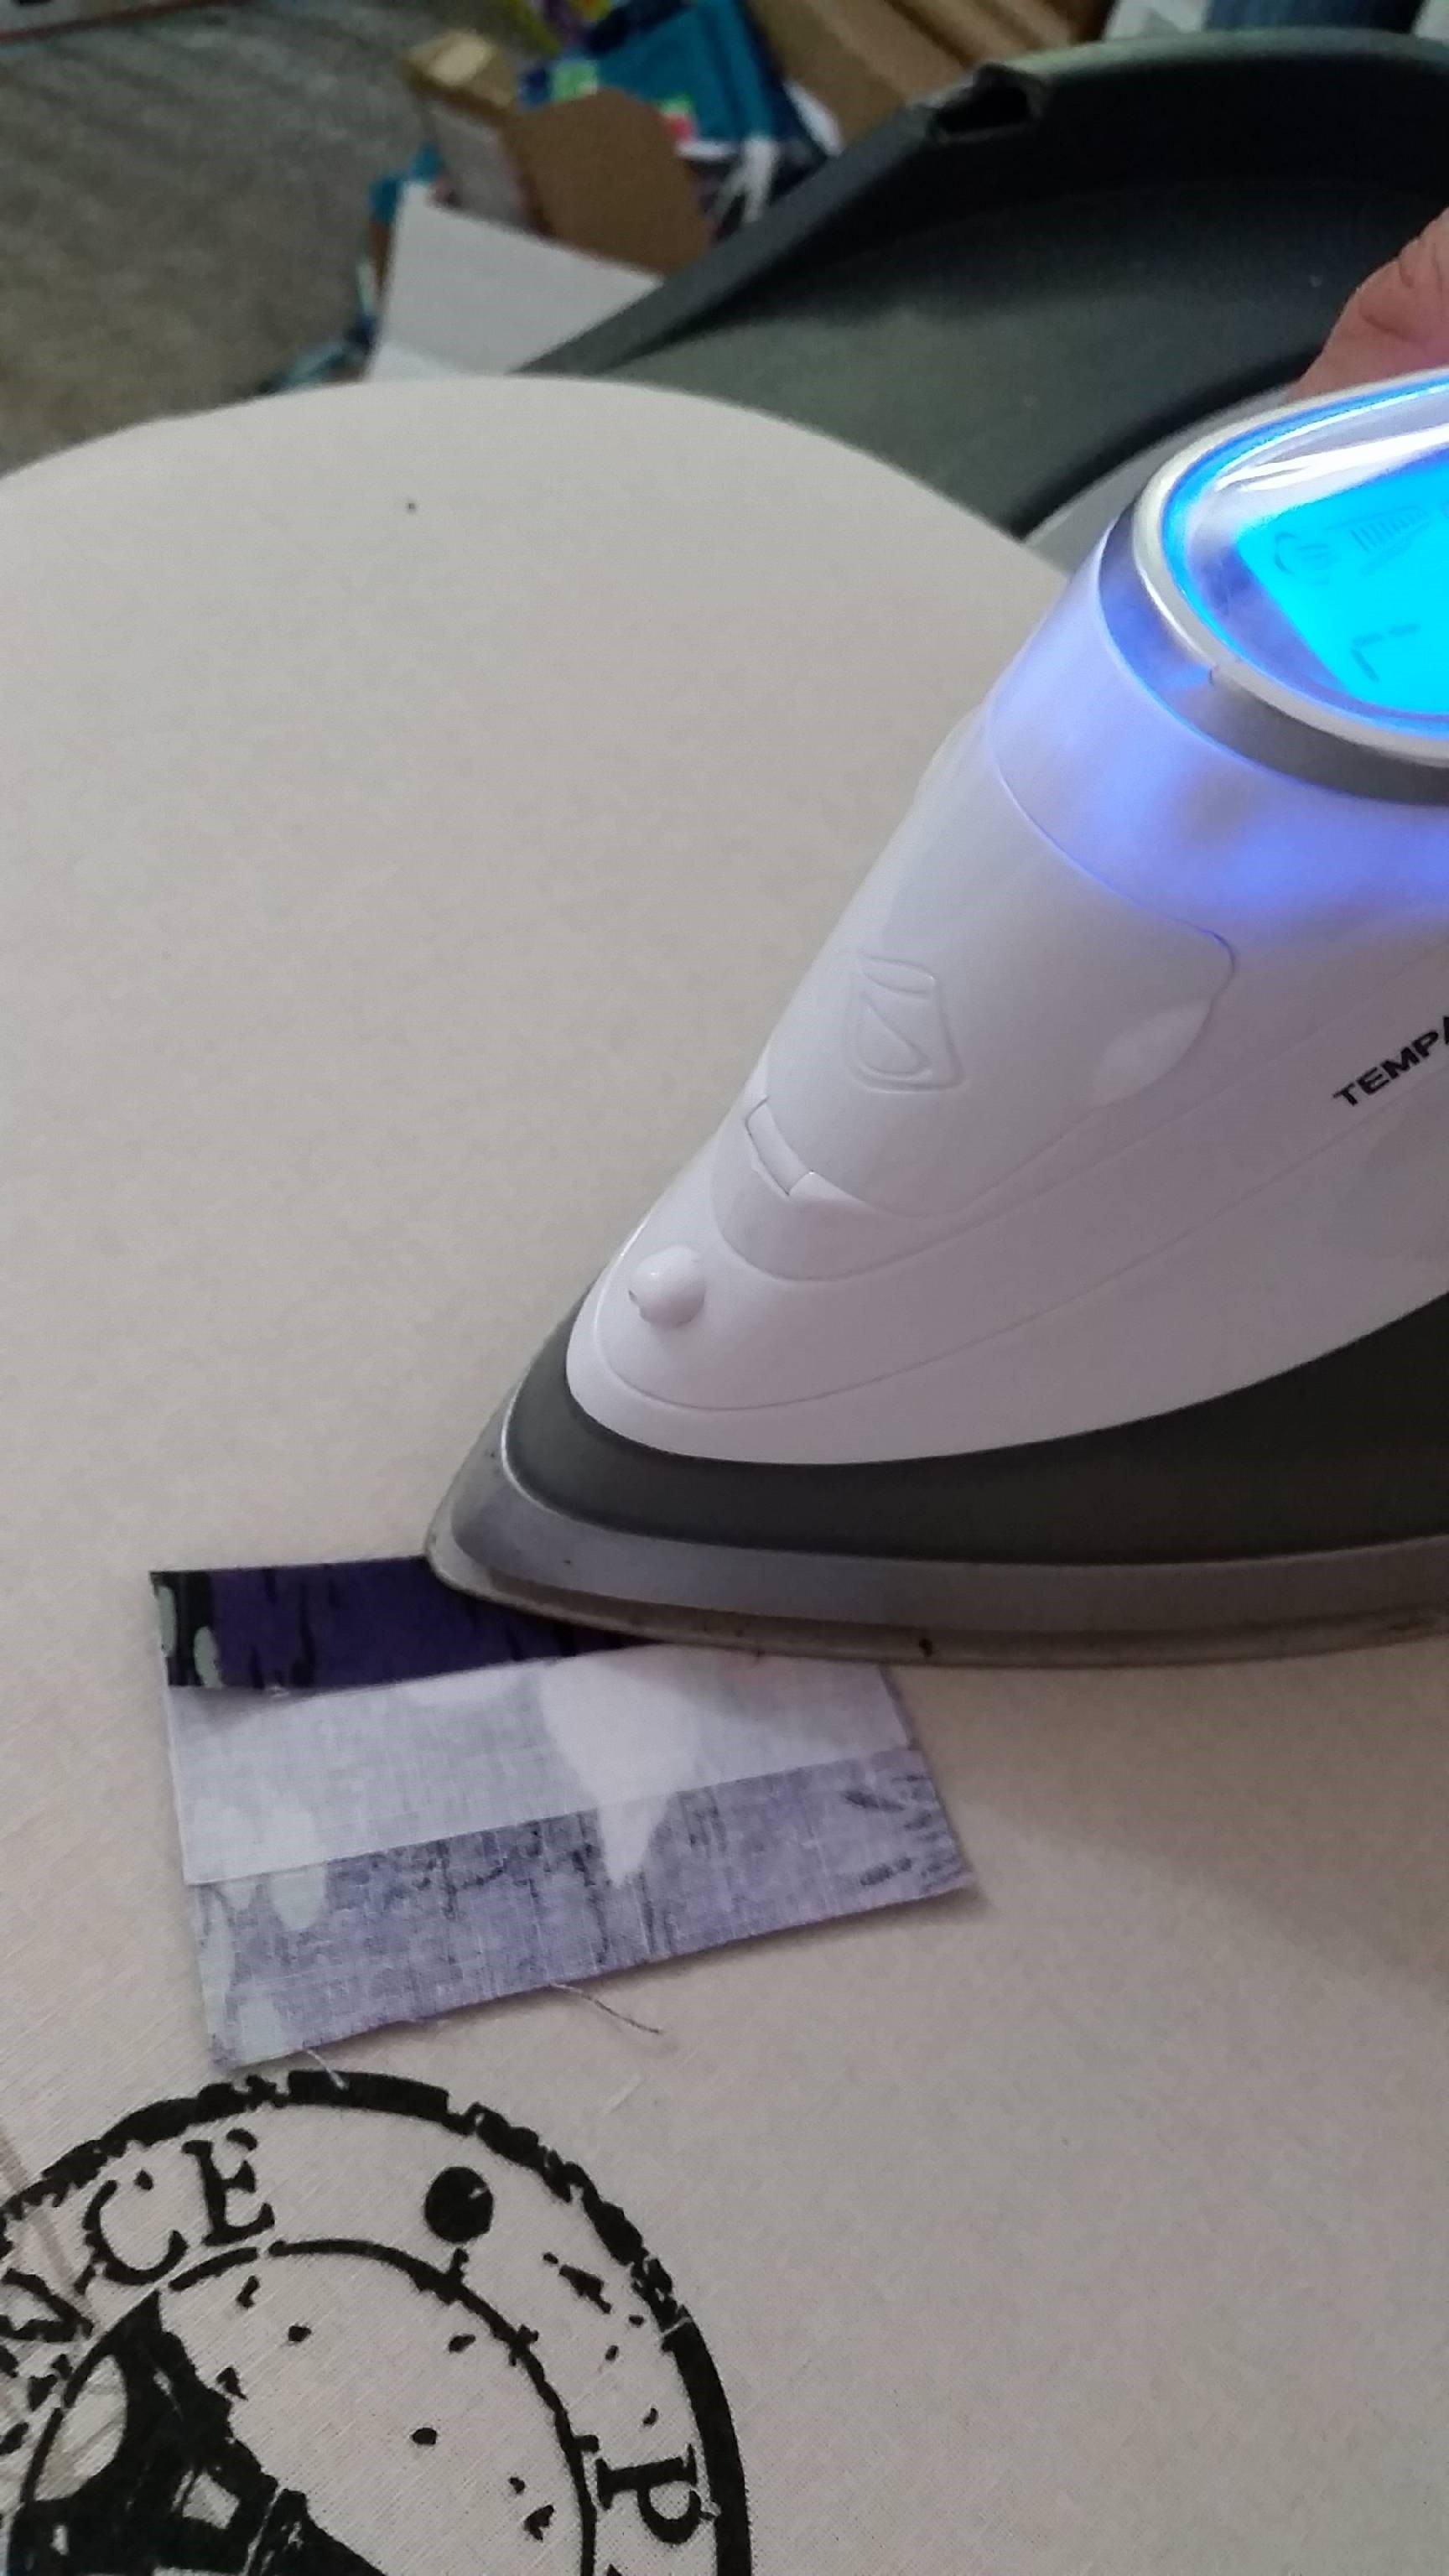
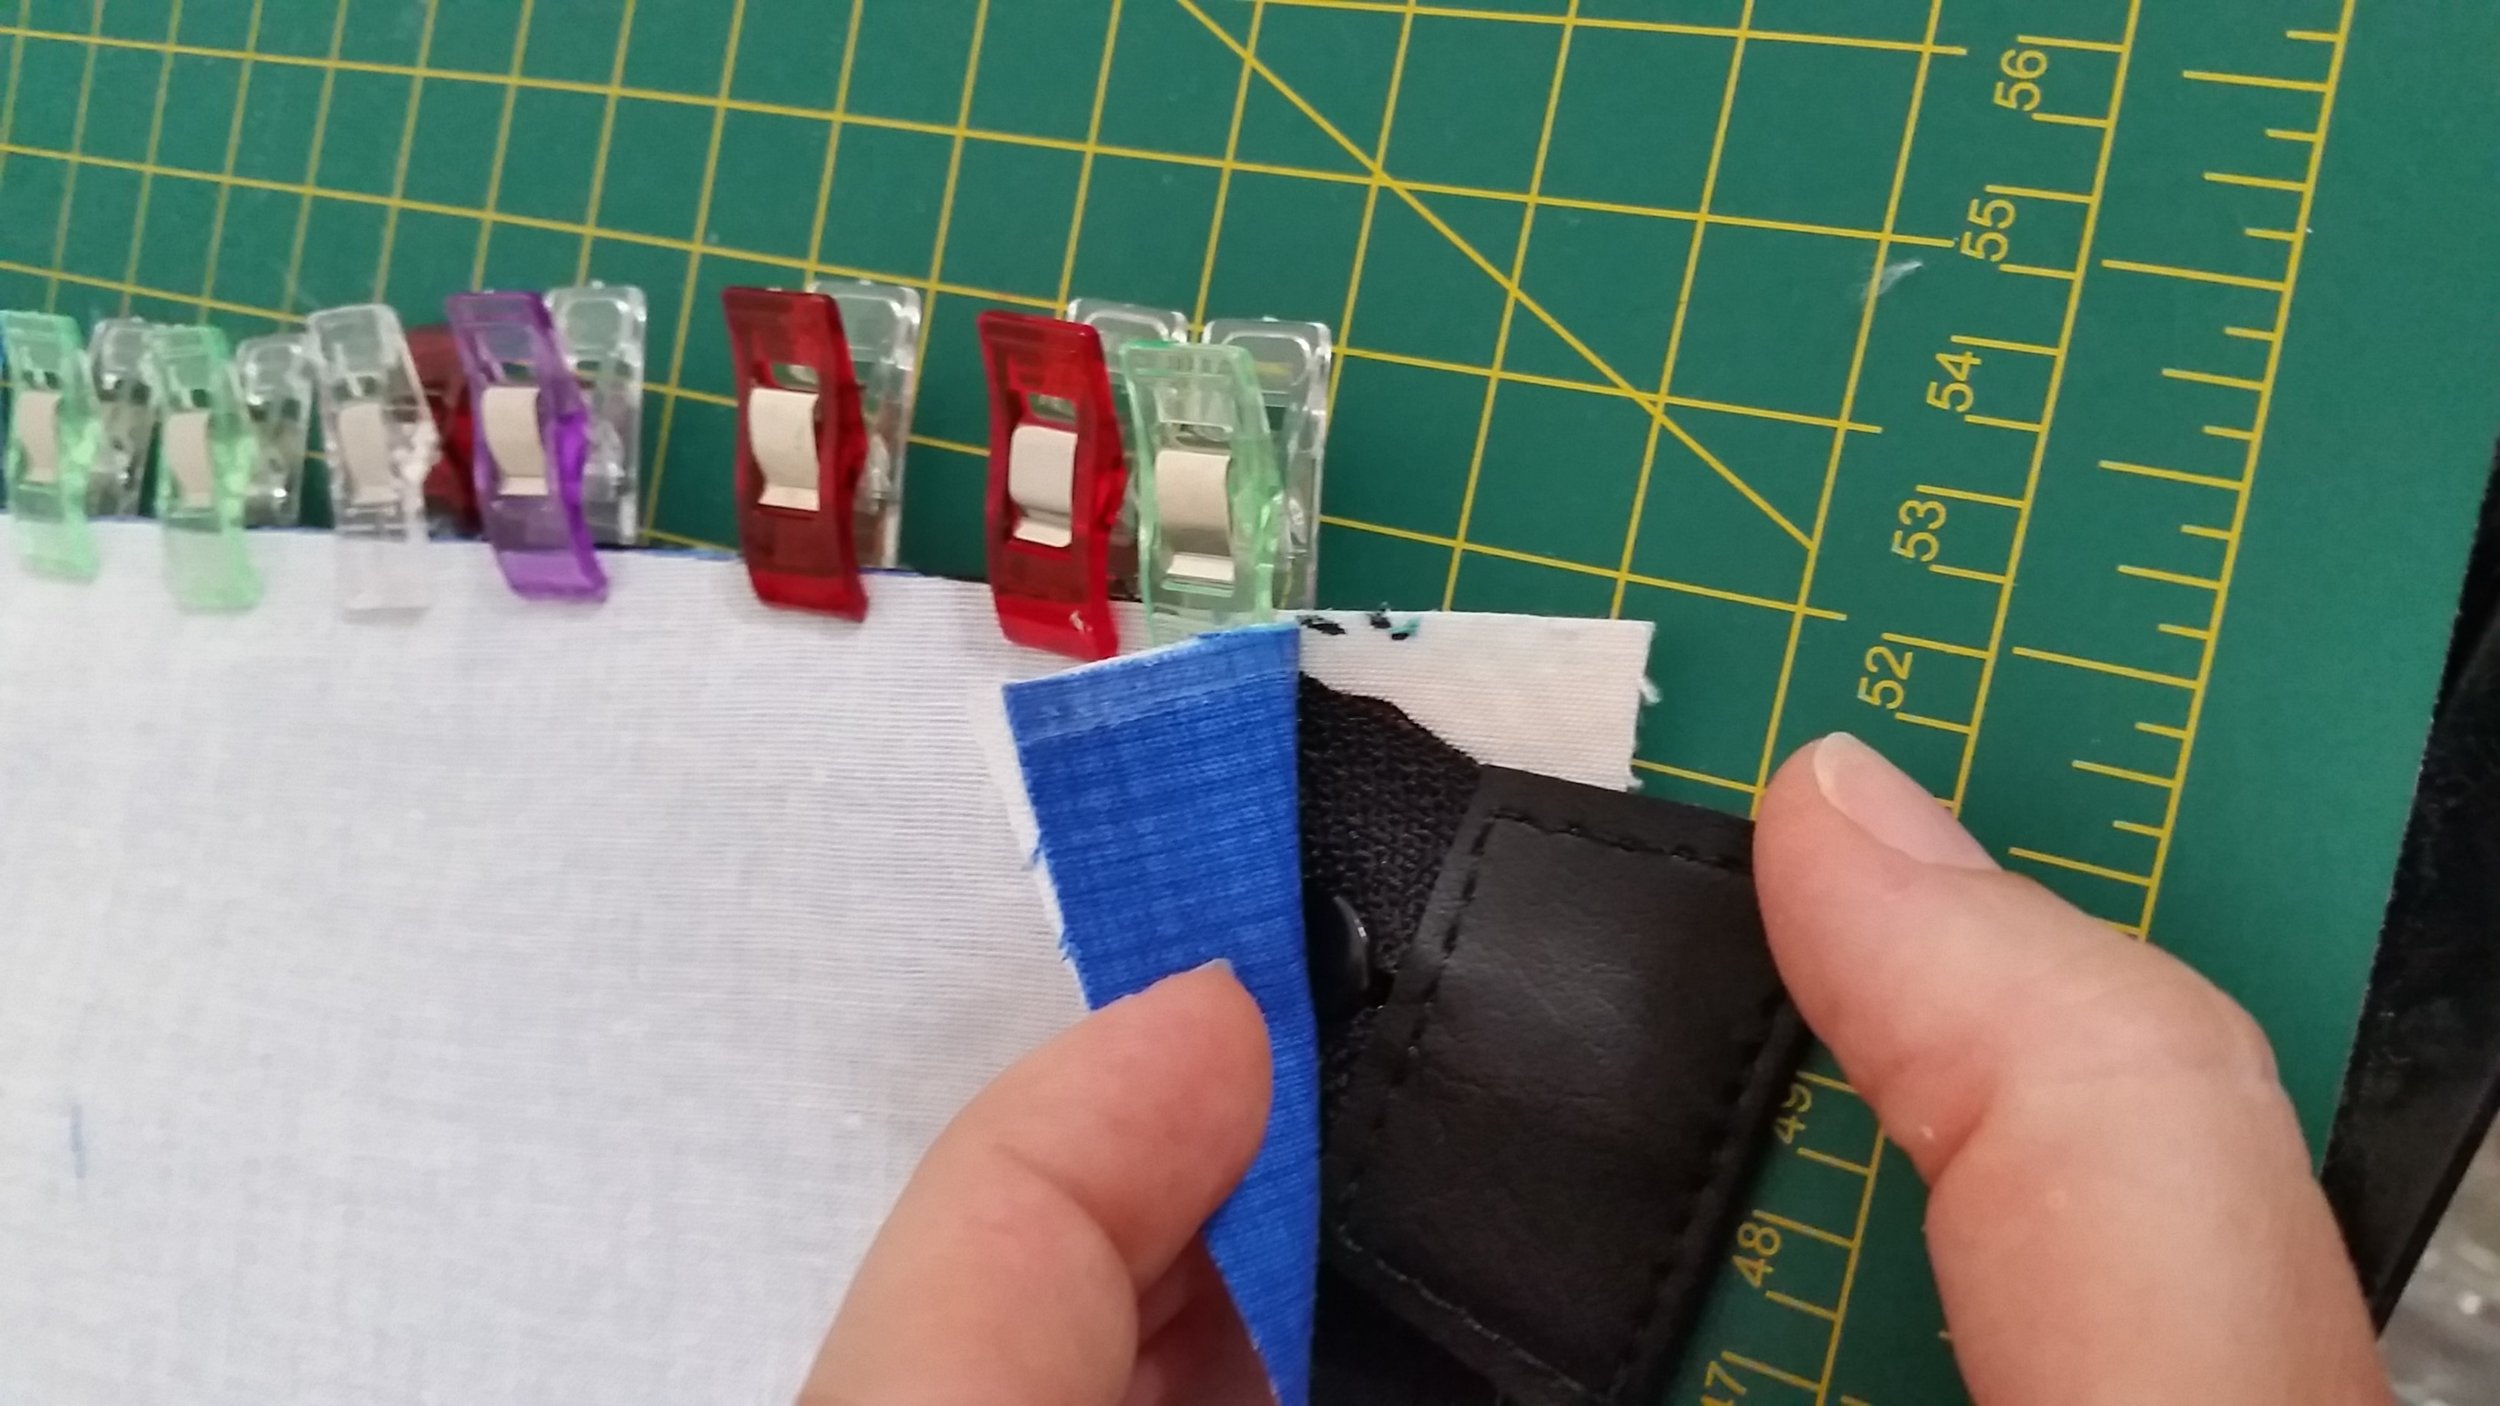
Starting on Page 17 of your instructions, we will take our top zipper (with the cool zipper ends) and lay it along the top of the Exterior Main Piece right side of the zipper down. I like to add a bit of Sewline glue here as it holds the zip snug between the two layers without shifting.

While the glue dries I like to hold it with clips to keep it steady. When you get to the 1” mark you made at the end, gently move the end of the zip down and out of the way of the ¼” seam allowance.
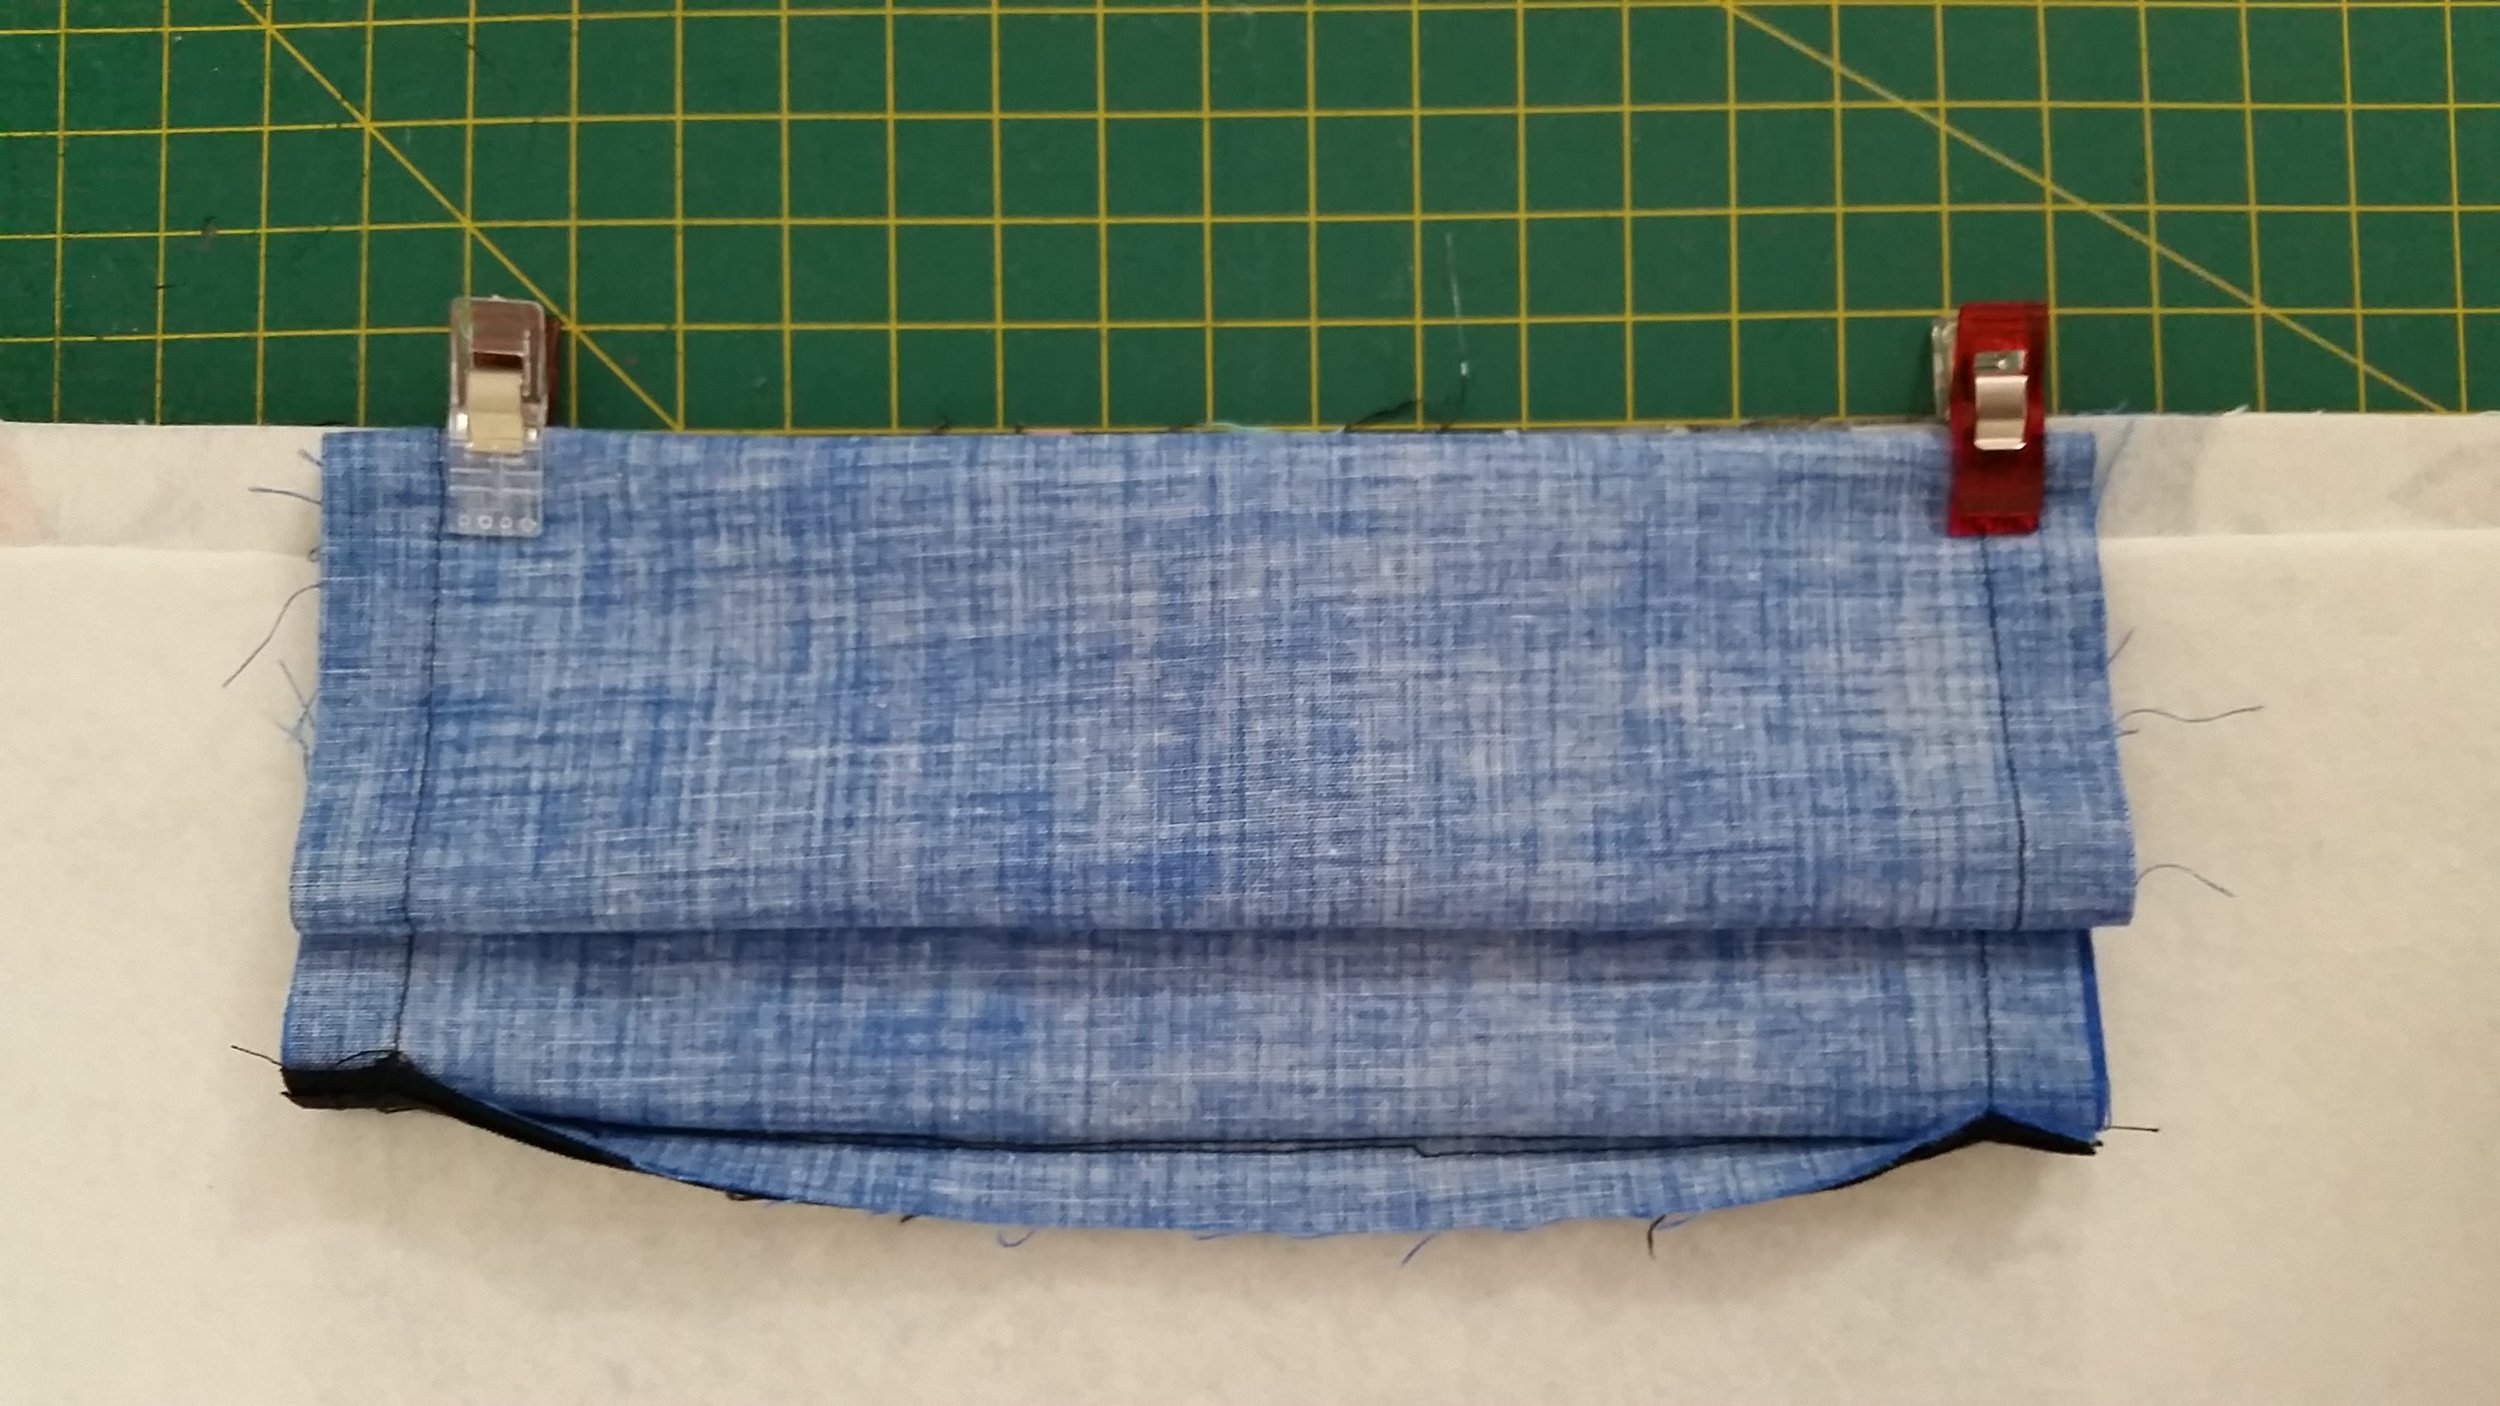
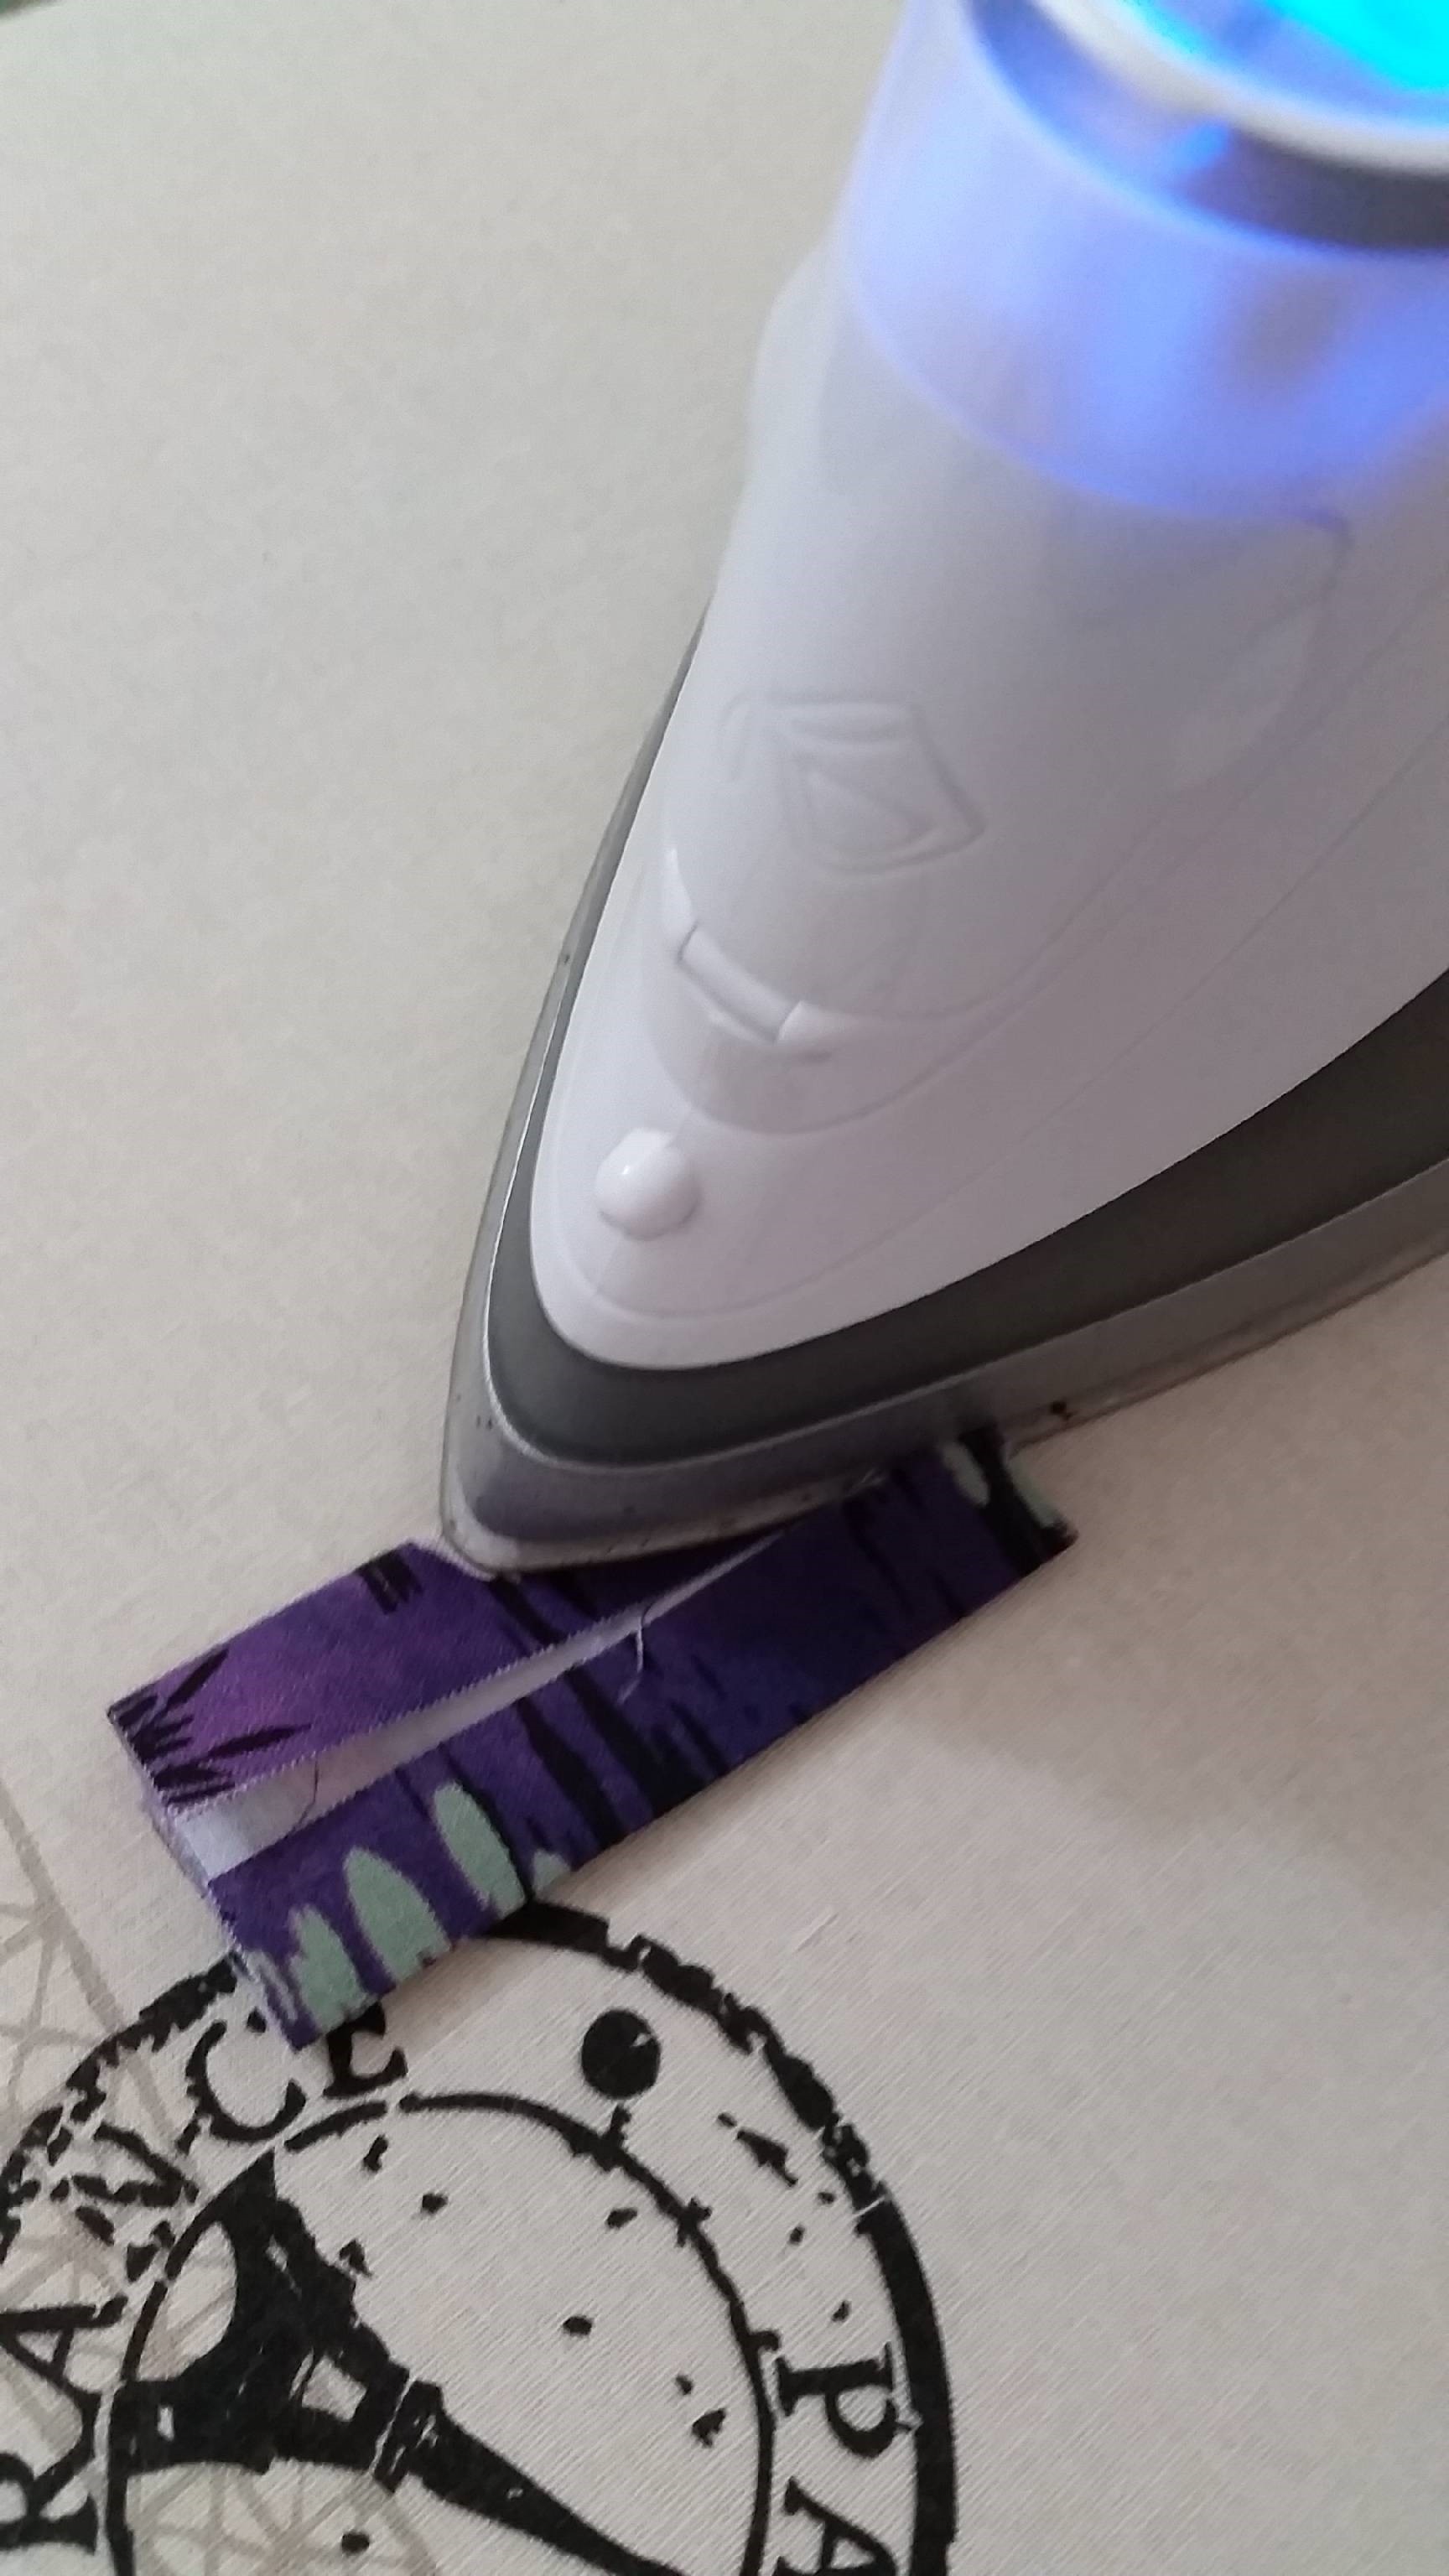
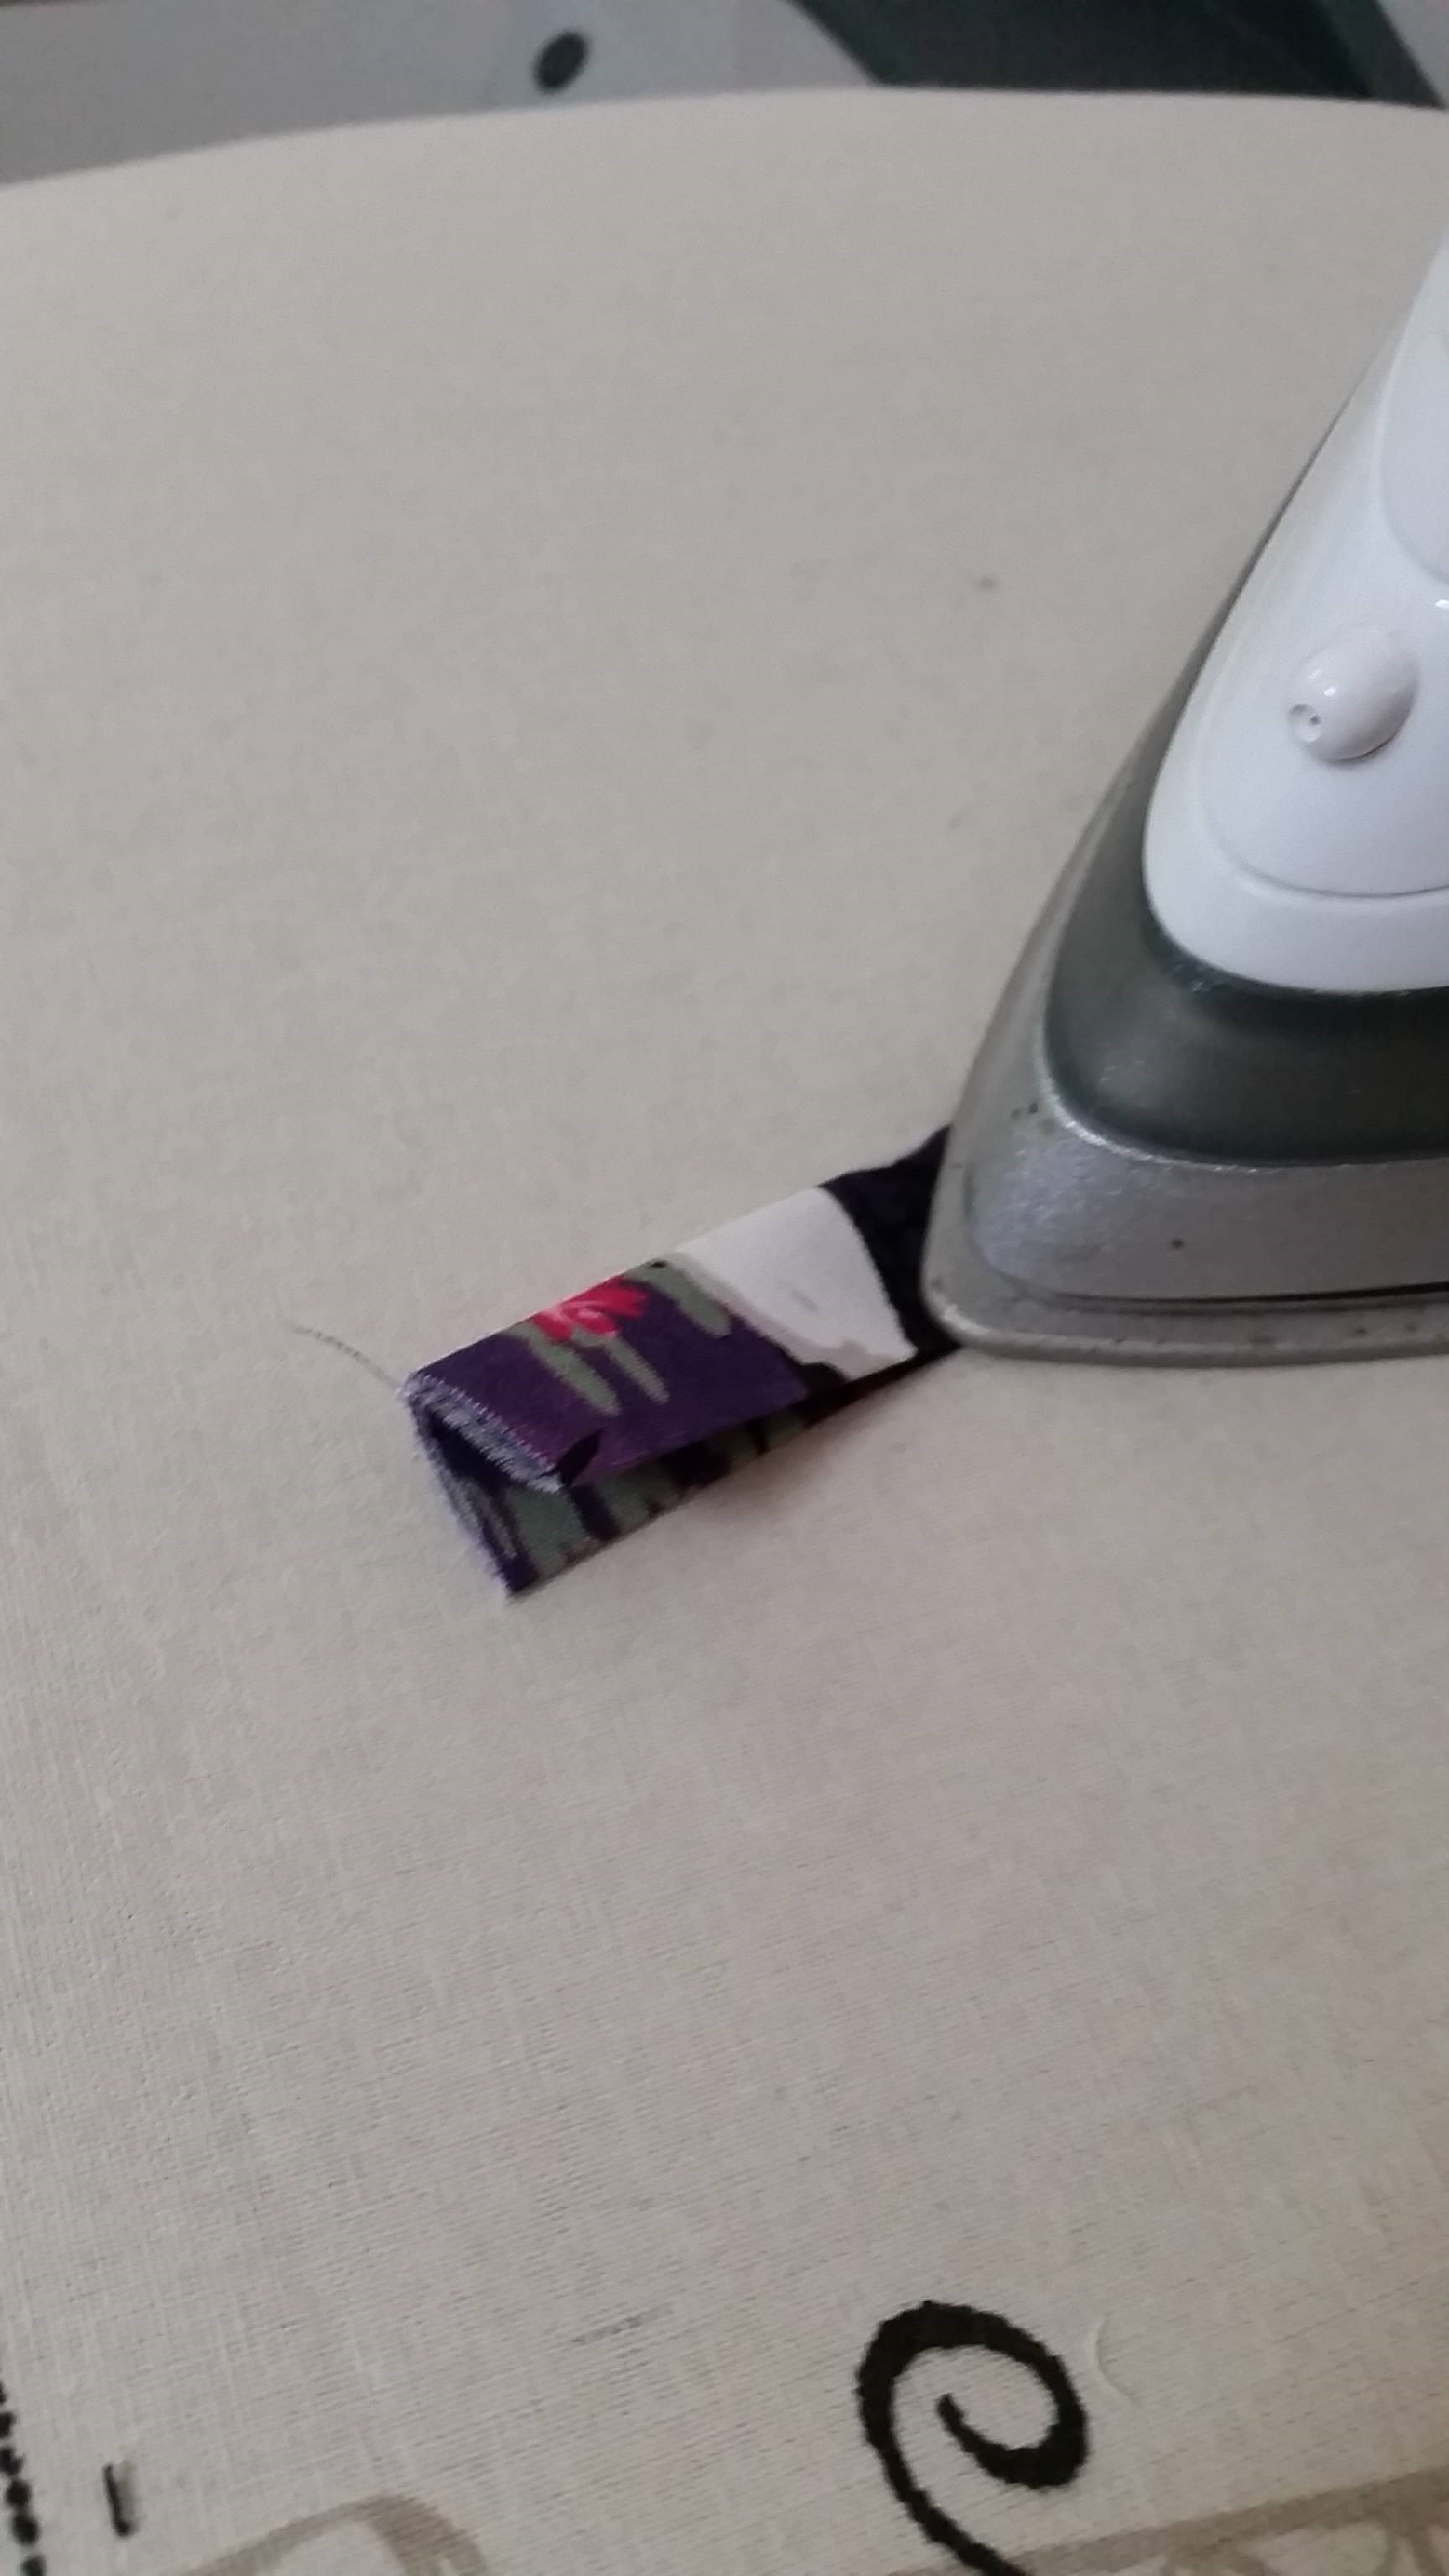
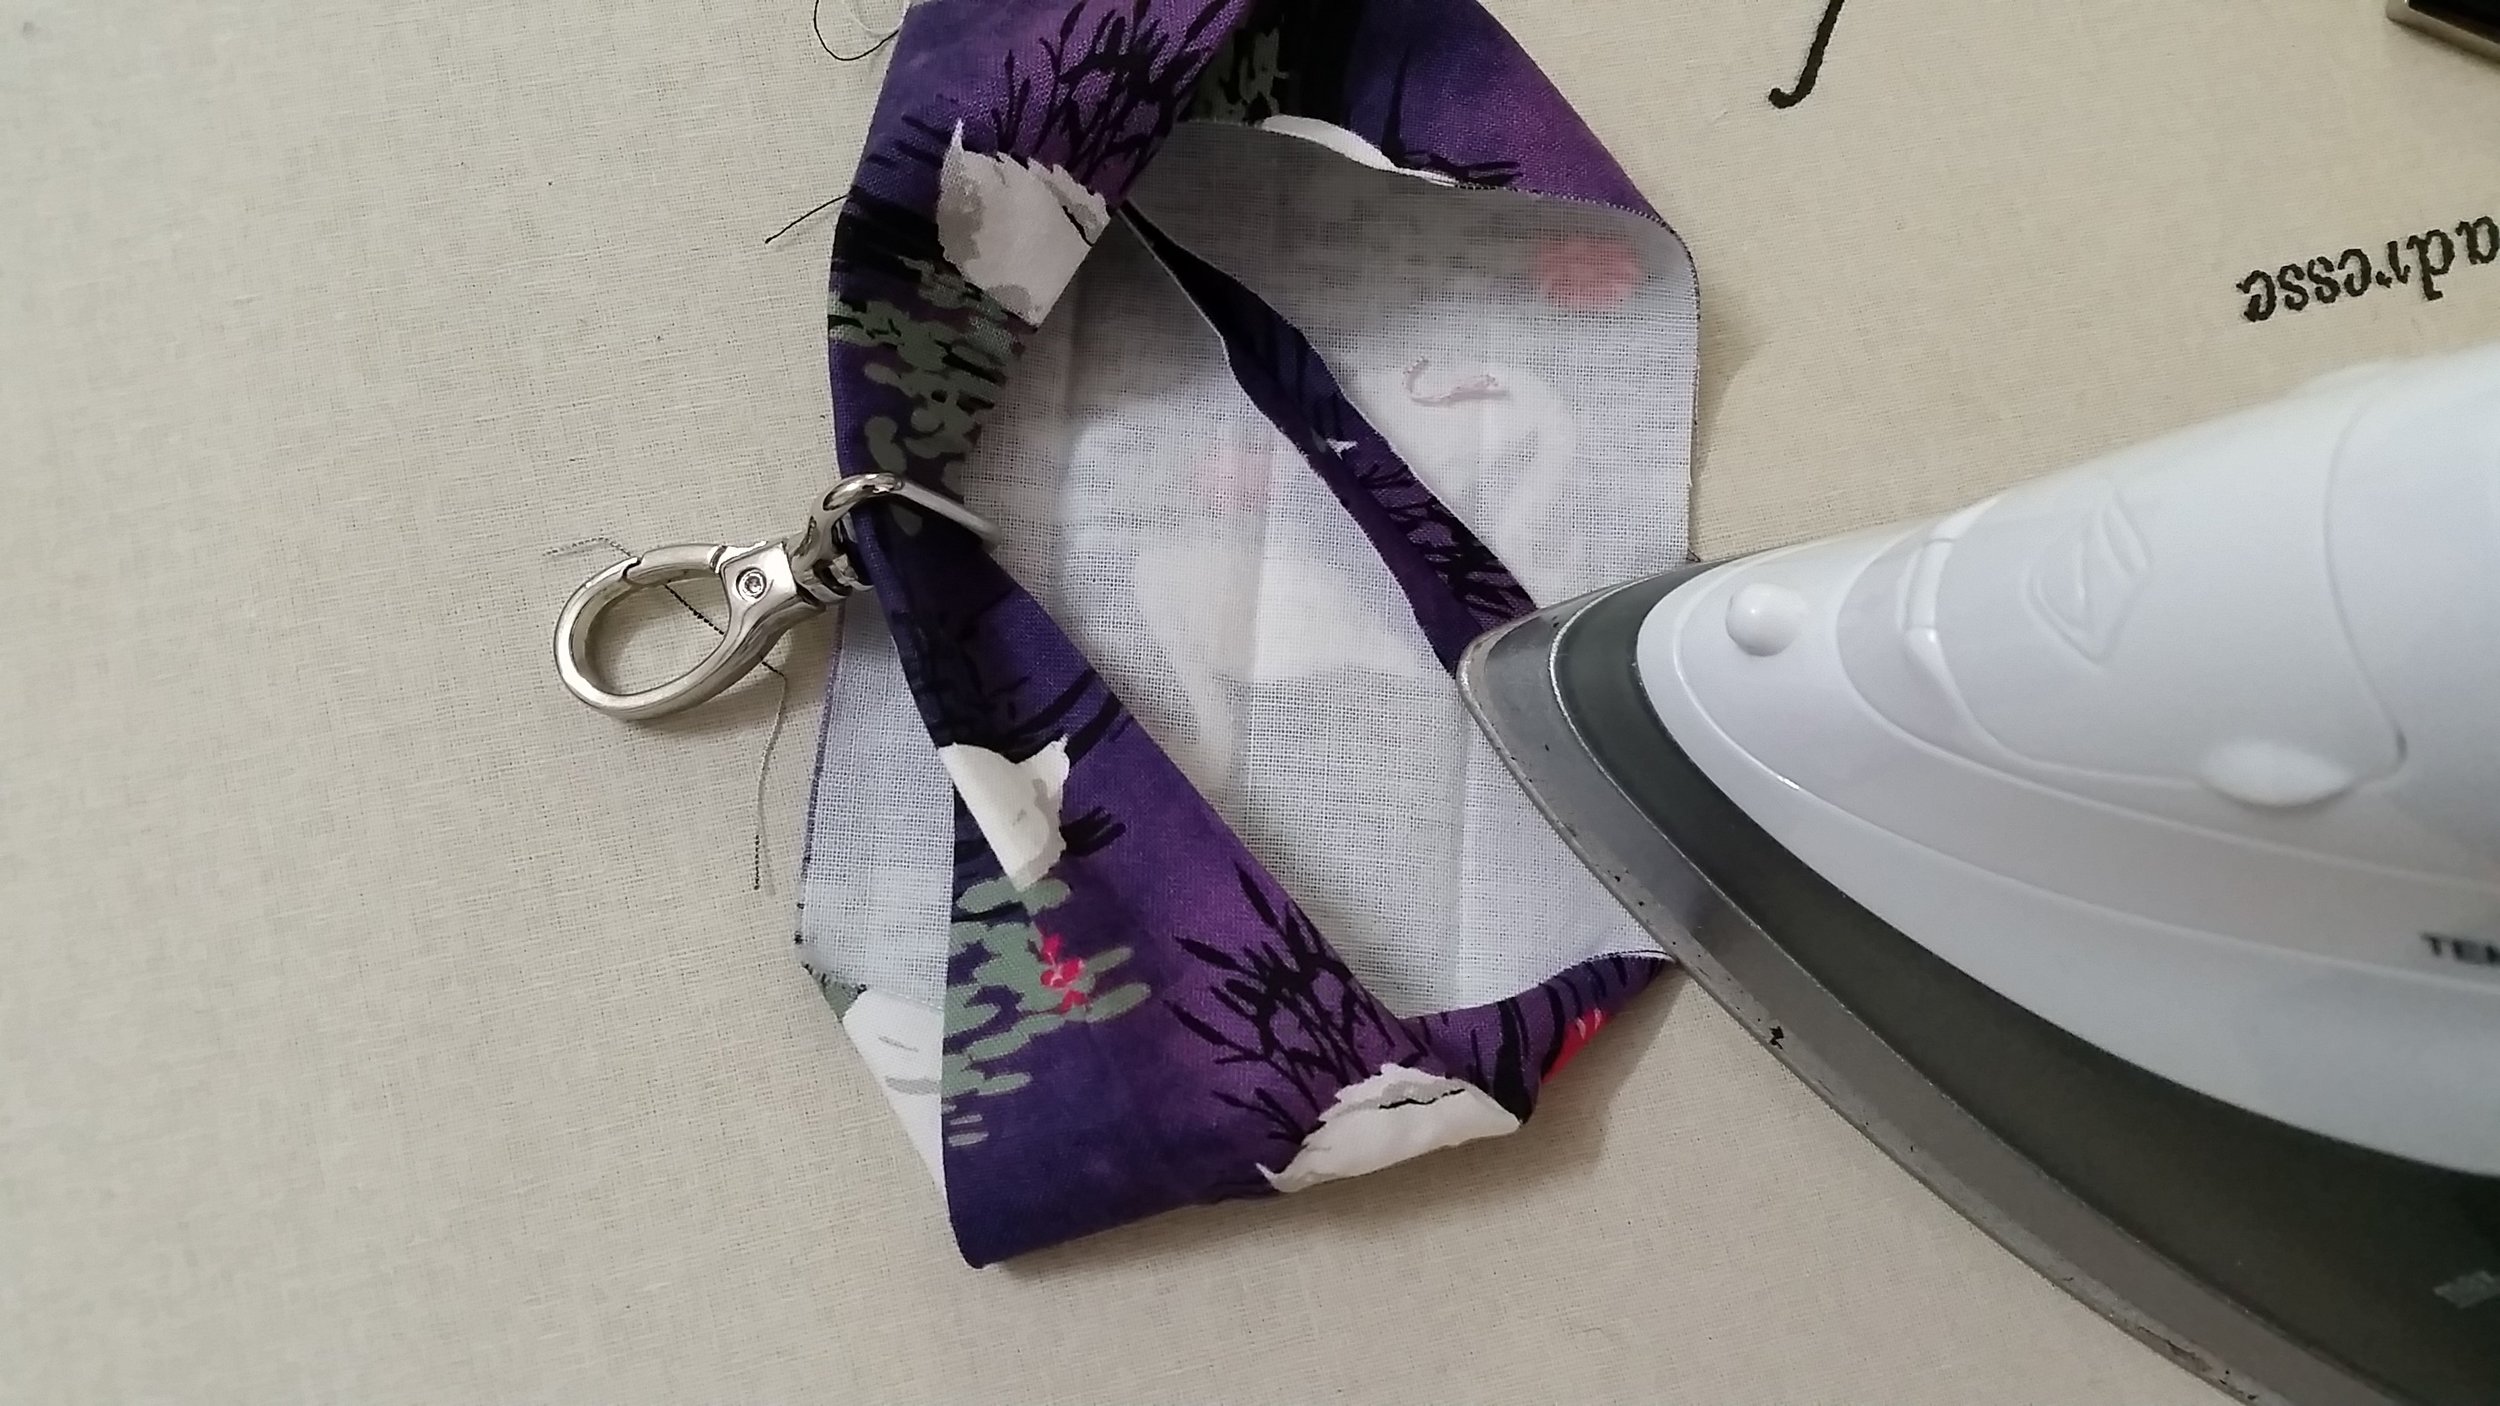
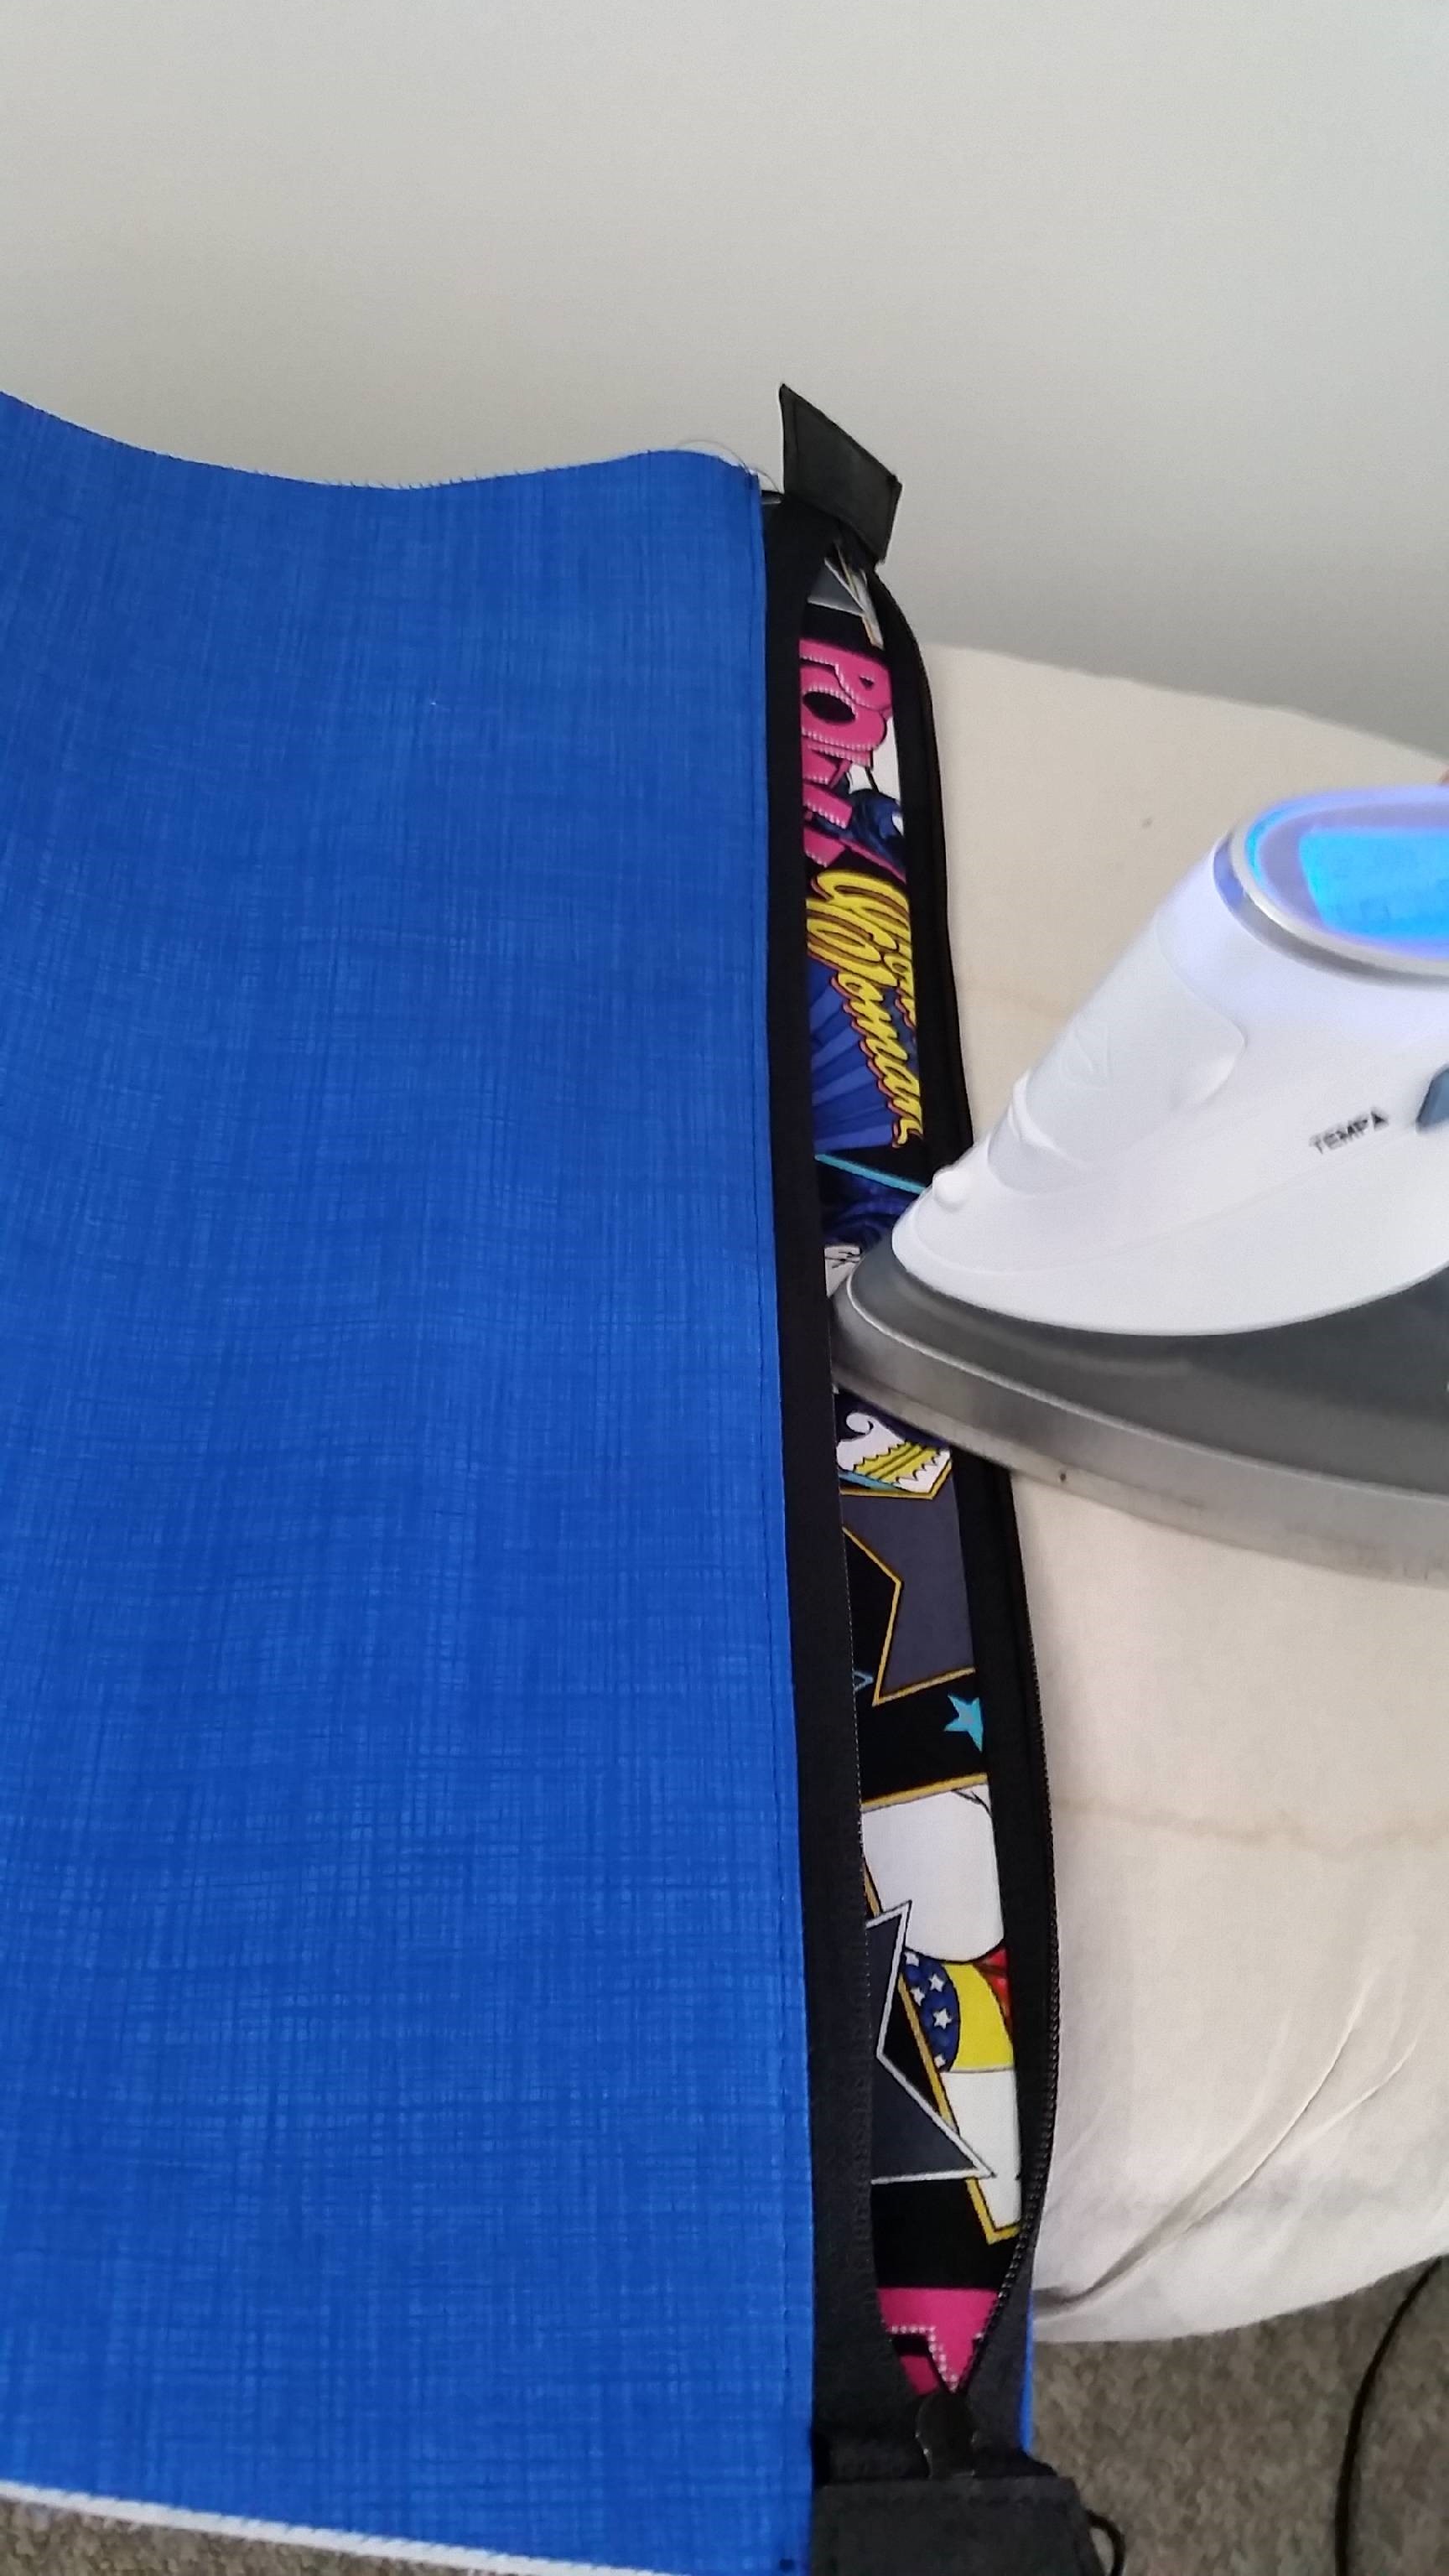
After sewing your zip, press open your seam. This will be a little bit trickier with the second side as the Exterior is one piece. I like to iron it in 2 stages. First with the lining folded open…

Then open the zipper, fold the lining under and iron the exterior away from the zip tape and press.
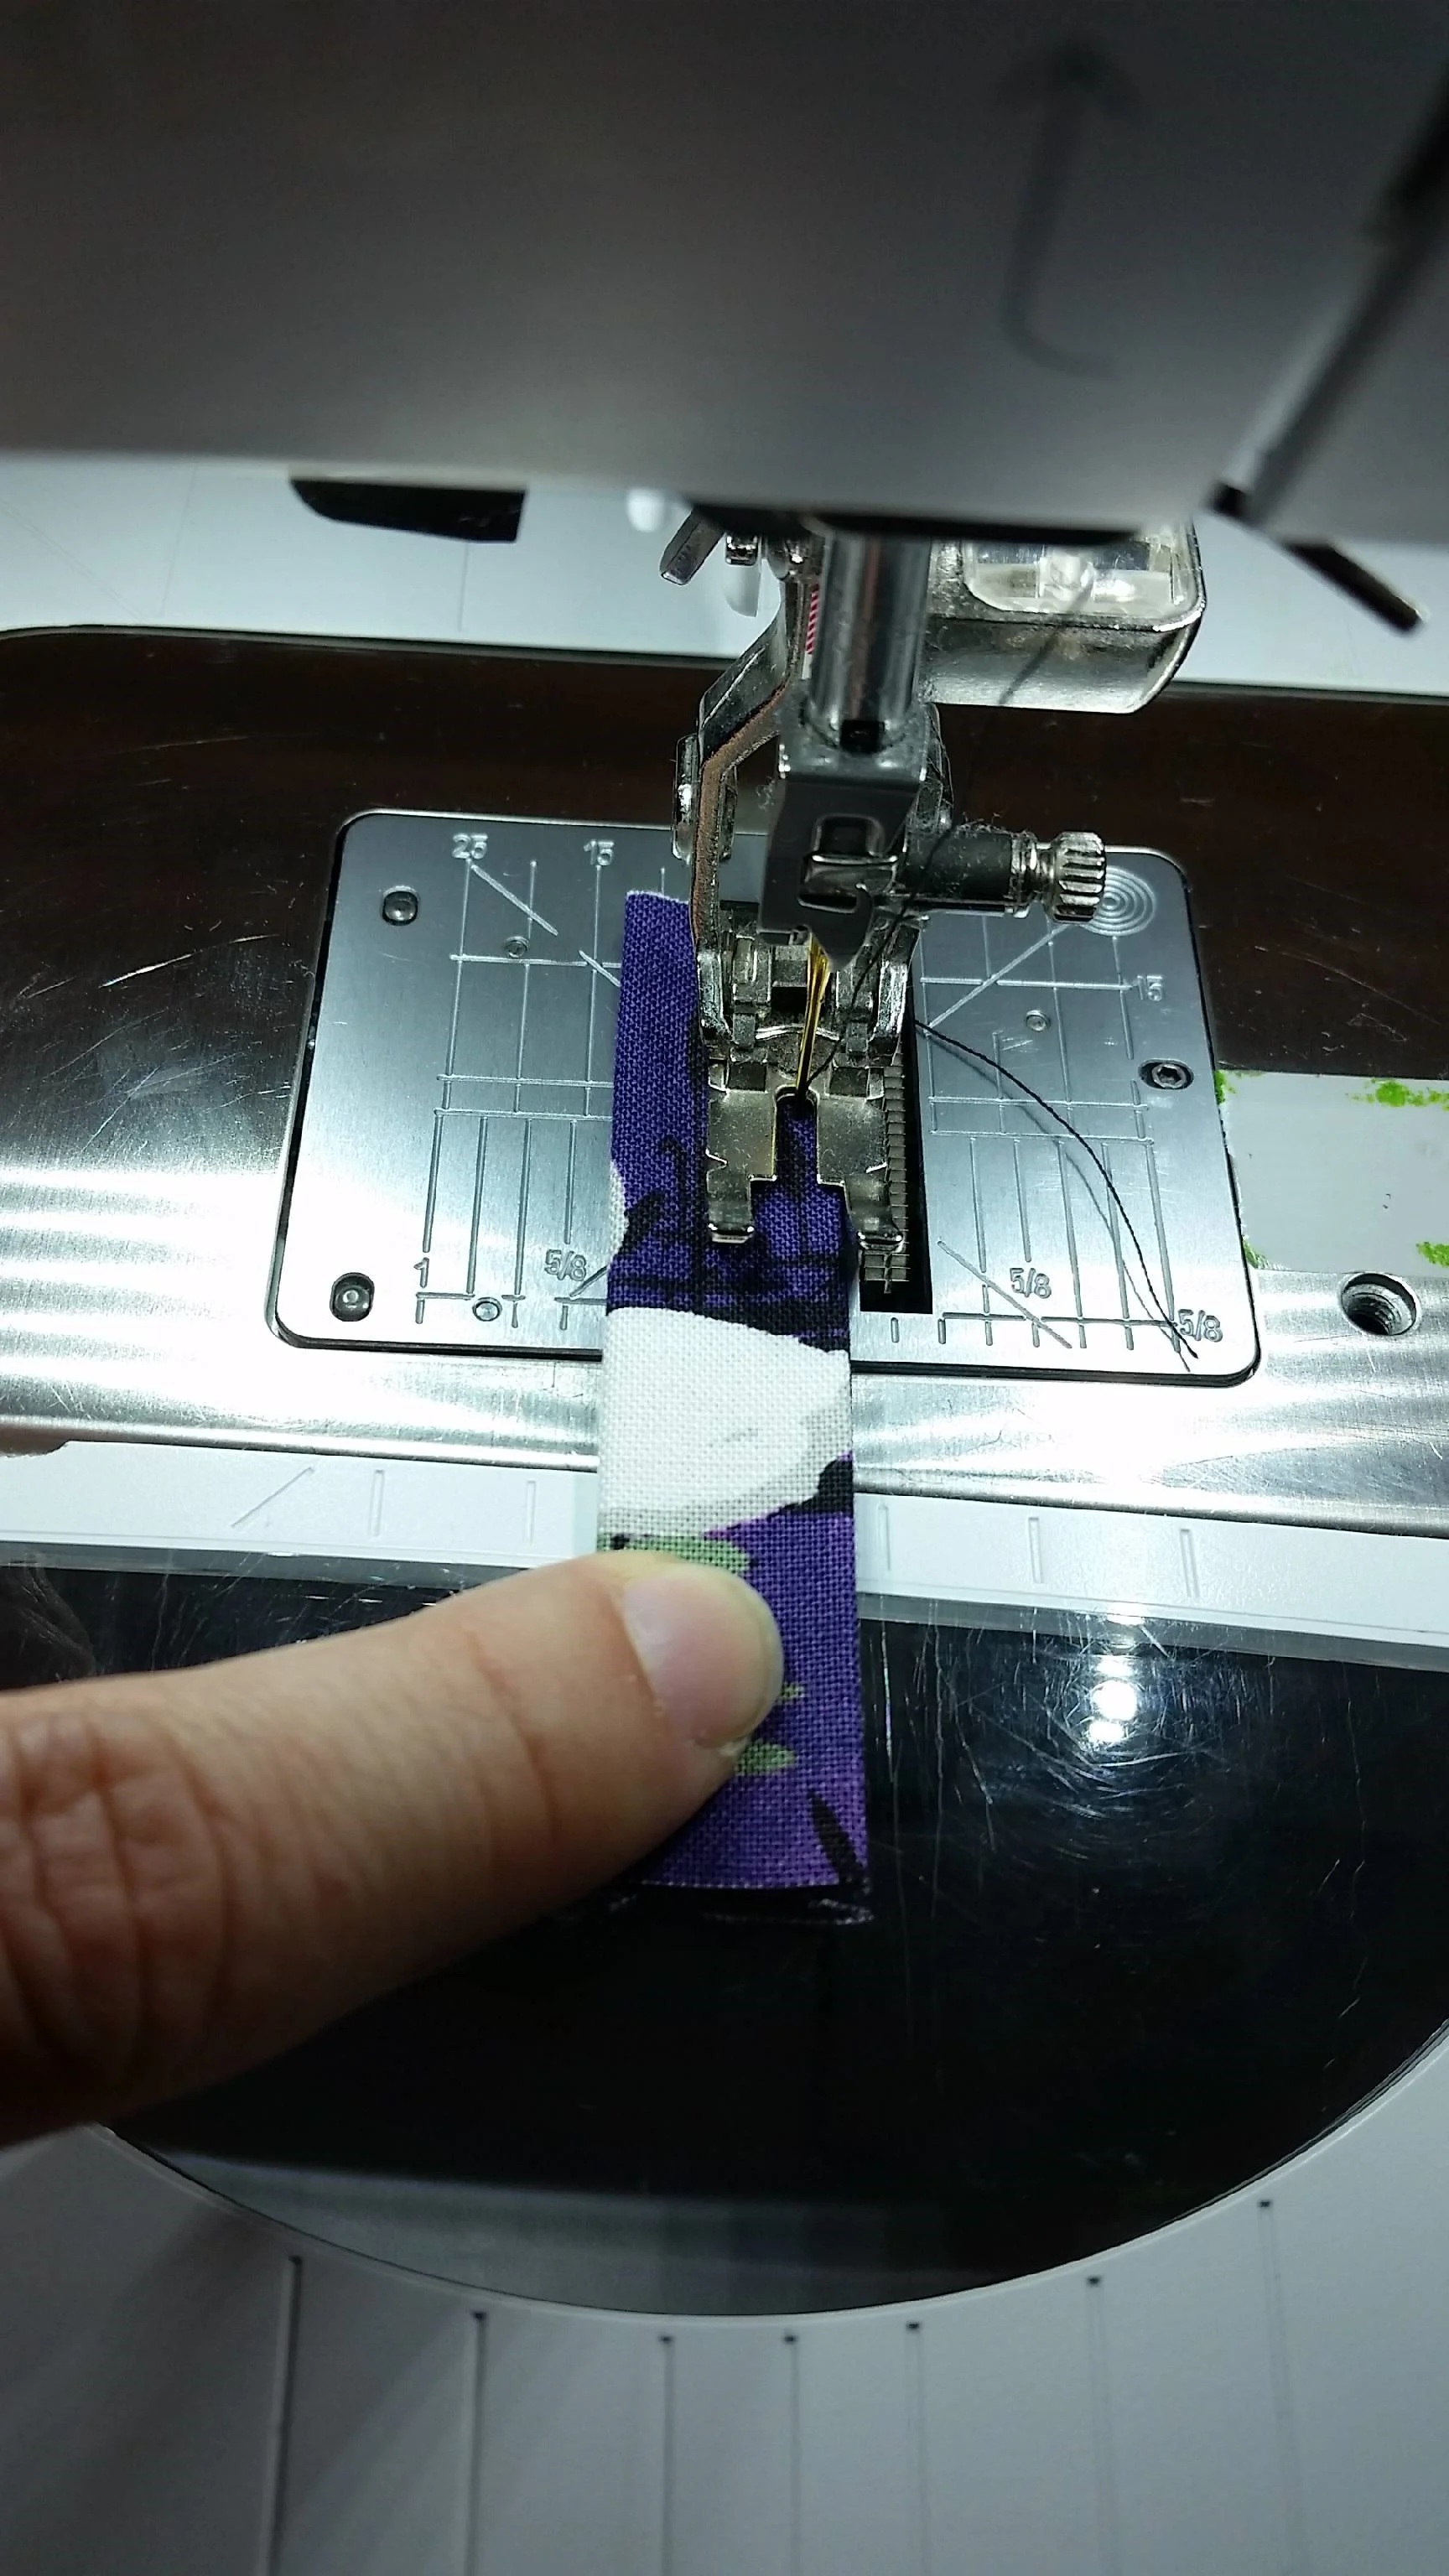
Don’t forget the little bits on the outer edges!!

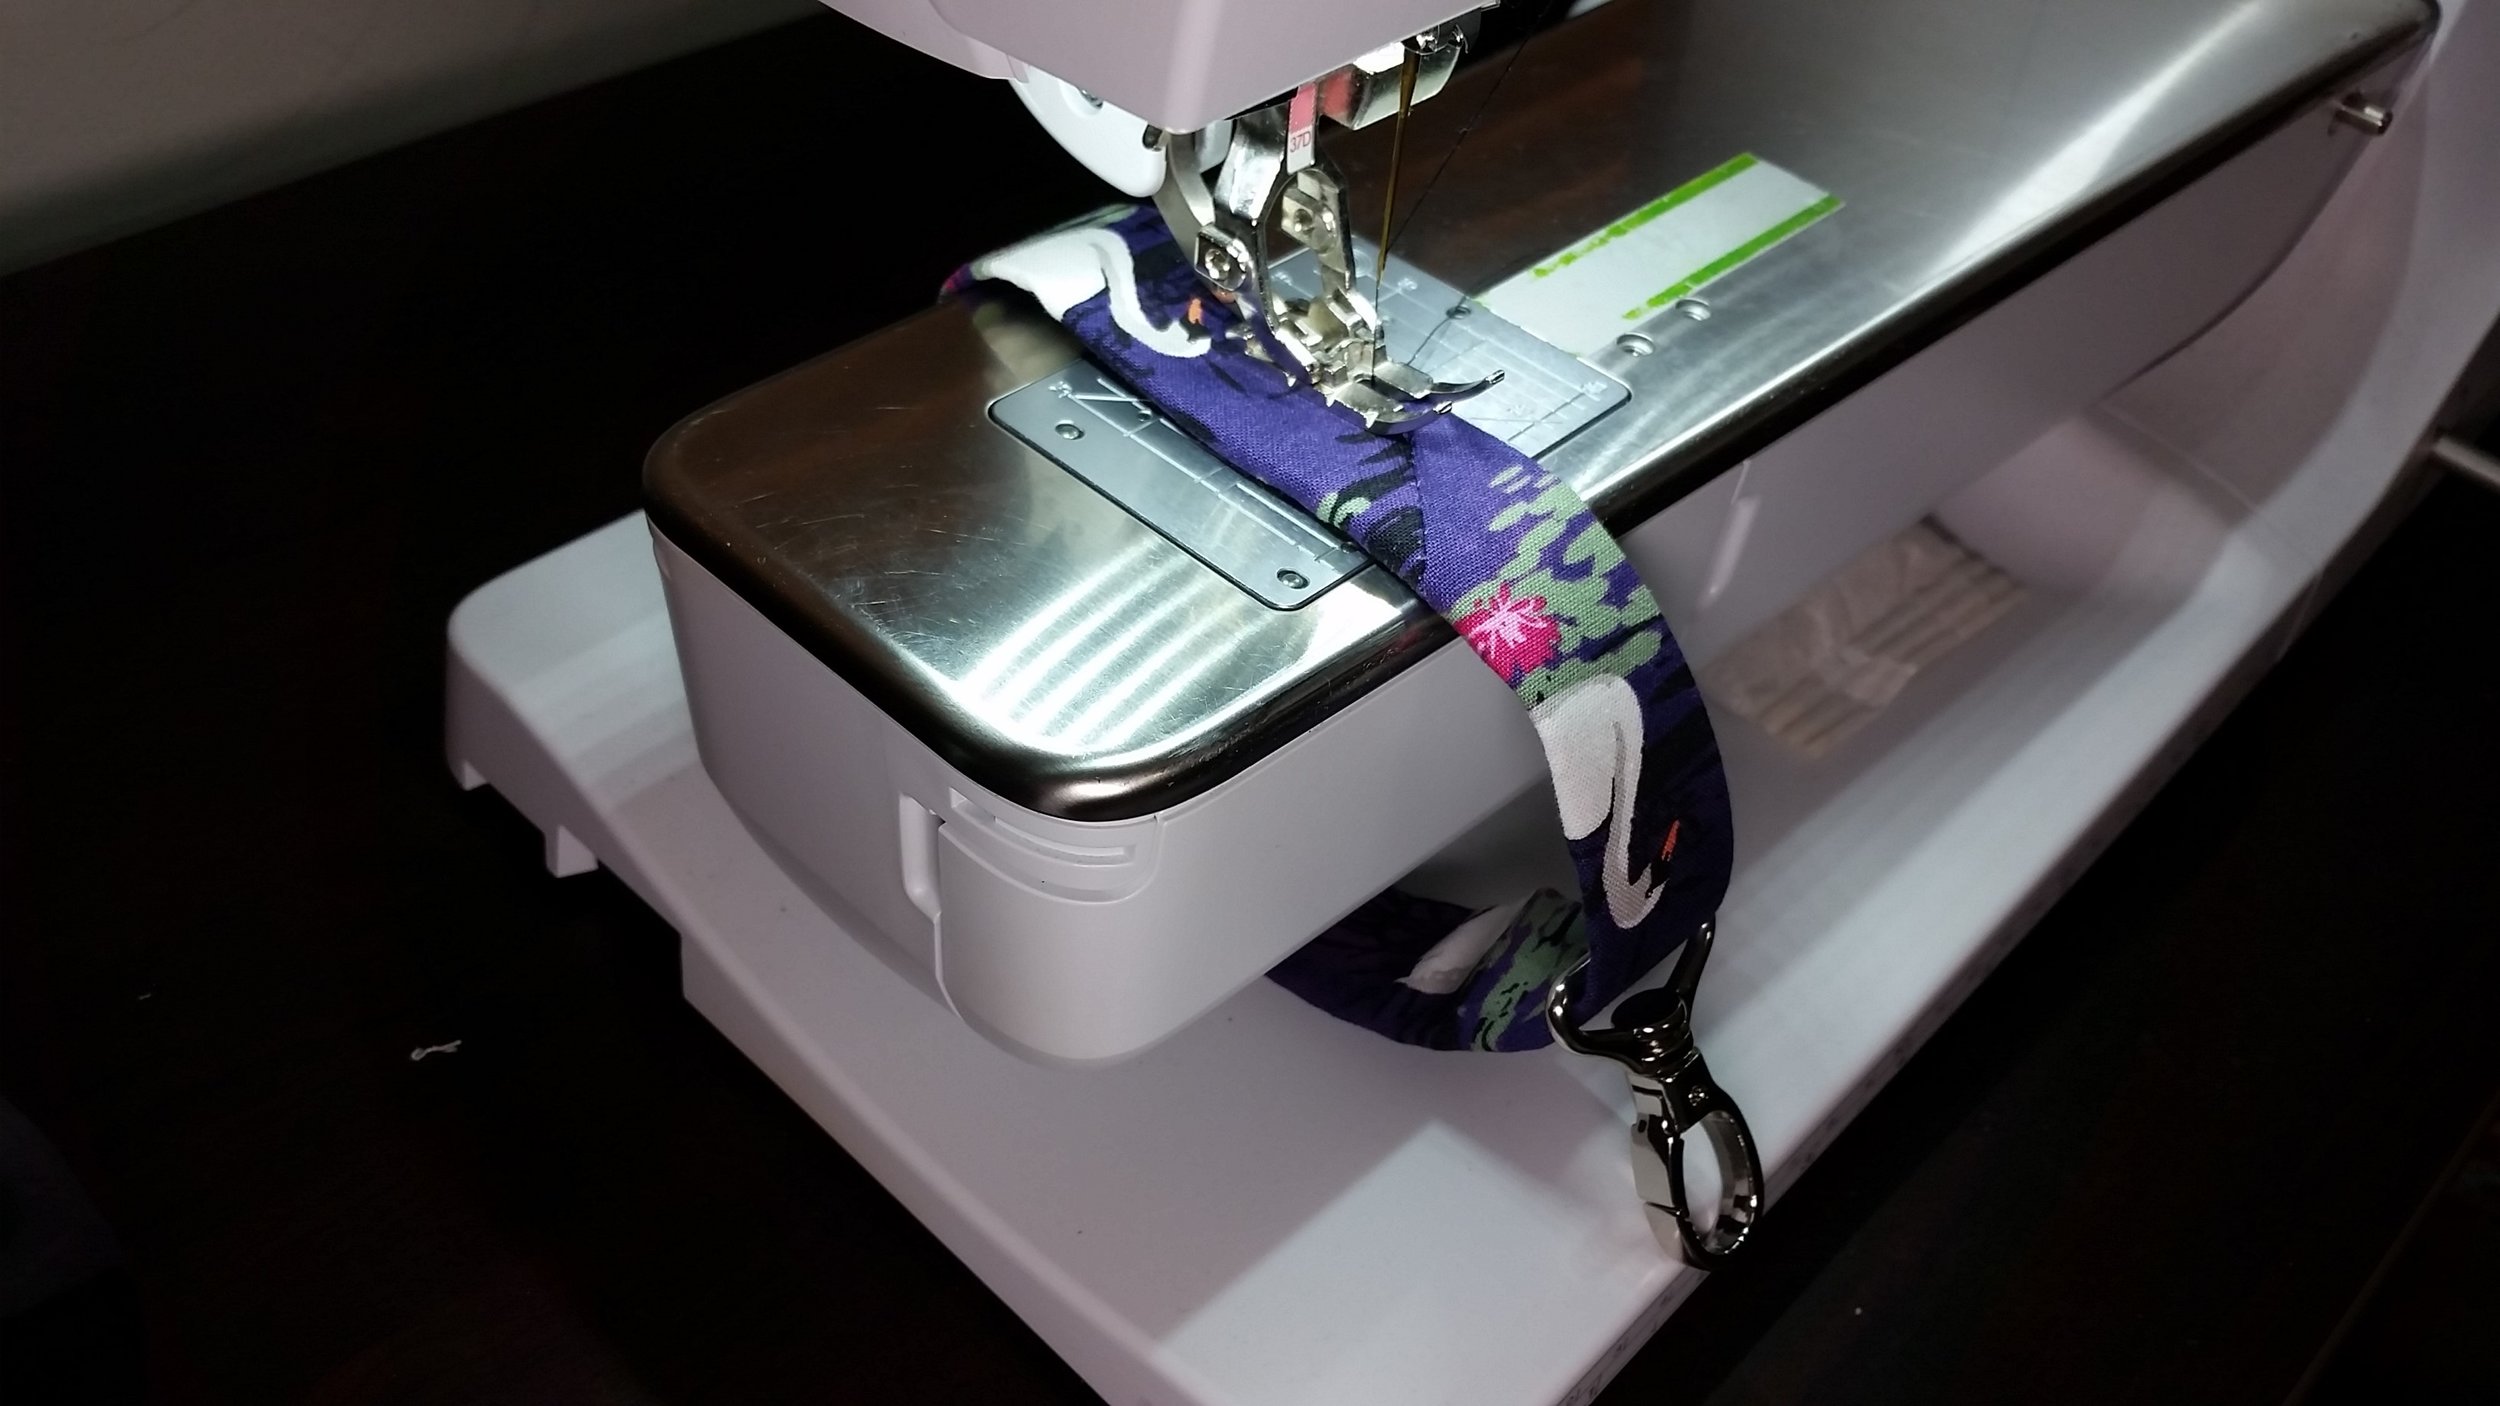
There are 2 ways to top stitch the second side. Both will involve a bit of manipulating to get to from the outer edges in to the middle, and may depend on what your machine looks like. My machine has a removable tray table, but if your machine doesn’t then your will need to do it this way.
Keeping the external sides together move the already topstitched side out of the way. At the start you will need to lift it that side up and around to help move the zipper tab out of the way (to the right as you look at my photo)


The second way is slightly easier, if you can remove your tray table and expose the free-arm of your machine. Turn the bag right side out so the exterior fabric is on the outside. Again move the tab to the right so that is out of the way.

Once your zip is top stitched, continue following the instructions from the “Finishing” section on Page 18 to complete your Titania Tote.
Please note these tips and tricks used in this article are the ways that I have found to be a quick and easy way to complete my Titania Tote. They are by no means the only way to do it. If you have a tip or trick that you would like to share with us, please join our RLR Creations Sewing Patterns Group and post your tips, and of course, share your creations with us in there!!
https://www.facebook.com/groups/RLRCreationsSewingPatterns/.
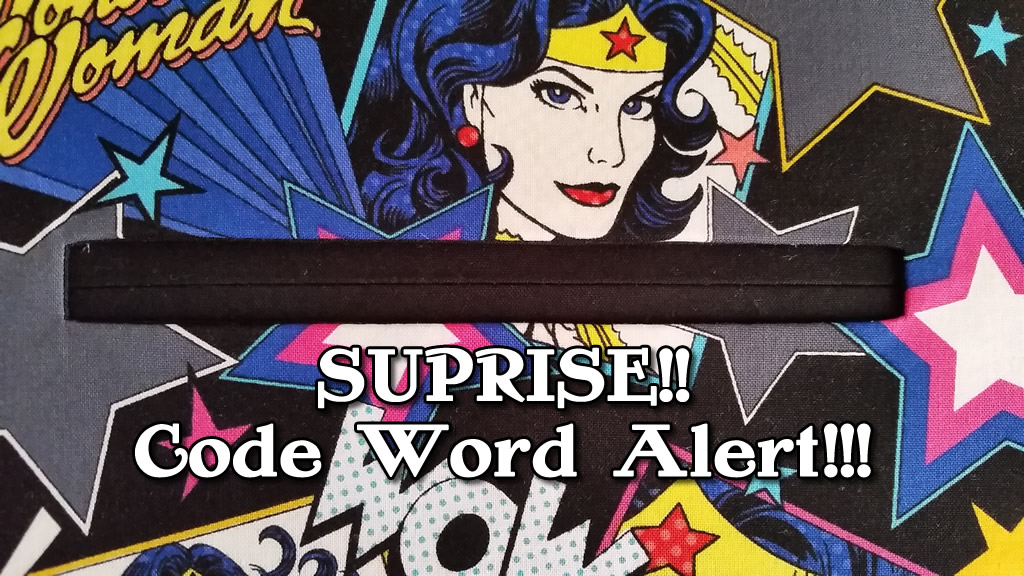
We all love to see the beautiful bags that are made using the Titania Tote pattern. If you missed the discount code last week and would really like to say GDAY-TITANIA and purchase this fantastic pattern, then you will need the GDAY-TITANIA code word, before heading to the rlrcreations.com website.
Now to the next big decisions! What size (handbag or tote) will you choose? Which fabric will be chosen? I would love to see your fabric previews as you start your project!!
Until next time, keep creating!!
If you would like to learn more about the extremely talented Tanya Summers and see the amazing things she creates hop over to her facebook page at Little Mate's Wardrobe and take a moment to view her fabulous bags at her Etsy Store HERE!